
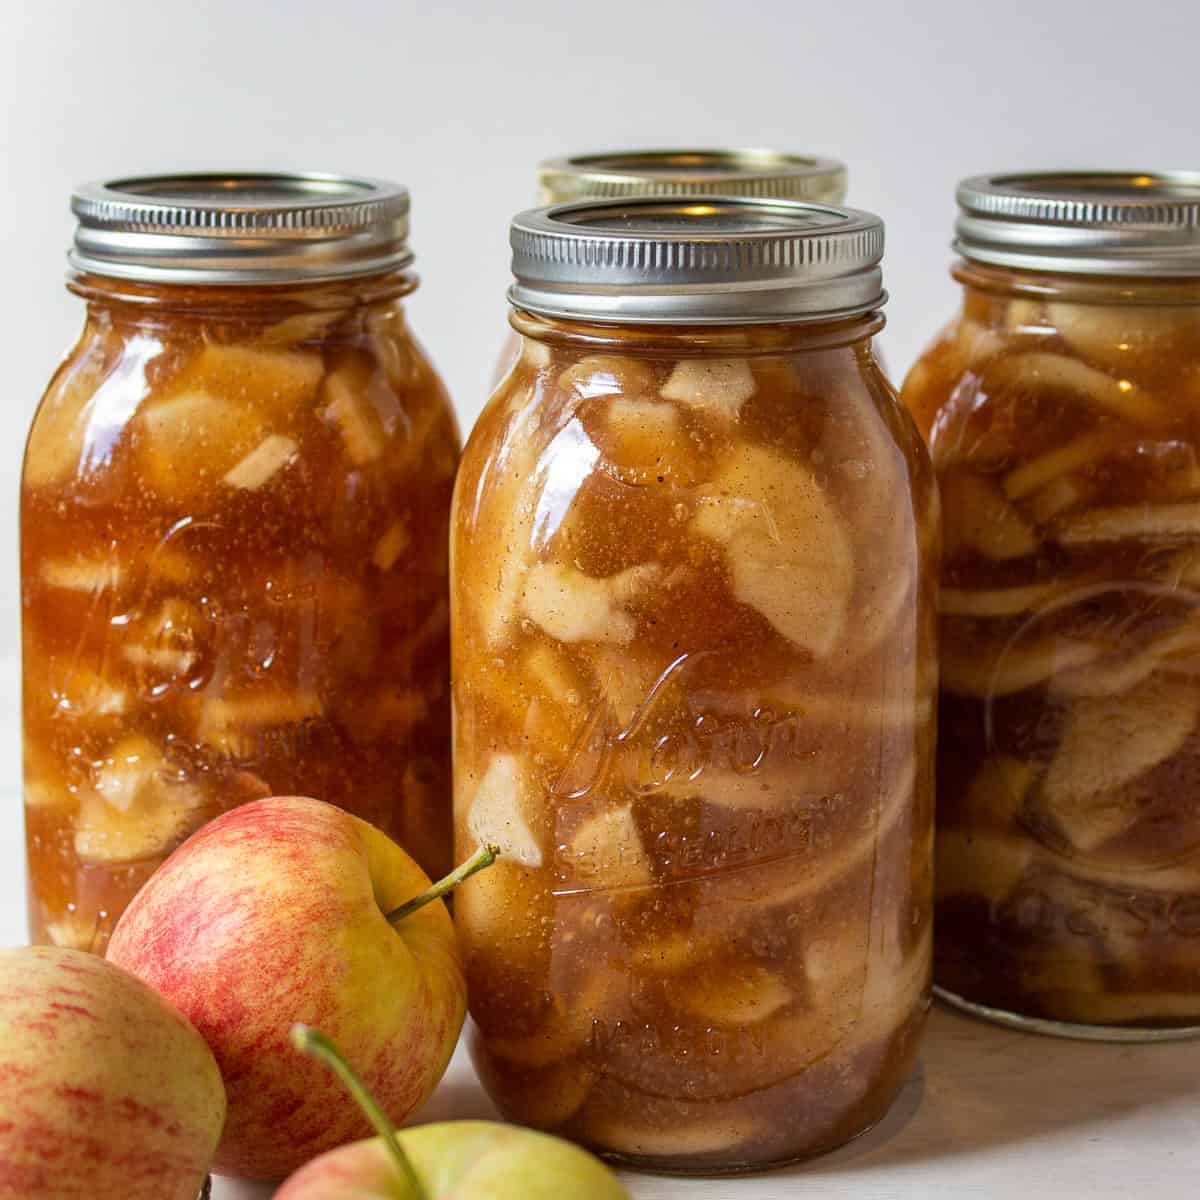
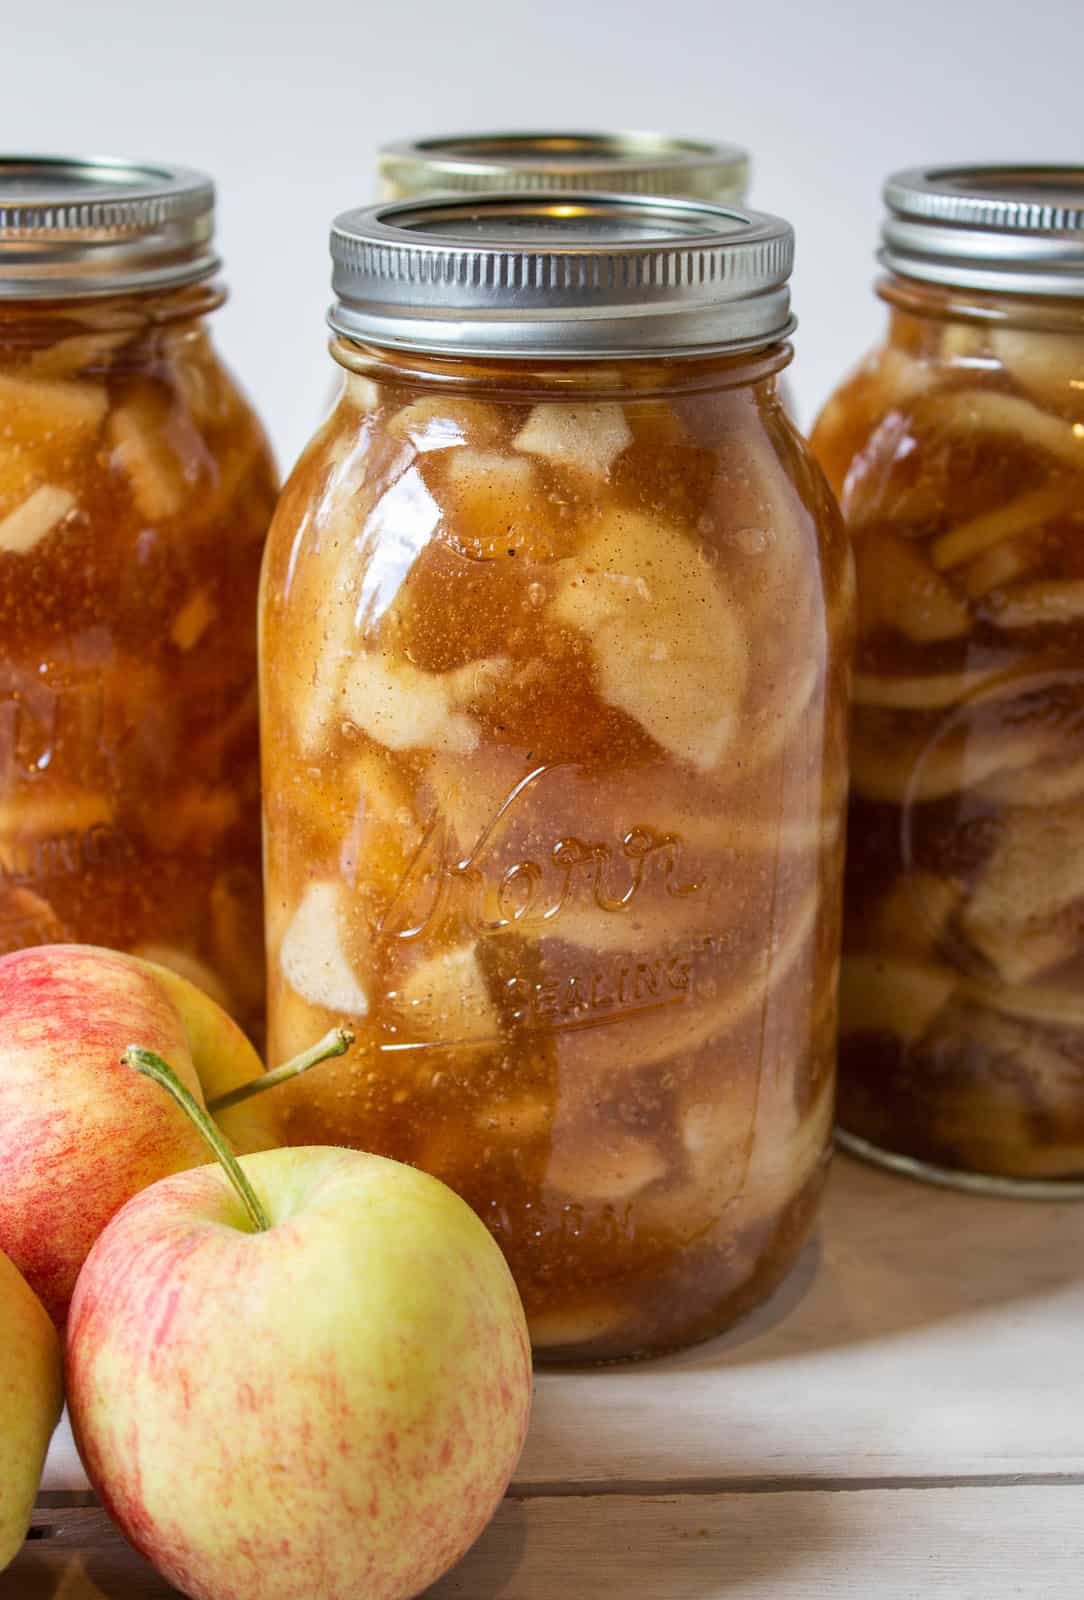
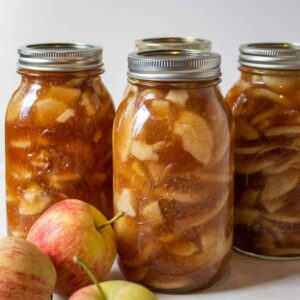
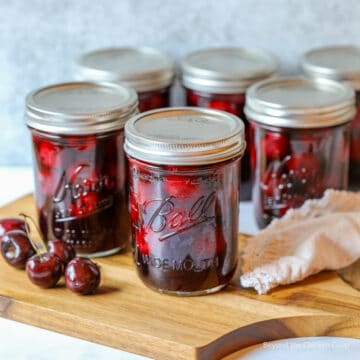
Preserve your apple harvest and make apple pie filling and can it in canning jars to use at a later date!
Canned apple pie filling allows you to make delicious apple desserts with homemade pie filling all year long.
Why I love Canning Apple Pie Filling
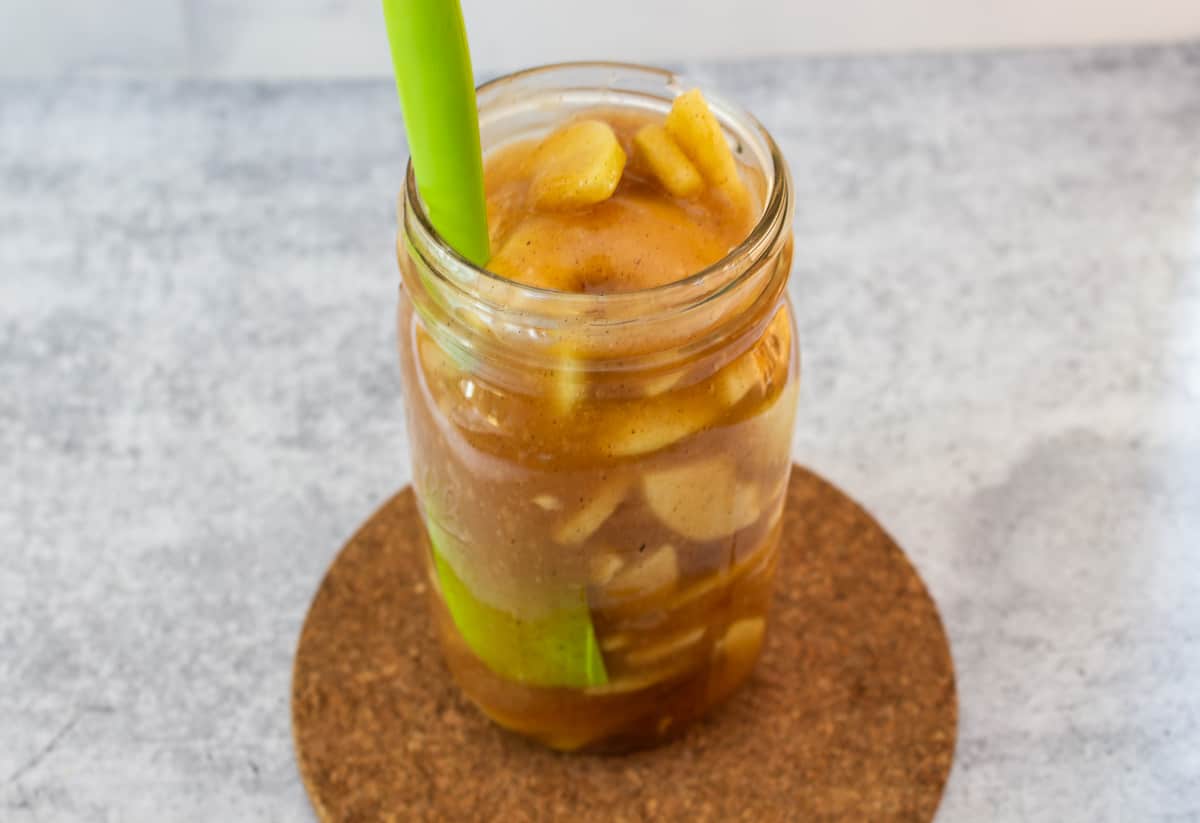
I love apple pies! My favorite is made with tart fresh apples. Sometimes there just isn't enough time to make a pie and this apple pie filling really comes in handy. You just make a quick pie dough, open a jar of filling, pour it in and bake! Instant dessert!
Apple pie filling is also amazing in cobblers, crisps and warmed and spooned over ice cream! And I'll let you in on a little secret - this pie filling is delicious just scooped right out of the jar and eaten with a spoon!
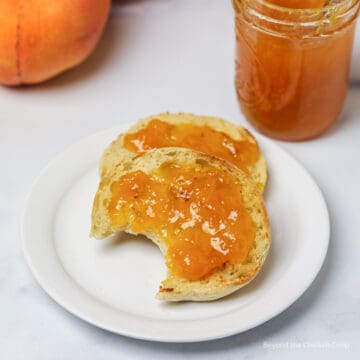
If you love having your pantry filled with delicious homemade pie filling, you should also check out this peach pie filling!
I love canning and preserving our own food. We grow a lot of apples and while I do love them best fresh, I also love canning apples and using them all year long. Some of my favorites include apple butter, apple sauce and this canned apple pie filling.
What apples are best for Canned Apple Pie Filling?
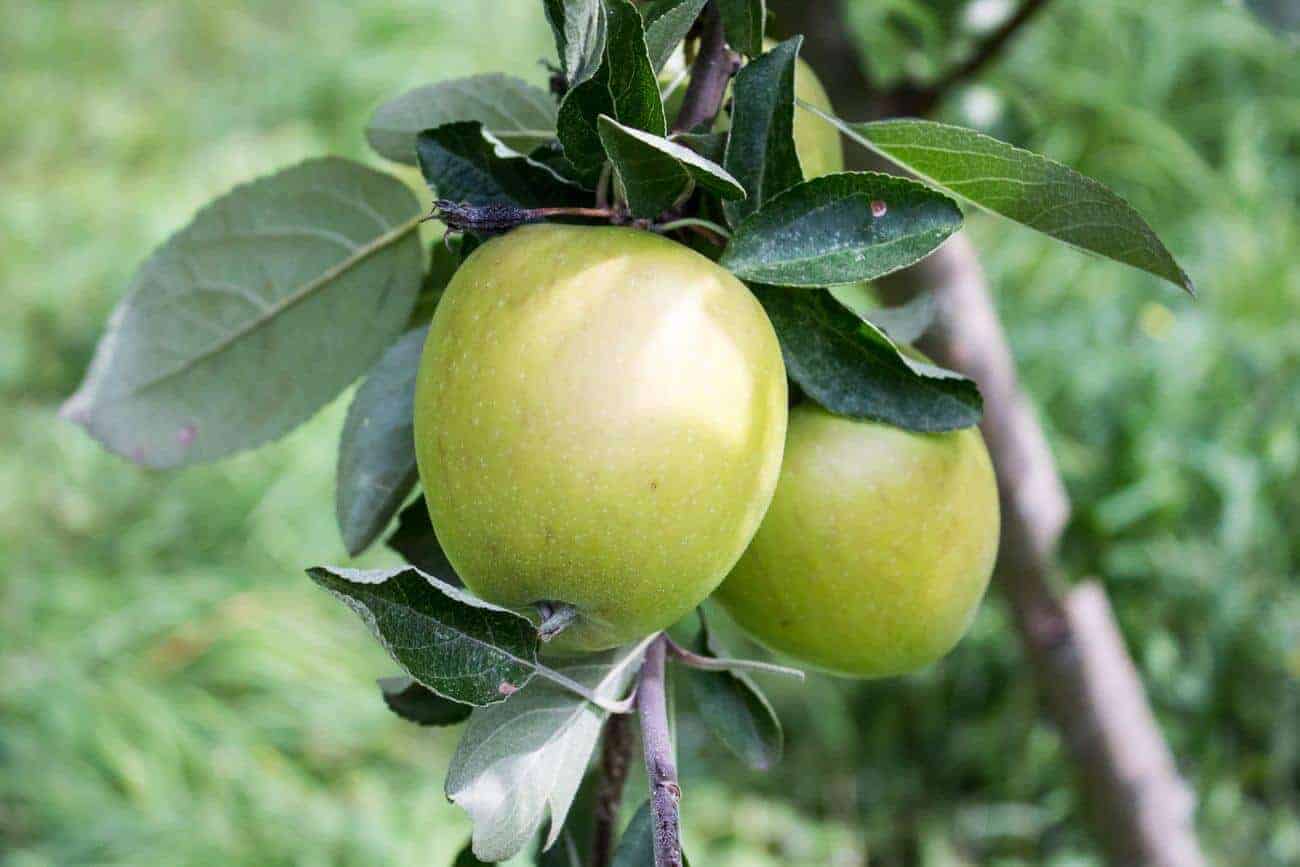
Almost any type of firm apple will work fine for this canned apple pie filling. You do want an apple that is going to hold its shape when cooked. Some good options are Granny Smith, Braeburn, Honey Crisp, Macintosh and Gravenstein.
Many of our apples are old trees that were planted several decades ago. We don't know the true variety, but when you bite into them, they have a great crispness to them.
What is Clear Jel?
Clear Jel is a modified corn starch that is designed for commercial bakeries and home canning. It is a USDA approved thickener for canning pie fillings at home. Clear Jel is heat tolerant and can be reheated again and again, which makes it perfect for canning and then baking again into a dessert.
Look for Clear Jel at some grocery stores and small markets that specialize in repackaging and selling bulk food items. You can also buy it online and have it shipped directly to your home.
Don't use instant Clear Jel. It reacts very differently than regular (cook type) Clear Jel.
How to make apple pie filling for canning
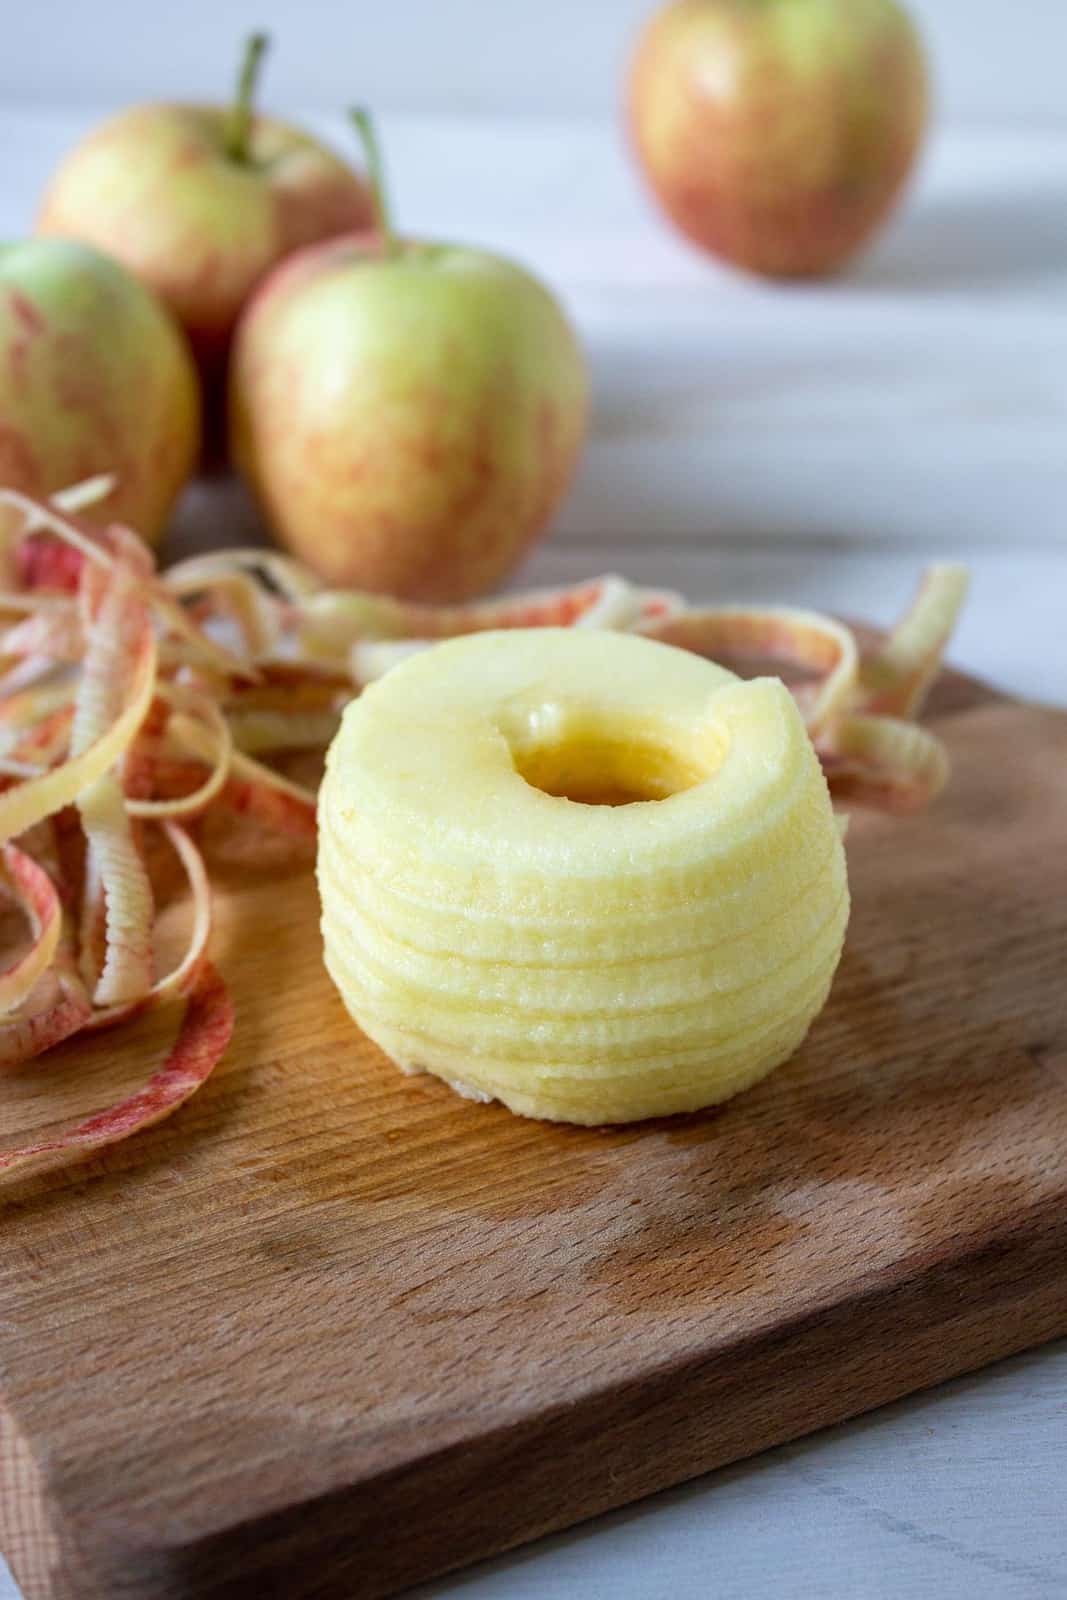
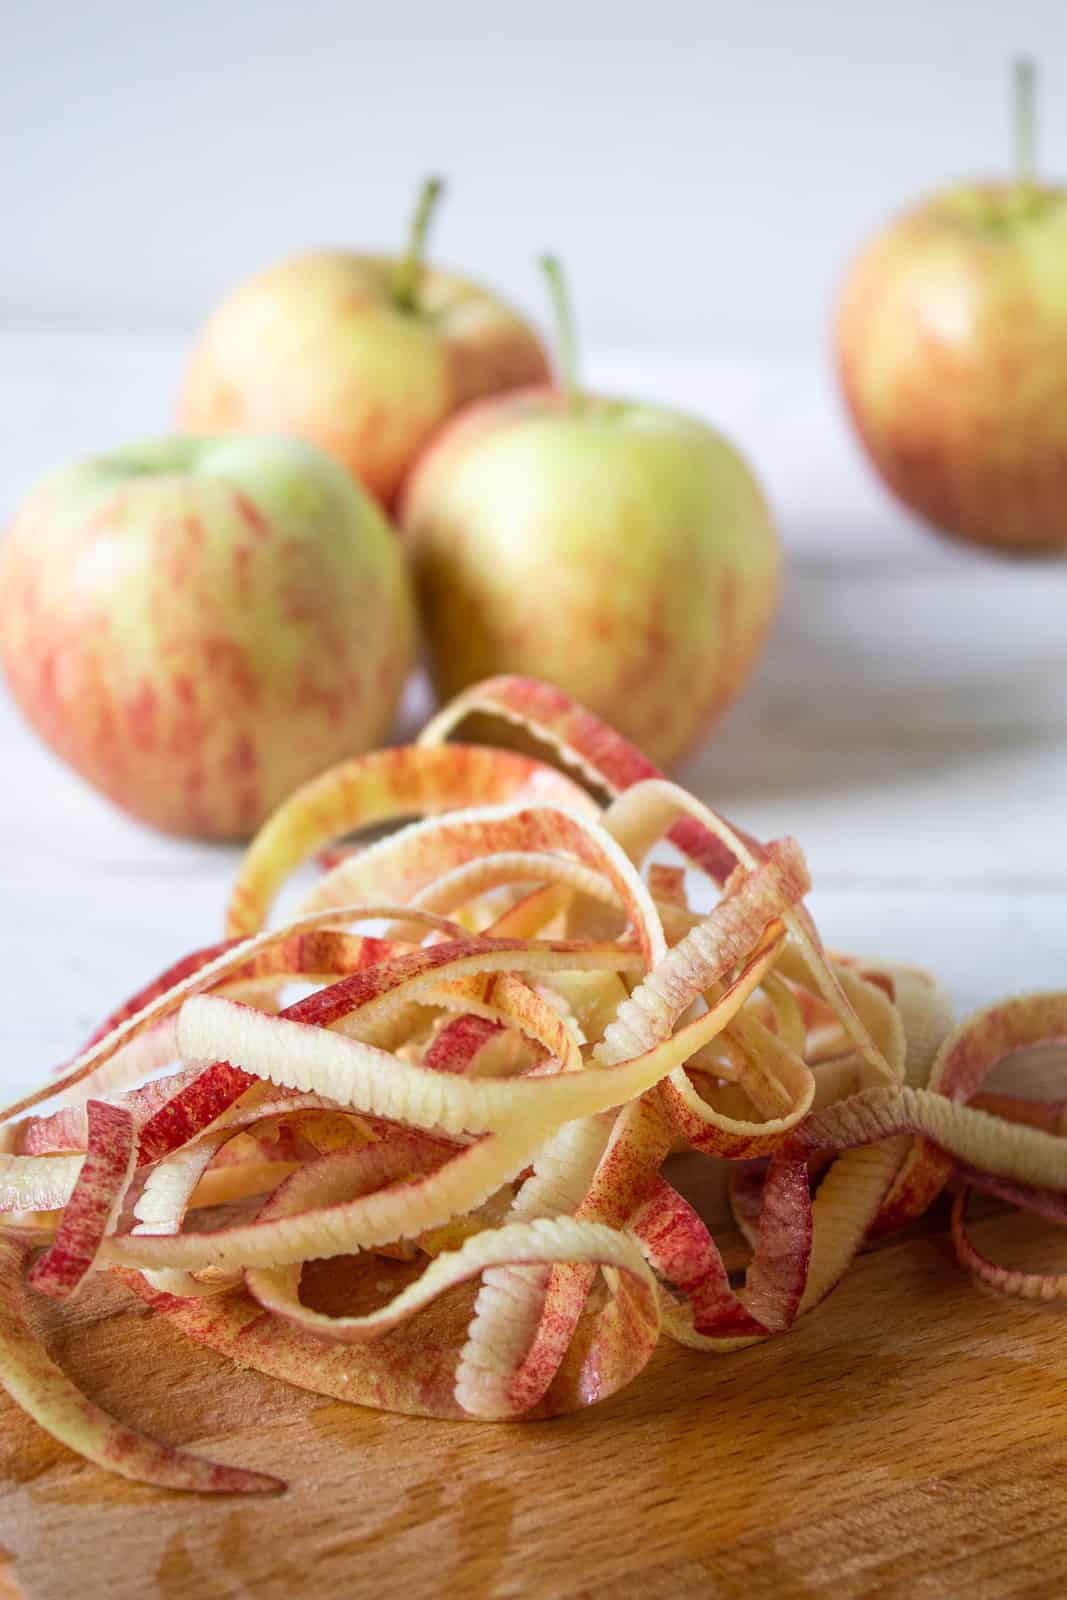
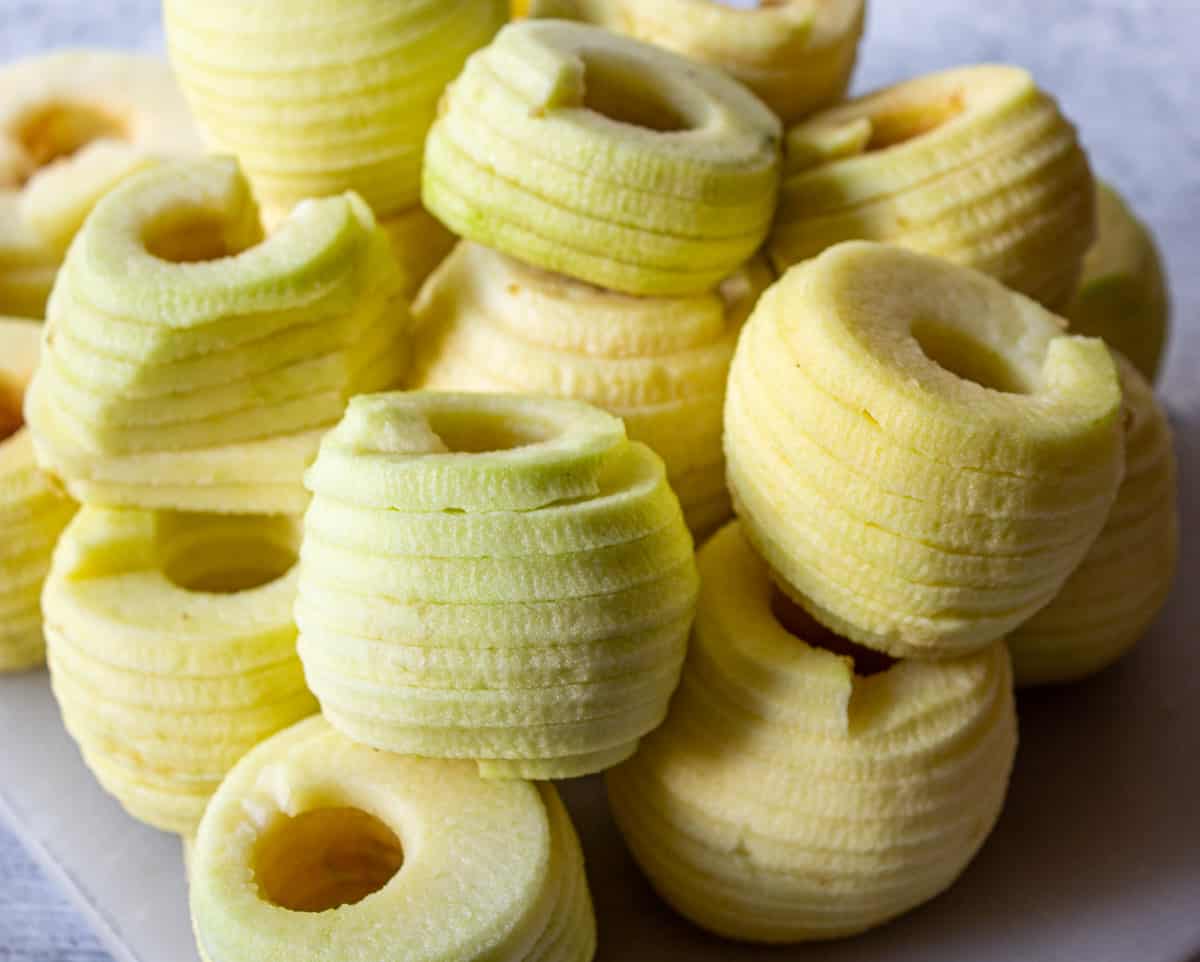
Peel and core your apples
To peel, core and slice the apples, I used an apple peeler. If you don't have one, no problem! Just use a small paring knife. The apple peeler makes canning this filling a bit quicker! It not only peels the apples, but it cores and slices the apples too.
Once the apples are all peeled, I slice the stack in half. It makes it easier to fit half-moon slices into the jars.
Don't worry if your apples begin to discolor a bit. You can add them to a large bowl filled with water to help stop discoloration if desired. Once added to the thickened mixture, the sliced apples will take on the golden color from the cinnamon and nutmeg.
How to can apple pie filling
Before filling jars:
- Use clean canning jars
- Select the best fruit you can find (you can cut off any small bruised areas)
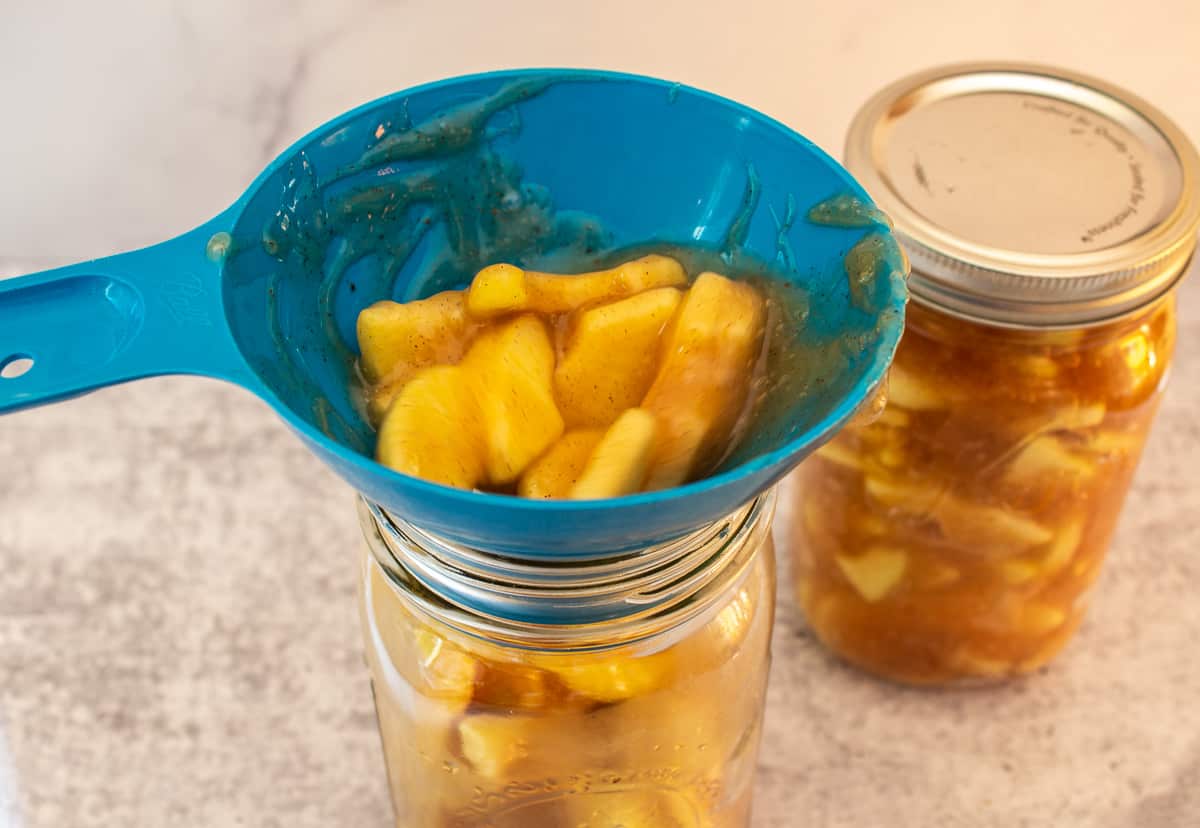
Filling jars:
- Leave 1 inch of headspace at the top of your jar
- Use a small spatula to remove air pockets in filled jars
- Always wipe rim of jars before putting lid on
- Tighten ring firmly
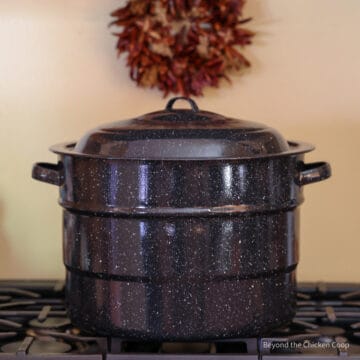
Boiling jars:
- Boil in a water bath according to USDA for 25 minutes (adjust according to your altitude - see chart below)
- When time is done, turn off heat and let jars remain in the boiling water for 5 minutes before you remove. This helps prevent the filling from leaking out of the jar when it hits a cooler room temperature. Tip from Ashley at Practical Self Reliance.
After canning:
- Let jars cool for at least 12 hours before removing rings
- Wash jars to remove any sticky residue. Rings should be removed for washing.
- Check to make certain jars are sealed
- Label and date jars
- Use any unsealed jars right away
- Store canned goods in a cool, dark place for up to 18 months
Increase processing time
| Altitude Feet | Increase Processing Time |
|---|---|
| 1,001- 3,000 3,001- 6,000 6,001- 8,000 8,001-10,000 | 5 minutes 10 minutes 15 minutes 20 minutes |
Recipes using canned apple pie filling
Use the canned apple pie filling in any recipe calling for apple pie filling. Some delicious ideas include:
- Cobbler - Use the pie filling in place of the peach filling in this recipe.
- Oatmeal Bars - Replace the applesauce with pie filling.
- Caramel Apple Pie Dip
Canning apple pie filling FAQs
These canned apples should last for 18 months if stored in a cool dark place.
Anytime you open a jar of canned goods, you want to examine the jar first. Look for anything unusual - foaming, bubbles, and leaking are all signs that the contents are not good. Also, make certain the lid is fully sealed. If mold and discoloration occur on the top, discard the contents. When in doubt, throw it out! Never taste a product that you are unsure of.
If a jar doesn't seal, you have two options - Place it in the refrigerator and use up within one week or remove lid wipe down surface of rim. Place a new lid on and process in water bath again.
The temperature for water to boil varies by elevation. The higher you go, the lower the temperature for water to reach a boil. In order to compensate for this lower boil temperature, time is added to your processing time.
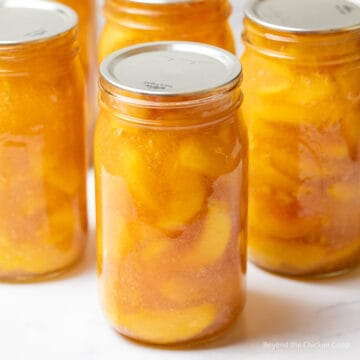
If you are looking for other canning recipes, try Canning Tomatoes, Canning Peaches, Homemade Blackberry Jam and Apricot Jam.
Use this pie filling as a topping on these cream cheese danish!
More from Beyond The Chicken Coop
If you make this recipe, I’d love to hear about it! Leave a comment below and snap a picture and tag me on Instagram @beyondthechickencoop
Check out all my canning recipes.
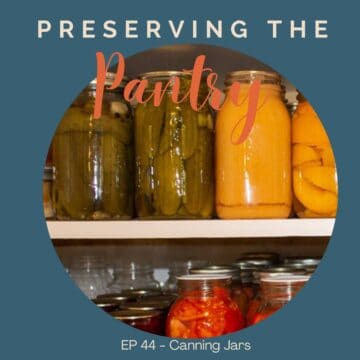
Listen to the recipe
You can listen to all the steps on how to can tomatoes on the podcast Preserving the Pantry! Just click on the play button below to listen now!
Apple Pie Filling Recipe for Canning
Equipment
- Quart Canning Jars
- Jar Lifter
- Large Canning Pot
Ingredients
- 6 quarts apples (peeled, cored and sliced - approximately 30 medium sized apples)
- 5 cups sugar
- 1 ½ cups Clear Jel
- 1 Tablespoon ground cinnamon
- 1 teaspoon ground nutmeg
- 7 ½ cups water
- ¾ cup lemon juice (bottled lemon juice)
Instructions
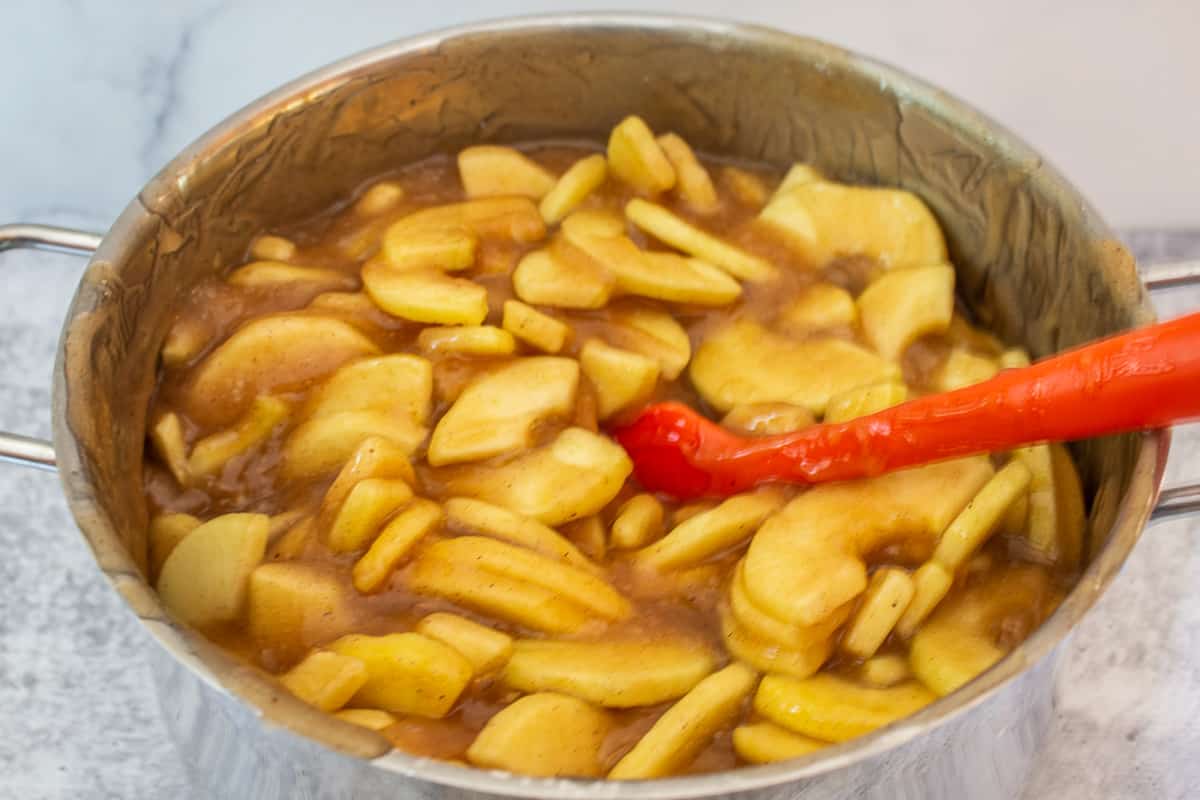
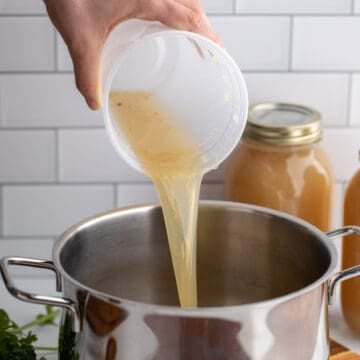
- In a large pot, combine sugar, Clear Jel, cinnamon, nutmeg and water.5 cups sugar, 1 Tablespoon ground cinnamon, 1 teaspoon ground nutmeg, 7 ½ cups water, 1 ½ cups Clear Jel
- Cook over medium heat until mixture thickens. Stir mixture often to prevent scorching.
- Add lemon juice and continue cooking for one minute¾ cup lemon juice
- Add apple slices and stir carefully6 quarts apples
- Heat for 3-5 minutes on low until apples are heated through.
- Remove from heat and fill prepared jars with mixture. Leave at least 1 - 1 ¼ inch headspace in each jar.
- Use a small spatula to get rid of any air pockets or air bubbles in jars
- Wipe jars. Place canning lid and ring on jars.
- Process for 25 minutes (adjust for altitude) in a boiling water bath. When processing time is done, turn off heat and keep jars in the hot water for 5-10 minutes. This will help prevent siphoning.
Notes
- Select the best fruit you can find (you can cut off any small bruised areas)
- Use a small spatula to remove air pockets and large bubbles
- Always wipe rim of jars before putting lid on
- Tighten ring firmly, but don't over tighten
- Boil in a water bath for 25 minutes - adjust time for your elevation
- When time is done, turn off heat and let jars remain in the boiling water for 5 - 10 minutes before you remove. This helps prevent the filling from leaking out of the jar when it hits a cooler room temperature.
- Let jars cool for at least 12 hours before removing rings
- Wash jars to remove any sticky residue. Rings should be removed for washing.
- Check to make certain jars are sealed
- Date and label jars
- Use any unsealed jars right away
- Store canned goods in a cool, dark place
- 1,001- 3,000 ft. - add 5 minutes
- 3,001- 6,000 ft. - add 10 minutes
- 6,001- 8,000 ft. - add 15 minutes
- 8,001-10,000 ft. - add 20 minutes
Nutritional Disclaimer:
Nutritional information is provided as a courtesy and should only be construed as an estimate rather than a guarantee. To obtain the most precise nutritional information in a provided recipe, you should calculate the nutritional information with the exact ingredients you are using when preparing the recipe using your preferred nutrition calculator.
Nutrition
This recipe was originally published in October 2016. The recipe and pictures have been updated.
Cindy Gilmartin says
Youvttily do need to leave 1 1/4" when filling your jars. I did 1 inch and had six quarts siphon. In the morning I was sure I'd have to replace the lids and reprocess, but they were all sealed! I took the rings off and picked the jars up by the lids and they were sealed tight. I didn't trust the button test because I had seen the siphoning the night before. Clear Jel is a funny substance and sure swells a lot more in the canning process. Delicious recipe although I stir the liquids and powders together, then add the apples and cook. I find doing it the other way I have more scorching and a hard time getting the apples coated. I do bring everything to a boil then fill the jars. This recipe is a jewel and I use it every fall. Thanks so much for sharing!
Kathy says
Thank you! 1 ¼" is okay to use and probably the safest to avoid a lot of siphoning. 🙂
Kim says
Hi! I made 12 quarts, and they look and smell wonderful! My question is, I had 3 of the quart jars siphon a little, clear gel/sugar mixture came out of the lid and dripped down the side of the jar. The button on the lid is down, like there is a good successful seal, but there was siphoning occurring as I took them out of the water pot 10 minutes after they were processed. I was wondering if these jars are still shelf stable? Also, once the jars cool down, should I remove the rings and clean the areas around the rings/seal? I have never had this occur in the past, not sure how to handle this lol. I love this recipe, it is so good, cheated and tasted the apples, can't wait to make a pie! Thanks
Kathy says
Hi Kim,
Yes, the jars are still good, even with the siphoning. Remove the rings and wash the outside of the jars to remove any residue. Double check your seal to by gently lifting up on the lids. I do not store my jars with the rings on. That way you can always tell if the jar has become unsealed while storing. Glad you enjoyed the recipe!
Kathy 🙂