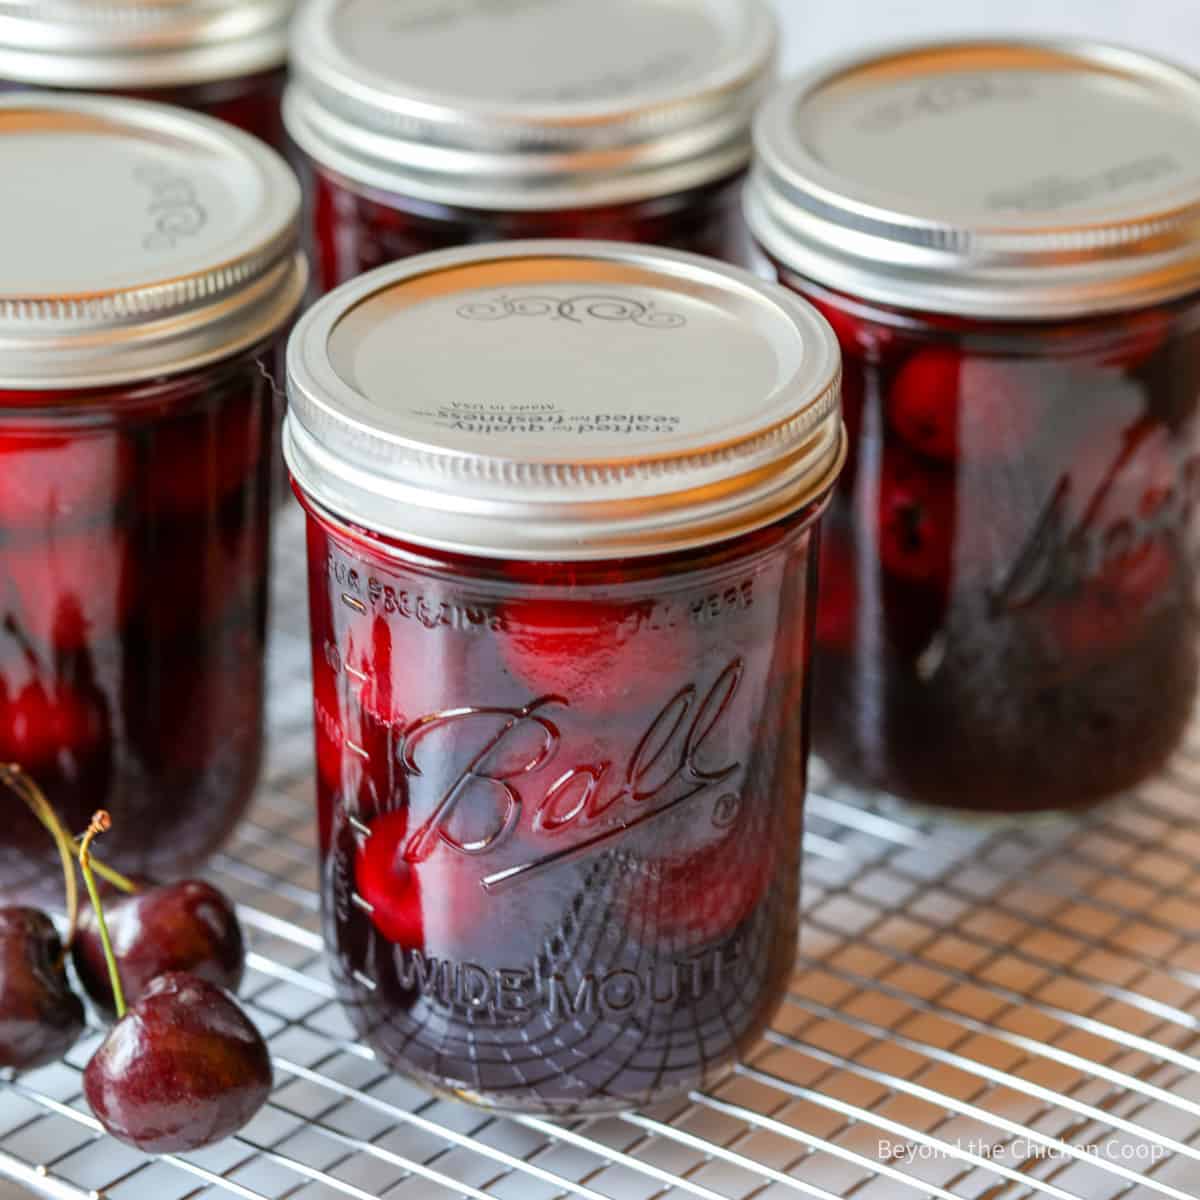
Step by step direction for canning cherries using a water bath canner. A great way to preserve your cherry harvest to use all year long.

Preserving your cherries
My grandmother always canned cherries every summer. She had two huge bing cherry trees that produced bushels of cherries.
The canned cherries were stored in her canning pantry and eaten all year long. They were often served at lunch time in a small bowl along with a sandwich. Or we ate them as a dessert after dinner.
My grandmother never pitted her bing cherries before canning them. Instead we would eat them one at a time with a spoon, and remove the cherry in our mouth just like you would a fresh cherry.
I've canned these cherries two ways - with the pits and without the pits. Leaving the pits in is much easier when you're canning, but you do have to deal with them when eating them.
If you're using your canned cherries in baked goods or other recipes, you'll want to remove the pits before canning them.
If you are new to canning, you'll want to read How to Water Bath Can before you begin!
Ingredients
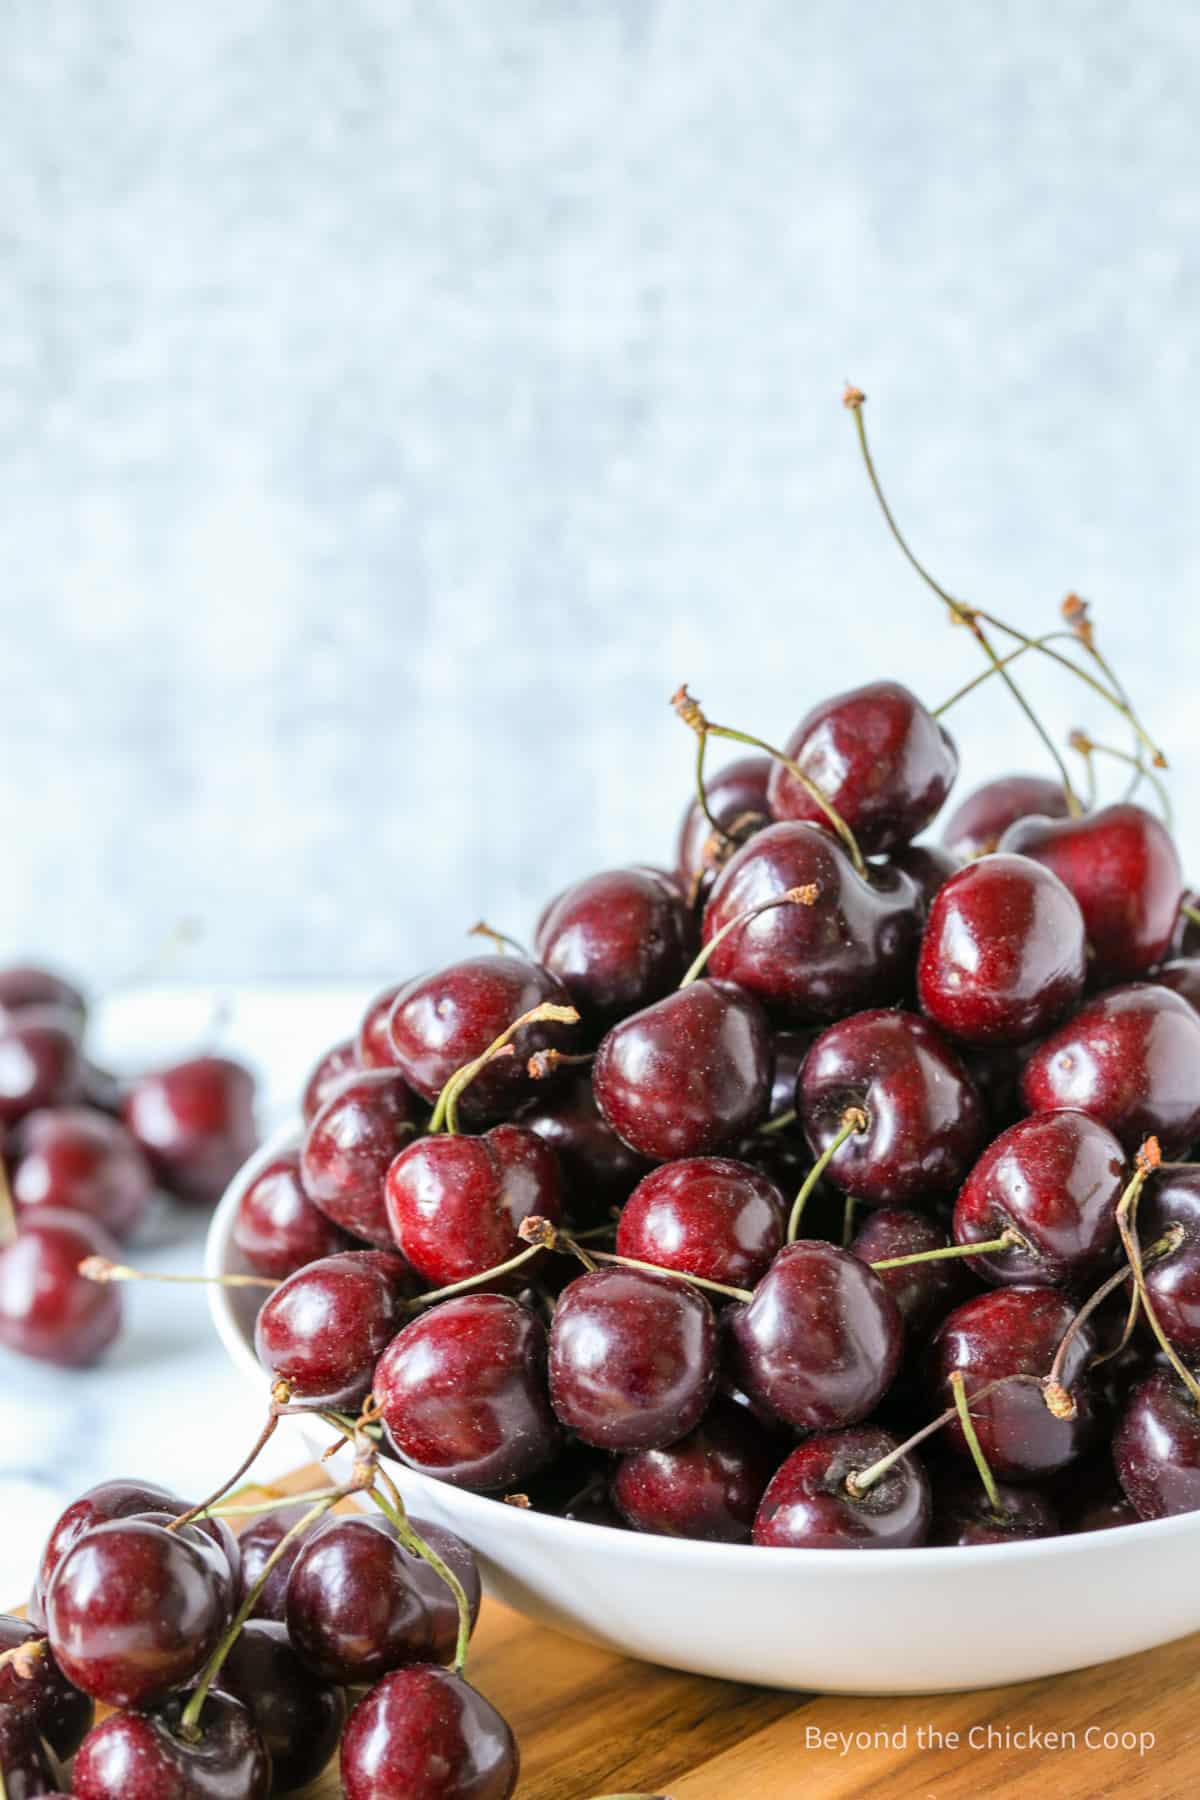
- Cherries - any type of fresh cherry works! I used bing cherries. If using sour pie cherries, you'll need a bit sweeter syrup and be certain to remove the pits!
- Sugar - granulated sugar. The amount will vary depending on how sweet you want your syrup or juice.
Step by step directions
- Wash your cherries with cool water
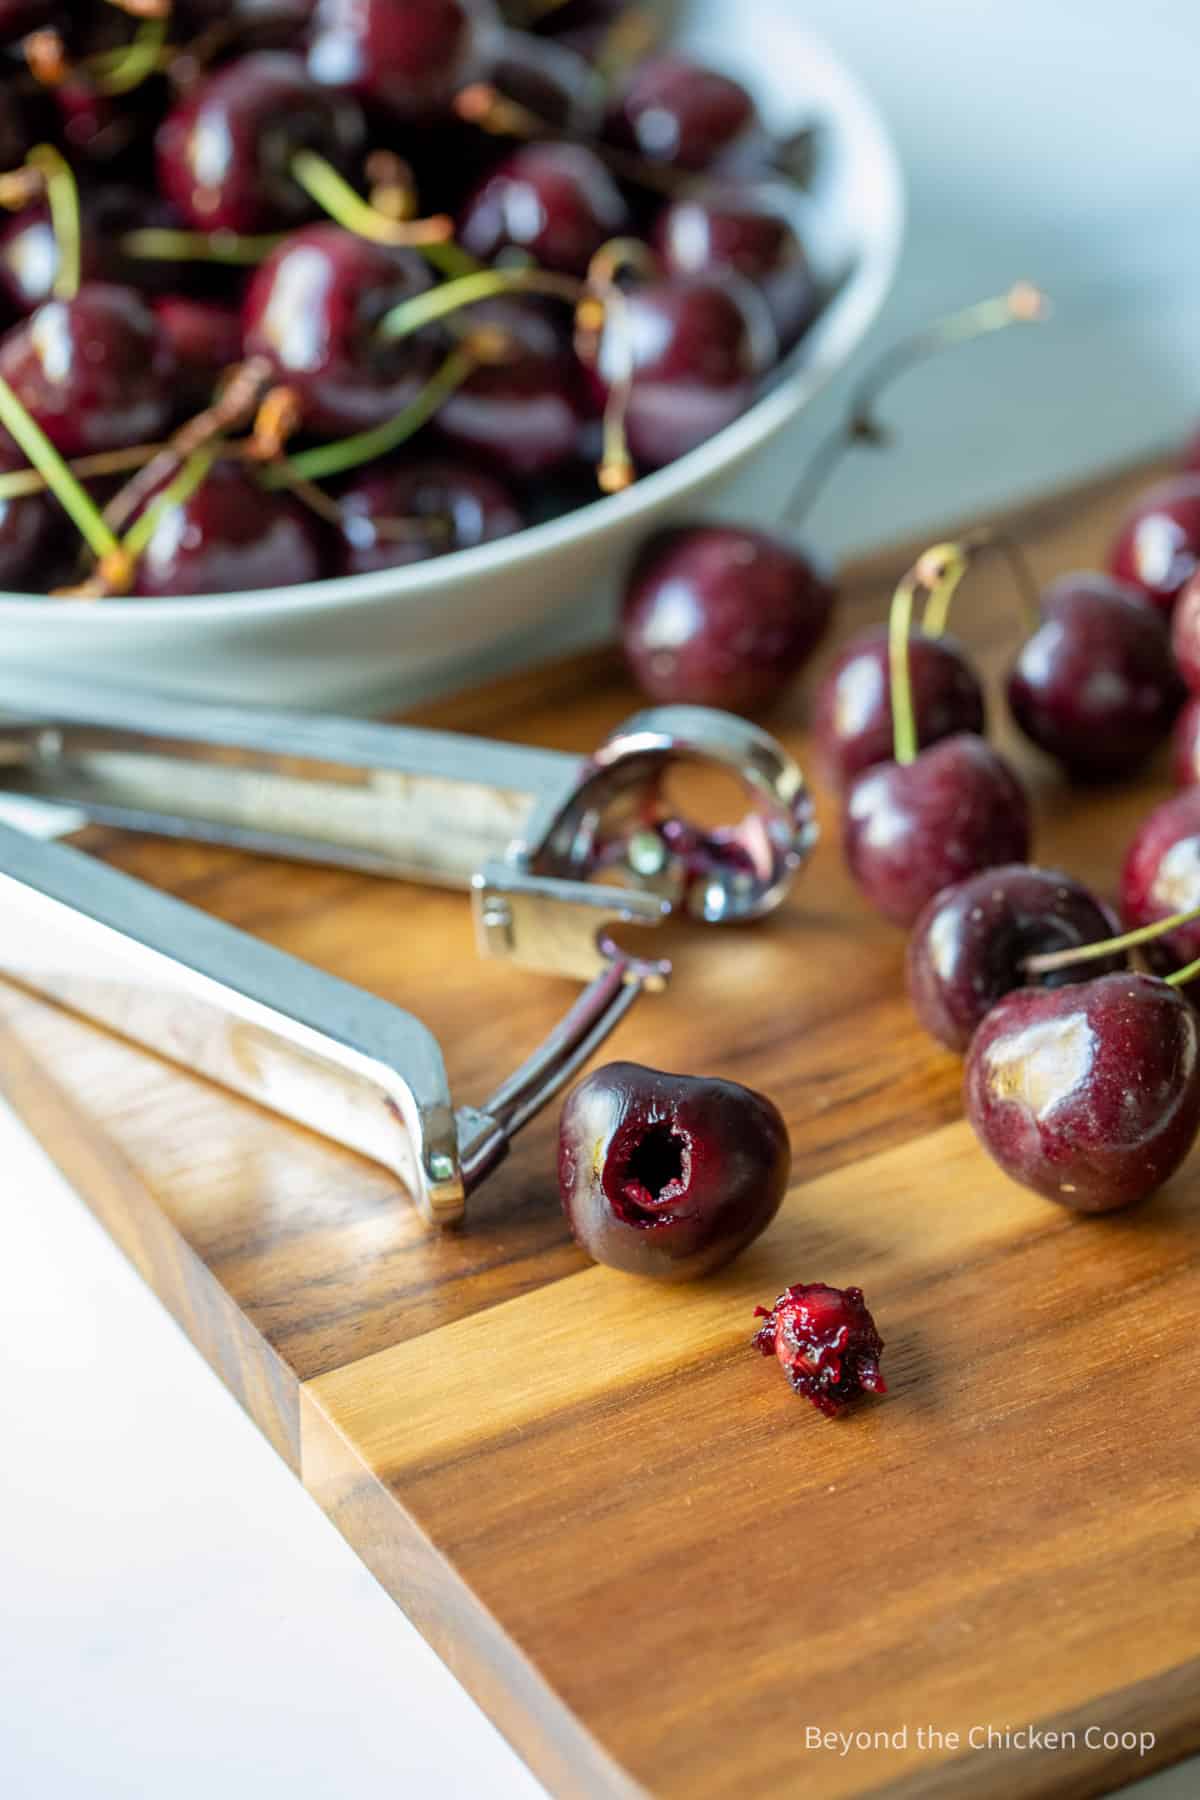
- Remove stems and pits. You can also leave the pits in if you choose.
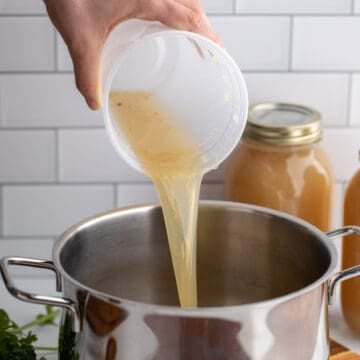
- Make a sugar syrup and bring to a simmer on the stove
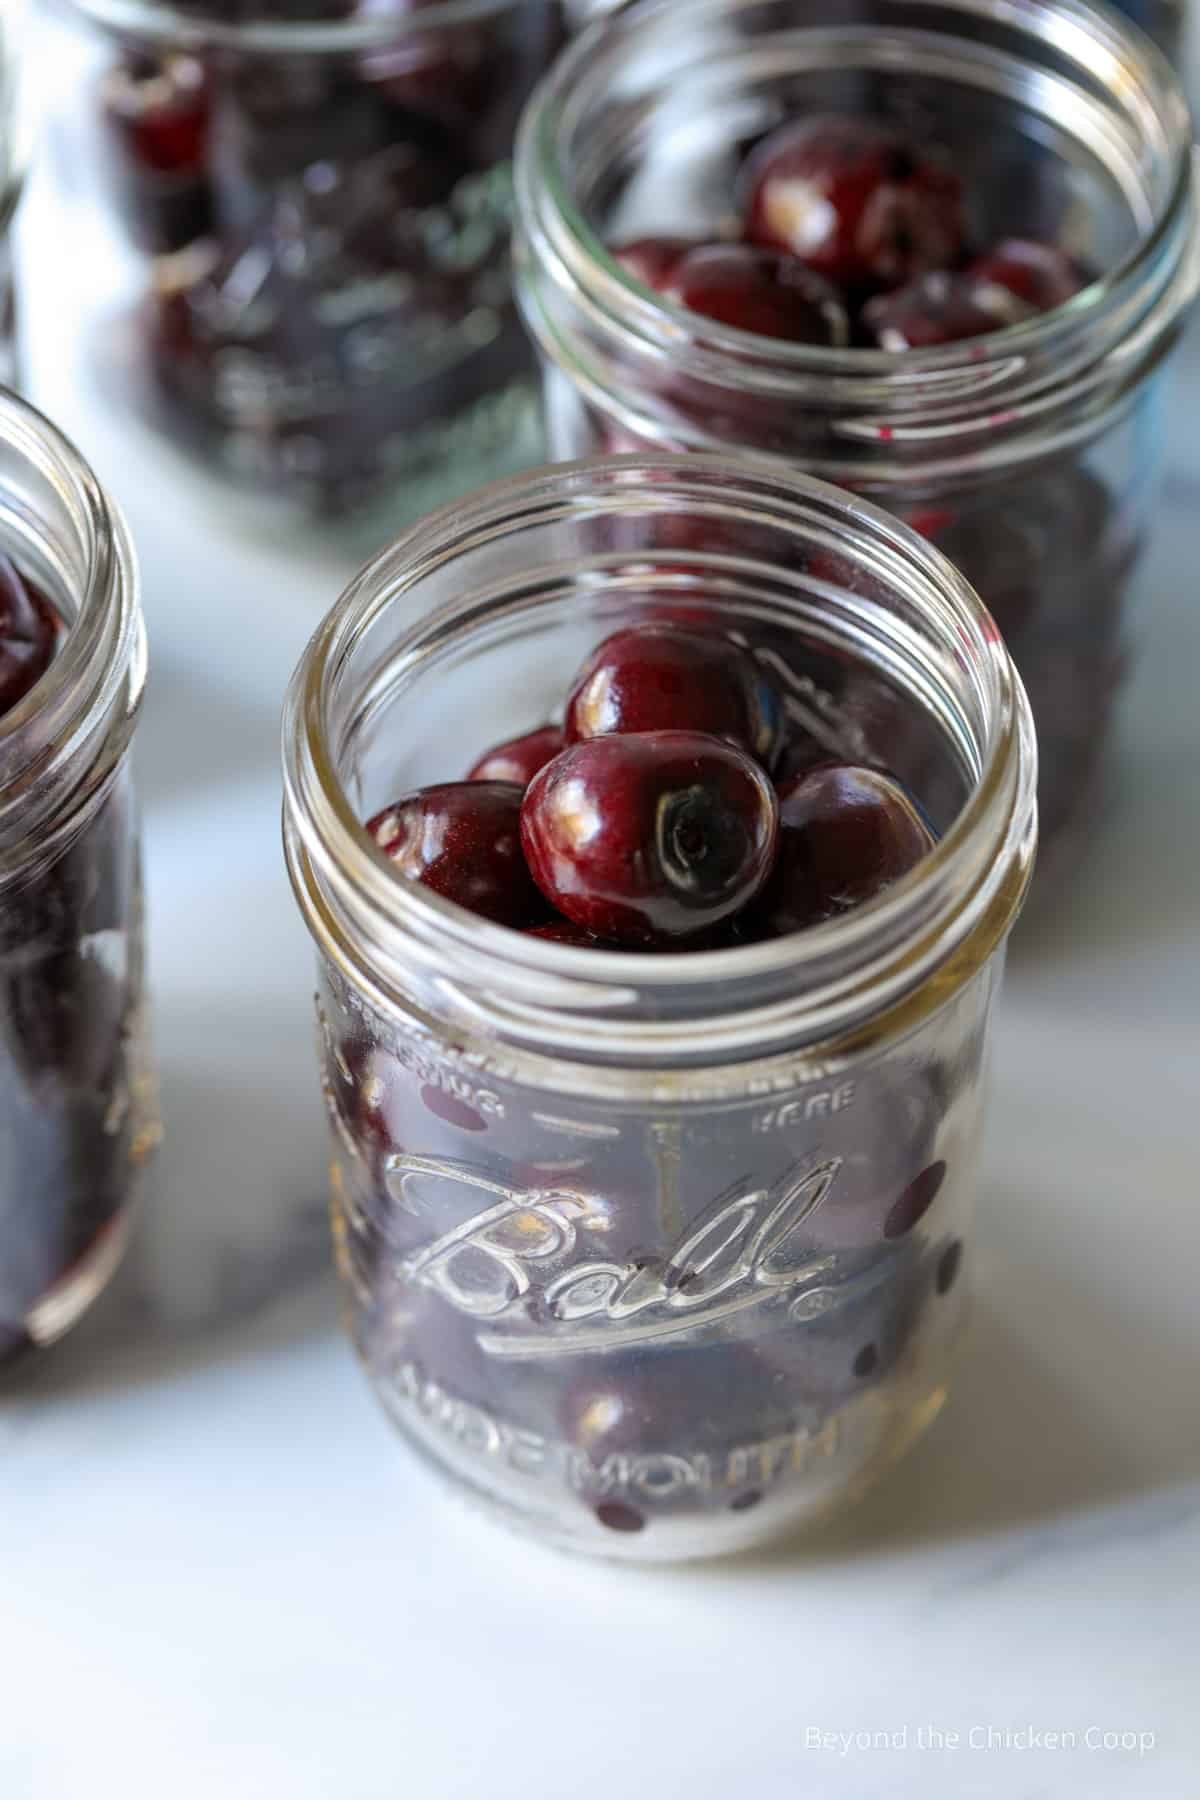
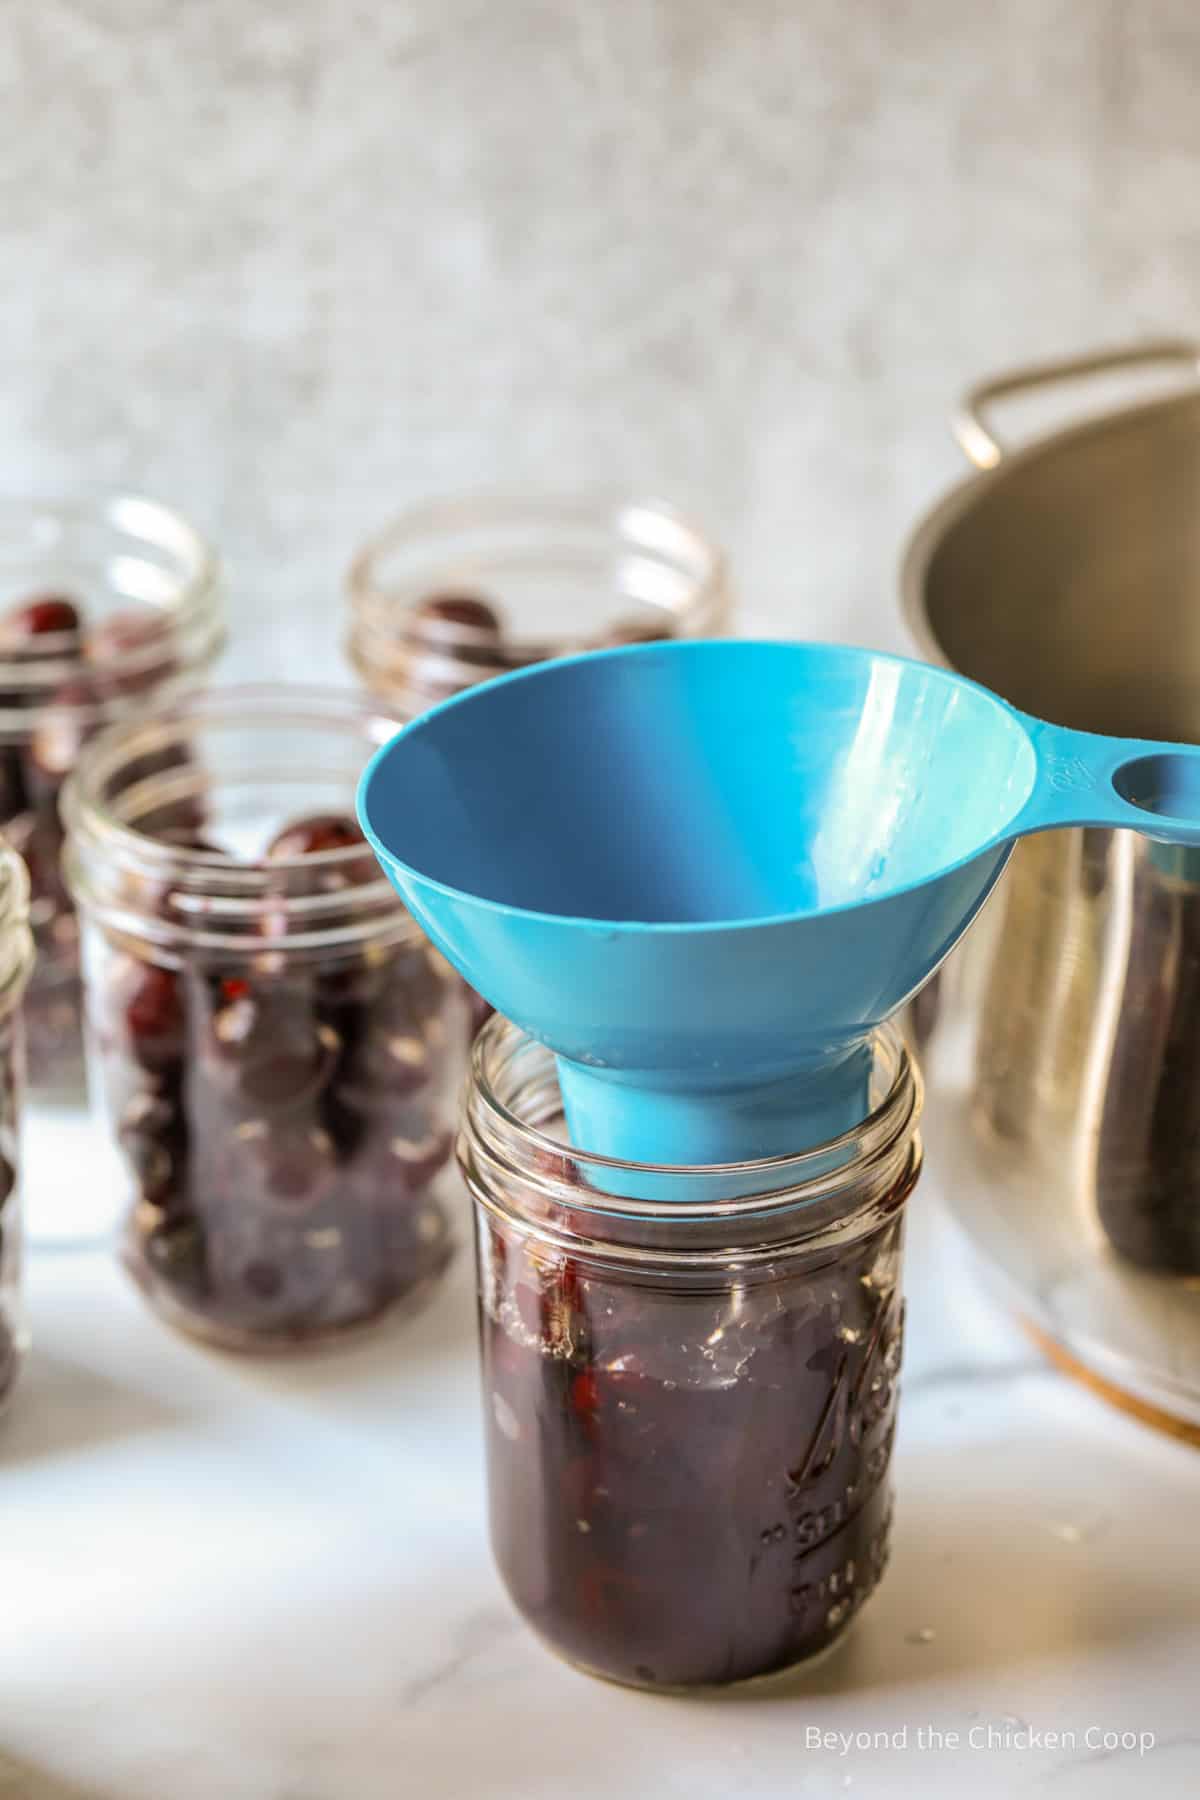
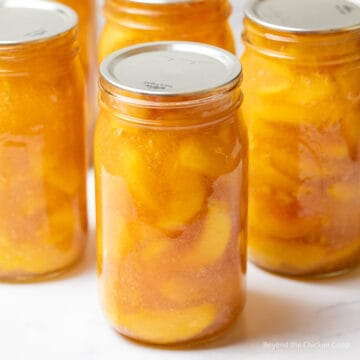
- Place cherries in the jar leaving a ½ inch headspace
- Pour hot syrup over cherries leaving a ½ inch headspace
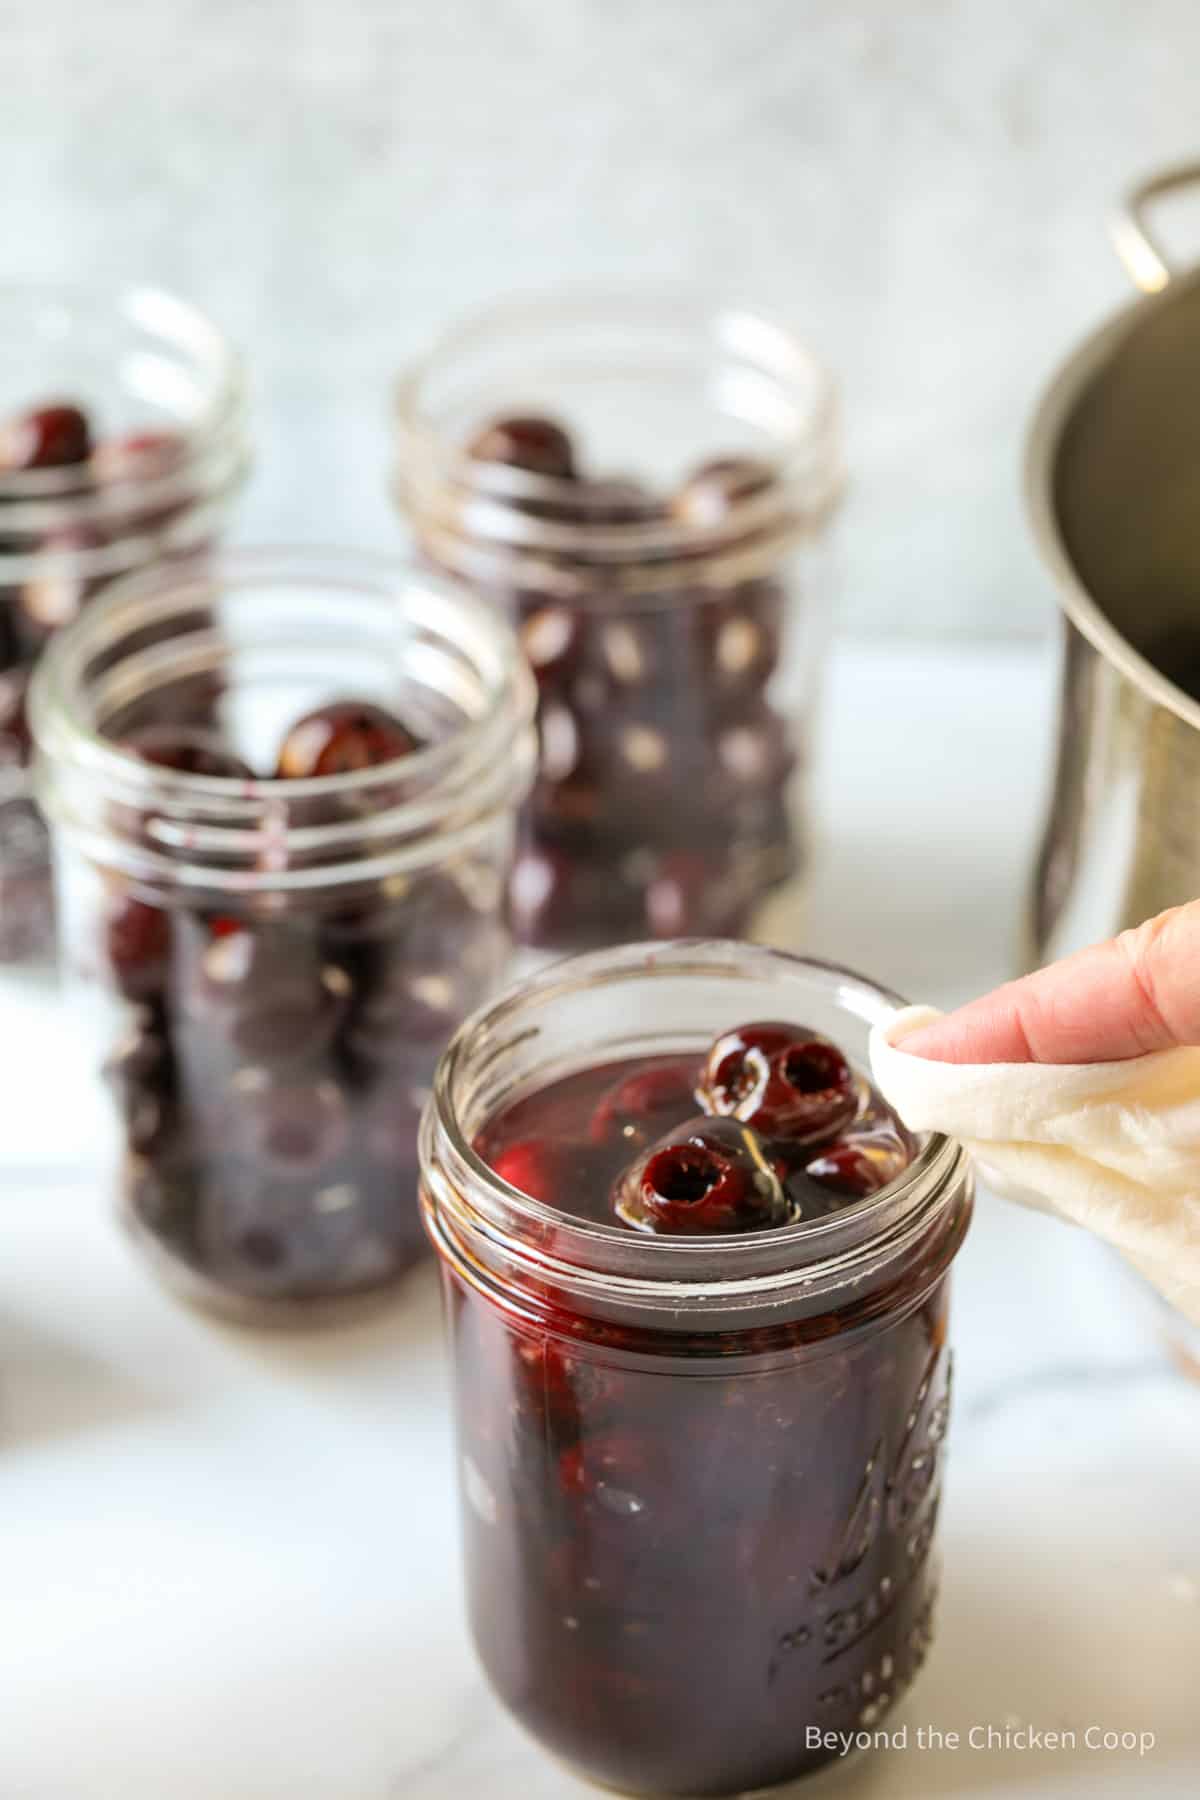
- Remove bubbles
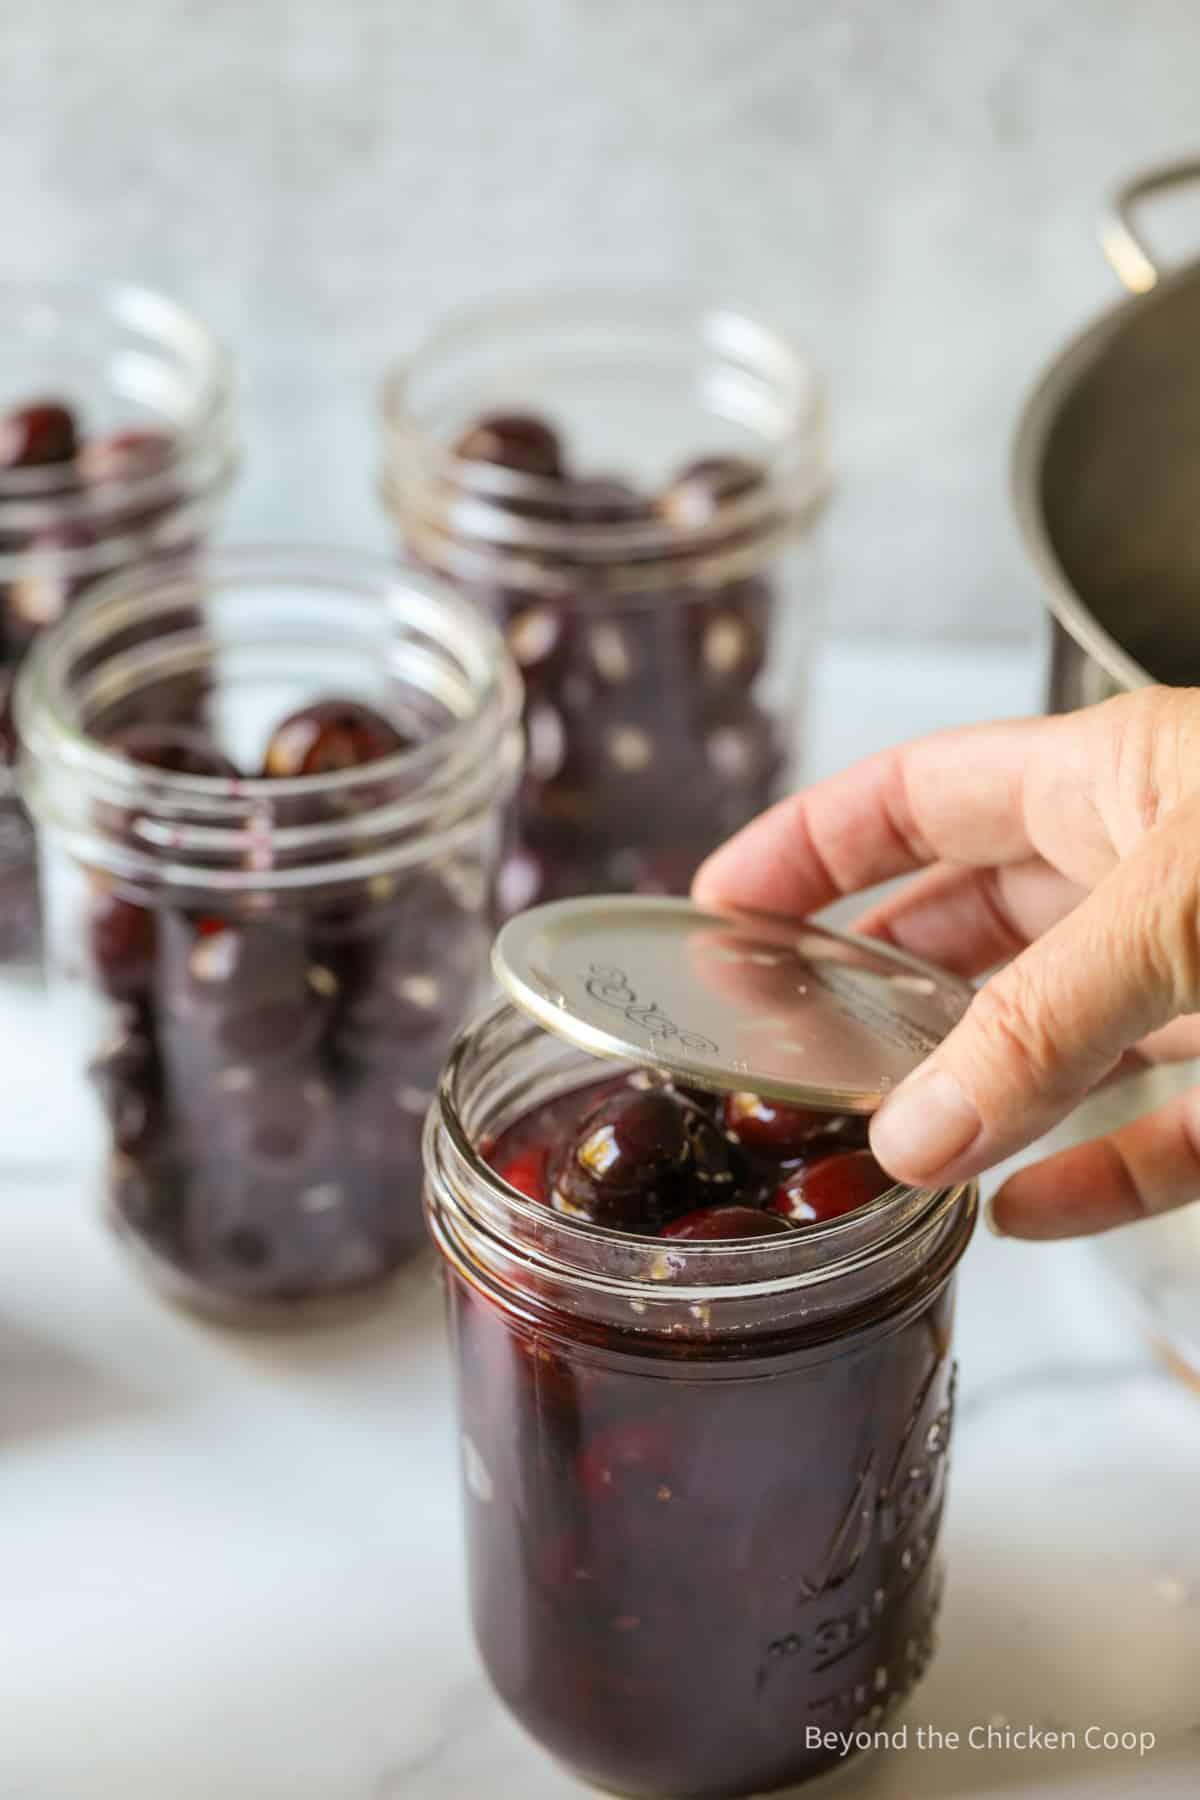
- Wipe down rim and add lids and rings
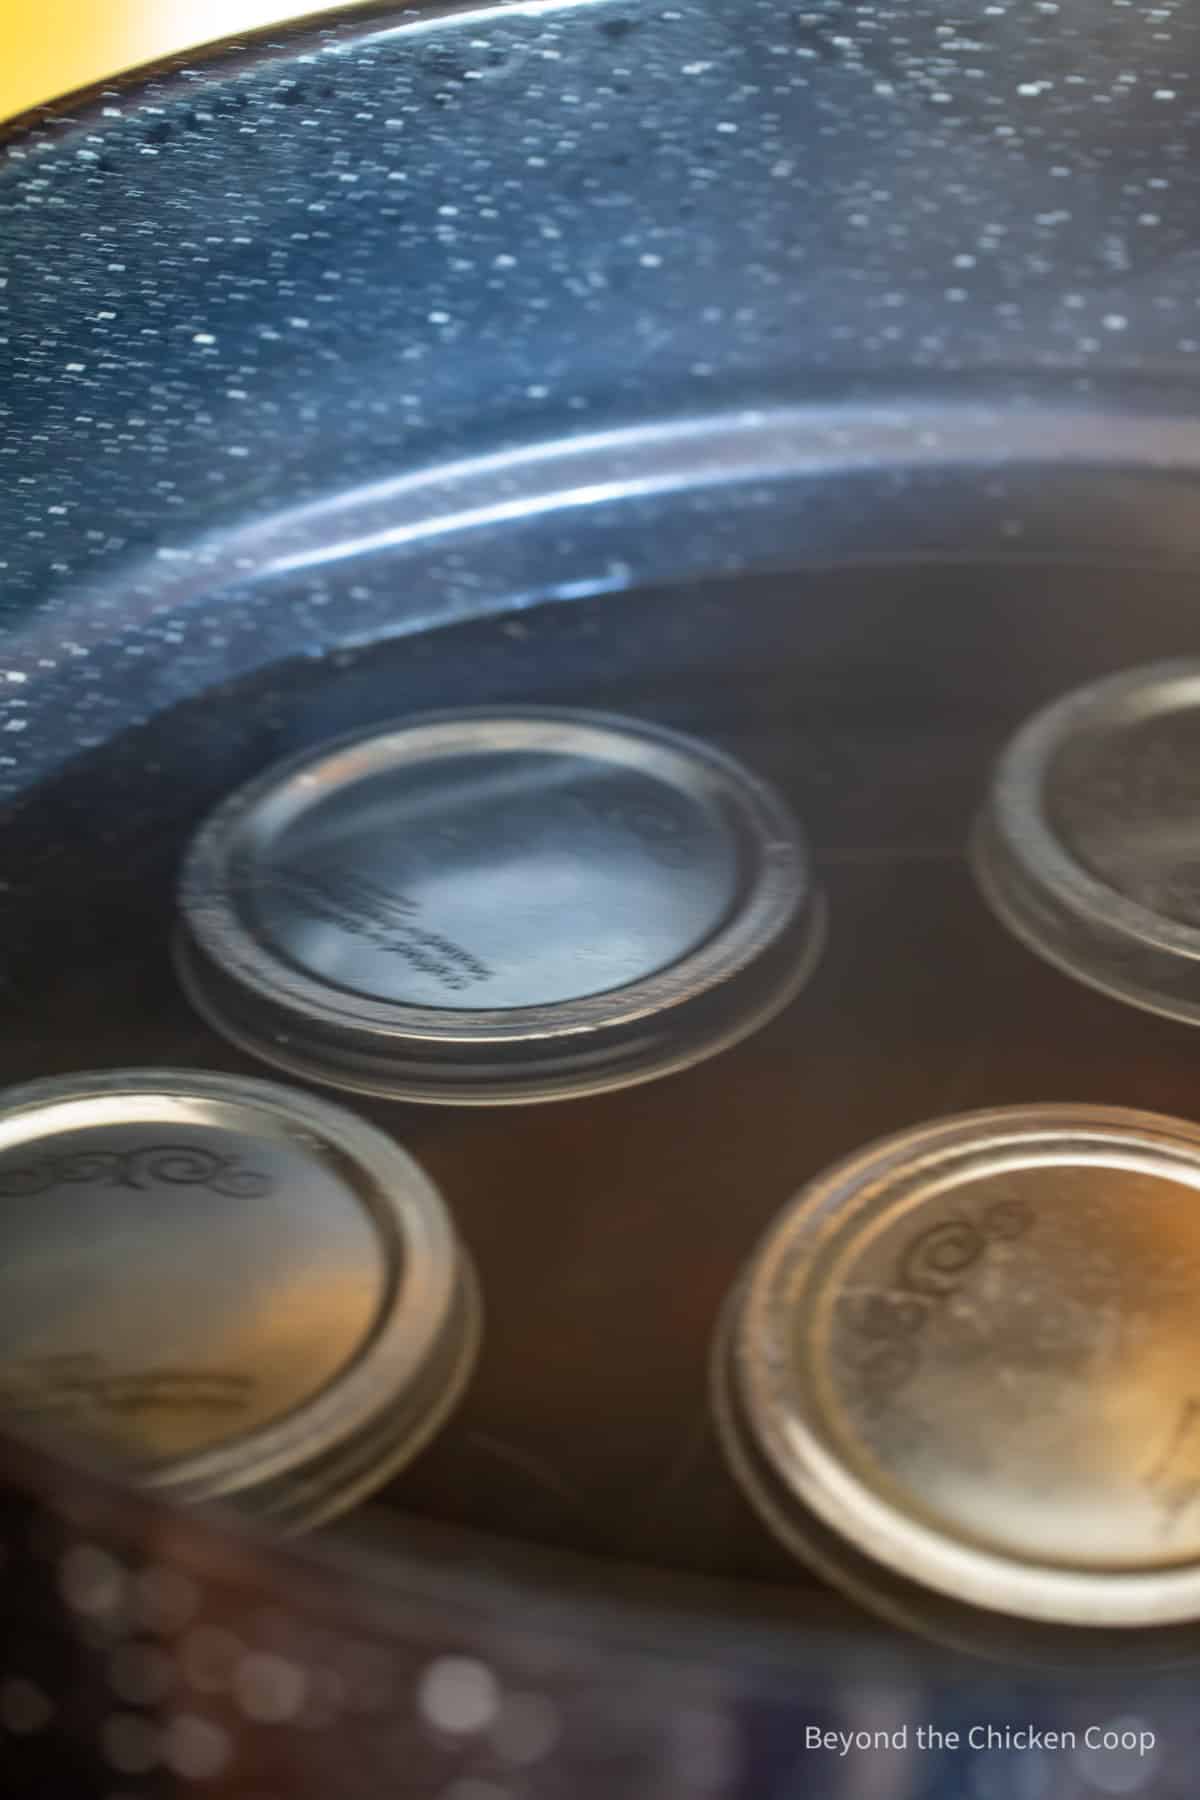
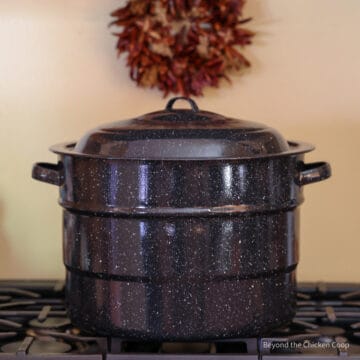
- Place jars into a water bath canner half filled with simmering water. Add additional hot water if need so the jars are covered with at least one inch of water.
- Place lid on canner and turn heat up to high
- Once water is at a full boil, being timing.
- Process both pints and quarts for 25 minutes, adding additional time for your elevation (see chart)
- Turn heat off and allow jars to remain in the canner for 5-10 minutes before removing
- Place jars on a cooling rack and allow jars to fully cool before checking seals. Do not tighten rings or press down on the lids.
- When jars are fully cool, check to see if they have sealed. Remove the rings and press the center of the lid. If there's no up and down movement, the jars have sealed.
- Wash the outside of the jars to remove any residue
- Label with contents and date and store in a cool dark place
Elevation adjustments
You must adjust the processing time base on your elevation. Use the chart below to determine how much time to add. If you are below 1000 feet, you do not need to add additional time.
| Altitude Feet | Increase Processing Time |
|---|---|
| 1,001- 3,000 3,001- 6,000 6,001- 8,000 8,001-10,000 | 5 minutes 10 minutes 15 minutes 20 minutes |
Recipe tips
- Removing the seed or pit from the cherry is up to you. I use both methods.
- We grew up eating canned cherries with the pit still intact. We'd eat a small bowl of cherries and eat one at a time with a spoon and we'd remove the pit the same way you'd do with a fresh cherry.
- If you are using the cherries for baking or adding to other recipes, it would be best to remove the pit before canning.
- Removing the pit is a messy job! Use a cherry pitter over a sink, a large bowl or do outside
- You may make a sweeter syrup by increasing the amount of sugar in your syrup
- Use pint or quart sized jars
Frequently asked questions
Home canned cherries are best when consumed within 2 years
Canned cherries can be eaten right out of the jar or drained and added to baked goods.
A Note on Home Canned Food
Improperly home canned food can carry the risk of causing botulism. If eaten, this can cause a serious form of food poisoning that can lead to paralysis or death. Please follow safety procedures and inspect your food before consuming.
- Always inspect your home canned food before eating
- If in doubt, throw it out!!! The FDA recommends throwing out the food and the jar.
- Do not taste if in doubt!
- Throw it out if -
- the can is bulging, leaking or swollen
- the container looks damaged or abnormal
- the container spurts liquid or foam when opened
- the food is moldy, discolored or smells bad
- the seal is no longer intact when you examine the food
More canning recipes
Be certain to check out all my canning recipes, including water bath and pressure canning recipes.

Canning Cherries
Equipment
- Cherry Pitter
- Measuring Cups
- Canning Jars - 16 oz
- Large Canning Pot
Ingredients
- 4 pounds cherries (fresh)
- 6 cups water
- ¾ cup sugar
Instructions
- Wash your cherries with cool water4 pounds cherries
- Remove stems and pits. You can also leave the pits in if you choose.
- Mix water and sugar on stovetop. Bring to a simmer.6 cups water, ¾ cup sugar
- Place cherries in the jar leaving a ½ inch headspace
- Pour hot syrup over cherries leaving a ½ inch headspace
- Remove bubbles
- Wipe down rim and add lids and rings
- Place jars into a water bath canner half filled with simmering water. Add additional hot water if need so the jars are covered with at least one inch of water.
- Place lid on canner and turn heat up to high
- Once water is at a full boil, being timing.
- Process both pints and quarts for 25 minutes, adding additional time for your elevation (see chart)
- Turn heat off and allow jars to remain in the canner for 5-10 minutes before removing
- Place jars on a cooling rack and allow jars to fully cool before checking seals. Do not tighten rings or press down on the lids.
- When jars are fully cool, check to see if they have sealed. Remove the rings and press the center of the lid. If there's no up and down movement, the jars have sealed.
- Wash the outside of the jars to remove any residue
- Label with contents and date and store in a cool dark place
Notes
- 1,001- 3,000 ft. - add 5 minutes
- 3,001- 6,000 ft. - add 10 minutes
- 6,001- 8,000 ft. - add 15 minutes
- 8,001-10,000 ft. - add 20 minutes
- Removing the seed or pit from the cherry is up to you. I do both methods.
- We grew up eating canned cherries with the pit still intact. We'd eat a small bowl of cherries and eat one at a time with a spoon and we'd remove the pit the same way you'd do with a fresh cherry.
- If you are using the cherries for baking or adding to other recipes, it would be best to remove the pit before canning.
- Removing the pit is a messy job! Use a cherry pitter over a sink, a large bowl or do outside
- You may make a sweeter syrup by increasing the amount of sugar in your syrup
- Use pint or quart sized jars
Nutritional Disclaimer:
Nutritional information is provided as a courtesy and should only be construed as an estimate rather than a guarantee. To obtain the most precise nutritional information in a provided recipe, you should calculate the nutritional information with the exact ingredients you are using when preparing the recipe using your preferred nutrition calculator.
Leave a Reply