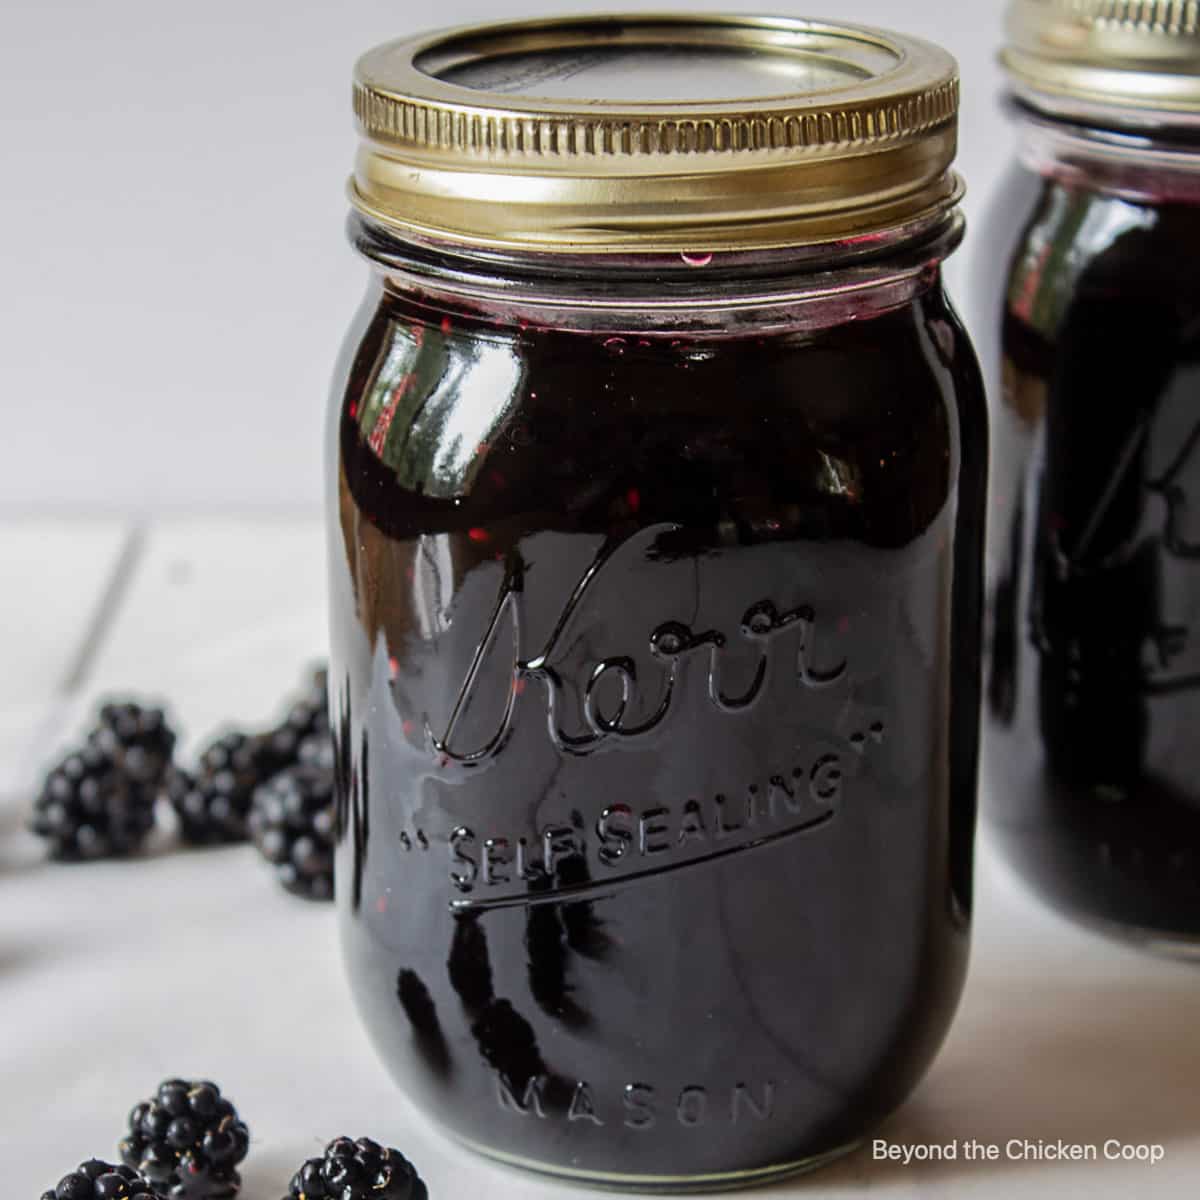
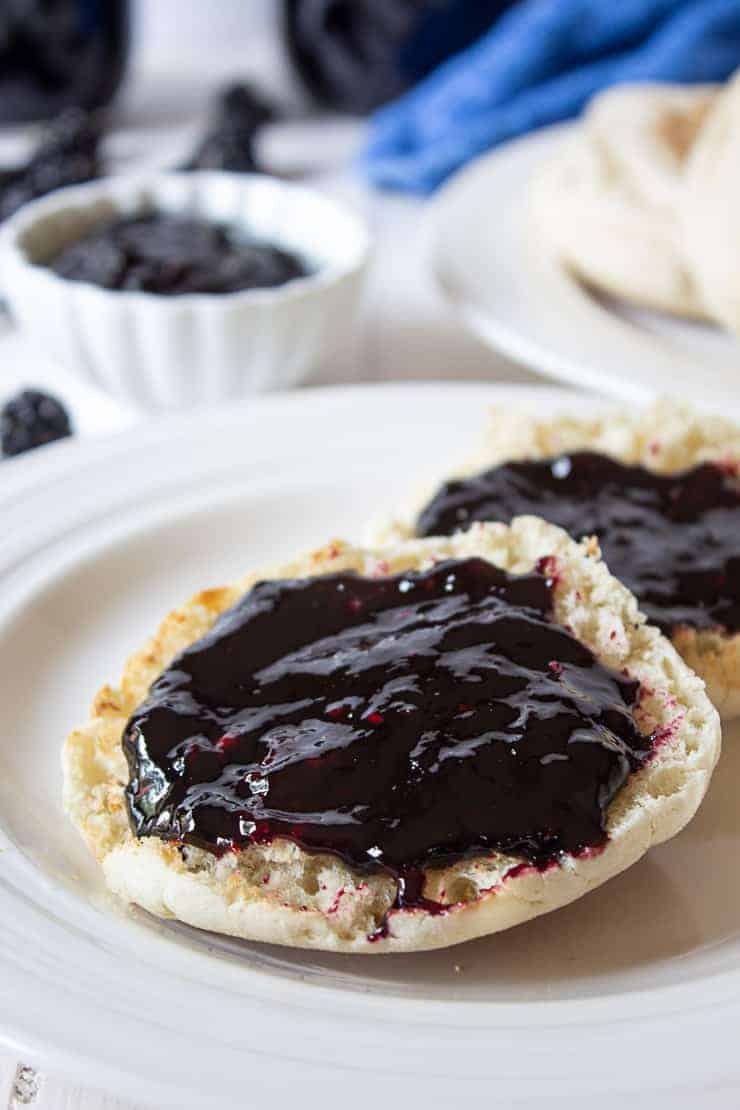
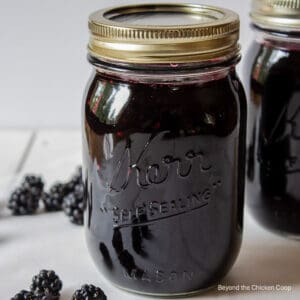
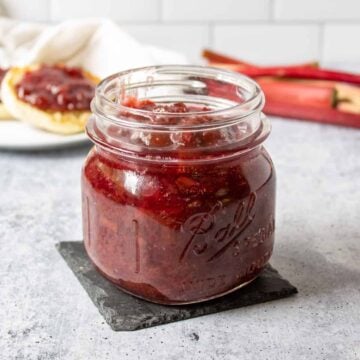
Fresh blackberries, sugar and lemon juice are the ingredients needed to make this delicious jam! No added pectin is needed as wild blackberries are naturally high in pectin.
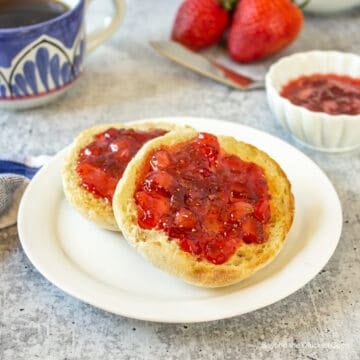
This seedless blackberry jam is perfect for spreading on toast or in sandwiches.
This recipe has been updated to reflect additional information and now includes lemon juice. The lemon juice helps the jam set. I have had success with and without the lemon juice, but this can vary depending on your blackberries. I recommend adding the lemon juice to help ensure your jam sets up.
Homemade Blackberry Jam
My favorite method for making jam is with just a few ingredients and no added commercial pectin. I have everything you need to know in order to make a perfect blackberry jam.
Follow my three-ingredient recipe along with my step-by-step directions, photos, and tips to yield perfect homemade blackberry jam.
The hardest part about making jam without commercial pectin is knowing how long to cook the jam. I have three different methods for testing your jam so you’ll know exactly when it’s done.
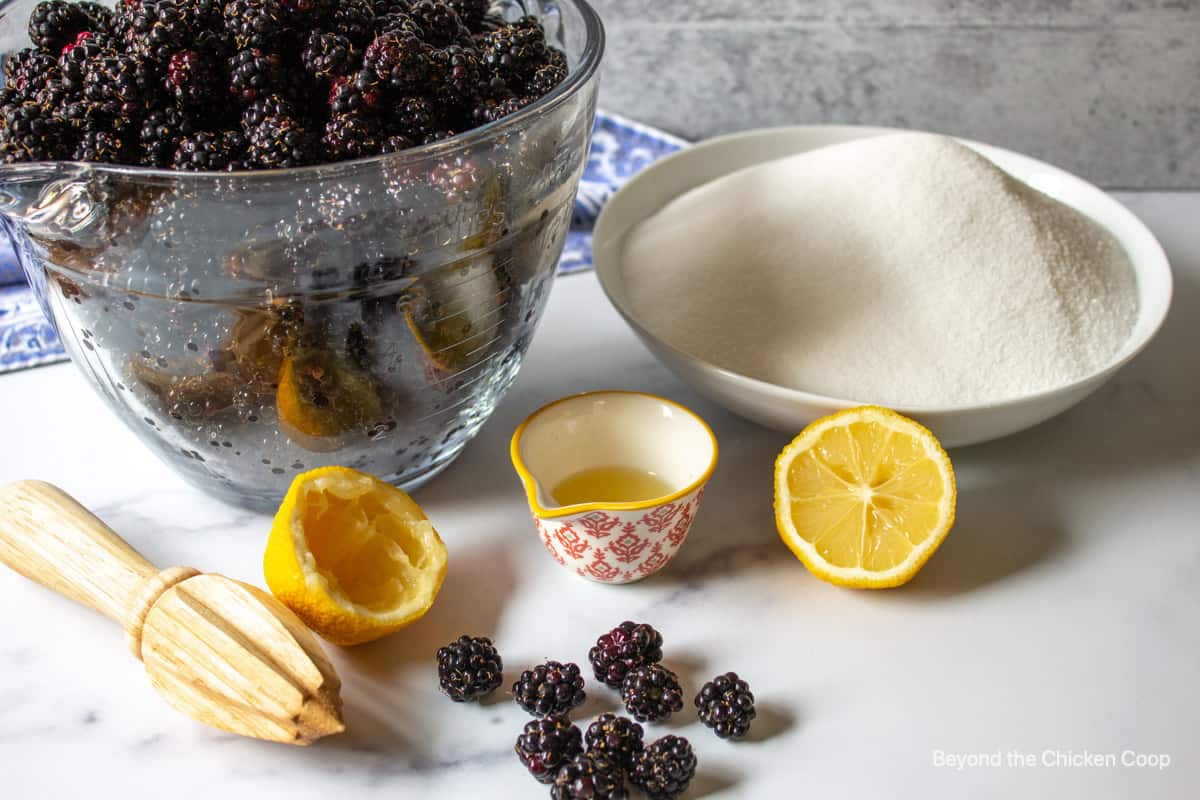
Blackberry Jam Ingredients
This section reviews the best ingredients and substitutions for this recipe. For an exact list of ingredients and quantities, check the recipe card below.
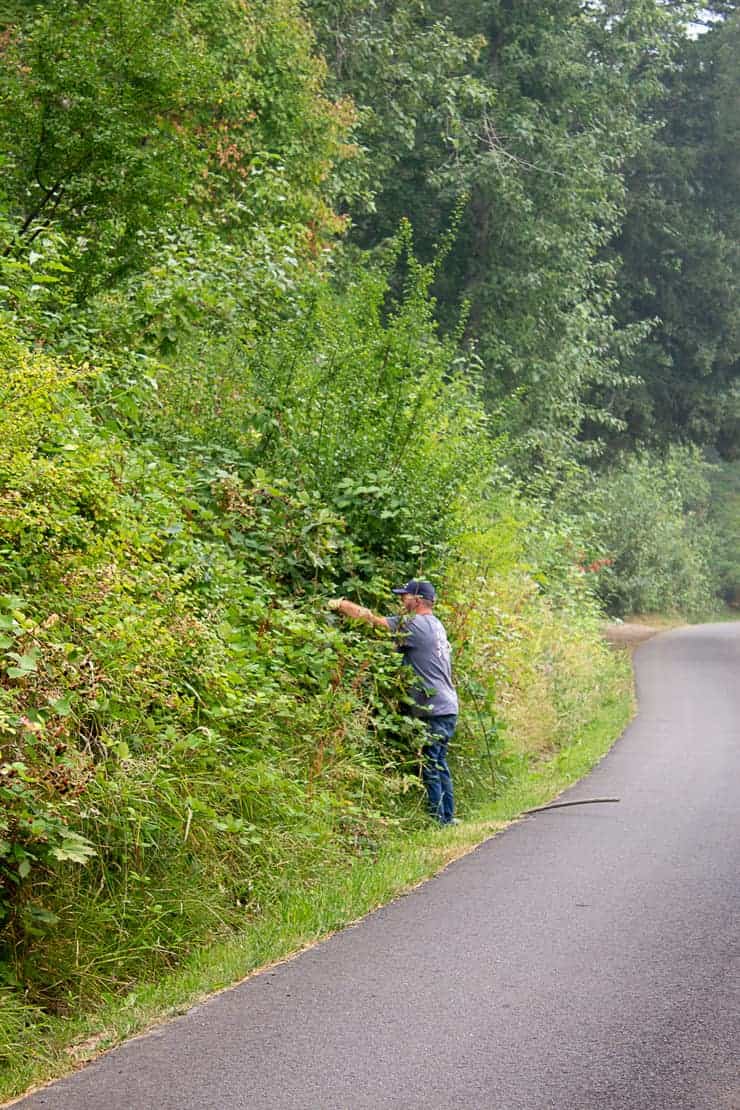
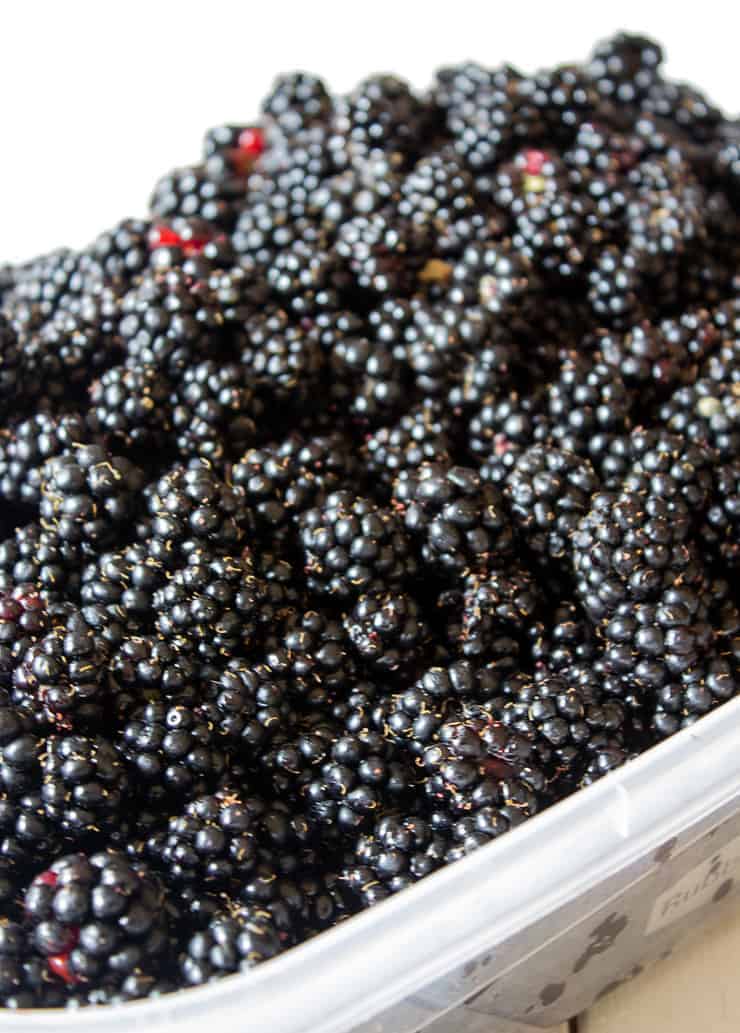
- Blackberries - fresh or frozen. If using frozen, allow berries to thaw first. Be certain to keep all the juice that is released as the berries thaw.
- Sugar
- Lemon juice
Why you can made blackberry jam without pectin
Pectin is a naturally occurring substance in many berries and fruits. It is also produced commercially to aid in setting jams and jellies. Commercial pectin requires an exact amount of fruit and a high amount of sugar in order for the jam or jelly to set.
Lemon juice and sugar are added to help activate the natural pectin.
Blackberries are naturally high in pectin, so no added pectin is needed. I always add a few reddish blackberries into the mix because they have even more pectin than the riper black ones.
Because this recipe doesn't use a commercially added pectin, the amount of sugar added is all up to you! I added 4 cups of sugar to 8 cups of strained fruit. Most jam recipes call for equal amounts of sugar to fruit!
How to Make Blackberry Jam
In this section, I share step-by-step photos, cooking methods, techniques, and a general overview. For detailed instructions, temperatures, and timing, check the printable recipe card below.
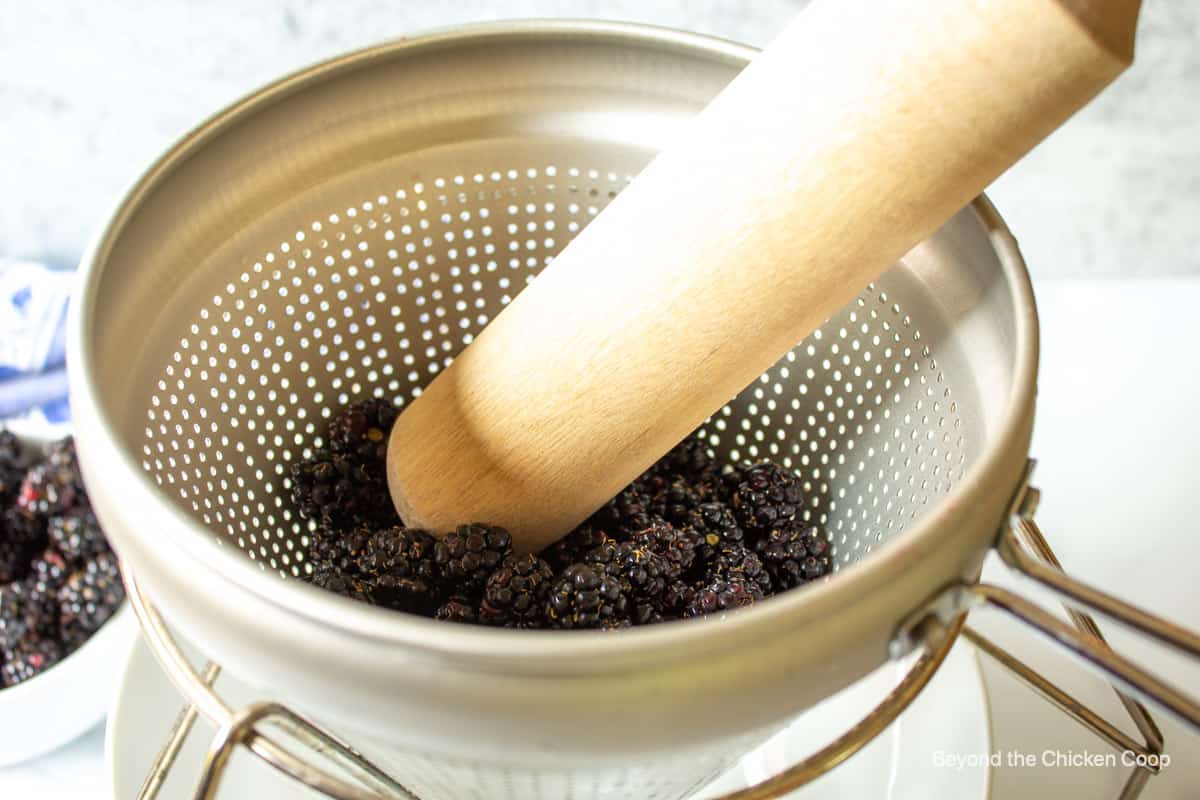
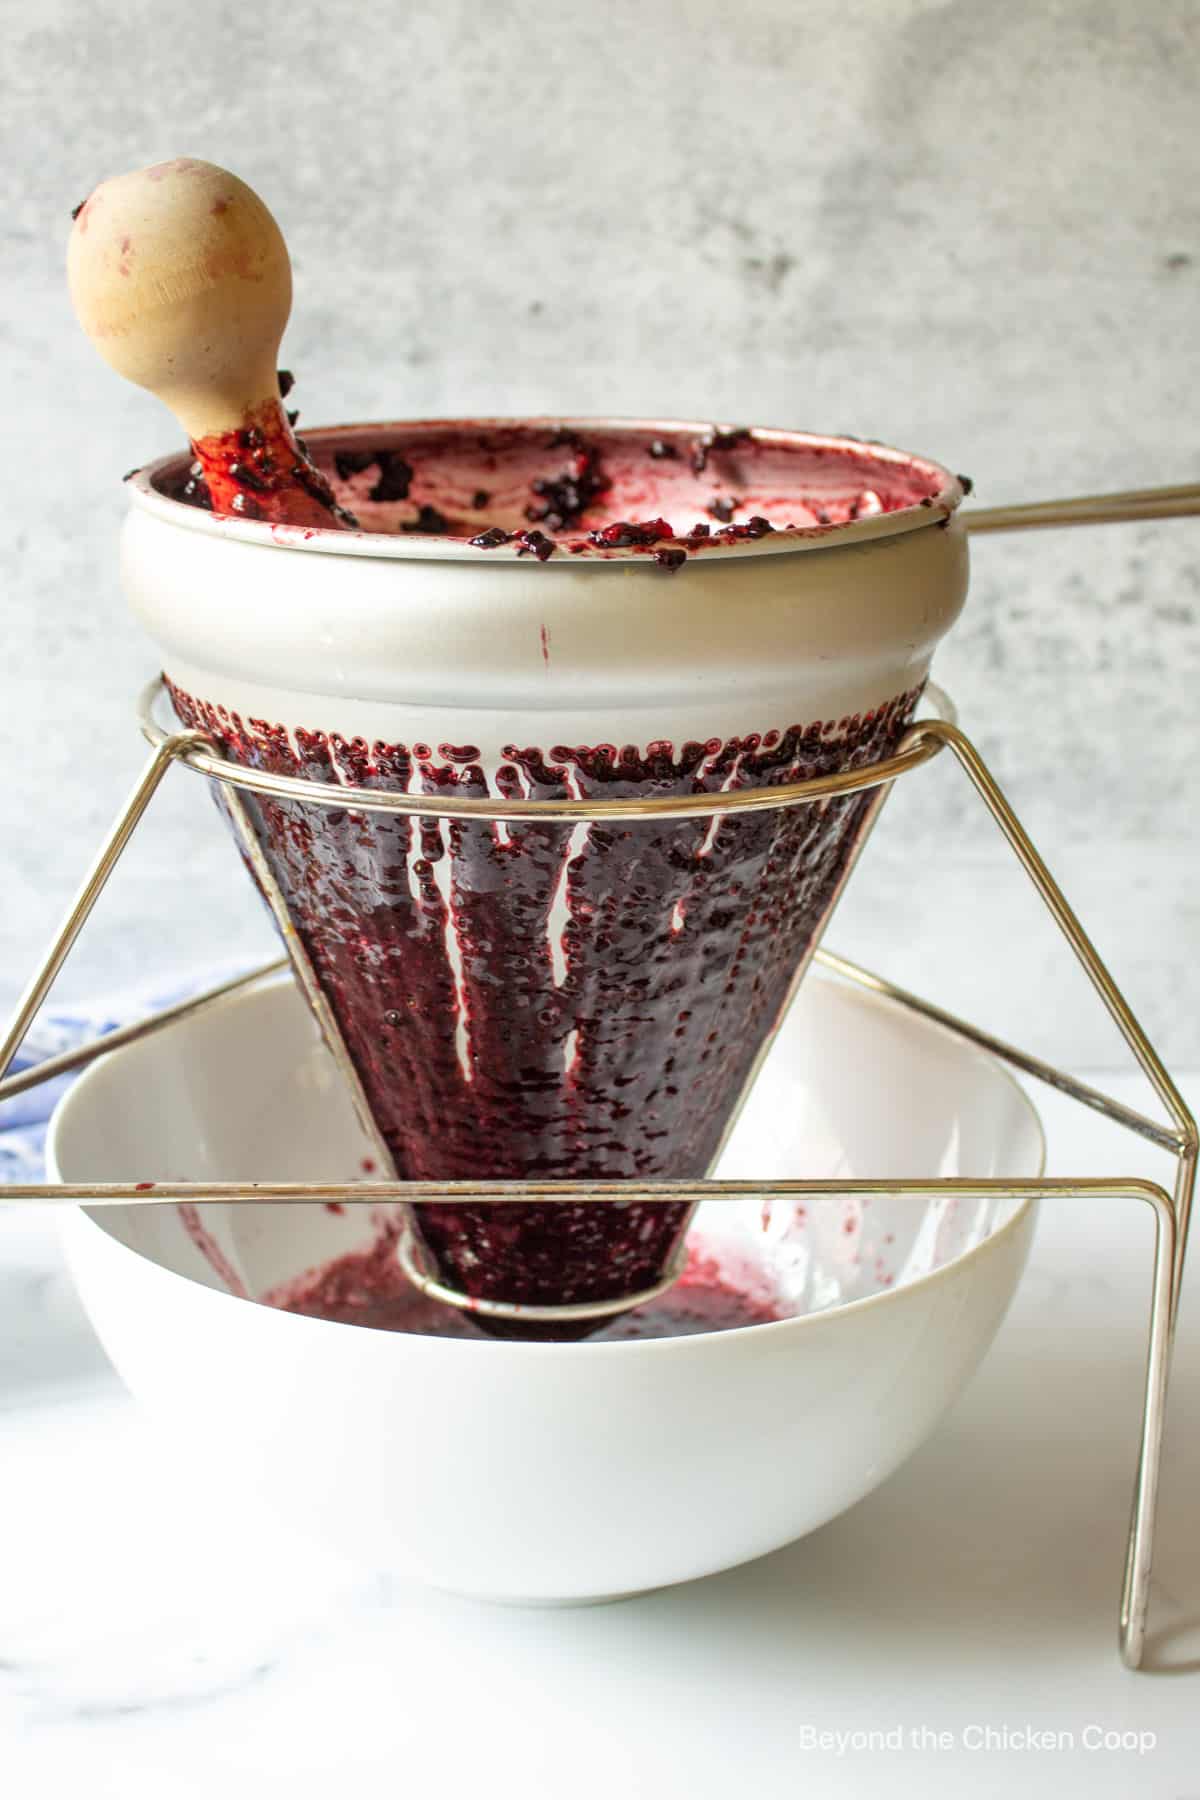
- Mash berries and strain seeds
2. Place strained berries, sugar and lemon juice in a pot over medium-high heat
3. Stir often to avoid scorching
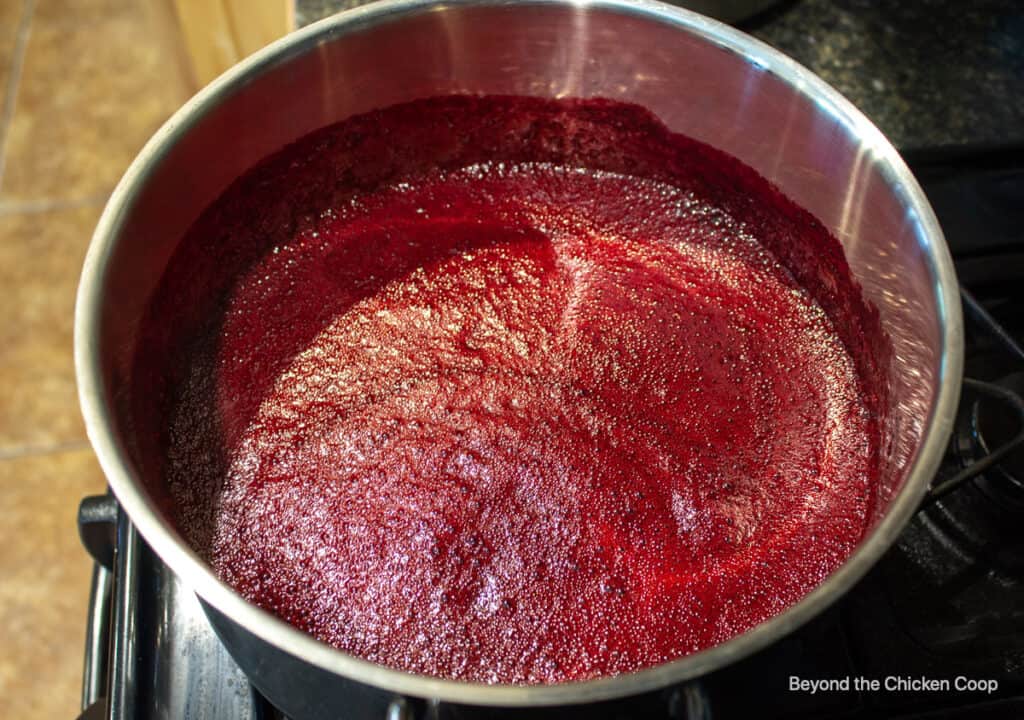
4. Heat until jam reaches the gel stage
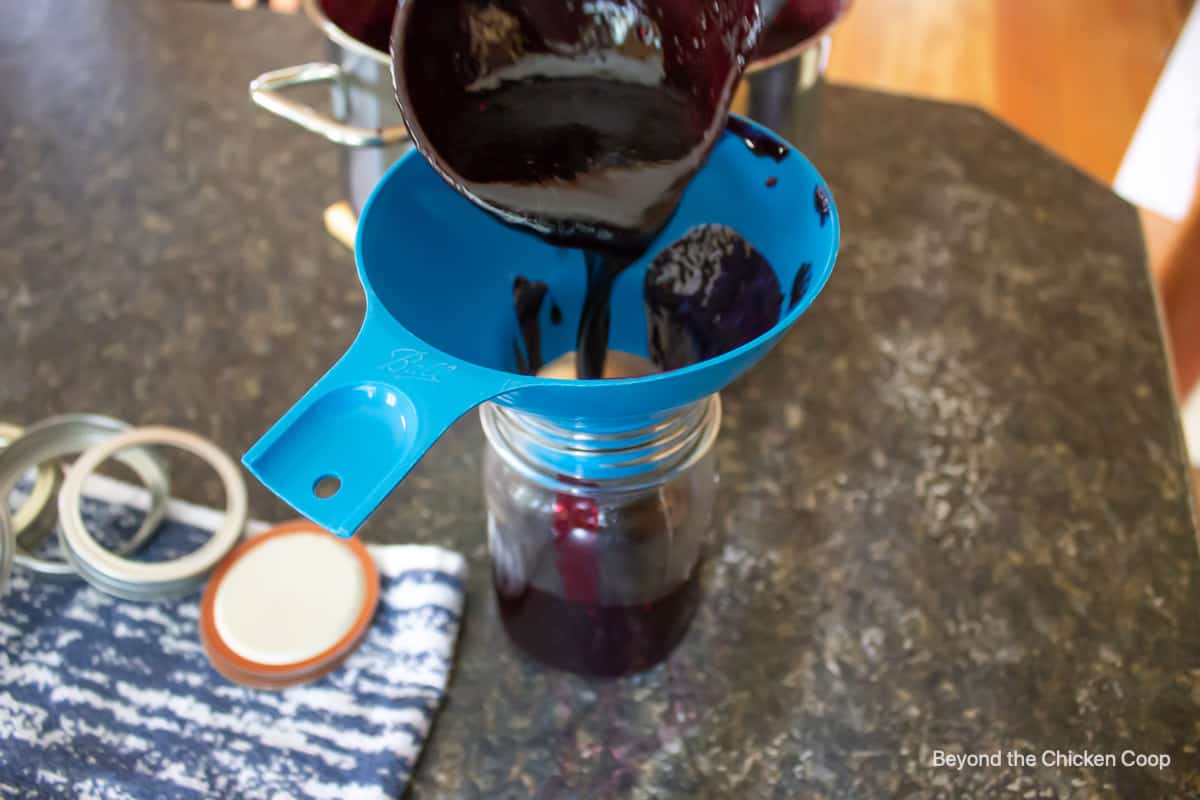
5. If canning, place jam in clean and sterilized jars
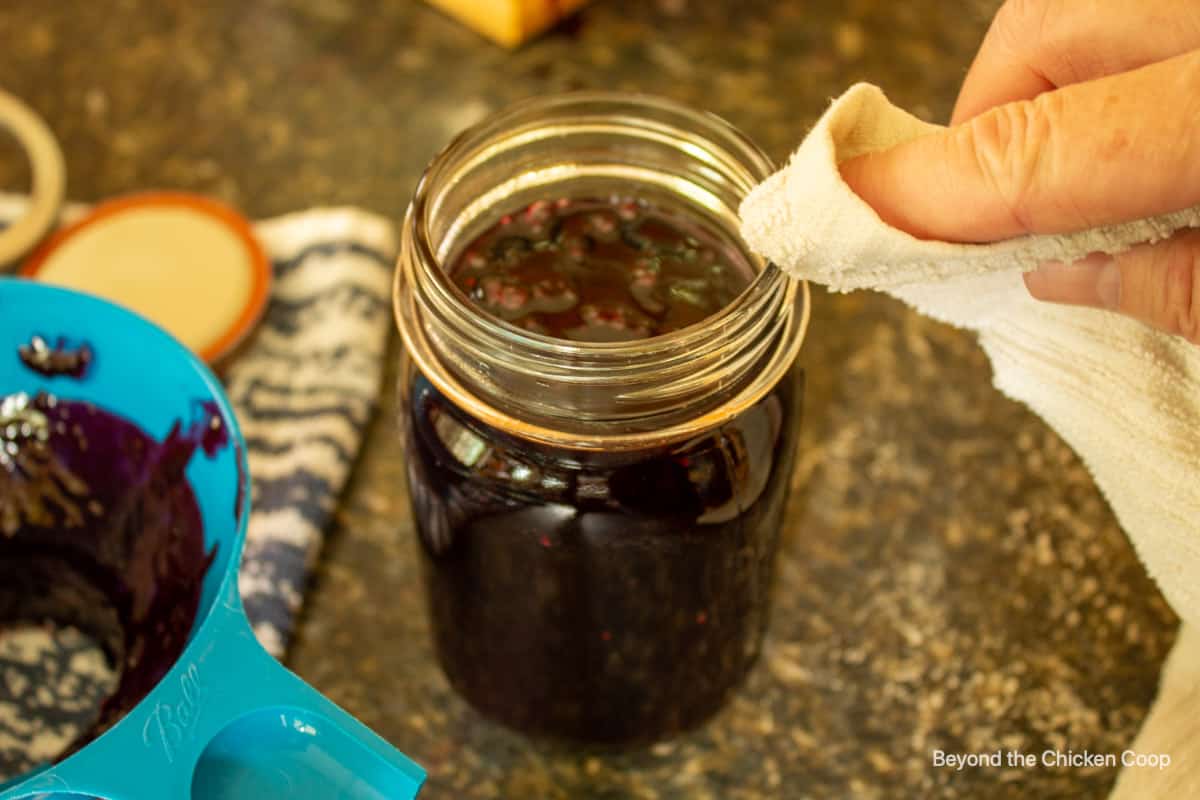
6. Wipe rim clean
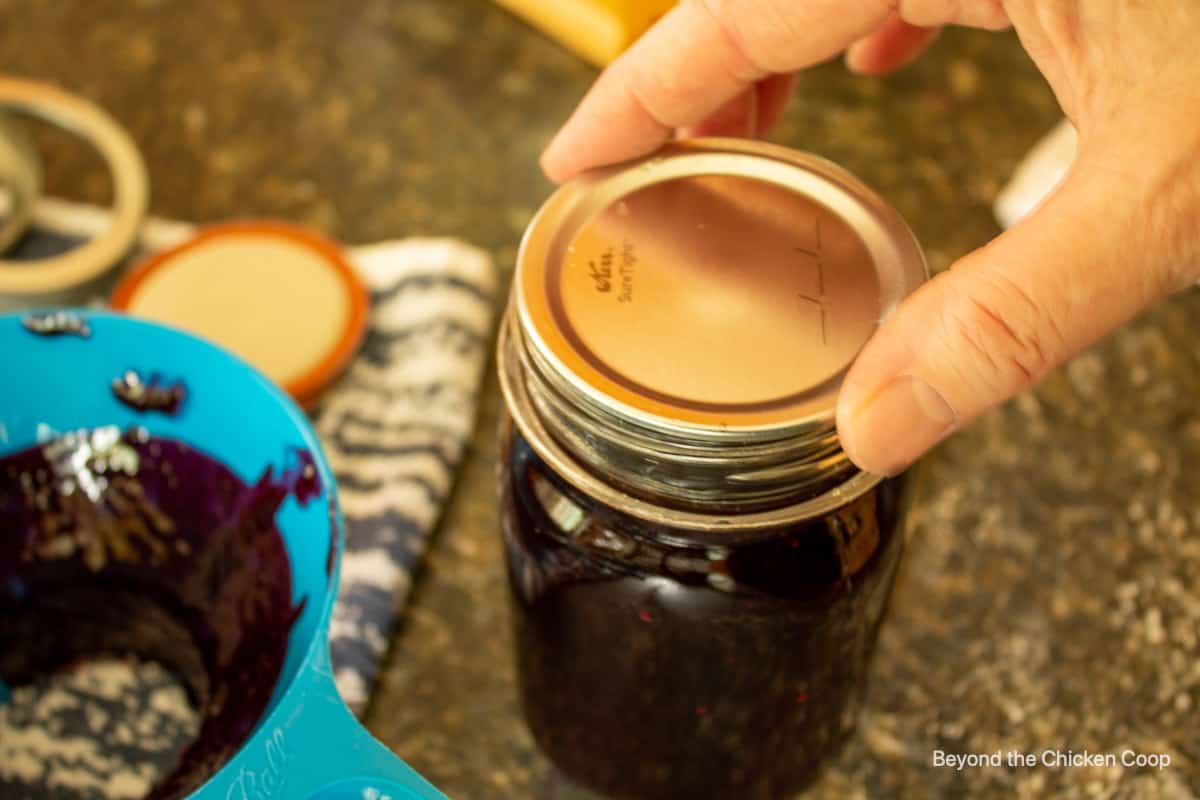
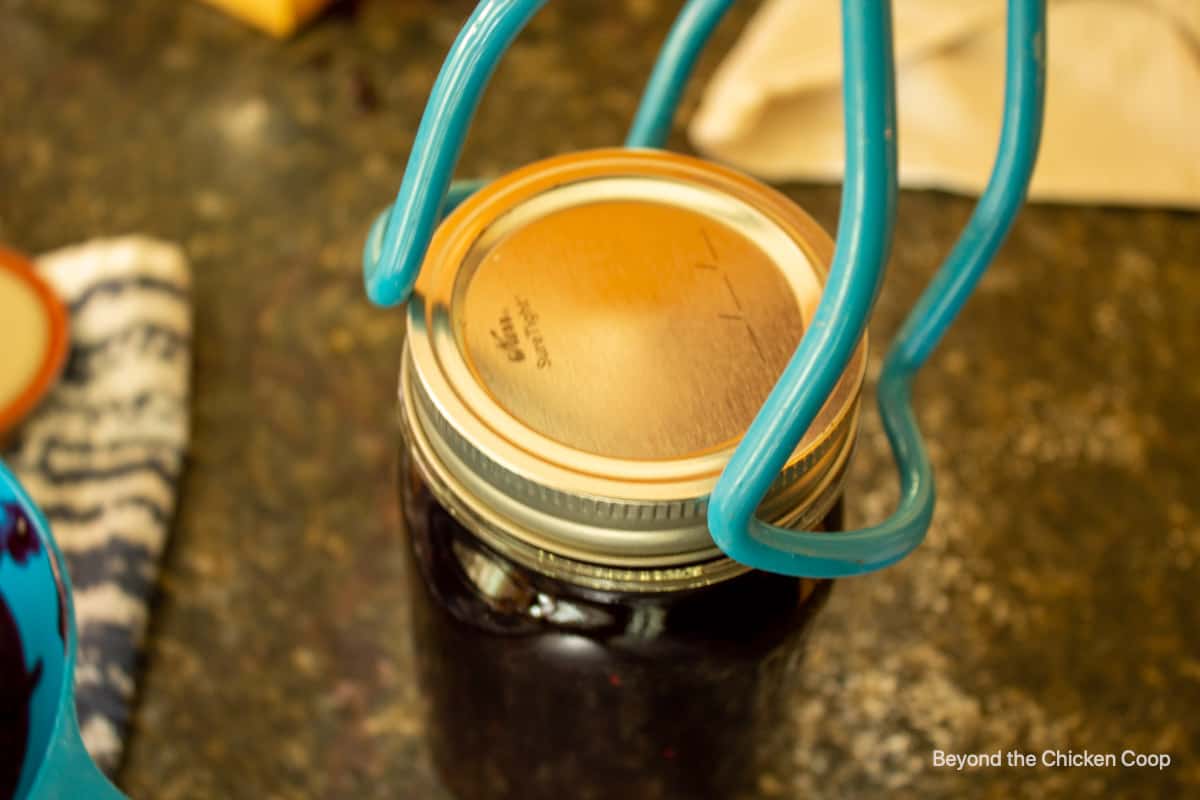
7. Add lid and screw cap and process in a hot water bath
How do you know when blackberry jam is ready?
Knowing when your jam is set, or done is the hardest part of making jam.
When cooking without commercial pectin you need to rely on a spoon test, a plate test or check the temperature. I like to use at least two methods, and often all three methods when making jam.
Spoon test
The spoon test relies on watching the sheeting or drops as they come off the spoon while it is cooking. When the jam first starts boiling it comes off in drops or thin steams.
When the jam has set, the jam will come off the spoon in more of a sheet. This takes some time to learn what this looks like and even though I've been making jam for years, I always rely on a second method.
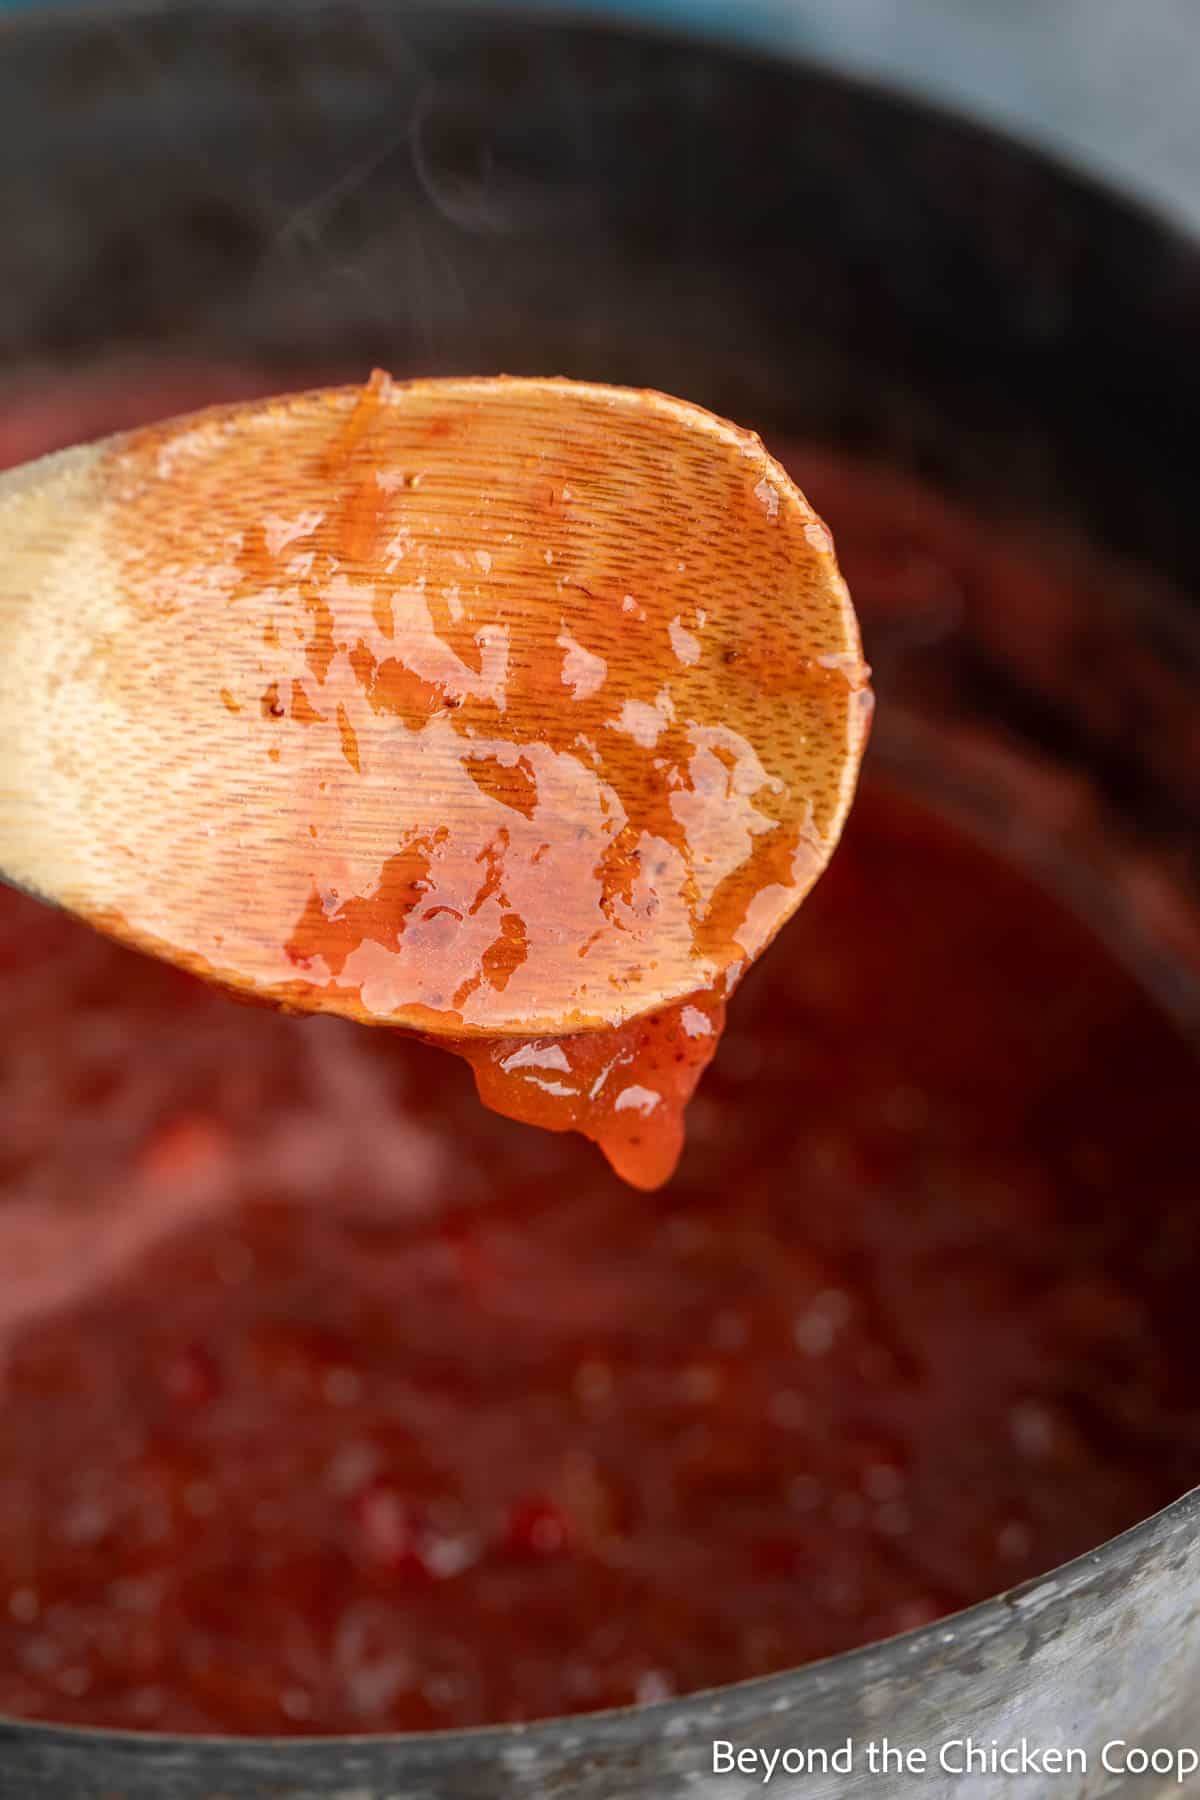
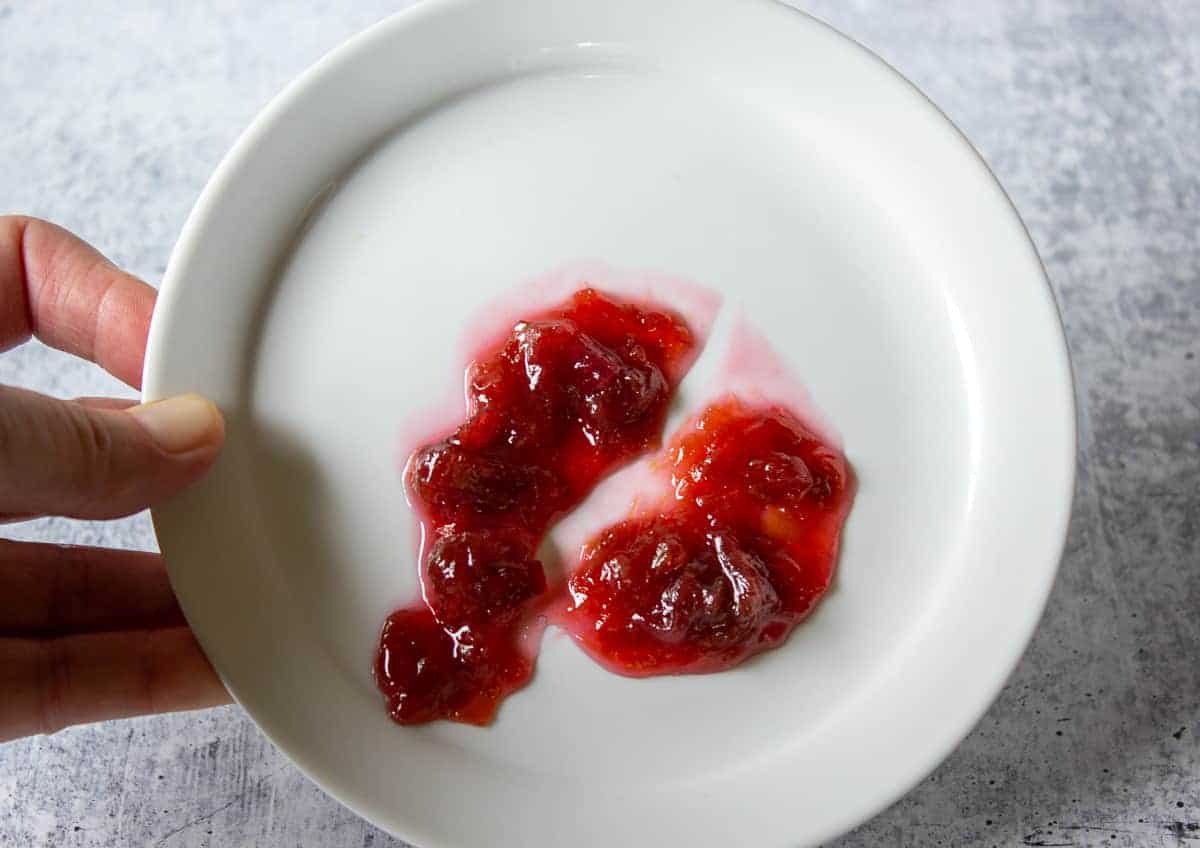
Plate test
Have a small plate chilling in the refrigerator. When you think the jam has set, place a spoonful of hot jam on the cold plate. Wait one minute and draw a line through the center of the jam. If the line holds its shape and doesn't run, the jam is set.
Temperature test
The temperature test is the most reliable. However, the exact temperature will vary, depending on your altitude. You will deduct 2° for every thousand feet above sea level. Jam sets at 220° at sea level. I'm at about 2000 feet above sea level and my jam sets between 216° - 218°
I usually watch my jam with a thermometer and when it starts getting close to 215° I begin doing a sheeting test and then the plate test. I don't like to rely on just one method.
Altitude adjustment
| Altitude Feet | Increase Processing Time |
|---|---|
| 1,001- 3,000 3,001- 6,000 6,001- 8,000 8,001-10,000 | 5 minutes 10 minutes 15 minutes 20 minutes |
Blackberry Jam Recipe Tips
- Blackberries are very messy and the juice will stain. Wipe up spills and drips quickly and wear something you don't mind if a few stains remain.
- Use a pot that is at least double the size of the ingredients. When you boil jam it will really swell up in the pot.
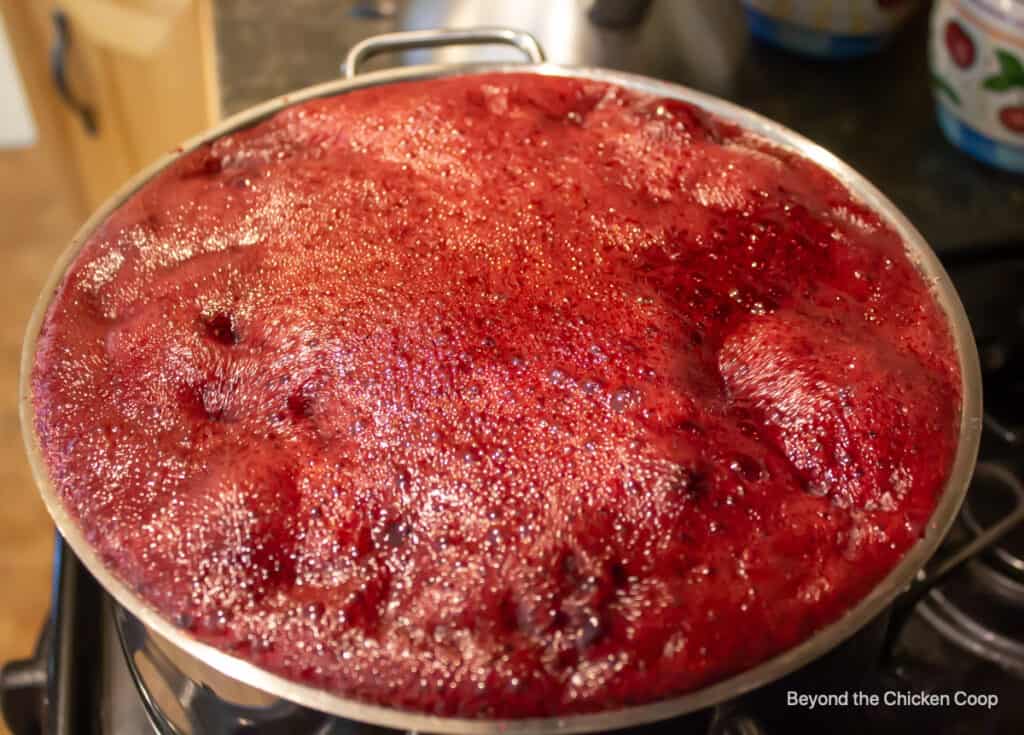
- Keep a close eye on your jam. You don't want it to burn or boil over. The pictures below show my jam boiling all the way to the very top of a large pot. If this happens, turn down the heat, blow gently on the top of the jam and carefully stir the jam. You don't want it to boil over and lose all that jam and have a burnt sticky mess to clean up.
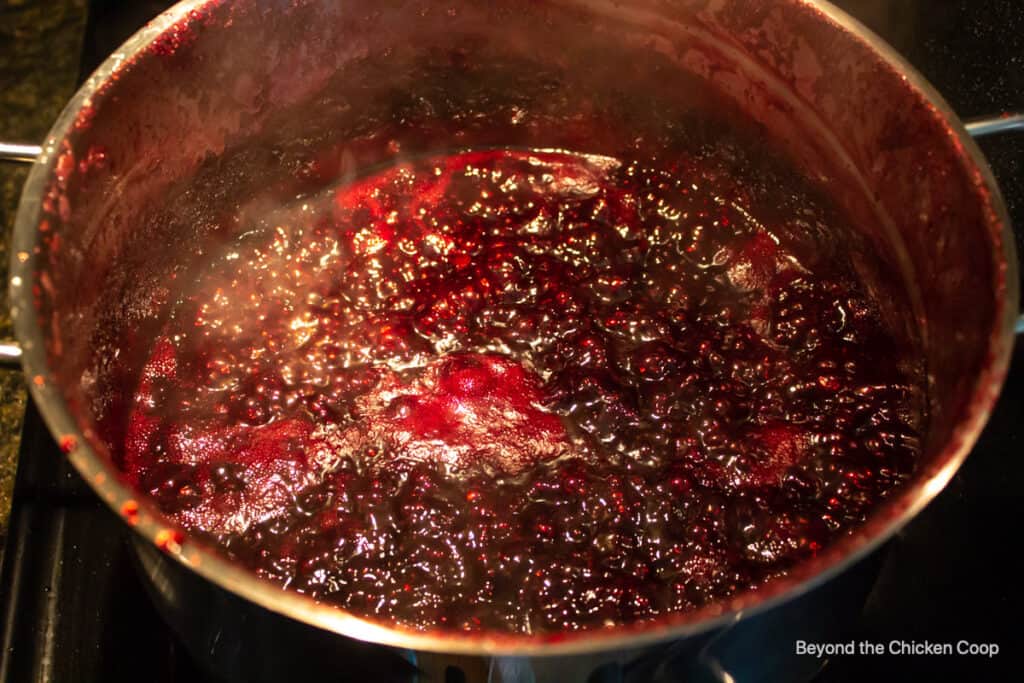
- Jam will often create foam when boiling. I just ignore the foam. It usually disappears once the jam is set. If you still have foam on top of the jam, you can skim off before canning your jam.
Canning Homemade Blackberry Jam
- Make certain you always clean your jars prior to using.
- Use new canning lids that have been washed.
- Fill jars leaving a ¼ inch headspace.
- Hot water bath your jars for 10 minutes for half pint (8 ounces) or pint jars (16 ounces) and always adjust for your elevation (see chart below).
- Once jars are sealed and cooled for 12 hours, remove rings and wash the outside of jars. Replace rings if desired.
- Label and date jars.
Canning Supplies
A few supplies you may need to when canning this jam include a canning jar lifter, a food press(or chinois), a large canning pot, and canning jars.
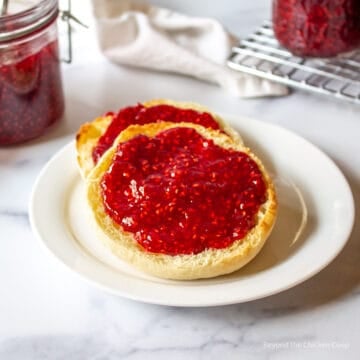
If you'd like to freeze excess blackberries, follow these steps for freezing raspberries.
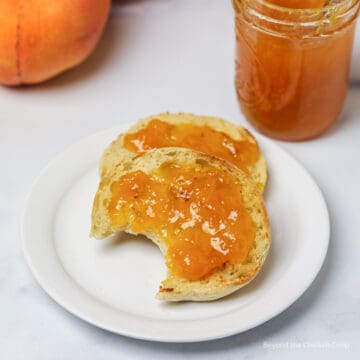
Some additional jam recipes for you to try include Apricot Jam, Rhubarb Jam, Strawberry Jam, and Plum Jam.
FAQs for this Seedless Blackberry Jam
Removing the seeds from blackberry jam is optional and a personal preference. I make blackberry jam with wild blackberries and the seeds often seem large. I prefer this jam without the seeds.
If the blackberry jam is processed in a water bath canner, the jam will have the best quality when used within 12 months. Once a jar is opened, the jar should be covered and refrigerated and used within 1-2 months.
Yes, the blackberries should be rinsed under cool water before making the jam.
If you make this recipe, I’d love to hear about it! Leave a comment below and snap a picture and tag me on Instagram @beyondthechickencoop
Check out all my Canning Recipes.
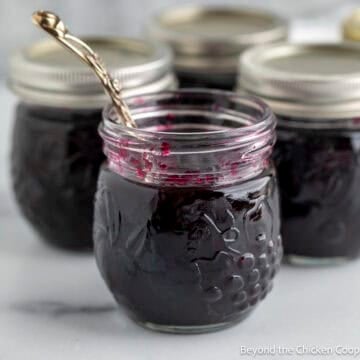
Seedless Blackberry Jam Recipe
Equipment
- Measuring Cups
- Canning Jars - 16 oz (Pint sized jars or smaller sized jars)
Ingredients
- 12 - 14 cups blackberries (ripe berries and a few unripe berries)
- 4 cups sugar
- 2 tablespoons lemon juice
Instructions
- Mash and strain seeds from blackberries using a chinois. Measure out 8 cups of strained fruit for jam.12 - 14 cups blackberries
- Put 8 cups of fruit, sugar and lemon juice in a heavy stockpot over medium heat.12 - 14 cups blackberries, 4 cups sugar, 2 tablespoons lemon juice
- Stir until sugar is dissolved. Continue cooking over medium heat until mixture comes to a boil. Stir every few minutes to prevent scorching.
- Boil until jam is set (220 degrees at sea level and subtract 2 degrees for every 1000 feet above sea level.. 1000 feet = 218°). Jam needs to reach temperature in order to thicken. Stir often to prevent scorching. Remove from heat. Ladle into clean, sterilized jars leaving a ¼ inch headspace.
- Wipe down rims and add canning lids and rings. Place in a hot water bath and boil jars for 10 minutes (adjust time according to elevation - see notes below)
Notes
- Be certain to add some unripened, or reddish berries as well as the ripe blackberries. The unripe berries have higher levels of pectin.
- Cooking time will vary depending on your elevation and your stove.
- I used pint-sized jars (2 cups.) You can also use ½ pint size jars. Processing time will remain the same.
- Be certain to adjust water bath times according to your elevation.
Nutritional Disclaimer:
Nutritional information is provided as a courtesy and should only be construed as an estimate rather than a guarantee. To obtain the most precise nutritional information in a provided recipe, you should calculate the nutritional information with the exact ingredients you are using when preparing the recipe using your preferred nutrition calculator.
Sandra Norris says
Followed recipe to a T. Jams turned out perfect. My berries we a little sour, I was afraid to add more sugar afraid it might make it more like jelly instead of jam.
Kathy says
Hi Sandra,
Thanks so much! How's the finished taste? Is it still on the tart side? It is okay to add a bit more sugar to the jam while it's cooking. Just keep that in mind for next time. I'm glad the jam turned out perfectly for you!
Kathy