
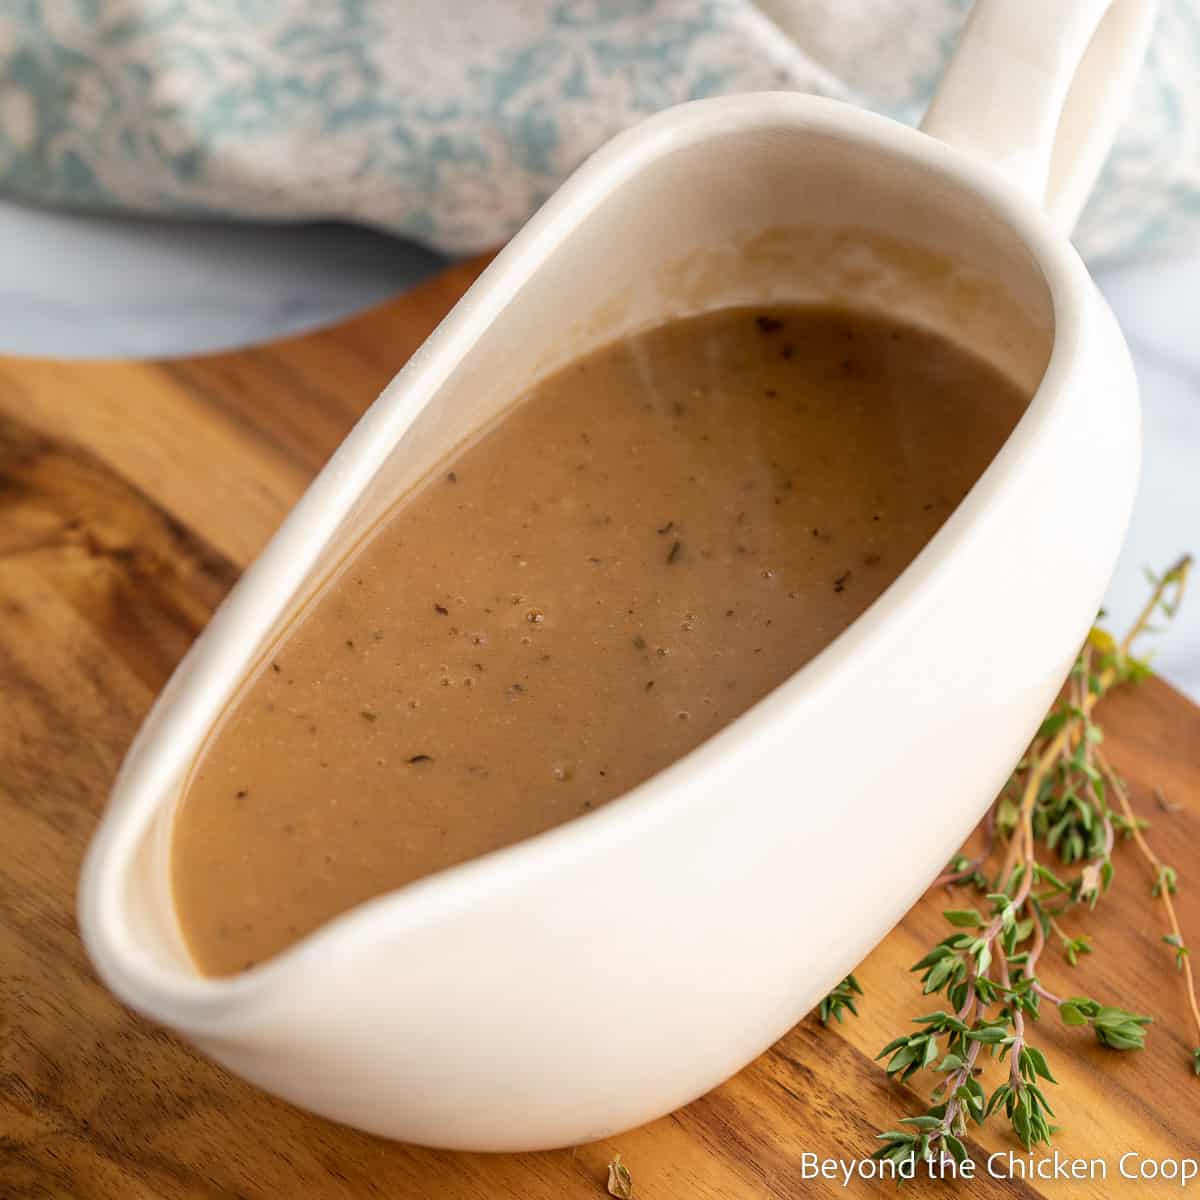
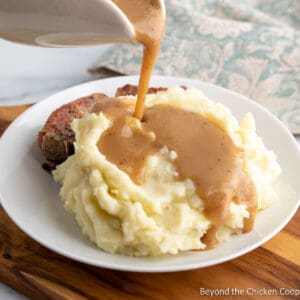
Homemade Brown Gravy is one of those recipes every home cook should have. It's rich, flavorful, and comes together with simple pantry ingredients. Spoon it over mashed potatoes, roasted meat, or vegetables for an easy way to make dinner even better.
This easy-to-make homemade brown gravy can be made without any pan drippings. It's full of flavor and perfect for your family dinners!

Homemade Brown Gravy Recipe
My mom is the master gravy maker. Growing up, she always made Sunday Suppers that often included homemade gravy. She never measured anything. She knew exactly how much to add and adjust if the gravy turned out a bit too thick or thin. I’ve inherited her love for gravy, and I’d like to say, I’ve also inherited her gravy-making skills! I’ve included everything I’ve learned from years in the kitchen making gravy with Mom.
Gravy is one of those recipes that gets easier the more you make it. Over the years, I’ve learned how to adjust thickness and flavor as it cooks, and this version reflects the way I’ve made gravy at home for countless family meals.
⭐ Reader Review
This is an excellent, excellent recipe, simple, fast, and very tasty.
Wish I could give it 10 stars!
Secrets to Rich, Flavorful Brown Gravy
No drippings? No problem. This gravy is made without meat drippings, making it easy to prepare anytime.
Choose your broth. Beef broth creates the richest flavor and darkest color, but chicken broth, turkey broth, or vegetable stock works well, too.
Build flavor with the roux. Cooking the butter and flour together before adding the broth helps develop the gravy's color and flavor.
Whisk continuously. Slowly adding the broth while whisking helps prevent lumps and creates a smooth, silky gravy.
Adjust the consistency. If the gravy becomes too thick, whisk in a bit more broth. If it's too thin, continue simmering until it reaches your desired consistency.
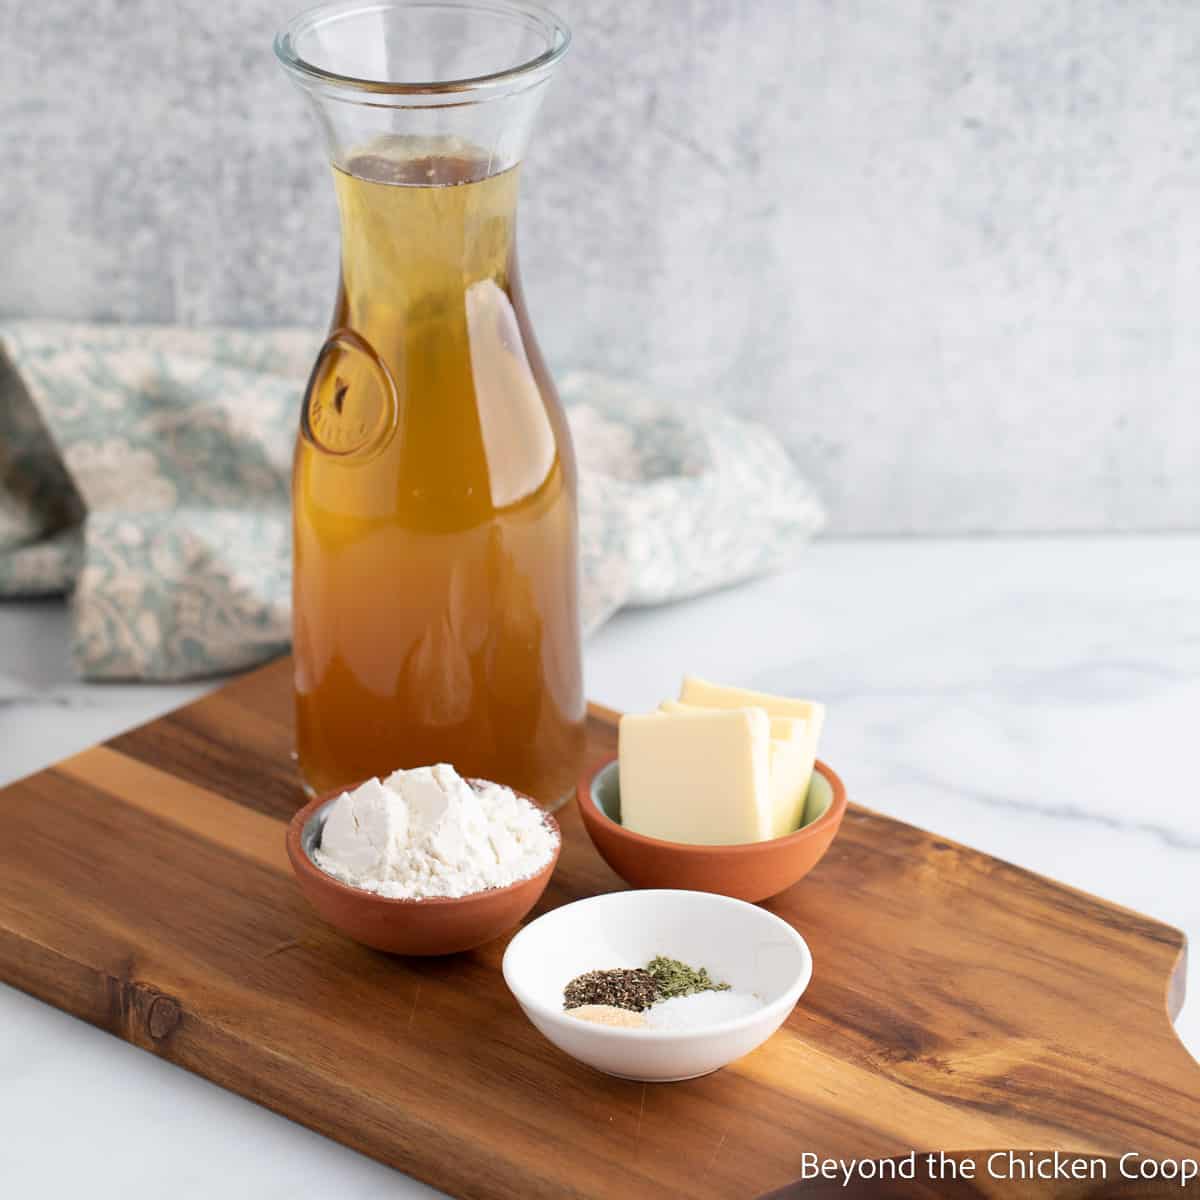
Gravy Ingredients
This section reviews the best ingredients and substitutions for this recipe. For an exact list of ingredients and quantities, check the recipe card below.
The ingredient list is short. You don't need a lot to make a delicious brown gravy.
- Broth - Use a rich-colored beef broth or stock or bone broth.
- Butter - I use salted butter. If using unsalted, you'll just need to adjust the salt in the gravy.
- Flour - This is used to thicken the gravy
- Seasonings - Dried thyme, garlic powder, onion powder, salt, and pepper
How to make Brown Gravy from Scratch
In this section, I share step-by-step photos, cooking methods, techniques, and a general overview. For detailed instructions, temperatures, and timing, check the printable recipe card below.
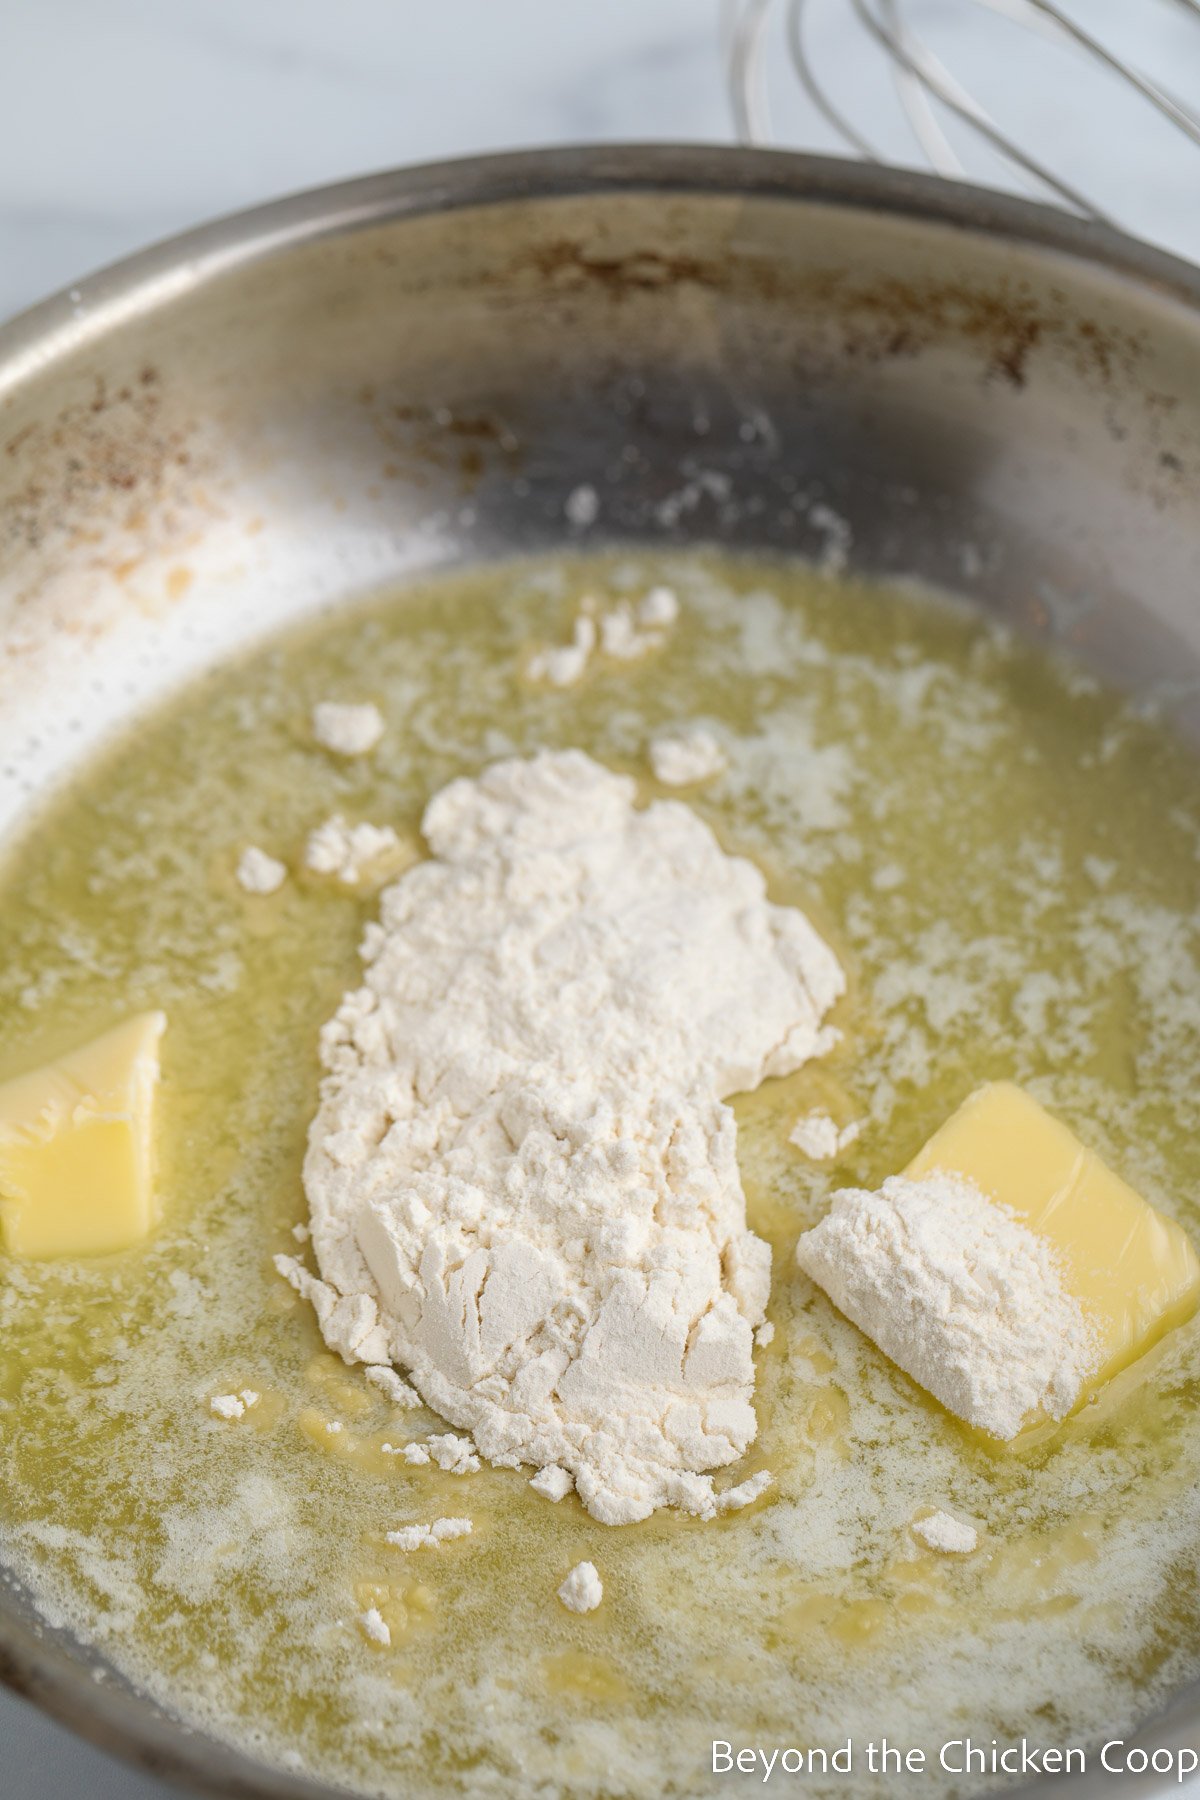
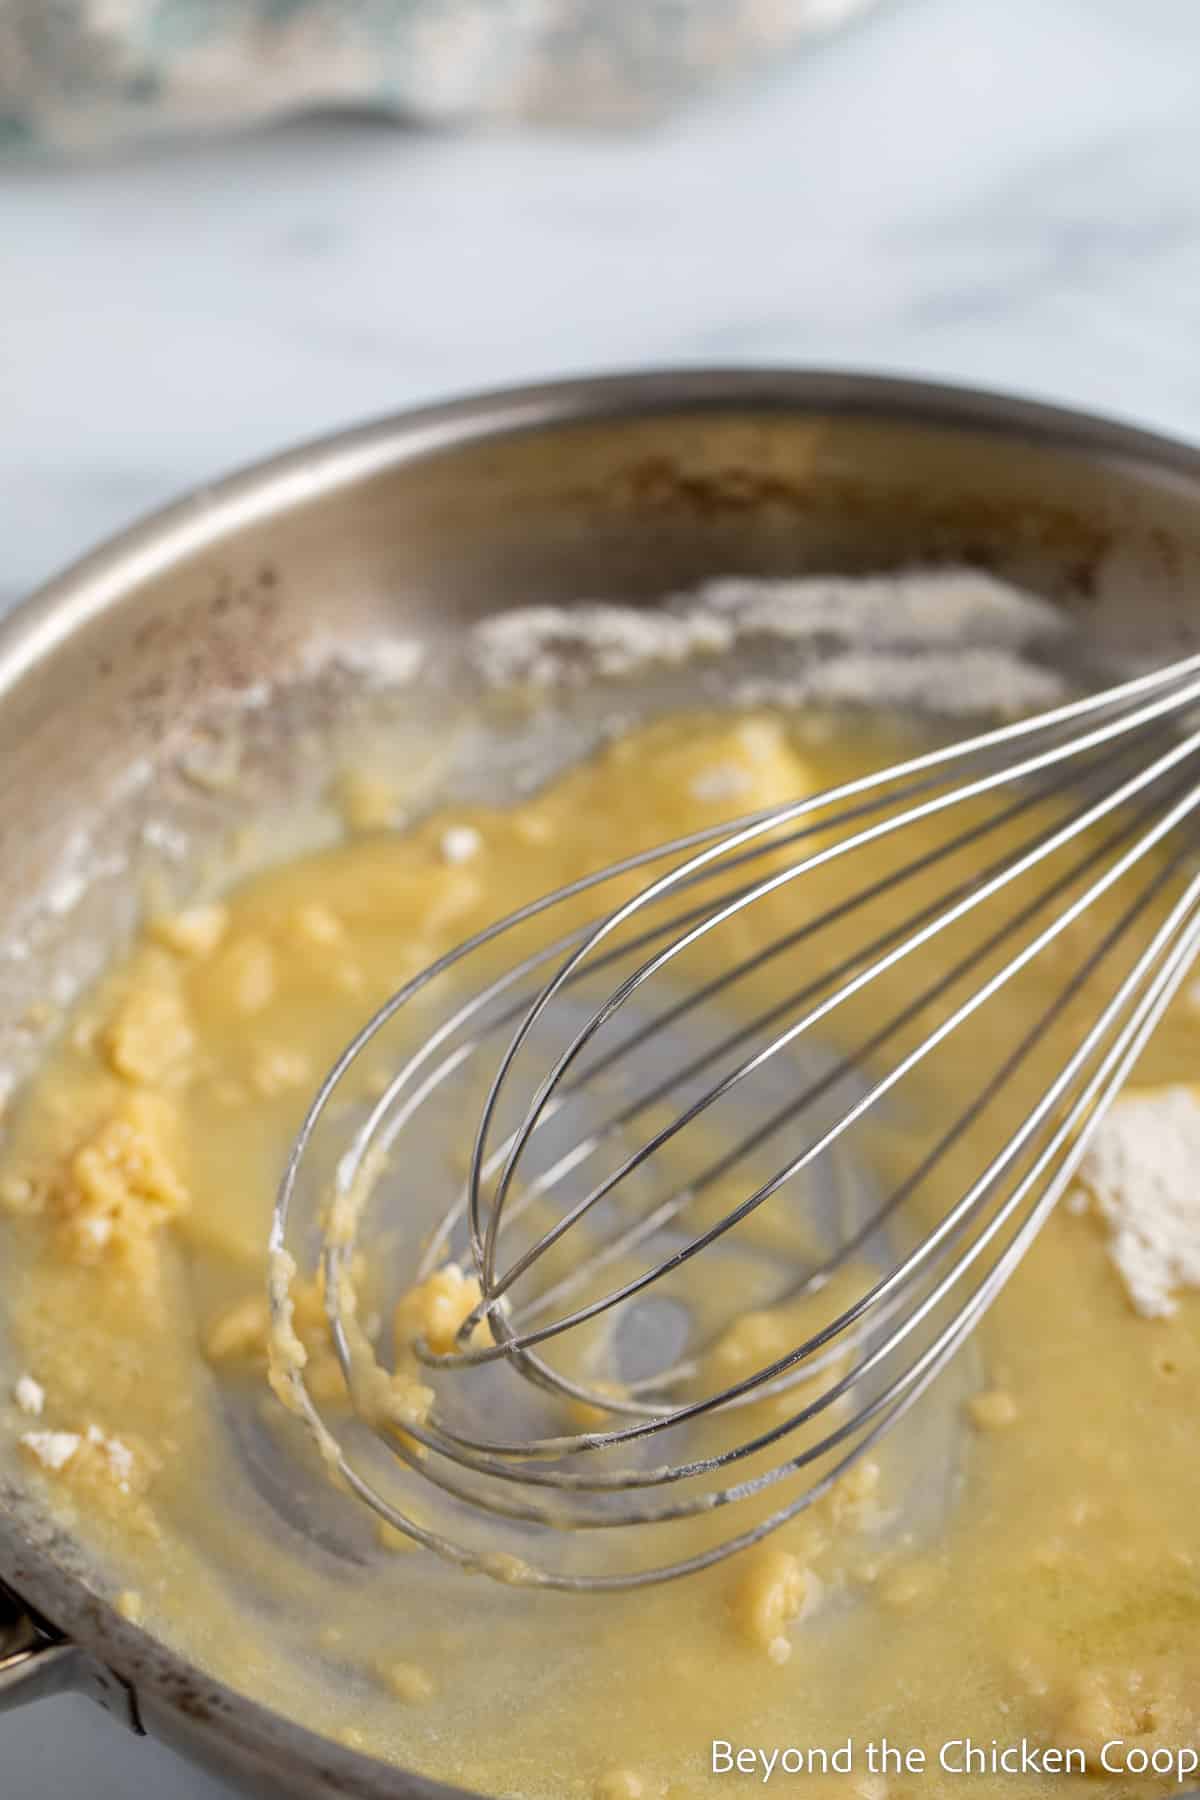
- Place butter and flour together in a saute pan
- Melt the butter and continue cooking over medium-low heat until the butter mixture becomes very brown
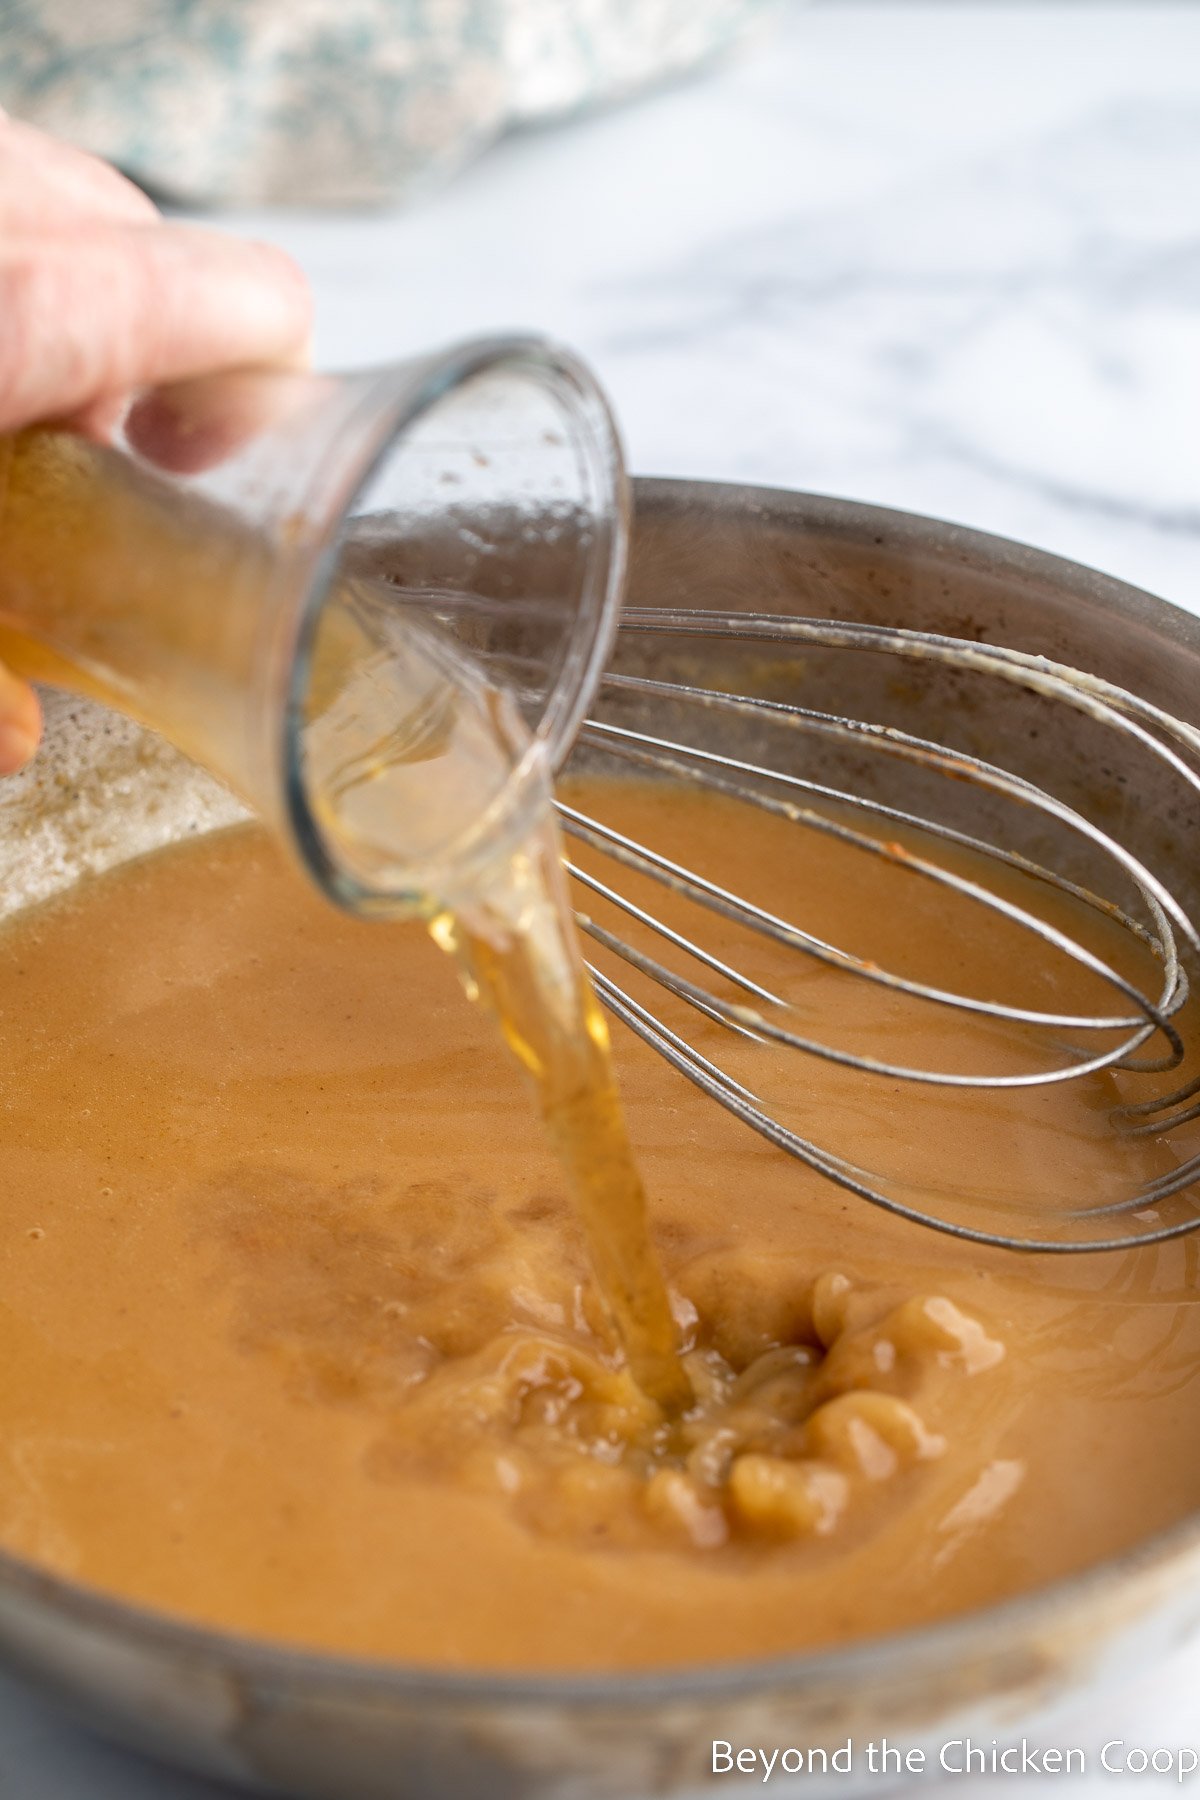
3. Slowly add a bit of the broth, stirring with a whisk. Continue adding broth until all broth is added
4. Add seasoning and bring to a simmer
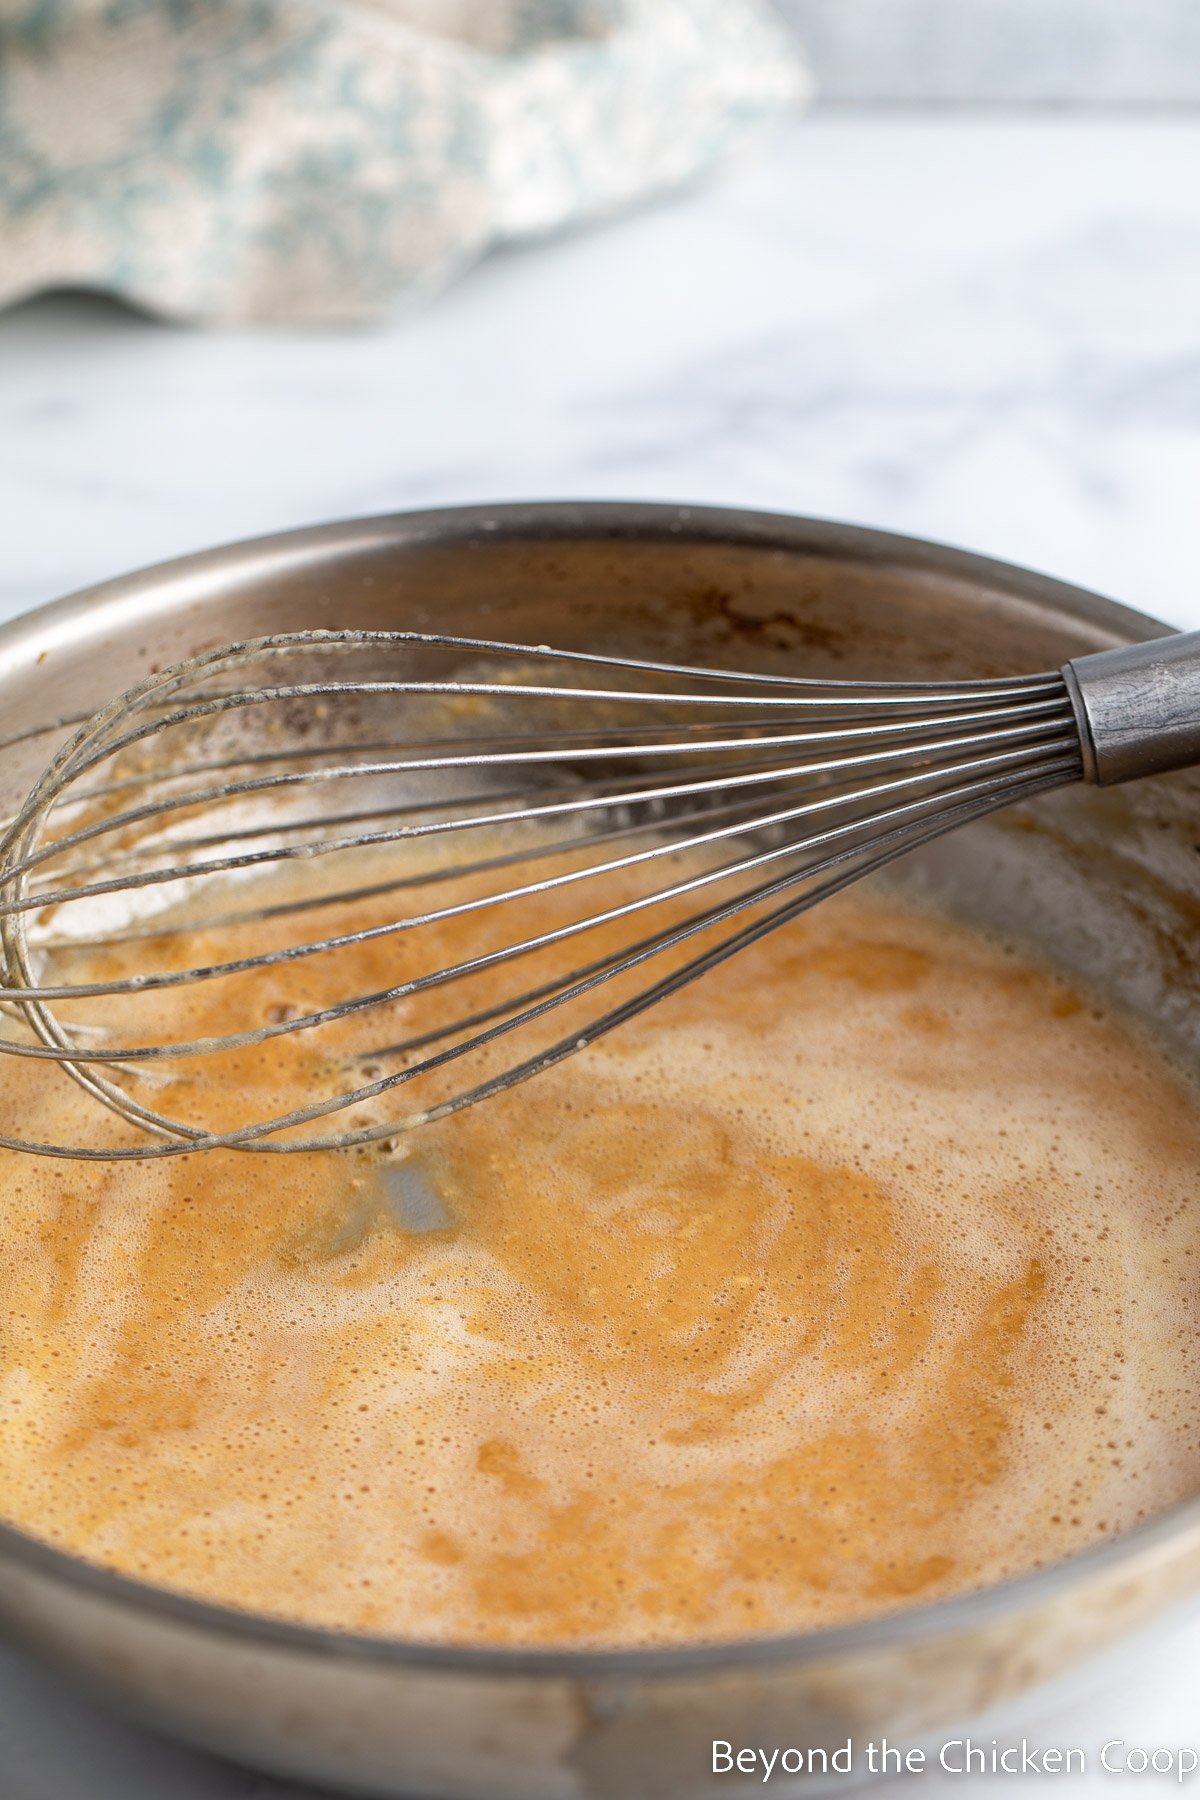
5. Once simmering, the gravy will begin to thicken
6. Taste and add additional salt and pepper if needed
7. If the gravy is too thick, add just a bit more broth. If the gravy is too thin, first try simmering it longer. If it's still too thin, mix a tablespoon of flour with two tablespoons of water until smooth. Then whisk it into the gravy and simmer until it has thickened.
8. Serve hot
Tips for making Brown Gravy from Scratch
- The key to the coloring is really browning the butter and flour together. If you don't brown it, the gravy will be very pale.
- Slowly add the broth while whisking. This will help prevent lumps.
- If lumps do occur, just pour the finished gravy through a fine-meshed sieve before serving
- If you have drippings from cooking your meat, you can use them. Either use the pan the meat was browned in or cooked in, but remove any excess grease before starting the gravy. Or scoop out any bits and juices and add to the butter and flour.
- Store leftover gravy in a covered container in the refrigerator for 3-4 days. Reheat in the microwave oven or on the stovetop.
Serving Brown Gravy
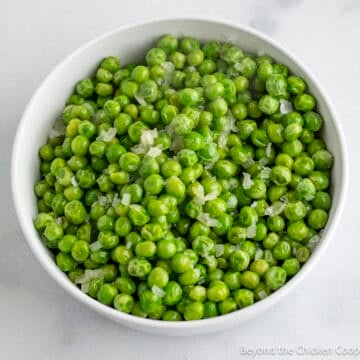
This delicious brown gravy can be served over your favorite meat, potatoes, or even vegetables.
- Mashed Potatoes
- Cheesy Mashed Potatoes
- Twice Baked Potato Casserole
- Venison Backstrap
- Pork Loin
- Roasted Carrots
- Green Beans with Bacon
Storing leftover gravy
Leftover gravy should be stored in a covered container in the refrigerator and used within 3-4 days.
Reheat on the stove or in the microwave.
Freezing gravy
You can also freeze brown gravy. To freeze, allow the gravy to cool completely, then transfer it to an airtight container or freezer bag. Be sure to leave some room at the top of the container to allow for expansion during freezing.
Label the container with the date and contents, and then place it in the freezer. The gravy can be frozen for up to 3 months. To use, thaw the gravy in the fridge overnight and then reheat it on the stove or in the microwave. Note that the texture of the gravy may change slightly after freezing and thawing.
Easy Brown Gravy FAQs
No worries! Just strain your gravy through a fine-meshed strainer before serving. If the gravy is thick and doesn't flow through the strainer, use the bottom of a soup ladle to help push it through.
To help avoid lumps, add the liquid slowly while whisking.
This recipe uses a roux to thicken the gravy. A roux is simply a mixture of butter and flour that is cooked in a pan until golden and then the broth is slowly whisked into the roux. As the broth is heated, the flour in the roux will begin to thicken the broth.
If you make this recipe, I’d love to hear about it! Leave a comment below and snap a picture and tag me on Instagram @beyondthechickencoop
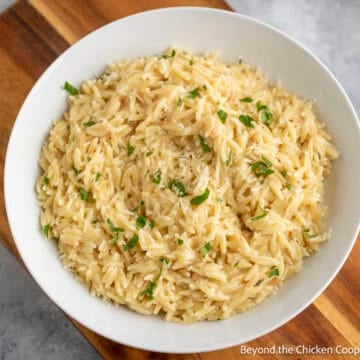
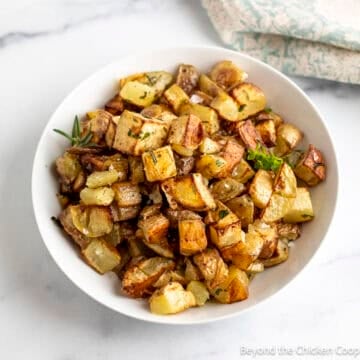
Check out all my delicious side dishes!


Easy, From Scratch Brown Gravy
Video
Equipment
- Whisk
- Saute Pan
Ingredients
- ¼ cup butter (salted)
- ¼ cup flour
- 2 cups beef broth (or chicken, turkey, or veggie broth)
- ½ teaspoon salt
- ¼ teaspoon garlic powder
- ¼ teaspoon onion powder
- ¼ teaspoon pepper
- ⅛ teaspoon dried thyme (just use a pinch)
Instructions
- Place butter and flour together in a saute pan¼ cup butter, ¼ cup flour
- Melt the butter and continue cooking over medium low heat until the butter mixture becomes very brown
- Slowly add a bit of the broth, stirring with a whisk. Continue adding broth until all broth is added2 cups beef broth
- Add seasoning and bring to a simmer½ teaspoon salt, ¼ teaspoon garlic powder, ¼ teaspoon onion powder, ¼ teaspoon pepper, ⅛ teaspoon dried thyme
- Once simmering, the gravy will begin to thicken. Continue cooking for 2-3 minutes until it has thickened to your liking.
- Taste and add additional salt and pepper if needed
- If gravy is too thick, add just a bit more broth
- Serve hot
Notes
-
- The key to the color and flavor is really browning the butter and flour together. If you don’t brown it long enough, the gravy will be pale and won’t have that rich flavor.
- Keep a close eye on your pan when browning the butter. You don't want it to burn.
- Any type of broth or stock can be used. Beef, chicken, turkey, or veggie.
-
- Slowly add the broth while whisking. This will help prevent lumps.
-
- If lumps do occur, just pour the finished gravy through a fine-meshed sieve before serving
-
- If you have drippings from cooking your meat, you can use them. Either use the pan the meat was browned in or cooked in, but remove any excess grease before starting the gravy. Or scoop out any bits and juices and add to the butter and flour.
-
- Store leftover gravy in a covered container in the refrigerator for 3-4 days. Reheat in the microwave oven or on the stovetop.
Nutritional Disclaimer:
Nutritional information is provided as a courtesy and should only be construed as an estimate rather than a guarantee. To obtain the most precise nutritional information in a provided recipe, you should calculate the nutritional information with the exact ingredients you are using when preparing the recipe using your preferred nutrition calculator.

Amy says
Bangin’! Thick, flavorful, and so easy. Definitely making again!
Kathy Berget says
Awesome! Thanks so much! 🙂
Jason says
Most flavorful gravy I've made! Thank you!
Kathy says
Thanks so much! 🙂
Oliva V says
This is an excelent, excelent recipe, simple fast and very tasty.
Wish I could give it 10 stars
Kathy says
Hi Oliva,
Thanks so much! I'm so glad you enjoyed it! 🙂
Kathy
Stephanie says
I have a question. Your recipes are wonderful so I tried to find a meatloaf recipe. Do you have one?
Kathy says
Hi Stephanie,
Thanks so much! Unfortunately, no meatloaf.
Thanks for checking,
Kathy 🙂