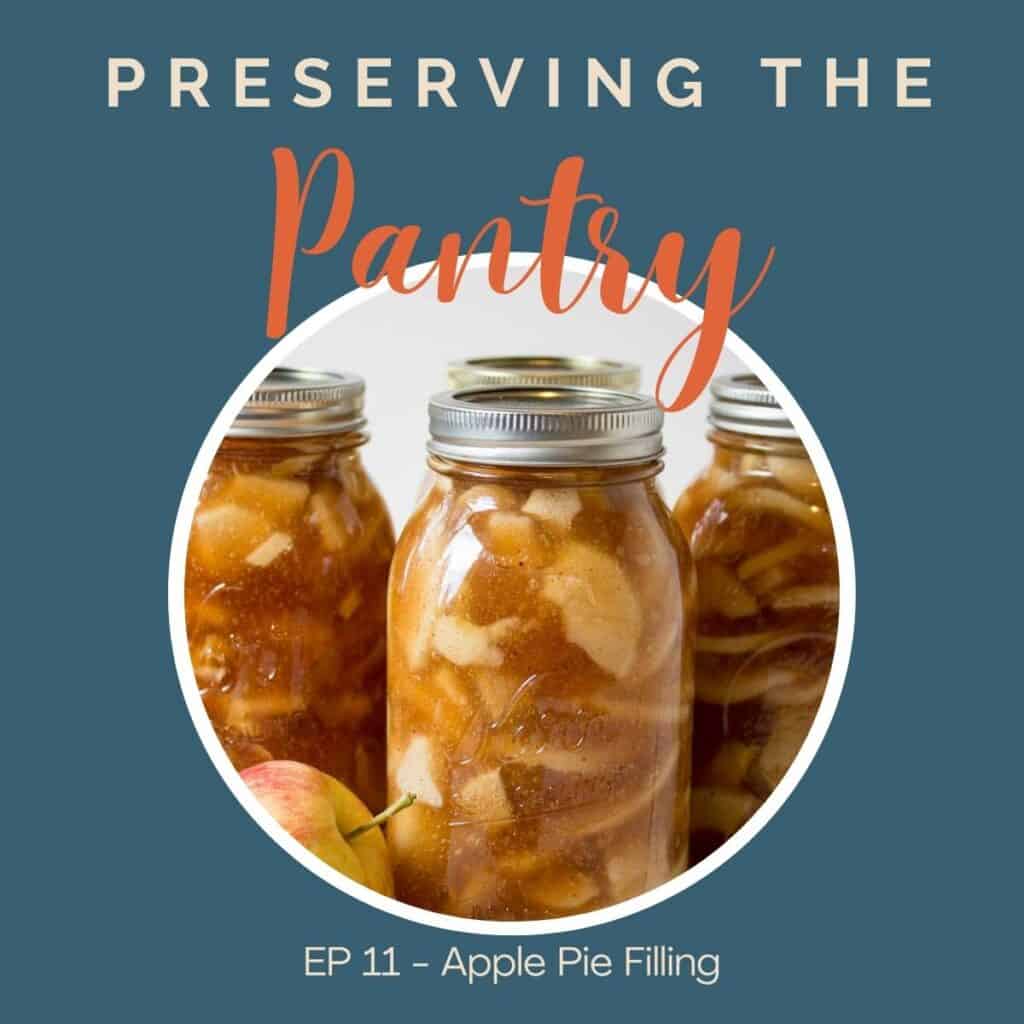
In this episode, Kathy discusses how to preserve apples in a delicious apple pie filling.
Learn tips on making as well as ideas to use apple pie filling.
Play the episode
Recipes
Find the complete recipe for Canning Apple Pie Filling
Recipes mentioned in this podcast:
Products mentioned in this podcast:
- Apple Peeler
- Clear Jel
- Quart Canning Jars
- Jar Lifter
- Water Bath Canning Pot
In this episode you'll learn:
- How to make apple pie filling
- Ways to use apple pie filling
- Gift ideas
- How to adjust processing time for your elevation
Adjustments to processing time
Increase the processing time depending on your elevation.
| Altitude Feet | Increase Processing Time |
|---|---|
| 1,001- 3,000 3,001- 6,000 6,001- 8,000 8,001-10,000 | 5 minutes 10 minutes 15 minutes 20 minutes |
Where to listen to the podcast
Listen to this episode on iTunes, Spotify, Amazon Podcast, or your favorite podcast player. Or scroll down to read a full transcript.
If you love this podcast, I’d love to hear about it! Leave a comment below and hop over and leave a comment on Instagram @preservingthepantry!
Transcript
Hi everyone. And welcome back to the pantry.
We are just at the beginning of apple season where the apples are about ready to be picked. And one of my favorite things to do with apples during apple season is to can them into an apple pie filling.
Now I love apple pies and I love apple pies made with fresh tart crisp apples. But this apple pie filling also makes a delicious pie or an ice cream topping or a cobbler filling. It can be used for so many different things. And the best part is once it's canned it's on your pantry shelves, you can grab a jar anytime you need it, and quickly throw a dessert together. A delicious dessert.
My sister-in-law has been making this for years. And one year she was going to a white elephant gift party during the Christmas season, and she threw together a couple of jars of her home canned apple pie filling. Bought a couple of boxes of prepared, already ready refrigerated pie dough. And she also bought a pie dish, put it all together in a nice little basket.
And that was her white elephant gift. Now at the white elephant gift party, you drew numbers and you selected a gift. And then once it was somebody else's turn, you could select a new gift or you could steal from somebody else's gift. Well, her gift with the apple pie filling was quite the hot commodity.
It was stolen and everybody wanted it. It was such a great item. So it'd be perfect for something like that. Perfect as a hostess gift or a neighbor gift, or just for yourself.
When you're making apple pie, filling, it all really starts with your apples. So you want really great fresh apples, the crisper, the better or apples that bake really well the better.
You don't want to use a soft apple that falls apart really easily. Like you would use in canning applesauce or making applesauce. Don't use a transparent apple or something that's really soft like that. You want a nice firm apple that is going to stay, hold its shape once it's cooked.
A few ingredients that you're going to need for apple pie filling is you're going to need the apples.
I use about six quarts of apples once they're peeled cored and sliced. That's about 30 medium, medium to large size apples. I use five cups of sugar.
I use a thickening product called Clear Jel. Now Clear Jel is a modified corn starch. That is perfect for commercial baking and home canning. It's also approved for home canning.
It is a heat stable product, so it can be heated again and again, and it won't break down and it'll hold its consistency. Other products for thickening that you may use in a fresh pie like flour or regular corn starch are not approved by the USDA for home canning. They're not research based.
And so you want to avoid those products.
When you are buying Clear Jel. Sometimes it is very difficult to find. I do have a link on my webpage and I'll included in the show notes to this page. For a link to Amazon where you can buy clear gel. You can also find it many times in like a co-op store or a natural food store.
We also have a couple of smaller markets in our area. They're a Mennonite country store and they often will take bulk foods and repackage them into smaller containers. And so you, I have been able to find it there. You have to look around. A lot of grocery stores don't carry it, but you can always ask to see.
Now there are two different types of Clear Jel, and it's really important that you are buying regular Clear Jel or cook type Clear Jel.
Do not purchase the instant Clear Jel. I did that one time by mistake, and it is not the same product at all. I started making my apple pie filling and the consistency and everything was just wrong. And I didn't know what I was doing. I finally grabbed the container that my Clear Jel came in and I saw the word, on there then - Instant Clear Jel.
And once I looked it up and realized what it was, I had to abandon the whole canning project and start all over again. So make certain that your Clear Jel is regular Clear Jel or cook Clear Jel. Those are both the same thing, but they may be labeled two different ways. So you'll need apples, sugar, Clear Jel.
I like to add cinnamon and nutmeg. You're going to be using some water in this because, the apples are really thick and the Clear Jel is very thick. And so you want to have something that you're gonna mix that clear gel with that is going to be the thickening that will then become the thickening agent and lemon juice.
For this, you will be using bottled lemon juice. Lemon juice is a crucial ingredient here because it lets the acidity level in this apple pie filling be safe for water bath canning.
Once you get started, you'll get everything set out. Make sure that you have your canning pot, your canning jars, your lids, your rings, all of your ingredients, your pot for making the apple pie filling.
You'll make certain that you have your ladle ready. Anything that you're going to need for canning. Your jar lifter, your debubbler, all those things ready to go.
The first thing you're going to do is you're going to skin and core your apples. Now, I like to use an apple peeler and corer. It's kind of a contraption that sits on your counter, and it's got a suction cup that you kind of sucks down onto the counter.
You stick your apple one at a time on the end, and then you start turning the peeler and the apple is forced to go through a peeler, which takes off the peel in these long strips. And at the same time, it's removing the core of the apple and slicing the apple into thin rings. It's really kind of fun and mesmerizing to use. It does take a little bit of time because it's one at a time.
The apple slices are consistent in size. One thing that is difficult is if your apples are irregular shaped, which often will happen when you're having home picked apples. Sometimes it won't get all those little pieces off of the side that might have like a, an indention in it or that is just an uneven shaped.
You'll have to use your paring knife to get all of that peel off. If you don't have an apple peeler that's okay. You can use just a paring knife cut off that peel, then slice up your apples into whatever size you'd like. You can also use an apple or a potato peeler and get that peel off and then cut up your apples.
You can place your sliced apples into a large bowl with a little bit of lemon juice to help prevent the darkening of the apples. I actually don't worry about that because I'm not concerned about with my apples discolor just a little bit. Once this is cooked and the cinnamon and nutmeg is, is added in there, it kind of turns in a brownish color anyway.
I'm not worried about the discoloration of my apples, plus some of the apples just don't turn color. So it depends on the variety that you have. That's totally up to you. So once your apples are completely ready, you're going to start making your pie filling. So the first thing you do in a large pot, you're going to combine your sugar, your Clear Jel, your cinnamon, nutmeg and the water.
And you're going to use a large whisk and mix that all together now, because Clear Jel is a cornstarch based product. It has that same consistency as cornstarch. So it feels like it's stuck to the bottom and you'll just have to whisk it and keep whisking until it completely dissolves. And you're going to have this over medium heat.
You're going to continue to cook that until the mixture begins to thicken. You'll want to stir it often because it, as it thickens, it, it gets that bottom layer gets stuck on the bottom and you don't want it to scorch. So stir, stir, stir, stir, stir. Once it's thickened, you'll add your lemon juice and then continue cooking for one more minute.
Then you'll add your apple slices and you're going to stir carefully use a large wooden spoon to stir that or a large spatula you're stirring carefully because you just want to get everything mixed in, but you don't want to break apart those apple slices. You'll heat for three to five minutes on low until your apples are heated.
Remove the whole pot from the heat. And then you're going to fill your jars with the mixture. I use quart size jars, but you could also use pint size jars. If that was what you needed or preferred. Leave a one inch headspace in each jar from the top, from the top of the filling to the top of the jar. Use a small spatula or your debubbler to get rid of any air pockets or air bubbles in the jars.
So, because this filling is thick, the air bubbles don't come out easily. So I usually put my spatula in around the sides where I see the bubbles and I move up and down to try to get those bubbles out, do the best you can. A few may still remain once you're all done, but as get as many out as you. Wipe down the rim of your jar and place on your lid and your ring, then place those jars in your water bath canner.
The water bath canner should be filled with water that's simmering. So the water should be about 180 degrees. Once all of your jars are filled. Make certain that you have at least one to two inches of water over the top of your jars, place the lid on the heat and turn the heat all the way up.
As soon as that water in your water bath canner comes to a rolling boil. You'll start your processing time. Now you're going to process these quart size or pint size jars for 25 minutes in a boiling water bath. Make certain that you adjust for your altitude. So. I'm at about 2000 feet above elevation. So for, for my elevation, I have to add an additional five minutes of processing time.
So I boil my jars for 30 minutes instead of the 25 minutes. And you'll have to look at the chart. I have that on my recipe that shows you how to adjust your time, make certain that that water is boiling the entire time during the entire processing. Once your time is up. You'll turn your heat off and just let those jars sit for five minutes with the lid on.
I then like to take the lid off and wait another five minutes, and then you're going to remove your jars and then place your jars on a cooling rack. The reason that you leave your jars in the hot water bath for just an extra few minutes. It's not part of the processing time and it, it is totally optional, but it does help prevent the siphoning of the jars.
The siphoning is when you have a very hot item going into a cooler environment, sometimes that liquid or the contents are forced out of the jar. By waiting and letting that temperature just drop slightly. It helps prevent that siphoning. So you'll put your jars on the cooling rack and then you just let them set and you need to let them fully cool.
Before you do anything with those jars, a full cool for the jars takes anywhere from 12 to 24 hours. So just let them set there. Don't tighten the rings. Don't check the little metal part of, or the center part of the, the lids to see if it's sealed. You're going to do that after they're fully cooled.
So after you're 12 to 24 hours, then you're gonna take the rings off and check your seal.
And then I wash the outside of my jars and the lids, and then I label them with a content and the date and I store them in my pantry. Any jars that don't seal right away. You have two options. You can either, if you're making a couple of more batches you can reprocess, or what I usually do is just set it in my refrigerator.
And that's the one that we eat right away. I don't think I mentioned this at the beginning, but my boys tend to eat this apple pie filling straight out of the jar. So they are actually rather pleased when I have one jar that doesn't seal because it means they get to dig into it right away. They will actually scoop it out of the jar, put it in a bowl and eat it like it's... I don't know, apple pie filling, I guess. And they just love it.
So anyway, I hope that you enjoy this recipe and give it a try. You will so enjoy having this apple pie filling in your pantry. I can't wait for you to give it a try. I'll see you in the pantry.
Thanks for listening. And be sure to tune in again next week for more episodes of Preserving the Pantry.
Leave a Reply