Everything you need to know about water bath canning. Learn what foods are safe to preserve with a water bath canner and all the safety tips you need to know with home canning.
If you're new to canning or an experienced canner, this post has everything you need to know about water bath canning. I follow recommended procedures put out by the USDA and the National Center for Home Food Preservation. During the summer of 2024, I took a canning class called Preserve at Home.
There's a lot of information in this post. If you're new, start at the beginning and read all the way through. Then come back to reread any section as you are canning.
Use the table of contents to quickly jump to a section!
What is water bath canning?
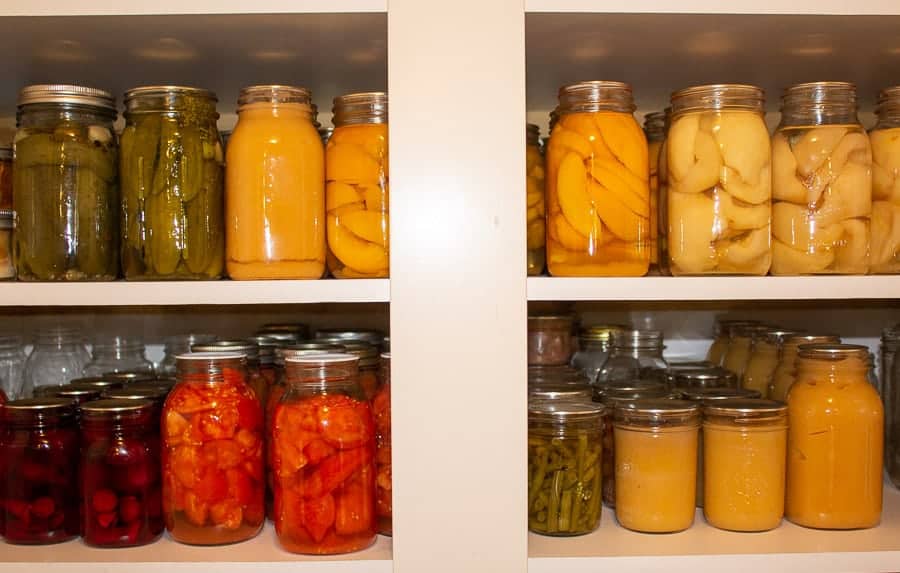
Home canning allows you to store perishable food in your pantry at room temperature for extended periods of time.
There are two main methods for preserving food through canning - water bath canning and pressure canning.
Both methods of canning heat foods in a jar to a specific temperature for a precise time to destroy microorganisms present in food and force the air out of the jar.
A vacuum seal is formed and prevents new organisms from entering the jar. Air is forced out of the jar, including air in the food itself during the water bath method.
Water bath canning sounds like you're submerging into nice warm water, but actually it's in boiling water!
Foods that are safe for water bath canning include foods that are high in acid or have acid added to them. Low-acid foods need to be processed in a pressure canner.
Canning recipes should always include the processing method (water bath or pressure canning), the amount of time needed for processing for each type of jar and the adjustment needed for your elevation as well as the amount of headspace needed in each jar.
Caution - If you have a flat surface glass stovetop, check with your manufacture before canning. Some surfaces are not safe for canning and may crack during the canning process.
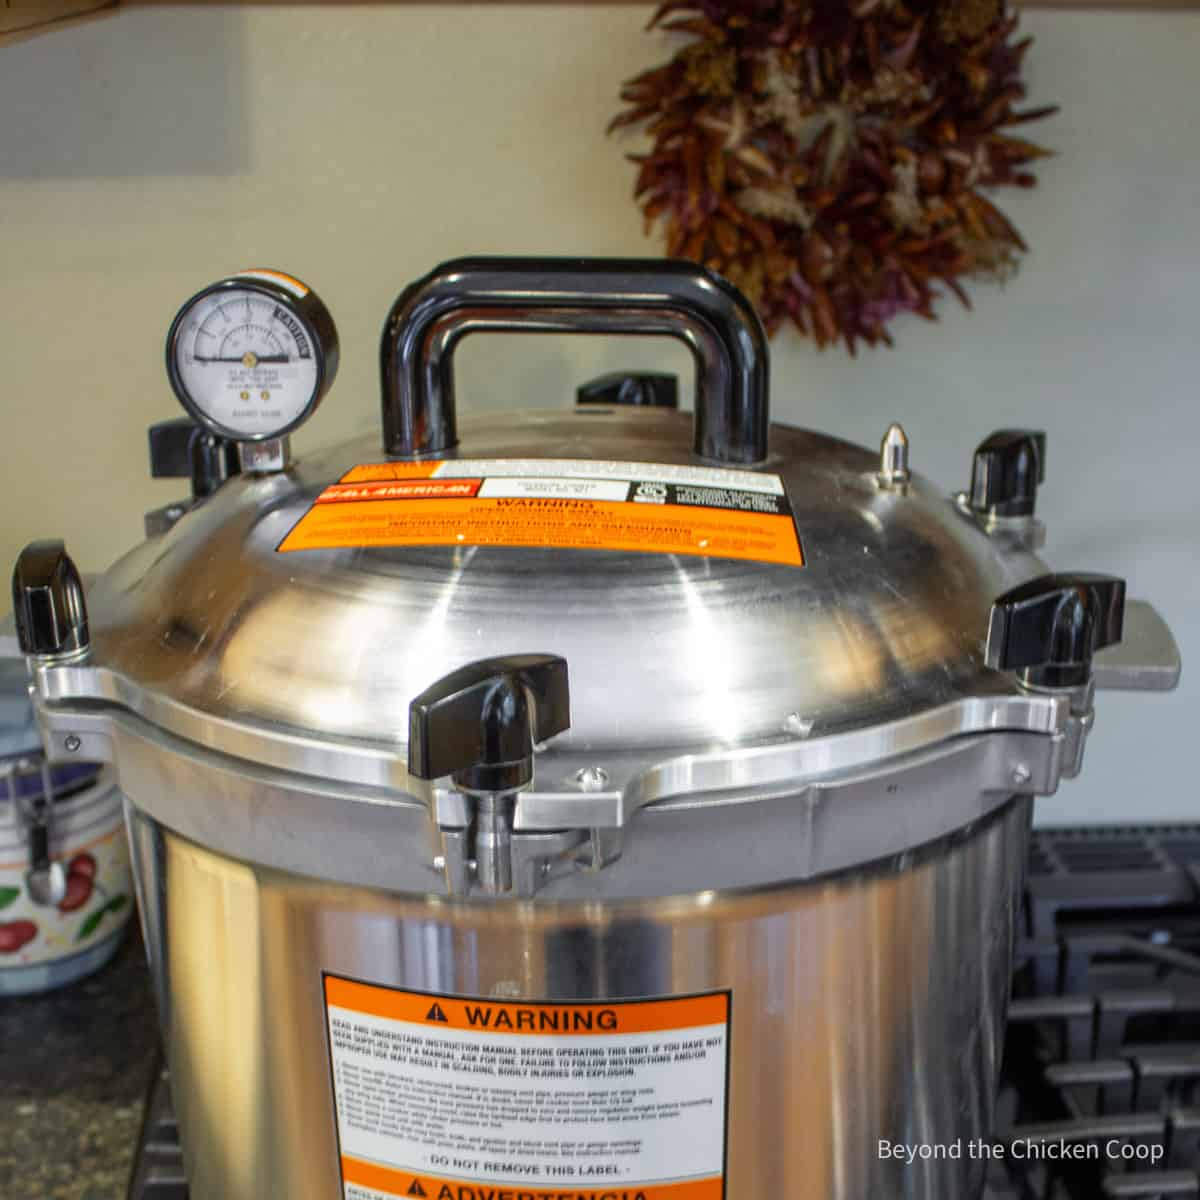
Pressure canning
Foods that are low in acid and have a pH level greater than 4.6 need to be processed in a pressure canner. Check out How to Use a Pressure Canner for everything you need to know about pressure canning.
High acid foods
Foods safe for water bath canning include foods that have a pH level 4.6 or lower. Most fruits, fermented foods, and pickled foods are considered safe for water bath canning. Some foods include:
- Lemons
- Apricots
- Plums
- Apples
- Berries
- Cherries
- Peaches
- Pears
Some foods, like rhubarb and tomatoes, require the addition of an acid, like lemon juice to make them safe for water bath canning.

Equipment needed
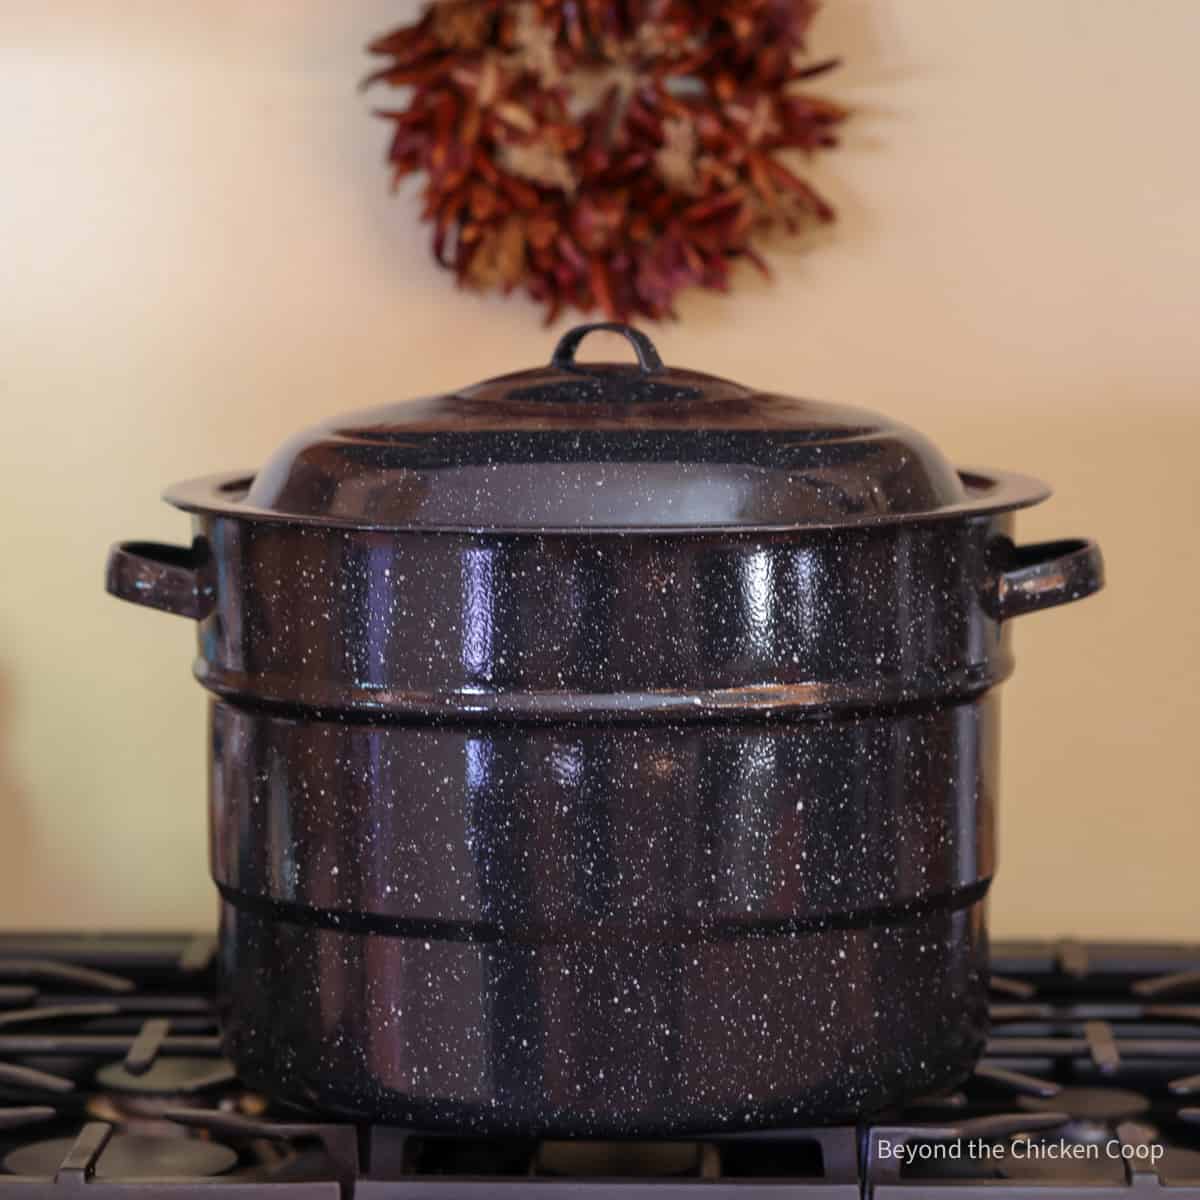
Canning Pot
Almost any large pot will work as long as it holds your jars and has a lid. The jars need to be fully covered by one inch of boiling water.
It is best to have a rack on the bottom of the pot and most water bath canners come with a rack. You can make one with rolled aluminum foil or stringing canning rings together to fit on the bottom of the pot. The rack provides a barrier between the jars and the pot which can help prevent the jars from cracking.
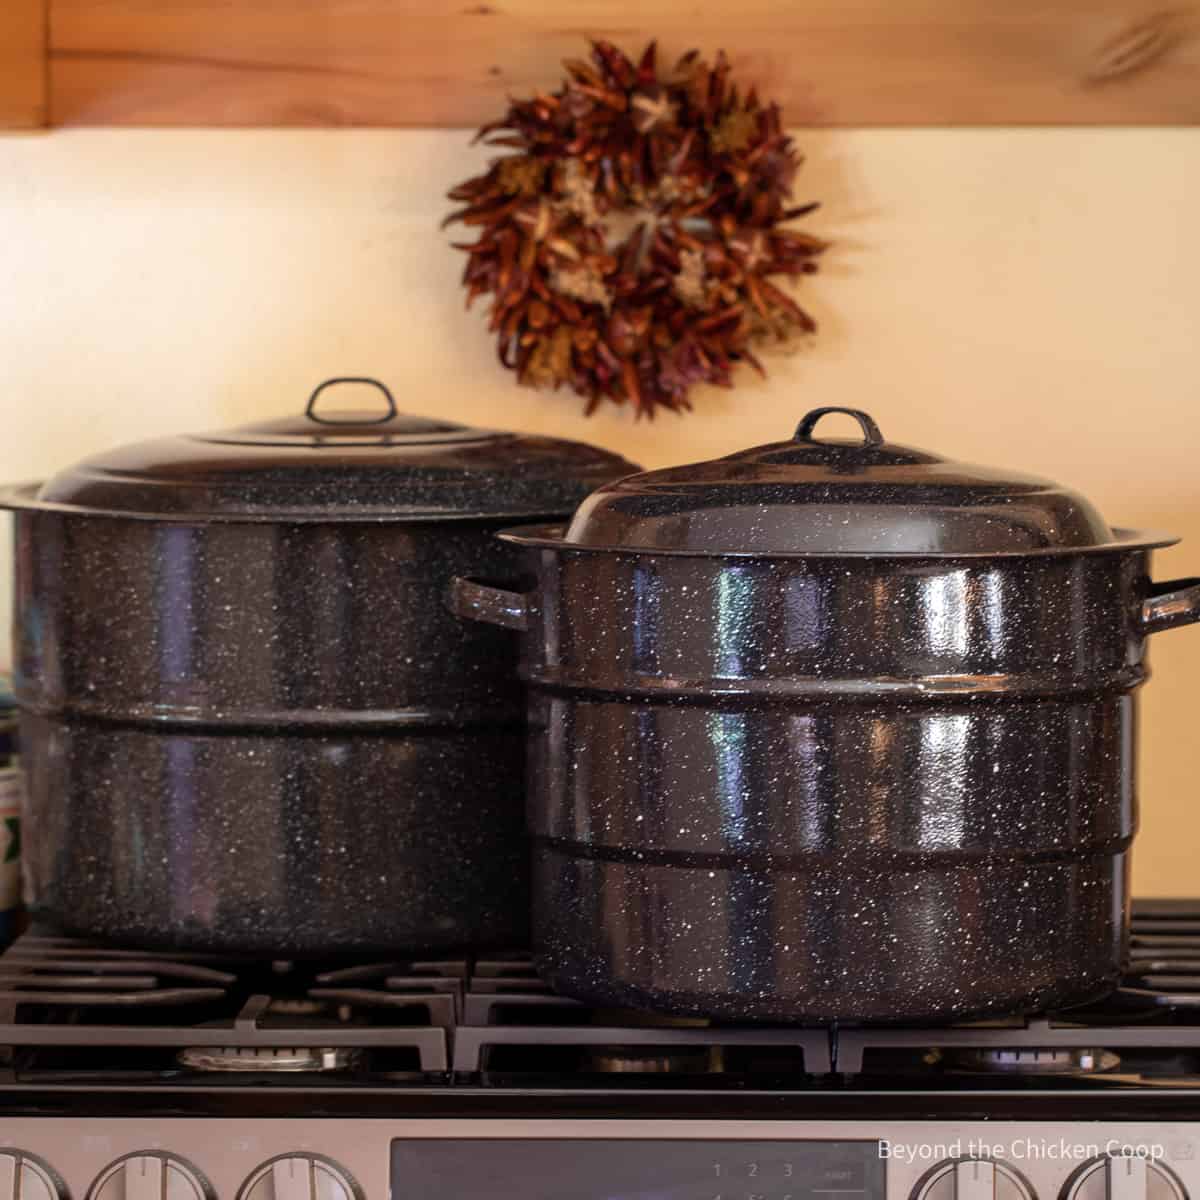
You can also purchase water bath canning pots and pots come in a variety of sizes. I have three different sized water bath canning pots. Two were given to me from former canners and I purchased one.
When buying a pot, consider how many jars you'll be canning at any one time. Also think about where you'll be storing your pot when not in use.
The pots I own are:
- A 12 quart pot - This holds 7 pints or half pint jars. It will not hold quart sized jars. I use this when I'm small batch canning, usually with jam.
- A 22.5 quart pot - Holds 7 quart jars or 9 pint jars
- A 33 quart pot - This is a massive size pot that will hold 9 pints or 9 quart sized jars or 13 half pint jars.
If I could only have one canning pot, I'd use the 22.5 quart pot.
Jars
I recommend only using jars that are designed for home canning. Other jars produced for commercial foods, may not hold up to home canning and the canning lids may not form a seal. To me it's not worth the risk of wasting my home canned foods and I only use jars designed for home canning.
The size of the jar is up to you. My pantry is stocked with quart jars, pints, half pints and very small jam jars that I often give as gifts. Canning jars come in regular or wide mouth tops.
Half gallon canning jars are available, however they are really only suitable for very acidic juice. I use my half gallon size jars for dry storage only.
The type of jar and the size really depends on what your are canning and how you will use the canned goods. For tomatoes, I use quarts and pint sized jars because when cooking, I often need that amount.
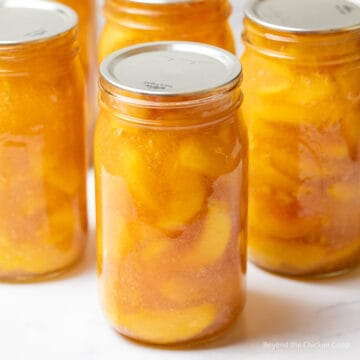
For peaches, I use wide mouth quart jars. If I'm canning a half of a peach, it will only make it in the jar if I'm using a wide mouth jar.
Jars can be purchased new or can often be found a garage sales or thrift stores, although they are becoming more and more scarce and really check the price. Some used jars are costing as much as new jars.
If you're really lucky, you'll know an old time canner that's ready to gift their jars to a younger canner!
- Wide mouth quart jars
- Pint sized jars
- Half pint jelly jars
- Mini sized jars - 4 ounces
Lids and Rings
If you are using newly purchased jars, they will come with lids and rings. If you are reusing your canning jars, you will need to purchase new lids. The rings can be reused.
Jar Lifter, Funnel and more
The number one canning tool that I cannot live without is a jar lifter. You can securely lift a jar without worrying about burning yourself or the jar slipping.
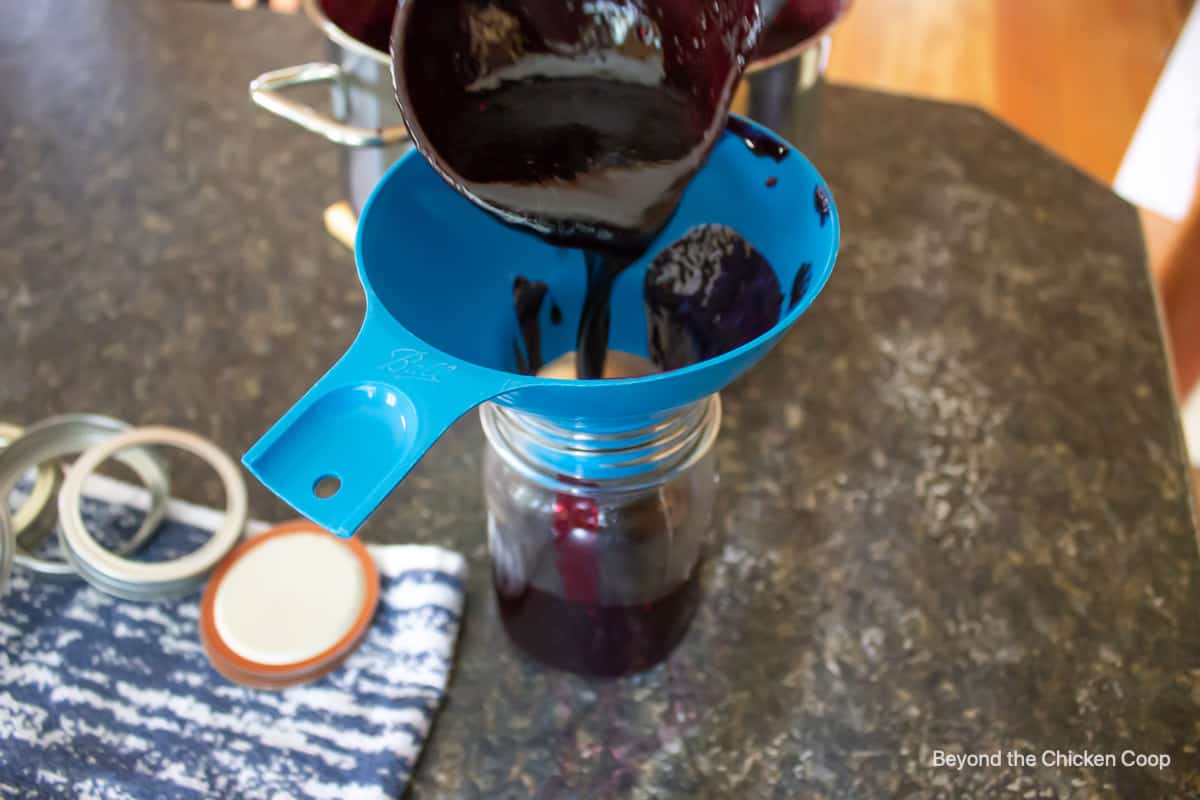
I also use a wide mouth funnel regularly. The funnel helps get everything into the jar without it spilling down the sides.
There are several other canning tools that are available and many are sold in kits. Some may be useful like a jar debubbler and a headspace measuring tool, but you can also be a successful canner without them. Some of the kits are more affordable than buying pieces individually. Take a look at different sources to determine what will work best for you.
Most of my equipment is several years old and the exact models are not manufactured any longer. I've selected a few options for you to preview. Look around and find what works best for you.
- Jar lifter
- Wide mouth funnel
- Canning kits
Other useful equipment
- Measuring cups
- Measuring spoons
- Cooling rack
- Pot holders
- Kitchen towels
- Timer
Steps for water bath canning
- Fill your canning pot about halfway full of water and place rack inside. You may need to add additional water after adding your jars
- Place your canner on a burner and begin heating until water simmers (180°F) for hot pack foods or to 140°F for raw packed foods. This helps prevent any cracking of the jars when added to the canner.
- Follow the recipe for food you are canning and place contents into jars leaving the dictated amount of headspace. Remove bubbles from jar by gently tapping jar on the counter and by running a debubbler around the inside of the jar.
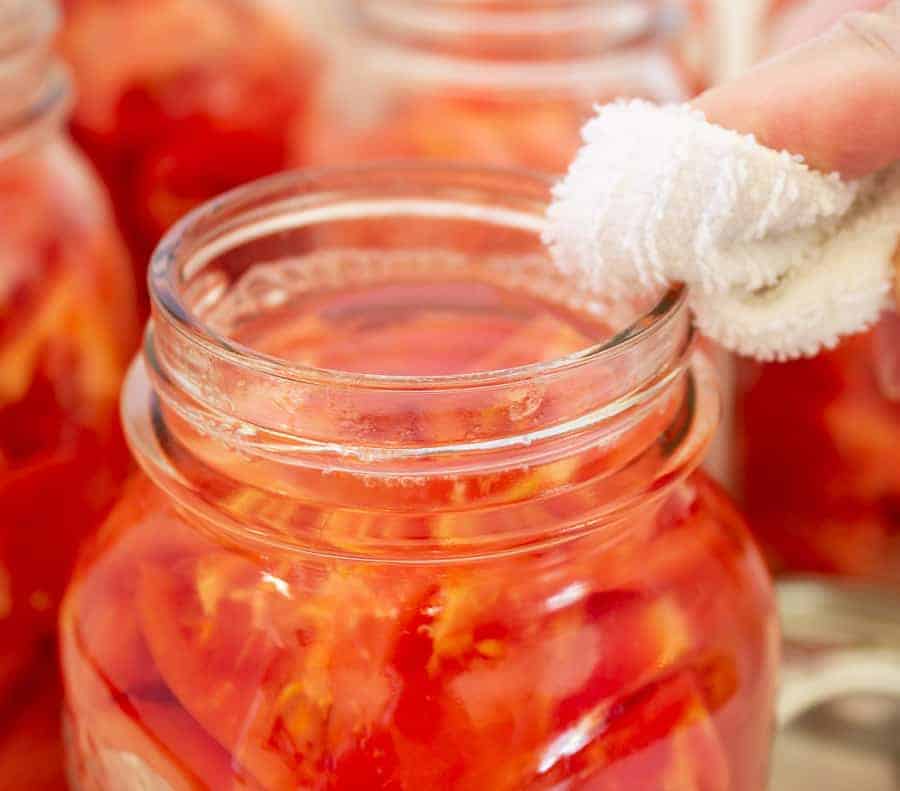
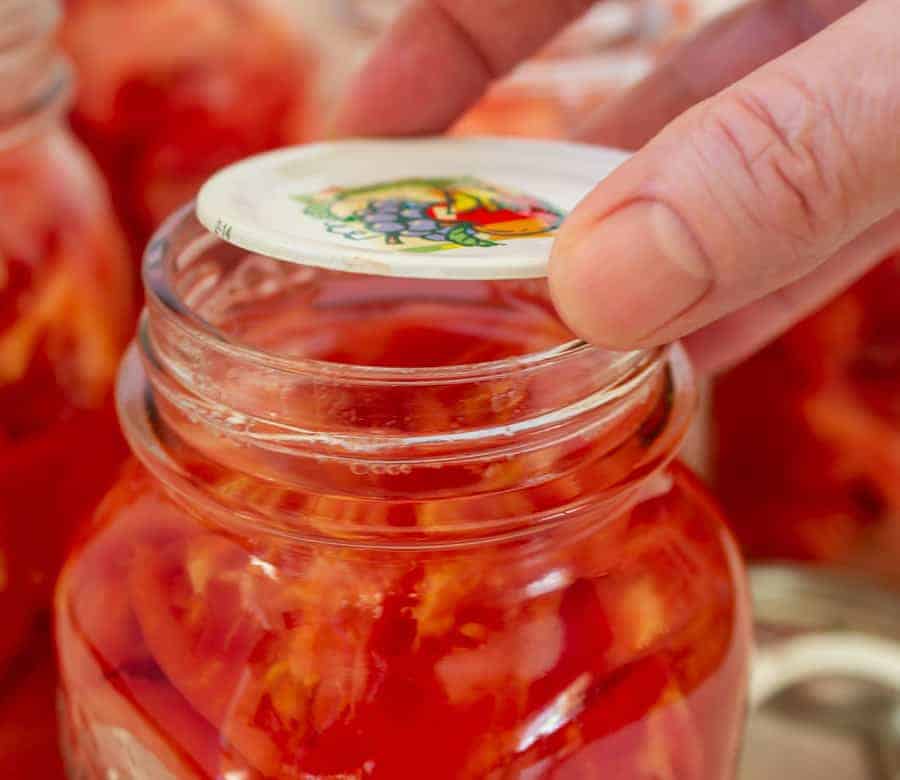
- Wipe down rim and place lid and ring on jar. Tighten ring, but don't over tighten. Just give it a firm turn.
- Place jars into canner and add additional hot water to canner so you have at least one inch of water over the top of the jars.
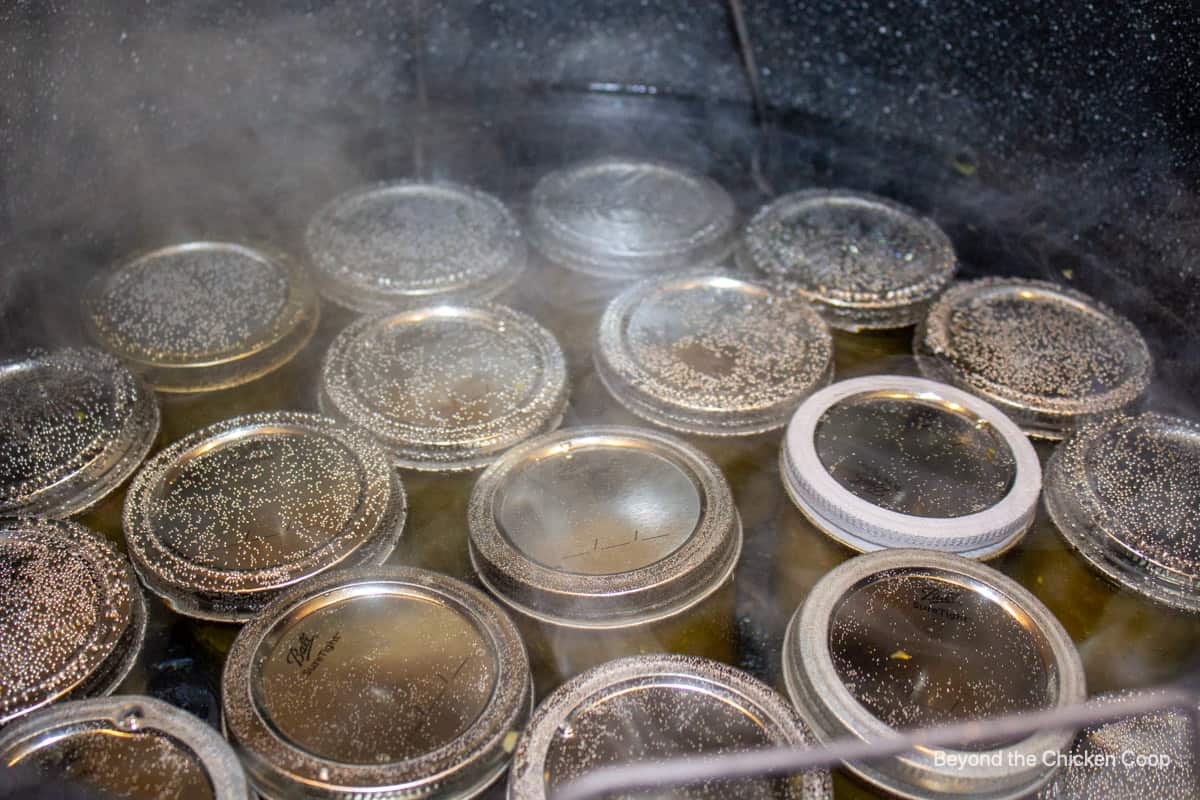
- Place lid on canner and turn heat up to high until water comes to a full rolling boil.
- Once the water is boiling, set timer to required time (adjusting for your altitude). Make certain water continues to boil and the lid remains on.
- When the amount of processing time is up, turn off heat. Wait 5 minutes and remove lid. Wait an additional 5 minutes and then using jar lifter, carefully remove jars, trying to keep them fully upright and place jars on cooling rack.
- Note - the additional time once the heat is turned off is not required for safe processing. However, it does help prevent siphoning of the food from the jars.
- Allow jars to fully cool (12-24 hour) before touching the jars
- Remove rings and test seals. The center should not have any up and down movement and the lid should be sealed to the jar.
- Wash the outside of the jar and label jar with contents and date.
- Store in cool, dry place.
Elevation adjustment
Water bath canning kills bacteria within the jars when boiled at 212°F for a precise amount of time. Boiling temperature varies depending on your elevation and additional time must be added to processing time.
Know your elevation and add the correct time to your processing time. Refer to the chart below for additional processing times. This should be added every single time you are water bath canning!
| Altitude Feet | Increase Processing Time |
|---|---|
| 1,001- 3,000 3,001- 6,000 6,001- 8,000 8,001-10,000 | 5 minutes 10 minutes 15 minutes 20 minutes |
A Note on Home Canned Food
Improperly home canned food can carry the risk of causing botulism. If eaten, this can cause a serious form of food poisoning that can lead to paralysis or death. Please follow safety procedures and inspect your food before consuming.
- Always inspect your home canned food before eating
- If in doubt, throw it out!!! The FDA recommends throwing out the food and the jar.
- Do not taste if in doubt!
- Throw it out if -
- the can is bulging, leaking or swollen
- the container looks damaged or abnormal
- the container spurts liquid or foam when opened
- the food is moldy, discolored or smells bad
- the seal is no longer intact when you examine the food
Frequently asked questions
When you remove the jars from the water bath canner, you will begin to hear a pinging as the jars seal.
Once the jars have fully cooled (12-24 hours) touch the center of the lid. If there is no up or down movement, the lids have sealed.
Remove the rings and further check to make certain the lids are sealed to the jars.
Jars not sealing happens from time to time. When a jar hasn't sealed, refrigerate the jar and consume the contents within 1-2 weeks, depending on the contents. Jams and jellies will last longer than 2 weeks.
Siphoning is when liquid is forced out of a jar due to change in temperature. When removing a hot jar from boiling water, let the jar sit in the water for 5-10 minutes with the heat off to help bring the temperature down slightly.
Recipes
I have several recipes that are processed using a water bath canner. Some include:
- Canning tomatoes
- How to can peaches
- Canning cherries
- Pickled peppers
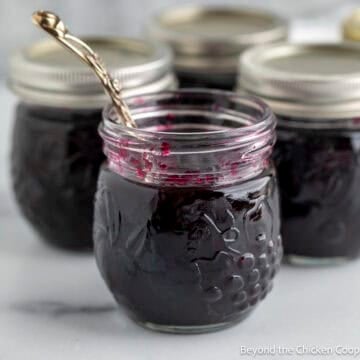
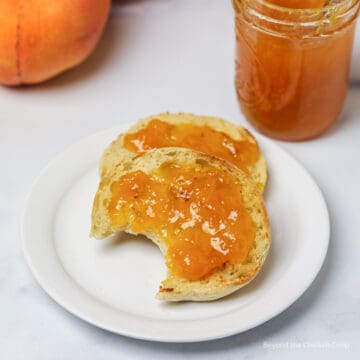
- Blackberry jam
- Rhubarb jam
- Green tomato relish
- Tomato sauce
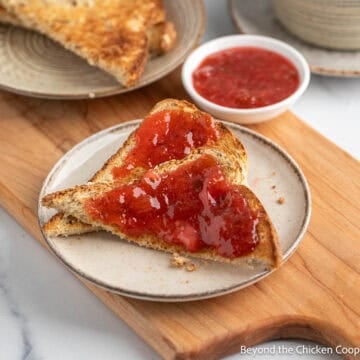
- Raspberry jam
- Peach Pie Filling
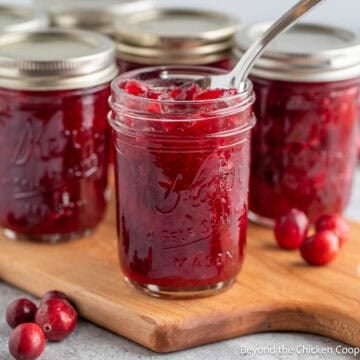
- How to can cranberry sauce
Listen to the podcast
Listen to the podcast episode from Preserving the Pantry where I talk about what foods to water bath can and what needs to be pressure canned.
If you make any of my canning recipes, I’d love to hear about it! Leave a comment below and snap a picture and tag me on Instagram @beyondthechickencoop
Check out all my home canning recipes, including water bath and pressure canning recipes.
Resources
Terssia Kruger says
Can one do pickle curry fish the water bath method?
Kathy says
I'm afraid I'm unfamiliar with pickled curry fish.
Velva says
Kathy, thanks for all this great information on canning. Very useful. thanks again,
Kathy says
Thank you! Hope the information is useful for you!