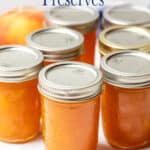
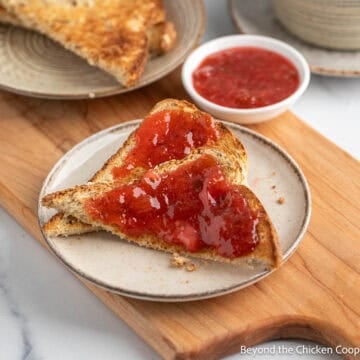
Homemade peach preserves is a sweet and flavorful spread made from fresh peaches, sugar, and lemon juice.
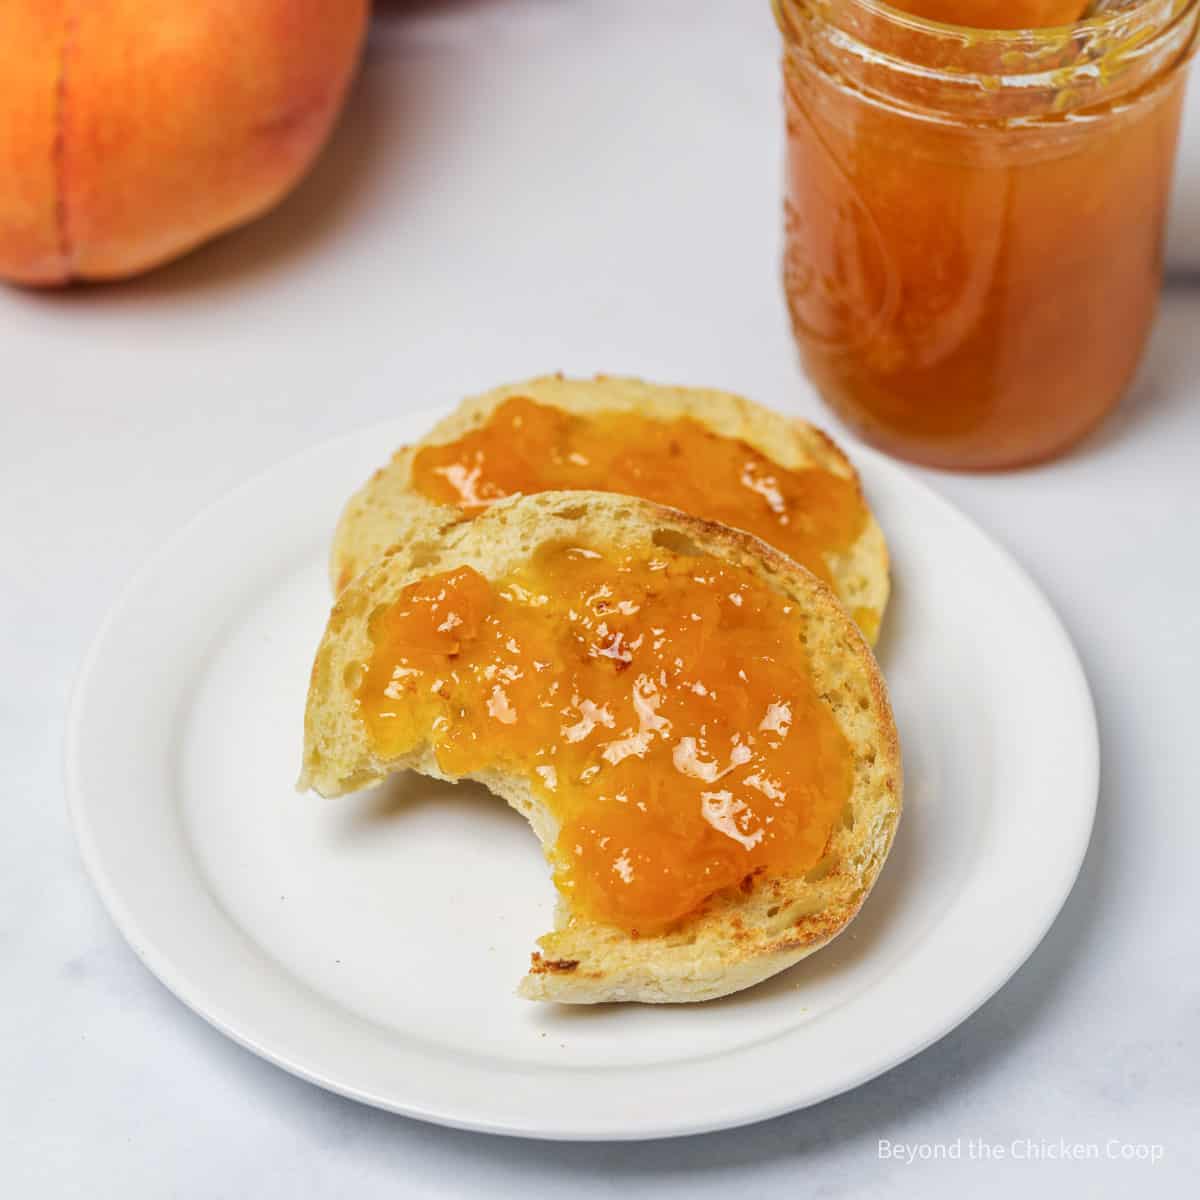
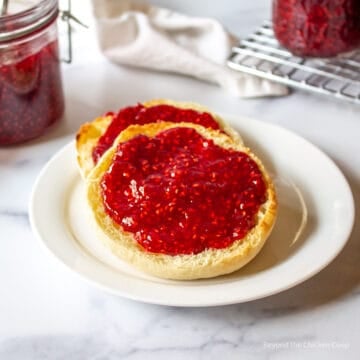
This homemade jam is perfect for spreading on toast or biscuits, and can also be used as a topping for yogurt or ice cream. Once made it can be stored in airtight containers in the refrigerator for several weeks, or canned for longer-term storage.
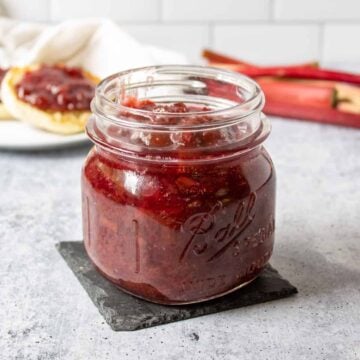
Homemade peach jam
Peach preserves or peach jam are just one way to enjoy fresh peaches all year long. Make from delicious fresh peaches and you'll have that delicious peach taste in a shelf-stable jam you can use all year long.
Use this peach jam on sandwiches, toast or add to dessert recipes like in these thumbprint cookies or these puff pastry pinwheels.
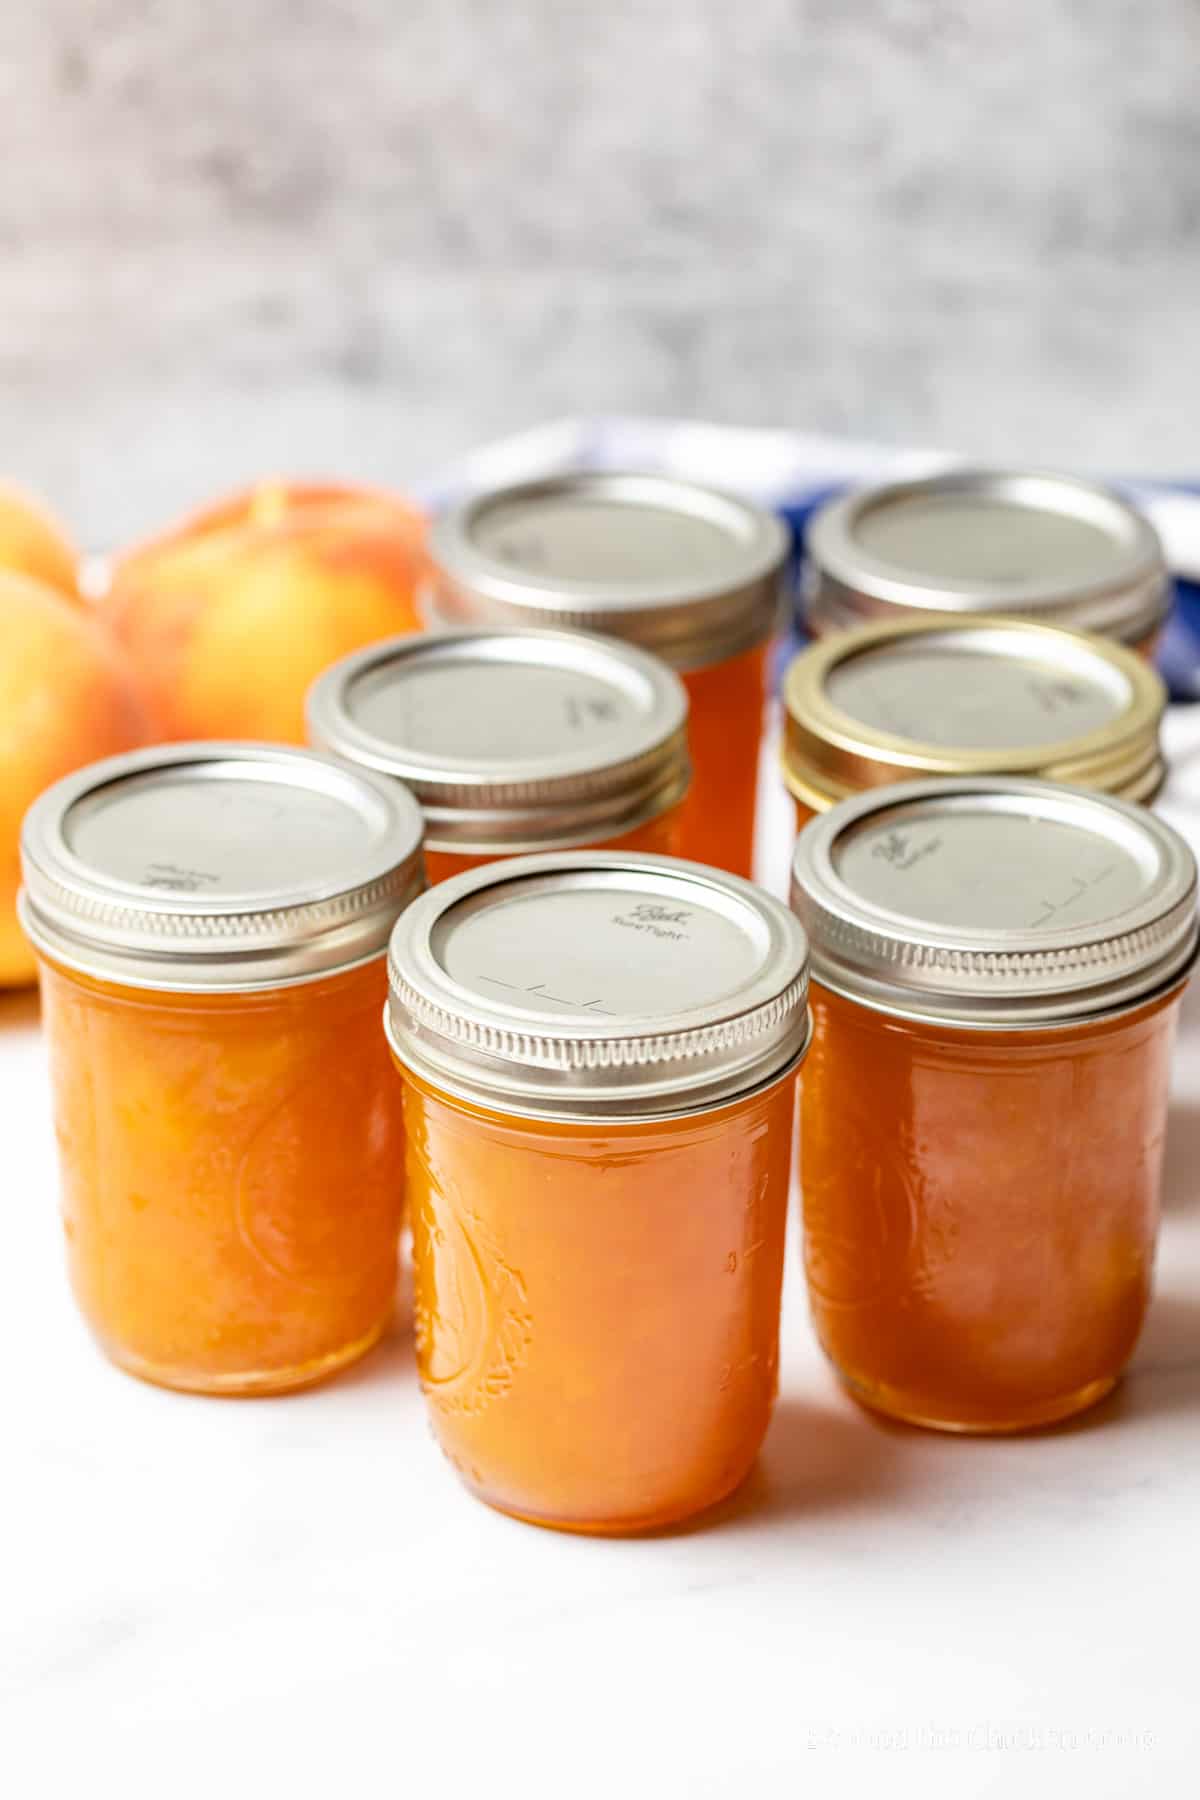
Homemade preserves also make lovely gifts during the holidays!
If you are new to canning, be certain to read Water Bath Canning before you begin.
Preserves, jam or jelly
Is this peach preserves, peach jam or peach jelly? What is the difference?
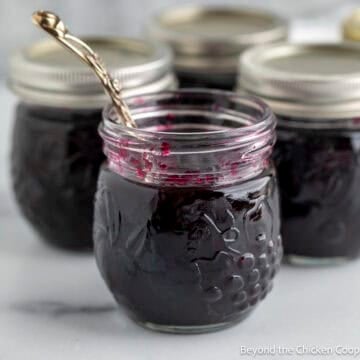
Preserves and jam are very similar and I call this recipe both preserves and jam. Preserves typically have chunks of fruit and jam is the fruit that has been crushed or mashed.
Jelly is made from just the juice of the fruit and none of the pulp or seeds.
Ingredients for peach preserves
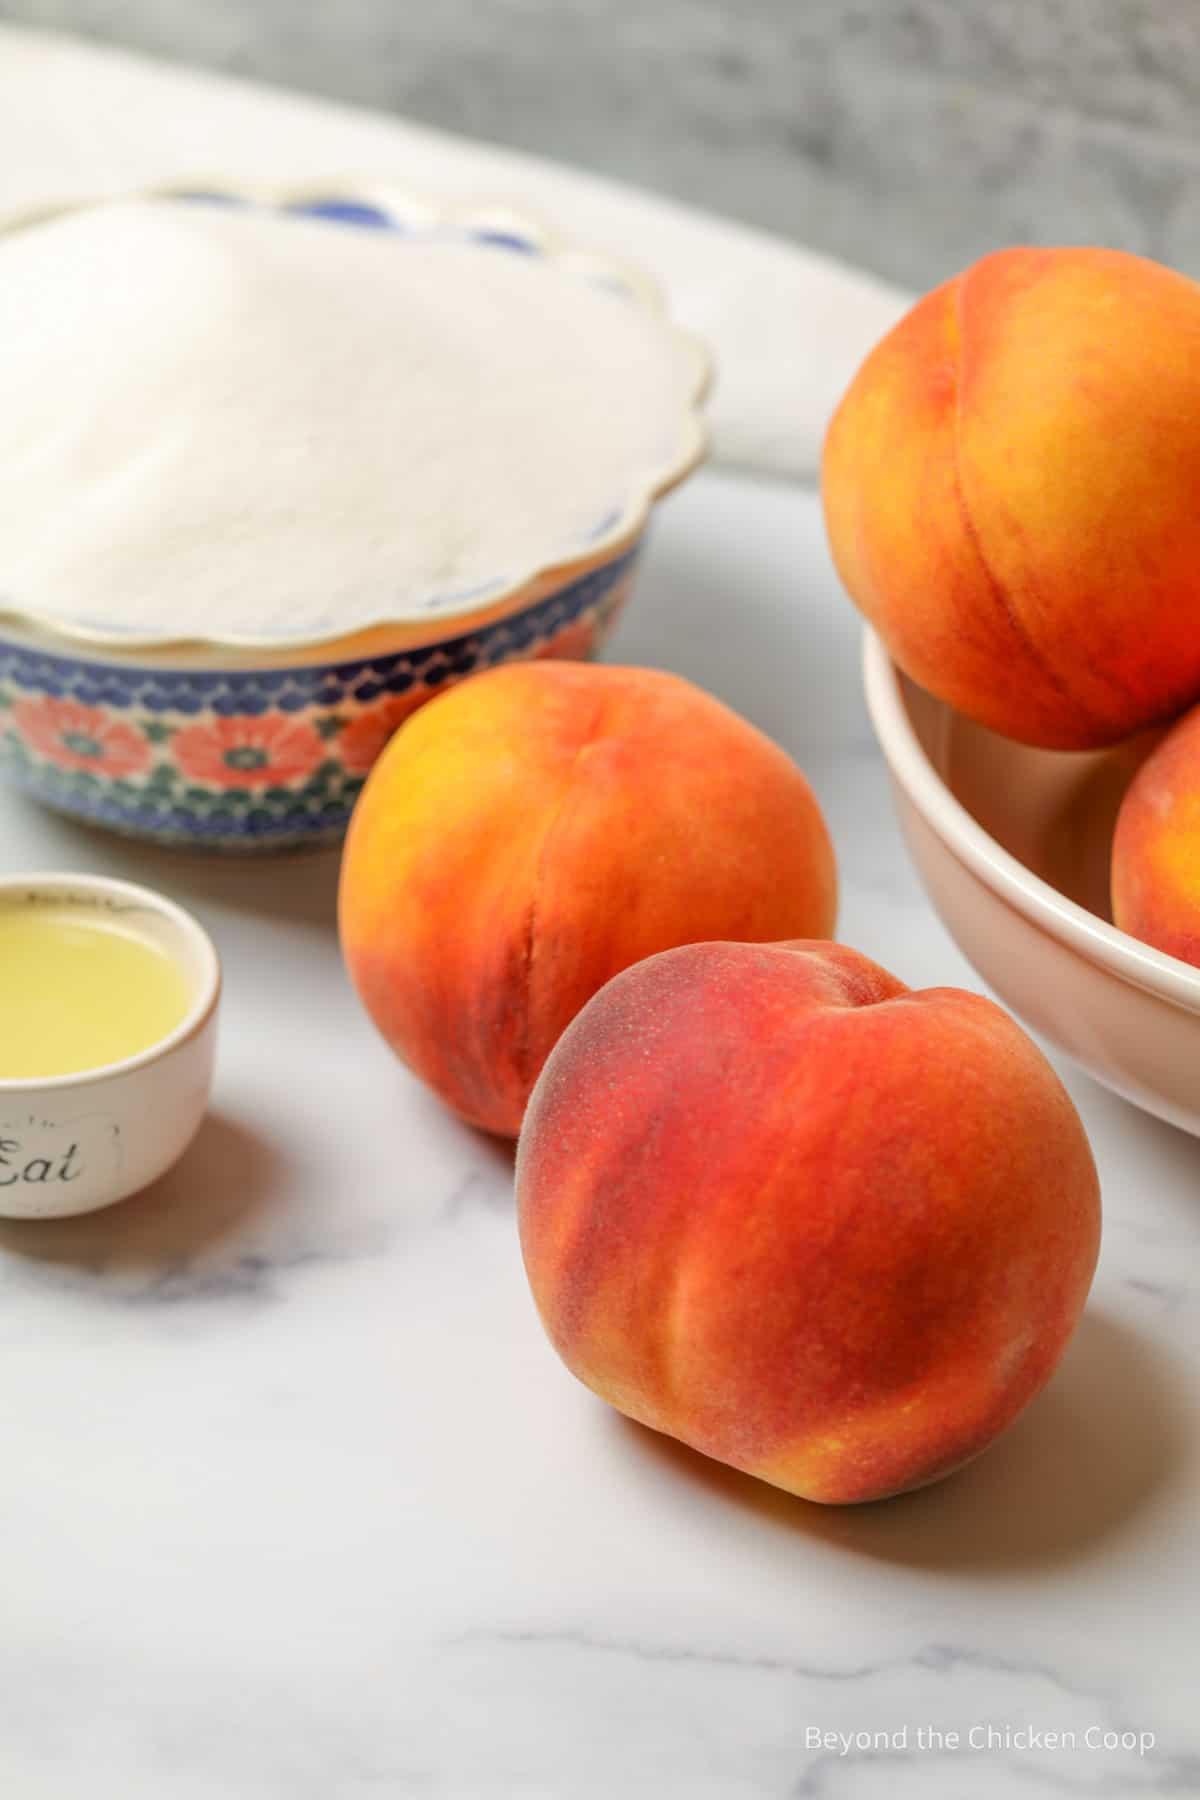
- Peaches - look for delicious, ripe yellow peaches.
- Sugar - this recipe uses granulated sugar
- Lemon juice - freshly squeezed or bottled lemon juice. The lemon juice helps maintain the color of the peaches, balances the acidity level and adds extra natural pectin.
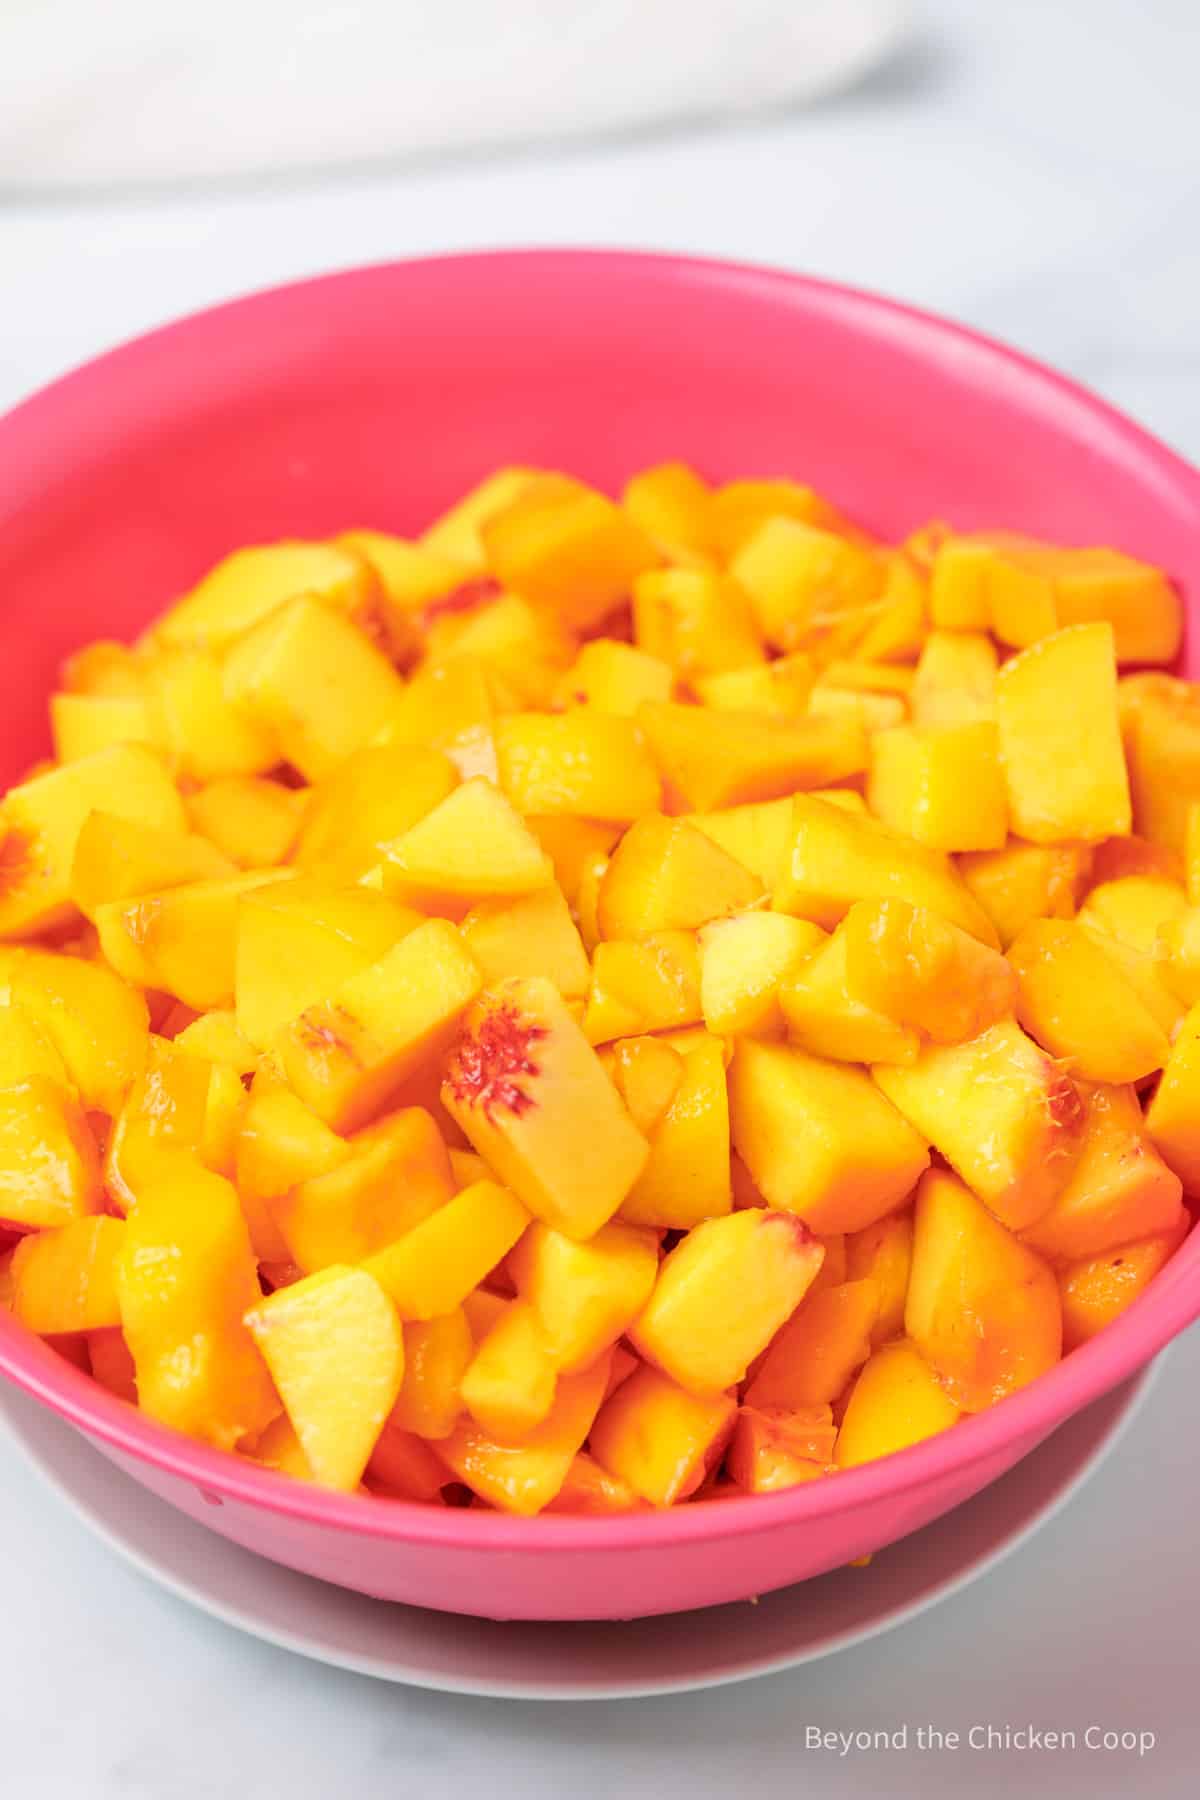
Step by step directions
- Peel, pit and chop peaches
- Place chopped peaches in a bowl filled with cold water with ¼ cup of lemon juice to help maintain color.
- Drain peaches and place in a large pot with sugar and lemon juice
- Heat over medium heat and stir until sugar is dissolved
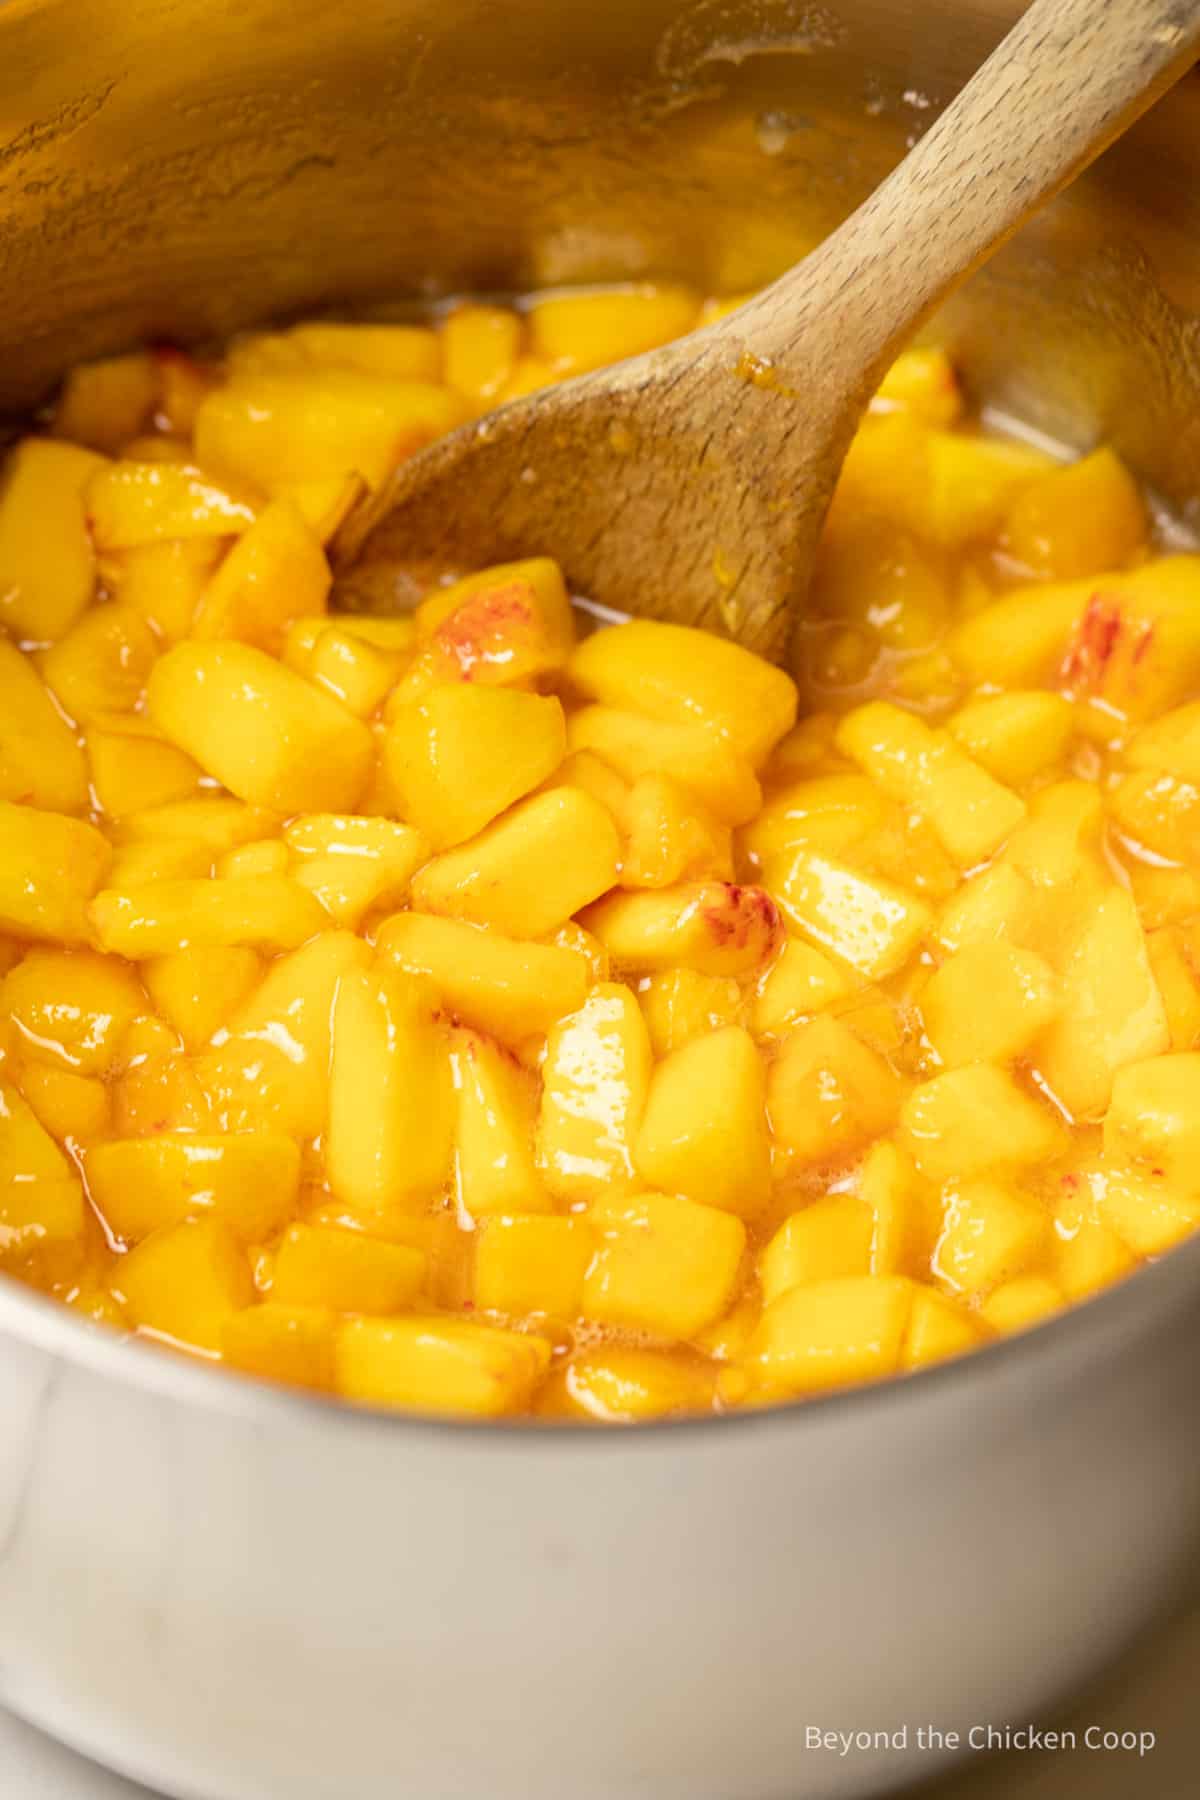
- Continue cooking over medium heat until the mixture comes to a boil
- As the mixture cooks, the peaches will begin to break down. Some varieties of peaches maintain their shape more than others. If needed, use an immersion blender to help break down peaches. I did just a few quick whirls to help blend it a bit.
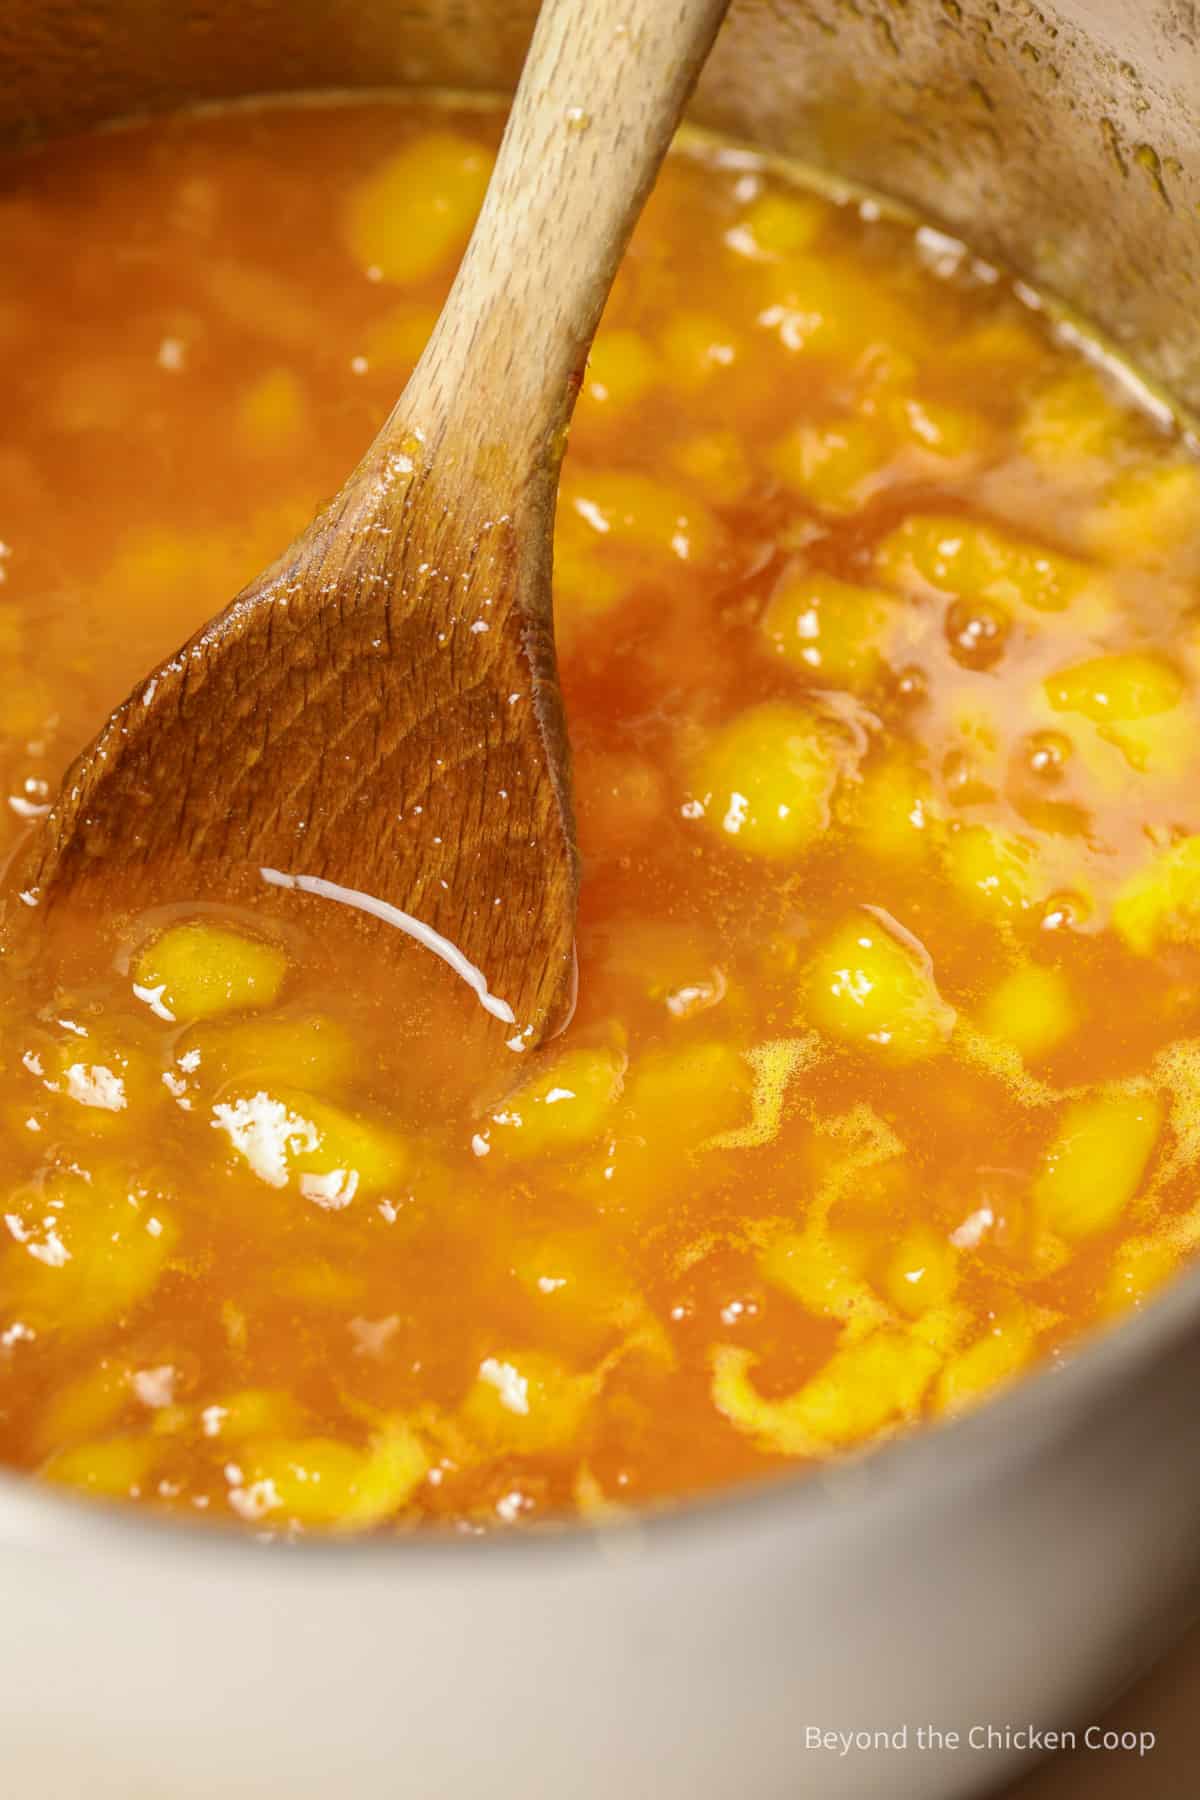
- Cook until jam reaches the gelling stage - test with the sheeting method, the cold plate method or the temperature method (see below)
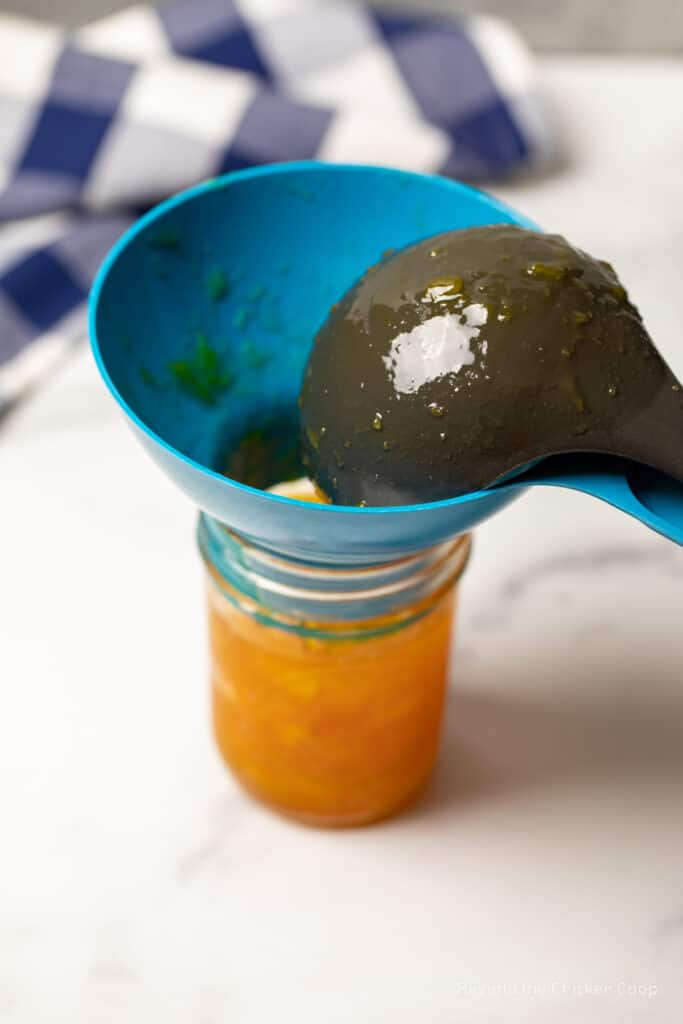
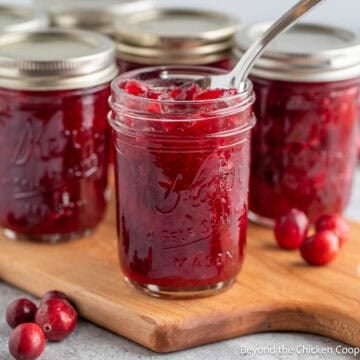
- Once jam has reached the gel stage, place into canning jars leaving a ¼ inch head space
- Remove air bubbles, wipe down rims, add lids and rings and place in a water bath canner with simmering water
- Repeat with remaining jars
- Make certain there is at least one inch of water covering the top of the jars
- Place lid on canner and turn the heat up
- Once the water comes to a rolling boil, start your processing time. Process pints and half pints for 10 minutes adding additional time for your elevation. (see chart below)
- When time is up, turn off heat and remove the lid. Allow jars to sit in the water for an additional 5 minutes. Then remove jars and place on a cooling rack.
- Allow jars to fully cool for 12 hours before touching jars. Do not tighten rings or check seal during this time.
- After 12 hours, remove the rings and check the seal.
- Wash the outside of the jars, label jars and store in a cool, dark place.
How do I know when my jam is done?
Knowing when your jam is set, or done is the hardest part of making jam.
When cooking without commercial pectin, you need to rely on a spoon test, a plate test or check the temperature. I like to use at least two methods, and often all three methods, when making jam.
Spoon test
The spoon test relies on watching the sheeting or drops as they come off the spoon while it is cooking. When the jam first starts boiling it comes off in drops or thin streams.
When the jam has set, the jam will come off the spoon in more of a sheet. This takes some time to learn what this looks like and even though I've been making jam for years, I always rely on a second method.
Plate test
Have a small plate chilling in the refrigerator. When you think the jam has set, place a spoonful of hot jam on the cold plate. Wait one minute and draw a line through the center of the jam. If the line holds its shape and doesn't run, the jam is set.
Temperature test
Jam sets at 220° at sea level. However the exact temperature will vary, depending on your altitude. You will deduct 2° for every thousand feet above sea level. I'm at about 2000 feet above sea level and my jam sets between 216° - 218°. Even though the temperature test is reliable, many thermometers are not. I use the temperature test as a guide, but if the spoon test and the plate test tell me my jam is done, I pull it off the heat.
I watch my jam closely and stir often. Every time I stir, I'm looking at the jam coming off my spoon. I also watch the bubbles. They begin to get smaller and make a different sound as it gets to the get stage.
Altitude adjustment for water bath canning
When water bath canning, you need to add additional time depending on your altitude.
| Altitude Feet | Increase Processing Time |
|---|---|
| 1,001- 3,000 3,001- 6,000 6,001- 8,000 8,001-10,000 | 5 minutes 10 minutes 15 minutes 20 minutes |
Recipe tips
- The sugar level can be adjusted to suit your needs
- Use ripe, good-quality yellow peaches
- Have everything you'll need for this recipe ready and set out before you begin making jam - including the equipment
- Use a heavy pot for making jam. This helps maintain an even heat and helps prevent burning.
- Be certain to stir your jam often
- Your saucepan should be more than double the size of the ingredients. Jam expands while it's boiling and can easily boil over if your pan is too small.
Frequently asked questions
When a jam doesn't set up you can either recook the jam until it does reach the gel stage or use the runny jam as a syrup on pancakes and waffles or over ice cream.
When water bath processed and sealed the jars are best if consumed within the first year, however, they will still be good for up to two years.
Once a jar is opened it should be refrigerated and consumed within 3 months.
A Note on Home Canned Food
Improperly home canned food can carry the risk of causing botulism. If eaten, this can cause a serious form of food poisoning that can lead to paralysis or death. Please follow safety procedures and inspect your food before consuming.
- Always inspect your home canned food before eating
- If in doubt, throw it out!!! The FDA recommends throwing out the food and the jar.
- Do not taste if in doubt!
- Throw it out if -
- the can is bulging, leaking or swollen
- the container looks damaged or abnormal
- the container spurts liquid or foam when opened
- the food is moldy, discolored or smells bad
- the seal is no longer intact when you examine the food
More fresh peach recipes
- How to Can Peaches
- How to Freeze Fresh Peaches
- Canning Peach Pie Filling
- Peach Liqueur
- Peach Ice Cream
More delicious jam recipes
If you make this recipe, I’d love to hear about it! Leave a comment below and snap a picture and tag me on Instagram @beyondthechickencoop
Be certain to check out all my home canning recipes!

Peach Preserves
Equipment
- Measuring Cups
- Measuring Spoons
- Canning Jars 8 ounce
- Large Canning Pot
Ingredients
- 8 cups peaches (peeled and diced)
- ¼ cup lemon juice (for soaking the peaches)
- 5 cups sugar
- ¼ cup lemon juice (for the jam)
Instructions
- Place chopped peaches in a bowl filled with cold water with ¼ cup of lemon juice to help maintain color.8 cups peaches, ¼ cup lemon juice
- Drain peaches and place in a large pot with sugar and lemon juice. Heat over medium heat and stir until sugar is dissolved5 cups sugar, ¼ cup lemon juice
- Continue cooking over medium heat until the mixture comes to a boil
- As the mixture cooks, the peaches will begin to break down. Some varieties of peaches maintain their shape more than others. If needed, use an immersion blender to help break down peaches. I did just a few quick whirls to help blend it a bit.
- Cook until jam reaches the gelling stage - test with the sheeting method, the cold plate method or by the temperature method (see below)
- Once jam has reached the gel stage, place into canning jars leaving a ¼ inch head space
- Remove air bubbles, wipe down rims, add lids and rings and place in a water bath canner with simmering water
- Repeat with remaining jars
- Make certain there is at least one inch of water covering the top of the jars
- Place lid on canner and turn the heat up
- Once the water comes to a rolling boil, start your processing time. Process pints and half pints for 10 minutes adding additional time for your elevation. (see chart below)
- When time is up, turn off heat and remove the lid. Allow jars to sit in the water for an additional 5 minutes. Then remove jars and place on a cooling rack.
- Allow jars to fully cool for 12 hours before touching jars. Do not tighten rings or check seal during this time.
- After the 12 hours, remove the rings and check the seal.
- Wash the outside of the jars, label jars and store in a cool, dark place.
Notes
- Depending on the size of your peaches, each peach will yield between ¾ -1 cup of diced peaches
- The sugar level can be adjusted to suit your needs
- Use ripe, good quality yellow peaches
- Have everything you'll need for this recipe ready and set out before you begin making jam - including the equipment
- Use a heavy pot for making jam. This helps maintain an even heat and helps prevent burning.
- Be certain to stir your jam often
- Your saucepan should be more than double the size of the ingredients. Jam expands while it's boiling and can easily boil over if your pan is too small.
- Use half-pint or pint sized jars. Both sizes will be processed for 10 minutes with additional time added for your elevation.
- Always adjust processing times for your elevation:
- 1,001- 3,000 ft. - add 5 minutes
- 3,001- 6,000 ft. - add 10 minutes
- 6,001- 8,000 ft. - add 15 minutes
- 8,001-10,000 ft. - add 20 minutes
Nutritional Disclaimer:
Nutritional information is provided as a courtesy and should only be construed as an estimate rather than a guarantee. To obtain the most precise nutritional information in a provided recipe, you should calculate the nutritional information with the exact ingredients you are using when preparing the recipe using your preferred nutrition calculator.
David @ Spiced says
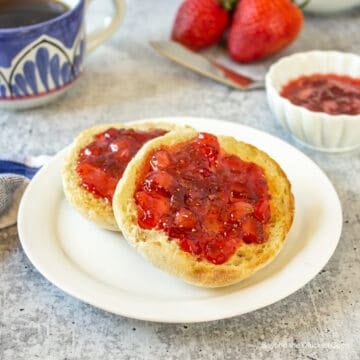
This is one of our favorite ways to use peaches, too! Of course, eating those peaches straight is our favorite way...but turning 'em into preserves helps us save those peaches so we can enjoy them later, too. A good toasted English muffin with peach preserves is a thing of beauty!!
Kathy says
This jam is perfect for so many things!!! I love eating it on a toasted English muffin!
Valentina says
I have been loving ALL of your peach recipes, and this one is my favorite way to preserve peach season. 🙂 ~Valentina
Kathy says
Thanks, Valentina! It's hard to resist delicious fresh peaches. The preserves means I can enjoy the peaches all year long!