
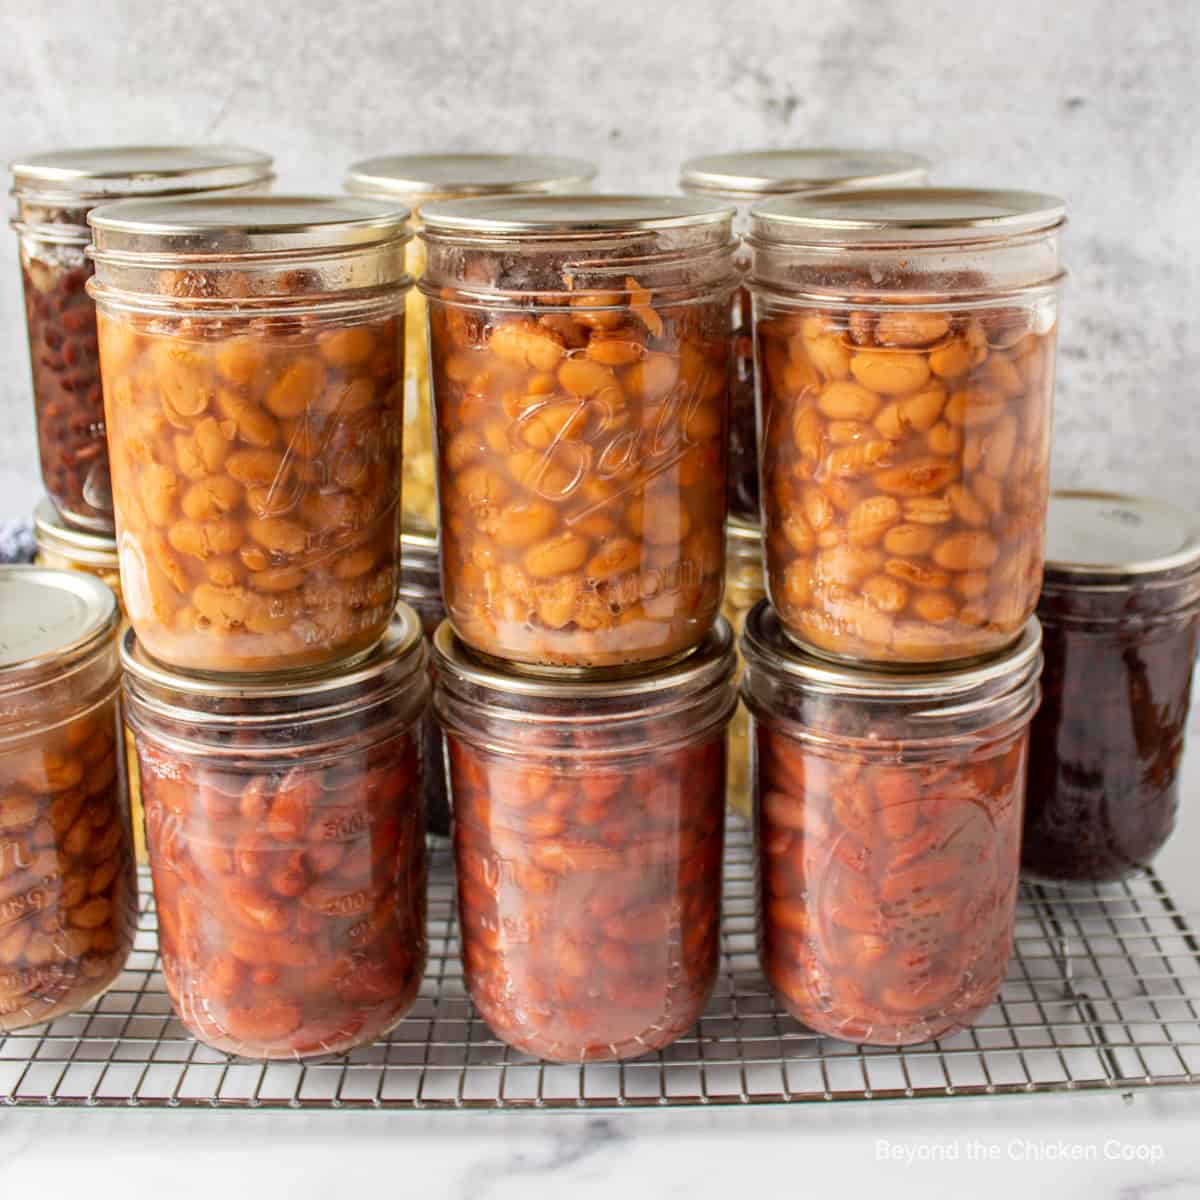
Step-by-step directions for canning dried beans using a pressure canner. Stock your pantry with ready-to-eat beans without buying canned beans at the store.
Canning your own means you're saving money and controlling the ingredients.
Why can dried beans
Canning dried beans just makes good sense. I always have bags of dried beans in my pantry and I love using them when I cook. However, dried beans take a long time to cook.
Even when I use my Instant Pot to cook beans, I still have to plan ahead. I purchase canned beans at the grocery store to quickly add to salads and other dishes. Now my pantry is stocked with my home canned beans.
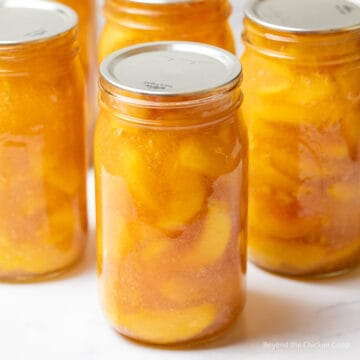
Canning your own, means you have ready-to-eat cans of delicious beans right in your pantry and the cost is so much less than buying the canned ones at the store.
Plus, I like knowing exactly what goes into my food, and canning my own, means I'm in control of what goes in. For these canned beans I've only used dried beans and salt.
The salt is optional and you can leave it out if you'd prefer.
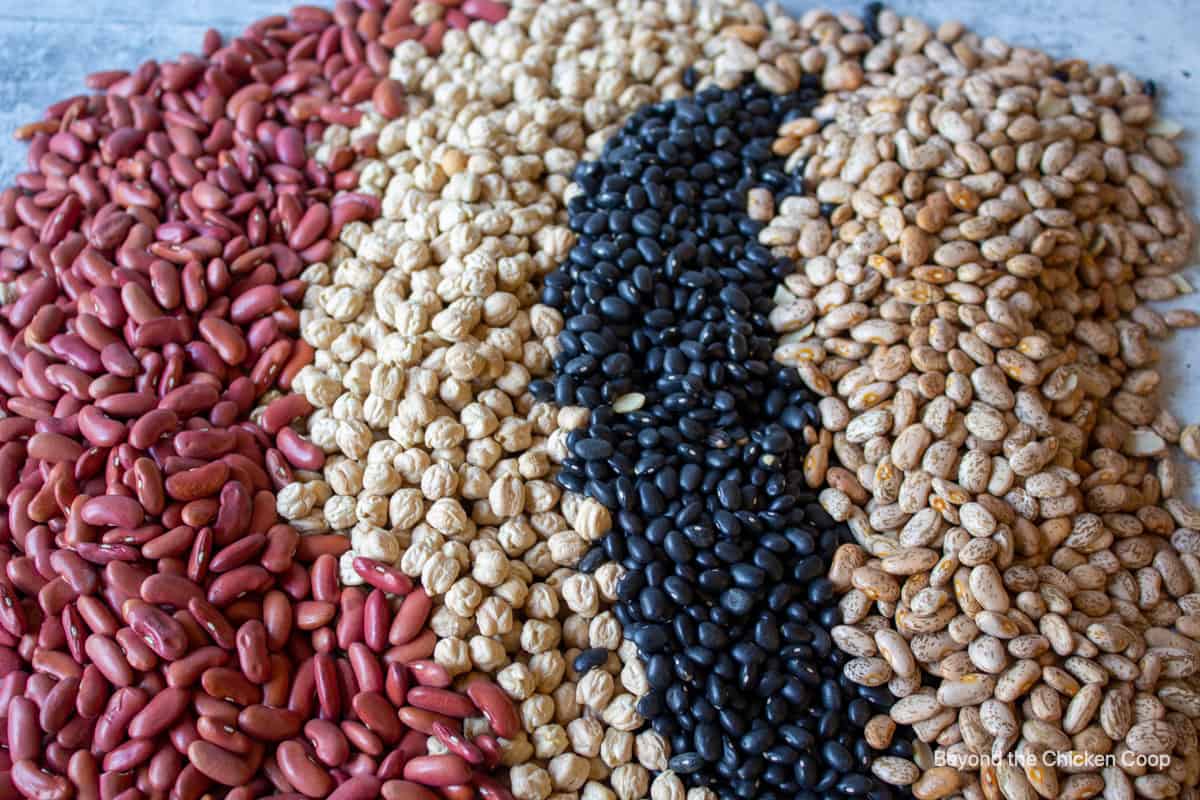
This process works for almost all dried beans. I've canned kidney beans, black beans, pinto beans, and garbanzo beans.
If you've never used a pressure canner before, you'll want to read How to Use a Pressure Canner.
Ingredients
Dried beans - that's it! You'll also need water and adding salt is optional.
- Black beans
- Kidney beans
- Pinto beans
- Garbanzo or chickpeas
- White beans or cannellini beans
- Great northern
Equipment
You do need special equipment to can dried beans. Once you have the equipment, it will last you for many canning cycles.
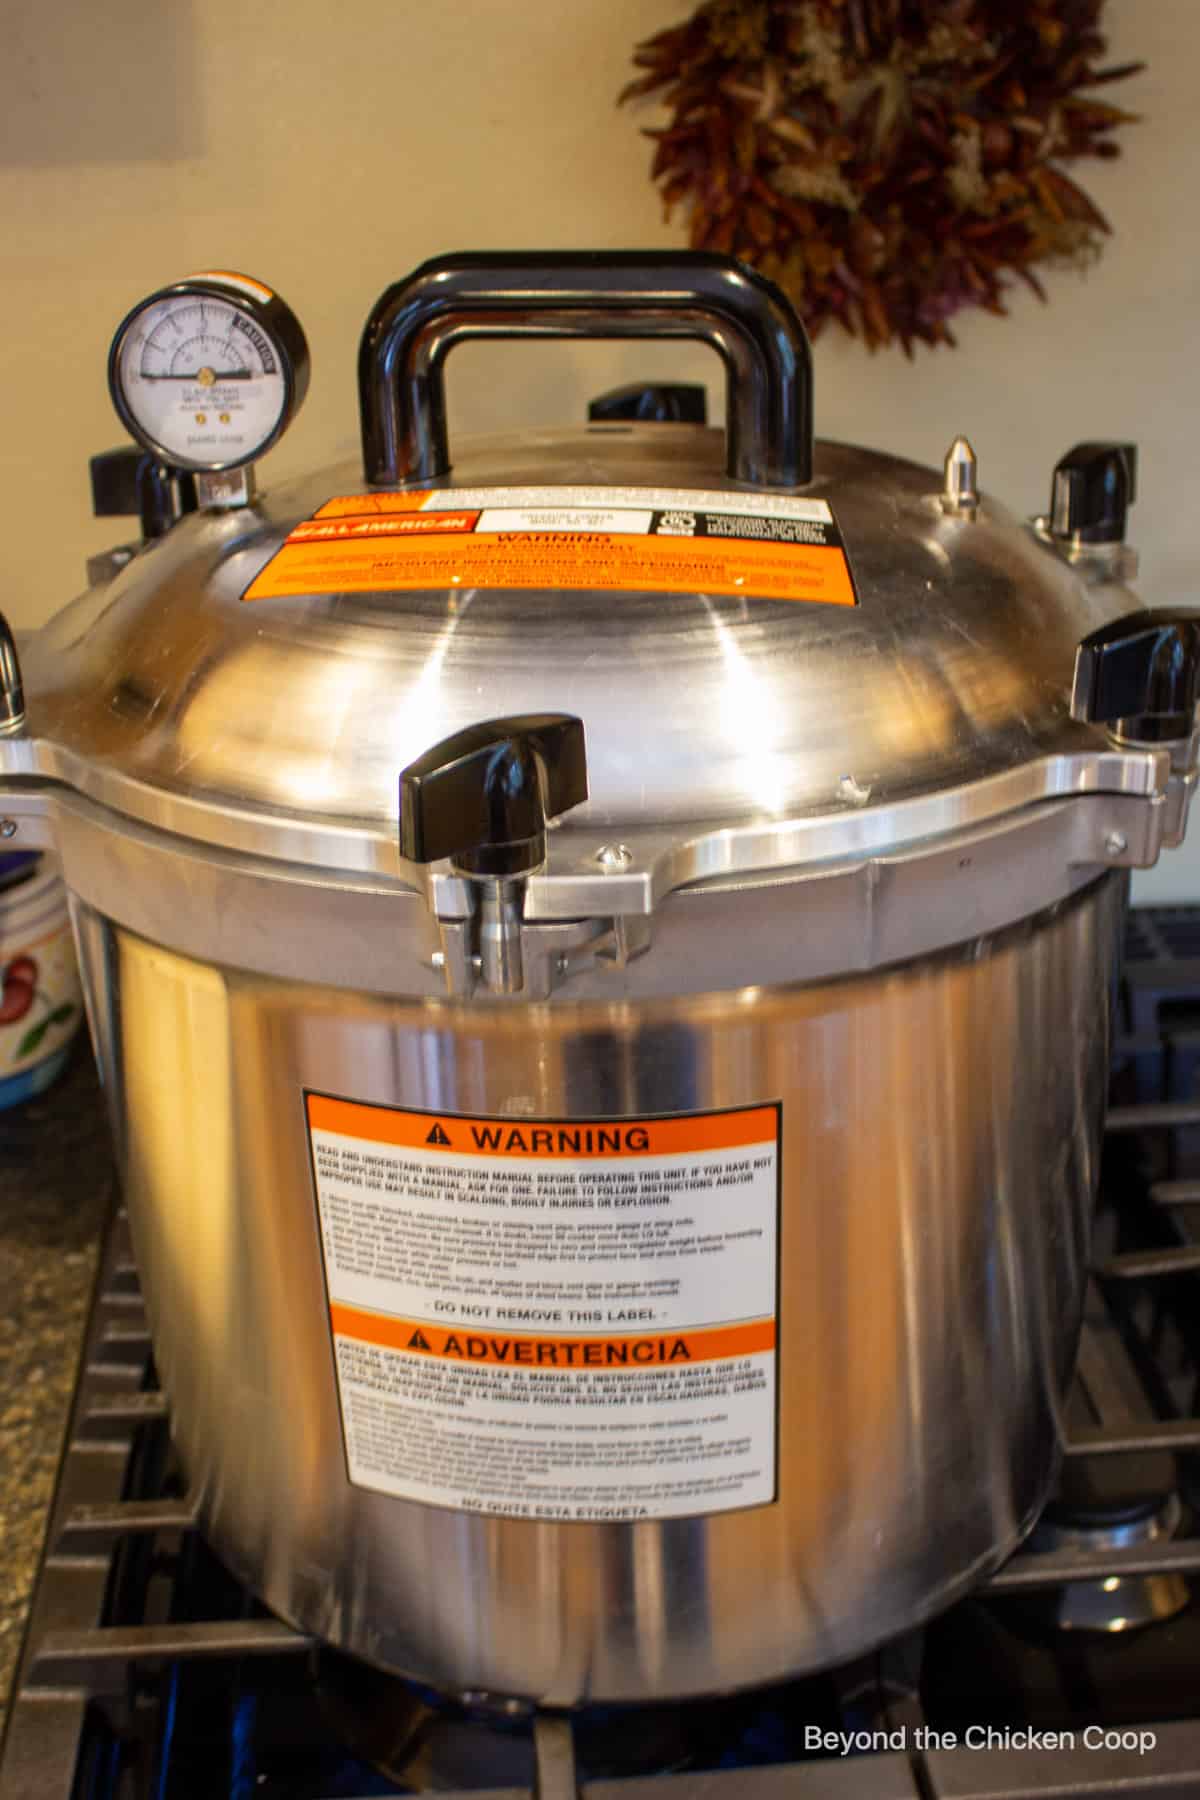
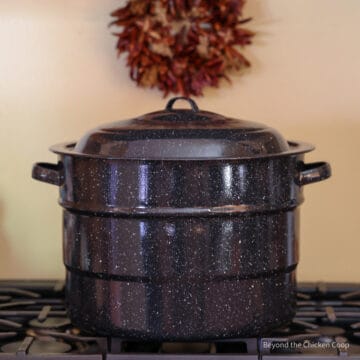
- Pressure canner - You don't need a new one. Check to see if a family member or friend has an older one they don't use any longer. An Instant Pot pressure cooker does not work for canning food.
- Jars - Make certain they are designed for canning. I used pint-sized jars but quart-sized jars work too. Use regular or wide-mouth jars.
- Lids and screw bands - If using new jars, they come with lids and bands. If reusing jars, you'll need to purchase new lids each time you can. You can reuse the bands.
- Jar lifter, funnel and bubble wand - I always use a jar lifter. I think it's absolutely necessary. The funnel is handy and helps keep you jars clean. If you don't have a bubble wand, a plastic disposable knife or a small spatula will work too.
Step-by-step directions
In this section, I share step-by-step photos, cooking methods, techniques, and a general overview. For detailed instructions, temperatures, and timing, check the printable recipe card below.
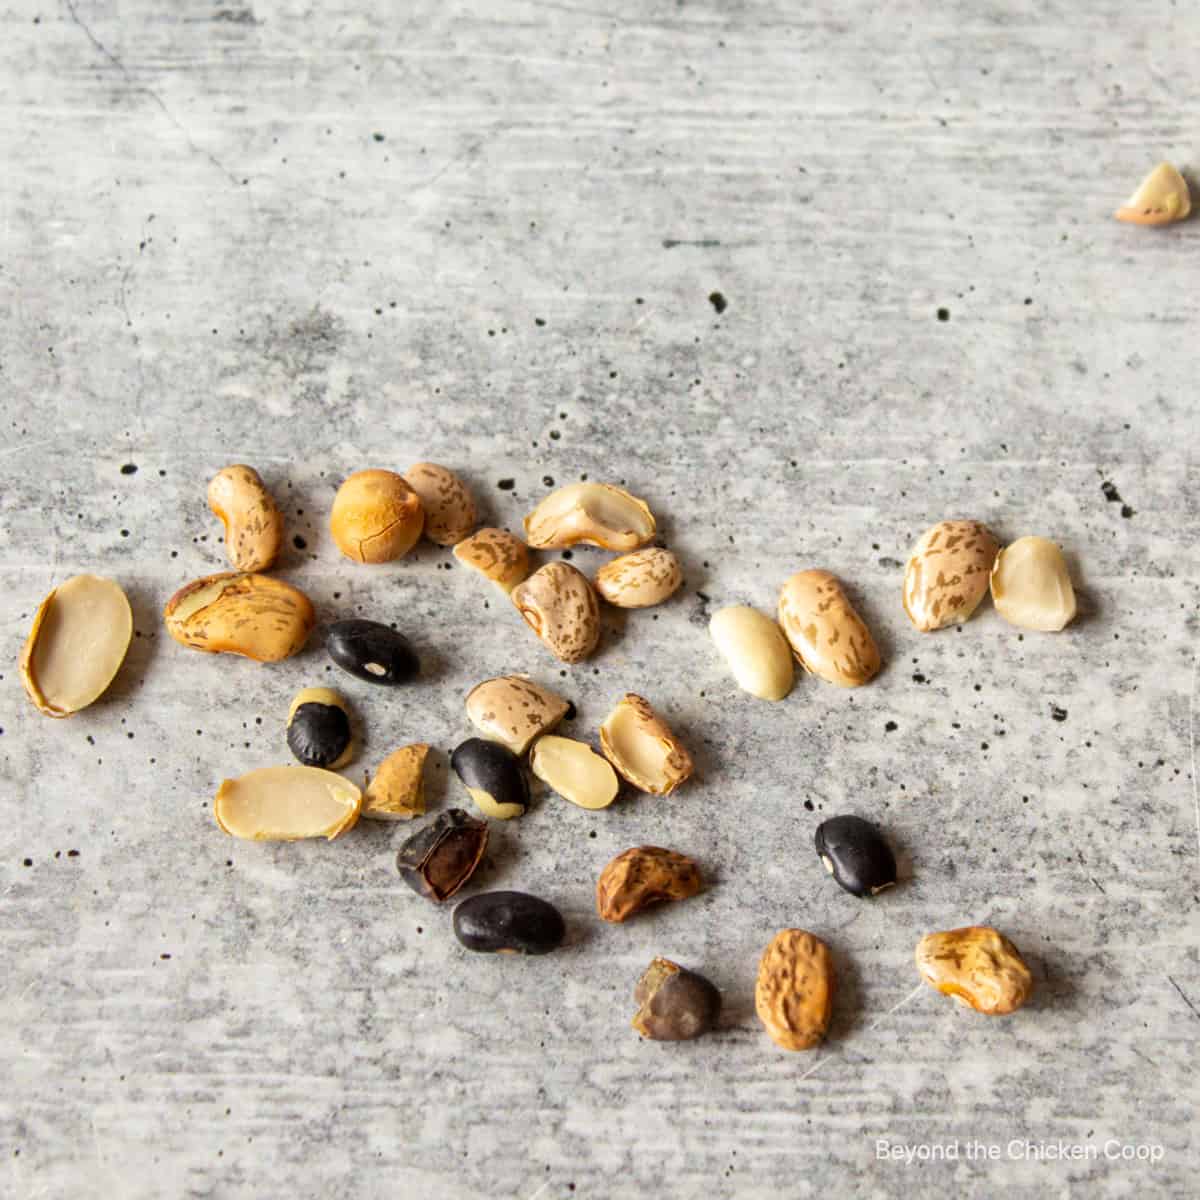
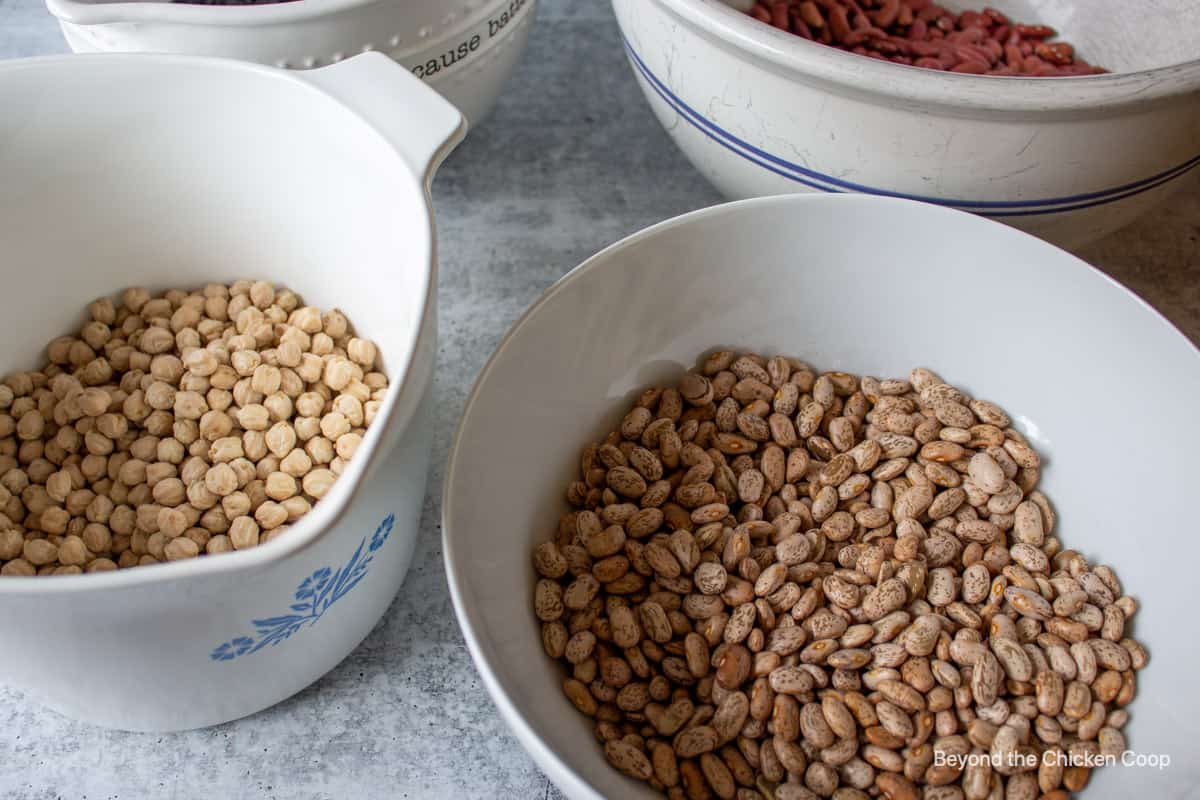
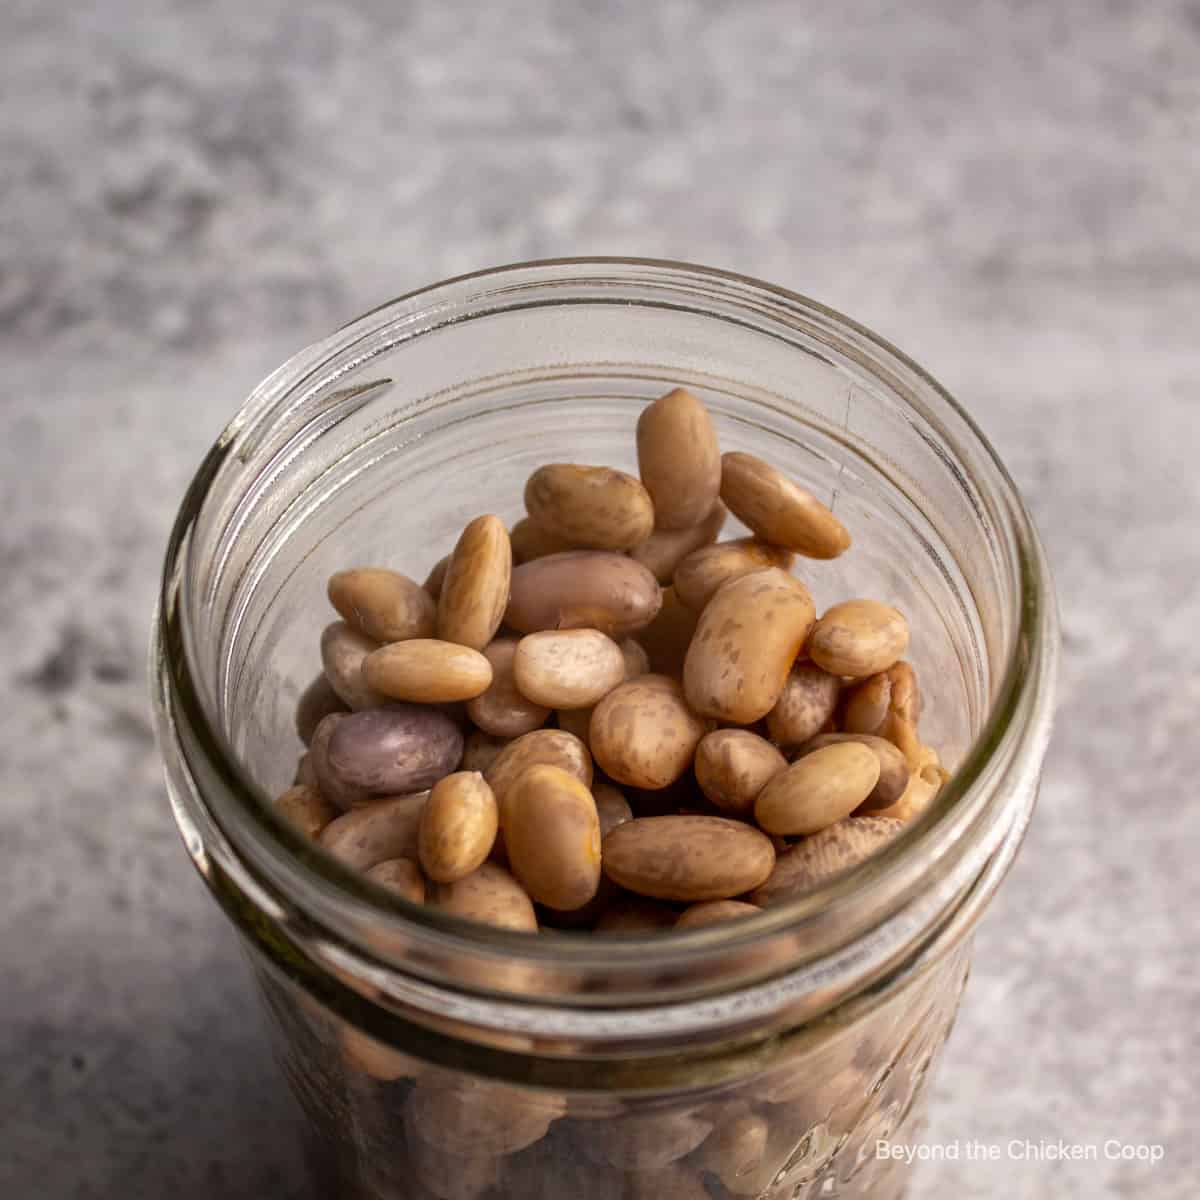
- Sort through beans discarding any dried or shriveled beans
- Soak beans in water for at least 8 hours, or overnight
- You may also use a quick soak method - place beans in a pot, and bring to a boil. Turn off the heat and let soak for 1 hour.
- Drain beans and place in a large pot covered with at least 2 inches of water
- Bring beans to a boil. Reduce heat and simmer for 30 minutes. Beans will not be fully cooked.
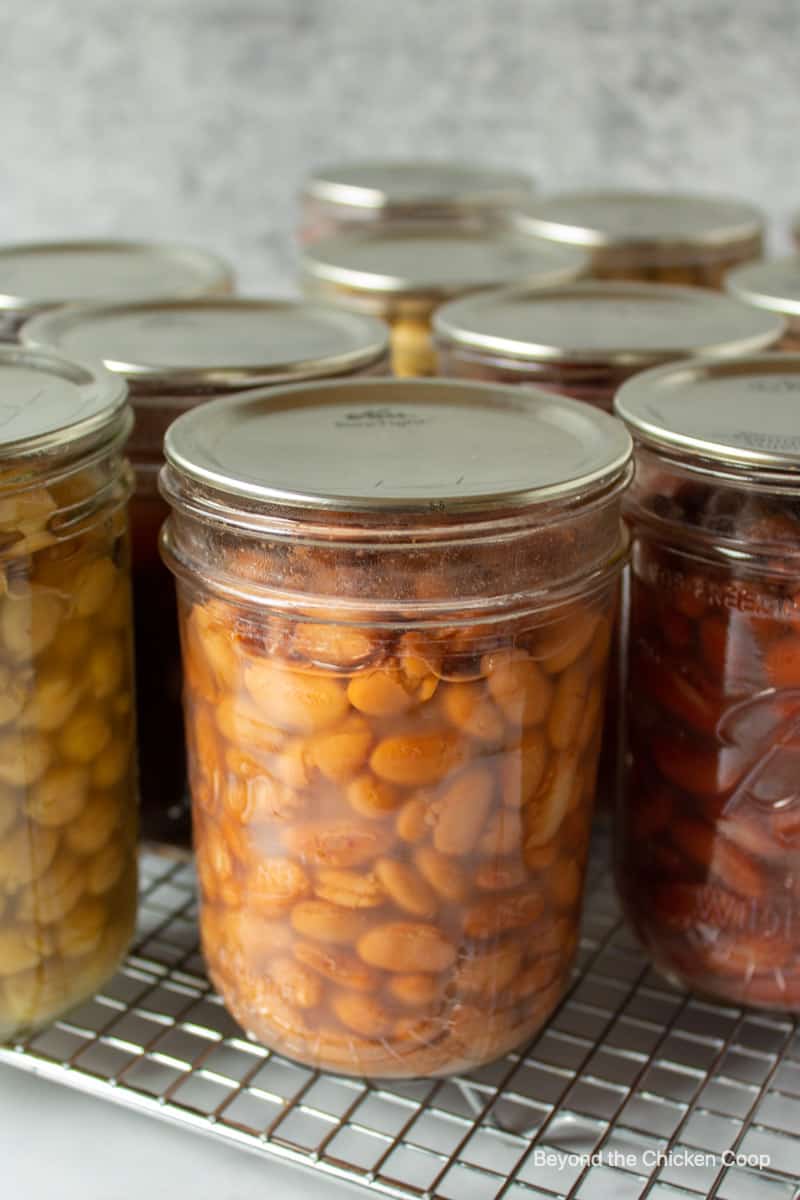
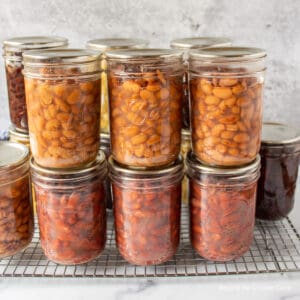
- Ladle beans into clean pint or quart canning jars. Fill to just under 1 inch from the rim.
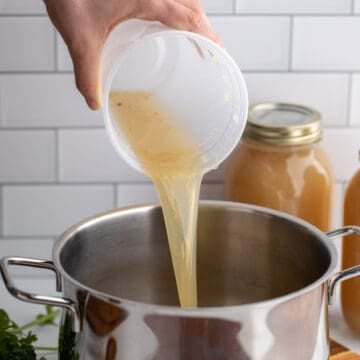
- Ladle hot cooking liquid over beans filling to 1 inch from the rim. This leaves 1 inch of headspace.
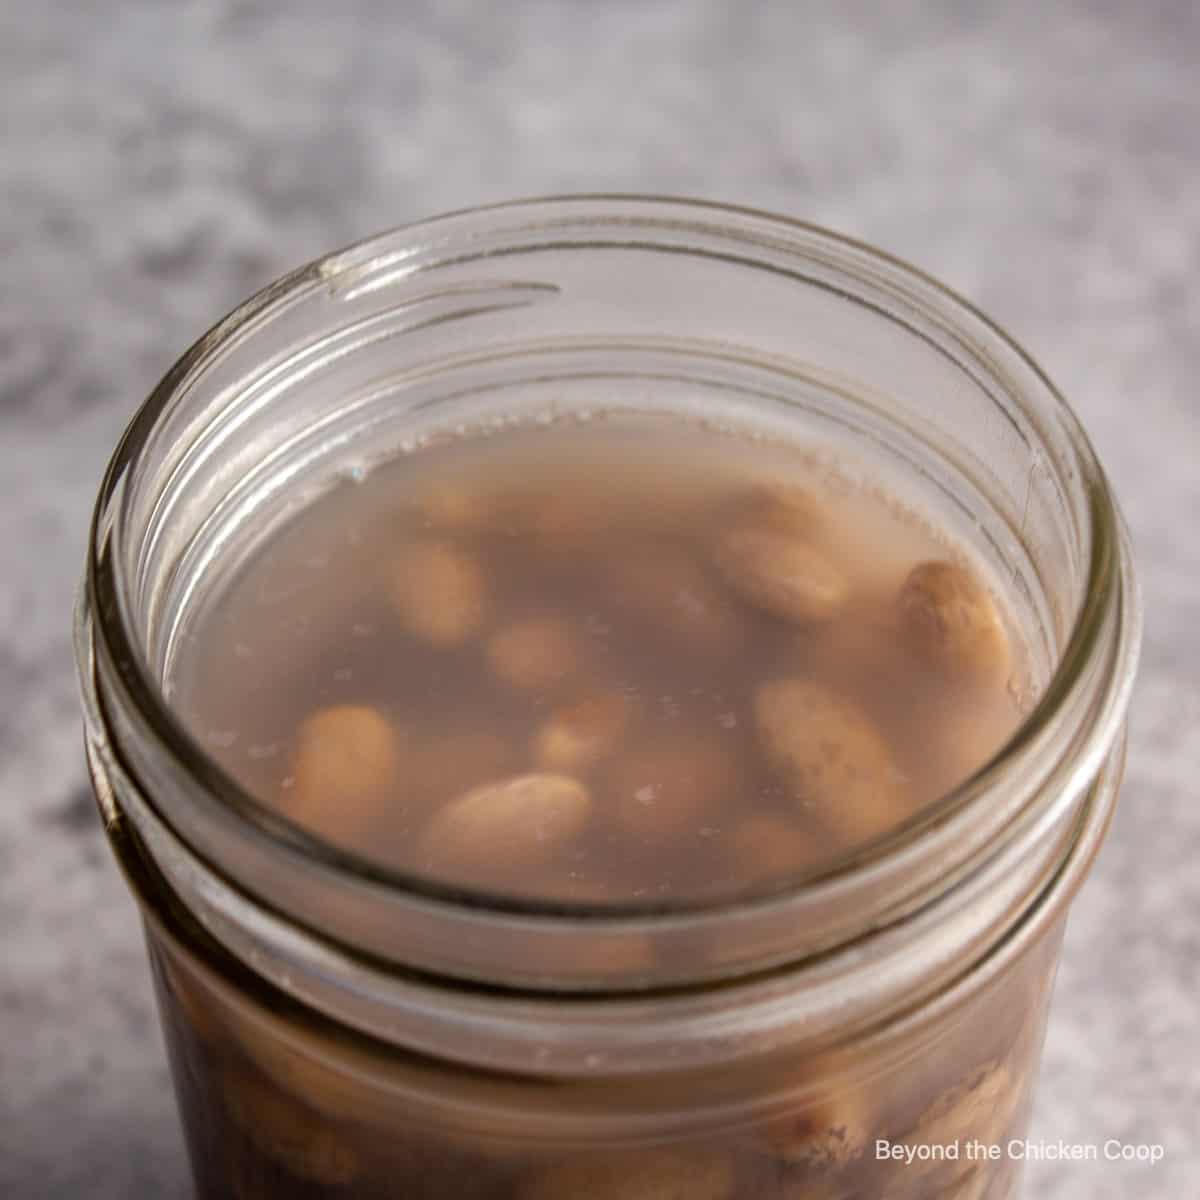
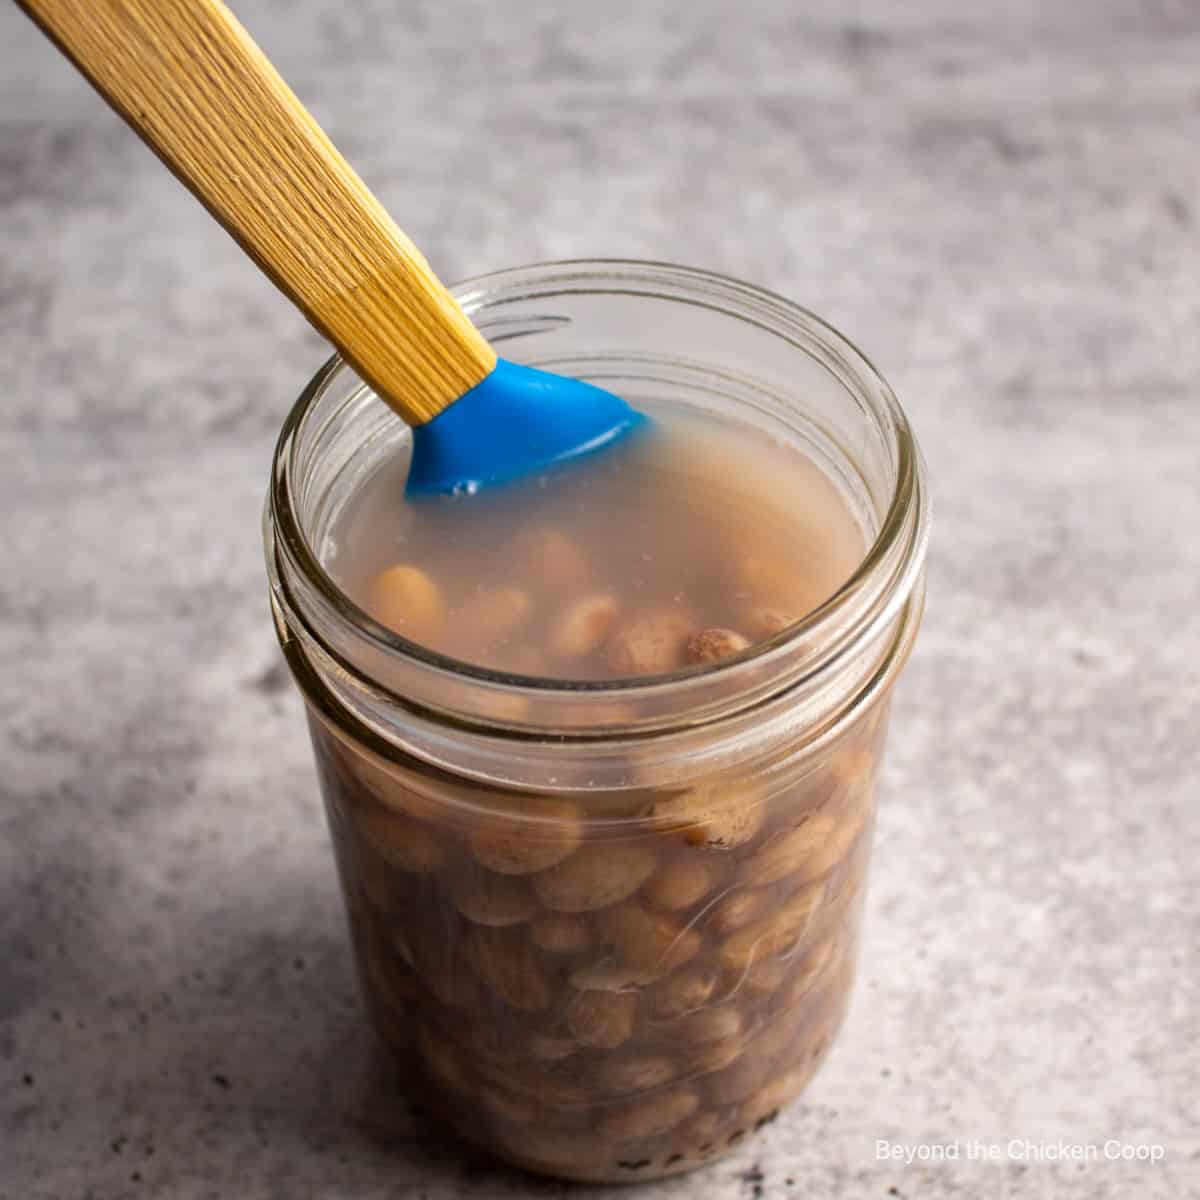
- Remove air bubbles by tapping jar gently on the counter or by using a small spatula or a bubble wand and running it around the inside of the jar.
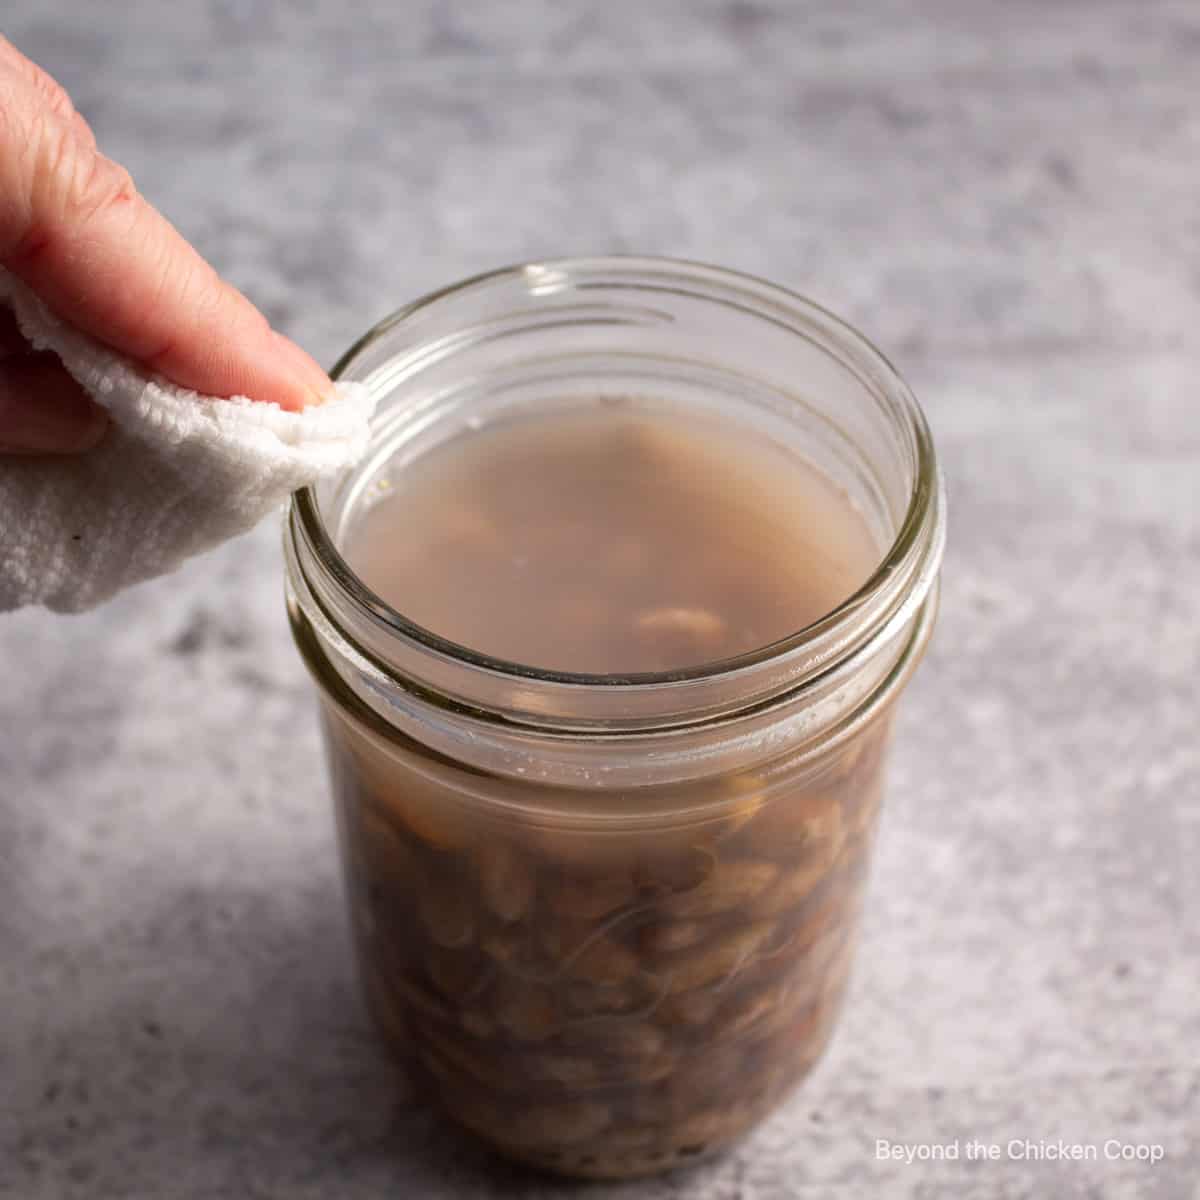
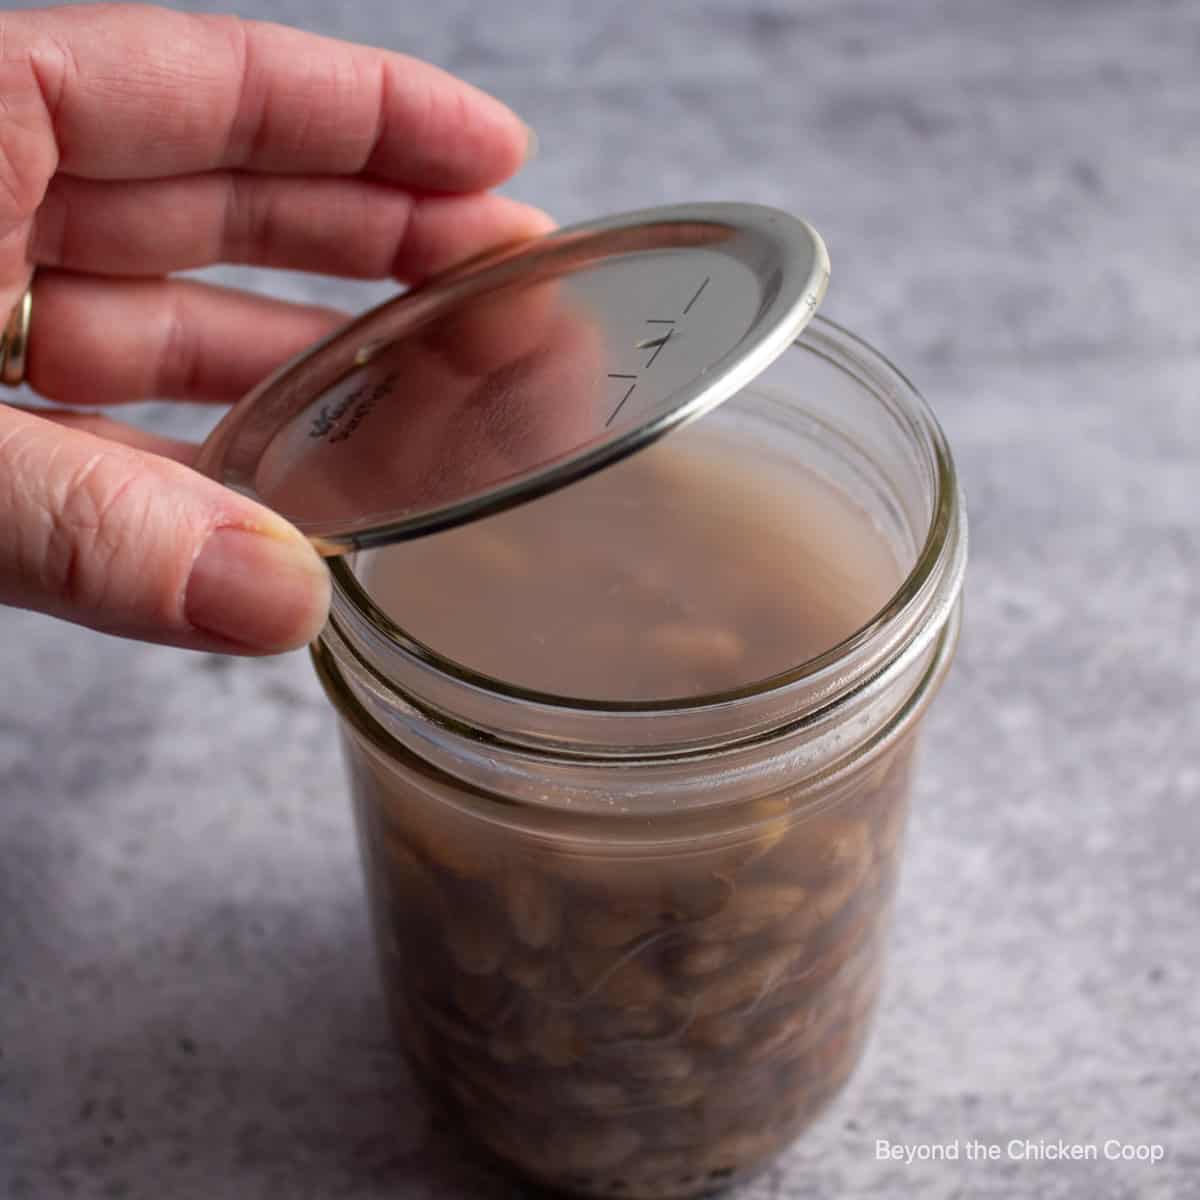
- Wipe down rim of jars with a clean cloth
- Place a clean lid on jar
- Add jar ring tightening just until snug. Do not overtighten ring.
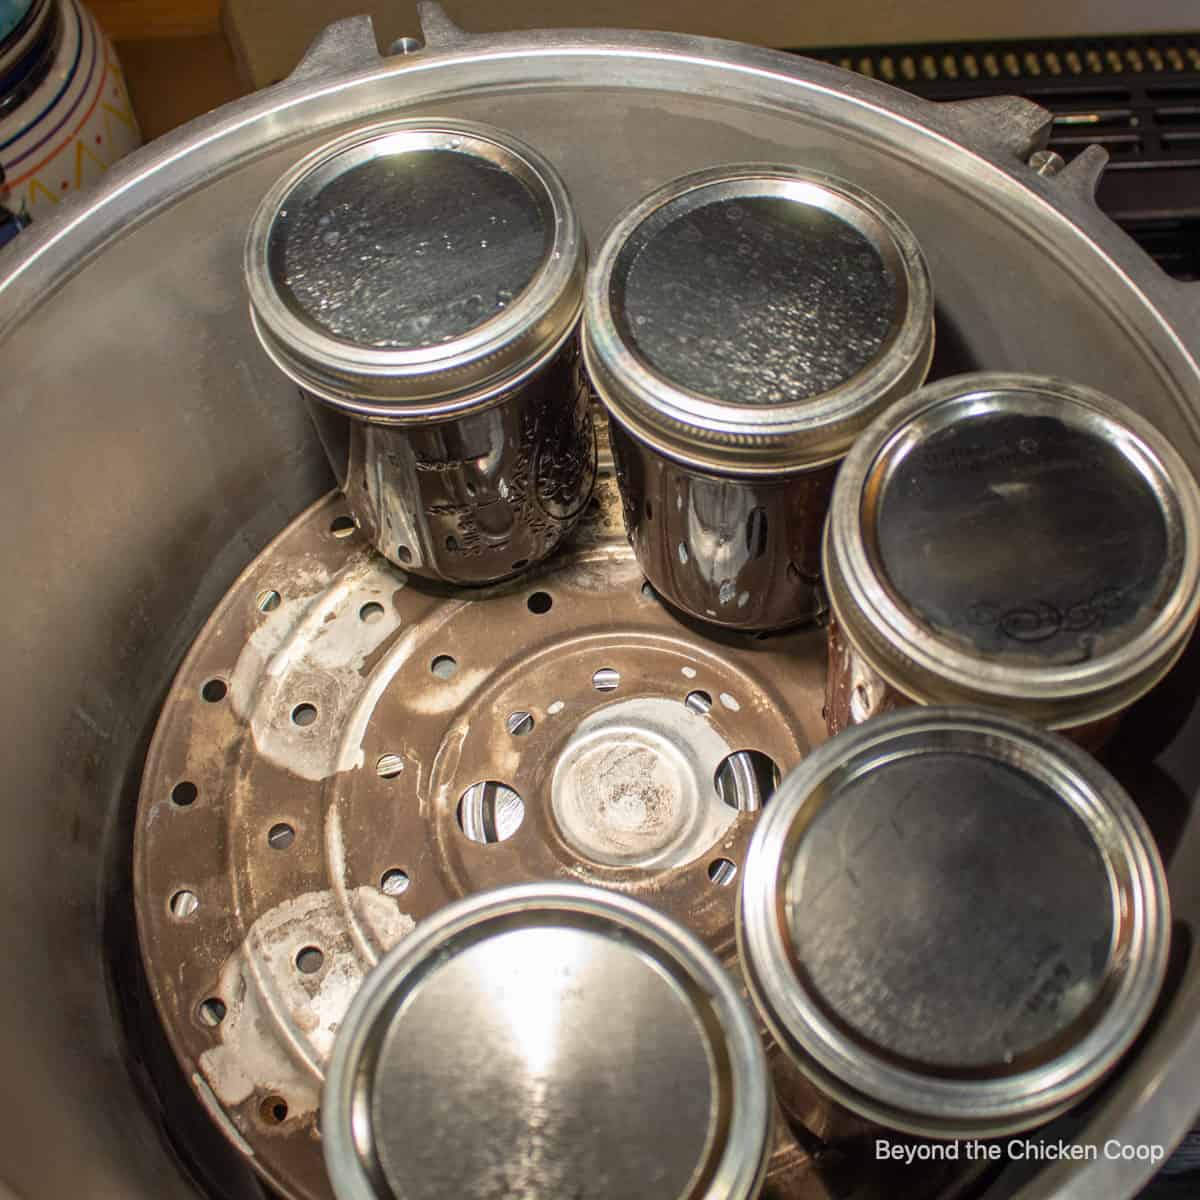
- Place jars in a pressure canner filled with 2 inches of simmering water
- Continue with remaining jars until all jars have been filled
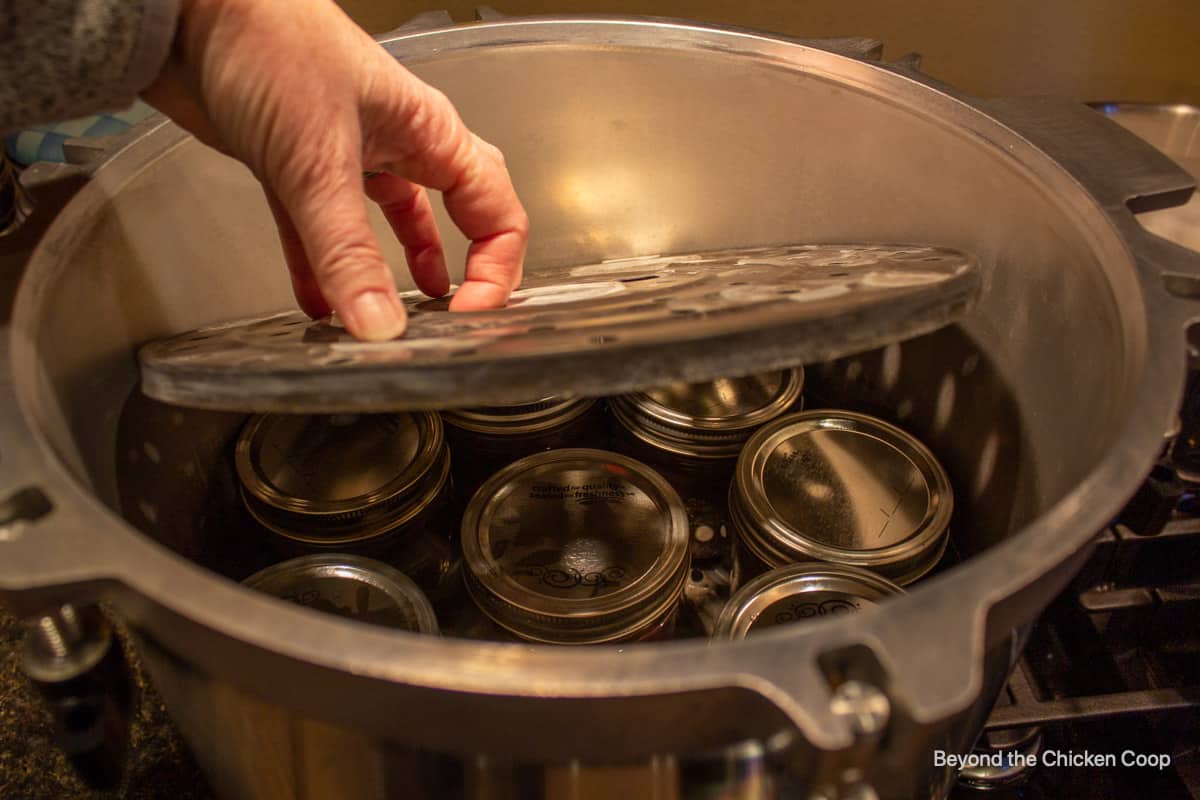
- Place lid on the canner and lock in place
- Turn heat up and allow steam to vent for 10 minutes
- Place steam cover on and allow pressure to build to 10 pounds of pressure (or the pressure needed for your elevation)
- Pressure cook pints for 75 minutes and quart jars for 90 minutes
- Turn off heat and allow pressure to drop back to zero. Do not remove steam vent cover prior to pressure dropping!
- After pressure has dropped, remove vent cover
- Wait 5 minutes and then carefully remove lid. The contents will still be very hot!
- Allow jars to sit in canner for 10 minutes and then remove and place on a cooling rack. Do not adjust rings or push down on lids!
- Cool jars for 12 hours and then check seals
- Remove bands. Wash jars and then label with contents and date.
- Store in a cool pantry
Altitude adjustment
It's imperative that you adjust the pressure for your elevation. Use the chart below to determine how many pounds of pressure you need to process your beans. Below 1000 feet is 10 psi.
| Altitude Feet | Pounds of Pressure |
|---|---|
| 1,001- 2,000 2,001- 3,000 3,001- 6,000 6,001 - 8,000 8,001-10,000 | 11 pounds 12 pounds 13 pounds 14 pounds 15 pounds |
Tips for canning dried beans
- Can one type of bean or a variety of beans
- I canned four varieties at once. The only drawback is you need four stock pots to cook the beans all at once before adding the beans to jars.
- Different types of beans all have the same processing times
- Select pint-sized jars or quart-sized jars depending on your personal uses and needs
- One pound of dried beans equals approximately 4 pints of canned beans
- If you have leftover beans that won't fit into a canning jar, you can finish cooking them on the stovetop and eat right away
- Determine how many jars will fit in your pressure canner before beginning. My canner held 15 wide-mouth pint jars. My divider has a rim that only fit over 7 jars in the bottom and I could place 8 jars on the top
- Do not skip the soaking step or the precooking step. This plumps the beans up so you don't overfill the jars. The beans are still firm and not fully cooked. They finish cooking in the pressure cooker.
- Make certain the cooking liquid covers the beans when you add to the jars. If the jars are too full, just scoop out a few beans.
- If any jars don't seal after the processing and cooling times, refrigerate and use right away.
- Beans are best consumed within one year of canning
Canning Faqs
Home canned food is best used within one year. However, the food will still be good after one year, the quality may just start to decline but the food is still safe to eat.
If a jar didn't seal, refrigerate the jar and consume the beans right away.
Pressure canning safety
- Read your manual for your pressure canner before using
- If you have an older model, inspect the rubber gasket. If dry or crumbly, it will need to be replaced.
- Make certain lid is fully locked into place
- Keep an eye on your pressure to make certain it doesn't go below the desired temperature and that it doesn't go too high
- If you have a glass-topped stove, please check with the manufacturer before using a pressure canner. The high heat may not work with your stovetop.
- Always double-check that you have enough water in the pressure canner. Most canning recipes call for 2 -4 inches, depending on the length of time the item will be under pressure. You do not need to cover the jars with water.
A Note on Home Canned Food
Improperly home canned food can carry the risk of causing botulism. If eaten, this can cause a serious form of food poisoning that can lead to paralysis or death. Please follow safety procedures and inspect your food before consuming.
- Always inspect your home canned food before eating
- If in doubt, throw it out!!! The FDA recommends throwing out the food and the jar.
- Do not taste if in doubt!
- Throw it out if -
- the can is bulging, leaking or swollen
- the container looks damaged or abnormal
- the container spurts liquid or foam when opened
- the food is moldy, discolored or smells bad
- the seal is no longer intact when you examine the food
Recipes using canned beans
- Black bean and corn salad
- Easy refried beans
- Beef enchilada casserole
- Stuffed peppers
- Black beans and rice
- Three bean salad
- Chili with beans
- Baked flautas
- Hummus
- Crispy chickpeas
- Turkey chili
More home canning recipes
- Canning carrots
- Canning chicken stock
- Canning homemade chili
- Canning fish
- How to can peaches
- How to can tomatoes
- Homemade tomato sauce
- Blackberry jam
- Pickled peppers
If you make this recipe, I’d love to hear about it! Leave a comment below and snap a picture and tag me on Instagram @beyondthechickencoop
Be certain to check out all my canning recipes and preserving food posts.
Listen to the podcast episode on canning dried beans.
Canning Dried Beans
Equipment
- Canning Jars - 16 oz
Ingredients
- 4 pounds dried beans (black, kidney, pinto, garbanzo)
- ½ teaspoon canning salt (per pint jar, optional)
Instructions
Soak Beans
- Sort through beans discarding any dried or shriveled beans4 pounds dried beans
- Drain beans and place in a large pot covered with at least 2 inches of water
- Soak beans in water for at least 8 hours, or overnight You may also use a quick soak method - place beans in a pot, bring to a boil. Turn off heat and let soak for 1 hour.
Parcook Beans
- Bring beans to a boil. Reduce heat and simmer for 30 minutes. Beans will not be fully cooked.
Can Beans
- Add ½ teaspoon of canning salt per each pint jar or 1 teaspoon per quart jar (optional)½ teaspoon canning salt
- Ladle beans into clean pint or quart canning jars. Fill to just under 1 inch from the rim.
- Ladle hot cooking liquid over beans filling to 1 inch from the rim. This leaves 1 inch of headspace.
- Remove air bubbles by using a small spatula or a bubble wand and running it around the inside of the jar.
- Wipe down rim of jars with a clean cloth
- Place a clean lid on jar. Add jar ring tightening just until snug. Do not overtighten ring.
- Place jars in a pressure canner filled with 2 inches of simmering water. Continue with remaining jars until all jars have been filled
- Place lid on pressure canner and lock in place
- Turn heat up and allow steam to vent for 10 minutes. Place steam cover on and allow pressure to build to 10 pounds of pressure (or the pressure needed for your elevation - see chart below)
- Pressure cook pints for 75 minutes and quart jars for 90 minutes
- Turn off heat and allow pressure to drop back to zero. Do not remove steam vent cover prior to pressure dropping!
- After pressure has dropped, remove vent cover. Wait 5 minutes and then carefully remove lid. The contents will still be very hot! Allow jars to sit in canner for 10 minutes and then remove and place on a cooling rack.
- Do not adjust rings or push down on lids! Cool jars for 12 hours and then check seals. Remove bands. Wash jars and then label with contents and date. Store in a cool pantry
Notes
- 1000-2000 feet - 11 pounds of pressure
- 2001-3000 feet - 12 pounds of pressure
- 3001-6000 feet - 13 pounds of pressure
- 6001- 8000 feet - 14 pounds of pressure
- 8001-10000 feet - 15 pounds of pressure
- Use one type of bean or a variety of beans
- I canned four varieties at once. The only drawback is you need four stock pots cooking the beans all at once before adding the beans to jars.
- Different types of beans all have the same processing times
- Select pint sized jars or quart sized jars depending on your personal uses and needs
- One pound of dried beans equals approximately 4 pints of canned beans
- If you have leftover beans that won't fit into a canning jar, you can finish cooking them on the stovetop and eat right away
- Determine how many jars will fit in your pressure canner before beginning. My canner held 15 wide-mouth pint jars. My divider has a rim that only fit over 7 jars in the bottom and I could place 8 jars on the top
- Do not skip the soaking step or the precooking step. This plumps the beans up so you don't overfill the jars. The beans are still firm and not fully cooked. They finish cooking in the pressure cooker.
- Make certain the cooking liquid covers the beans when you add to the jars. If the jars are too full, just scoop out a few beans.
- If any jars don't seal after the processing and cooling times, refrigerate and use right away.
- Beans are best consumed within one year of canning
Nutritional Disclaimer:
Nutritional information is provided as a courtesy and should only be construed as an estimate rather than a guarantee. To obtain the most precise nutritional information in a provided recipe, you should calculate the nutritional information with the exact ingredients you are using when preparing the recipe using your preferred nutrition calculator.
Lisa says
All the steps in the process talk about using a pressure COOKER. This is WRONG. A Pressure cooker and a pressure canner are NOT the same appliance and should not be used as a pressure CANNER.
Kathy says
Hi Lisa,
If you read the rest of the post and look at the pictures, you'll see it is a pressure canner! I changed the two times I said cooker to canner to avoid confusion. Thank you for bringing it to my attention.
Kathy
Loria Newsome says
Can you add ham to the beans before processing in canner??
Kathy says
Hi Loria,
I did a bit of research to make certain this is safe. I found this article from Oregon State University Extension for bean soup. It is okay to add ham to the beans before processing. You would not need to add the other ingredients listed for the soup (vegetables). The processing times remain the same.
Kathy
Tammy says
You have your jars stacked on top of another jar. I thought this was a huge no no. I'm I wrong?
Kathy says
In a pressure canner with a spacer in between, it is okay. Here is a quote from NCHFP "Yes, two layers can be processed at one time, in either the boiling water bath or pressure canner. Place a small wire rack between the layers so water or steam will circulate around each jar. Make certain that the water covers the tops of all jars by 1 inch in a boiling water bath canner. The pressure canner should have 2 to 3 inches of water in the bottom."
You might also want to read my post on Using a Pressure Canner.
Regina Vanscoder says
Hello! I made 8 qts of pinto beans and 4 qts of red beans. I did the overnight soak, then rinsed and did the 30 min simmer. The pinto beans seem like they broke down more than I wanted though! I plan on canning LOTS of f beans. I am also currently cooking soups and canning them to sell in my community.
Kathy says
Hi Regina,
If the pinto beans are breaking down too much, reduce the simmering time (the 30 minutes). Do not change the amount of time in the pressure canner or the amount of pressure.
Let me know how it works out.
Kathy
David @ Spiced says
I always fall into the trap of buying canned beans - they're just so much easier. But dried beans are cheaper, and honestly it doesn't sound that bad to just make a huge batch of canned dried beans at one time. You really are the canning queen, Kathy!
Kathy says
Convenience wins a lot of the time, and canned beans from the store aren't bad, but you just can't go wrong with homemade!