
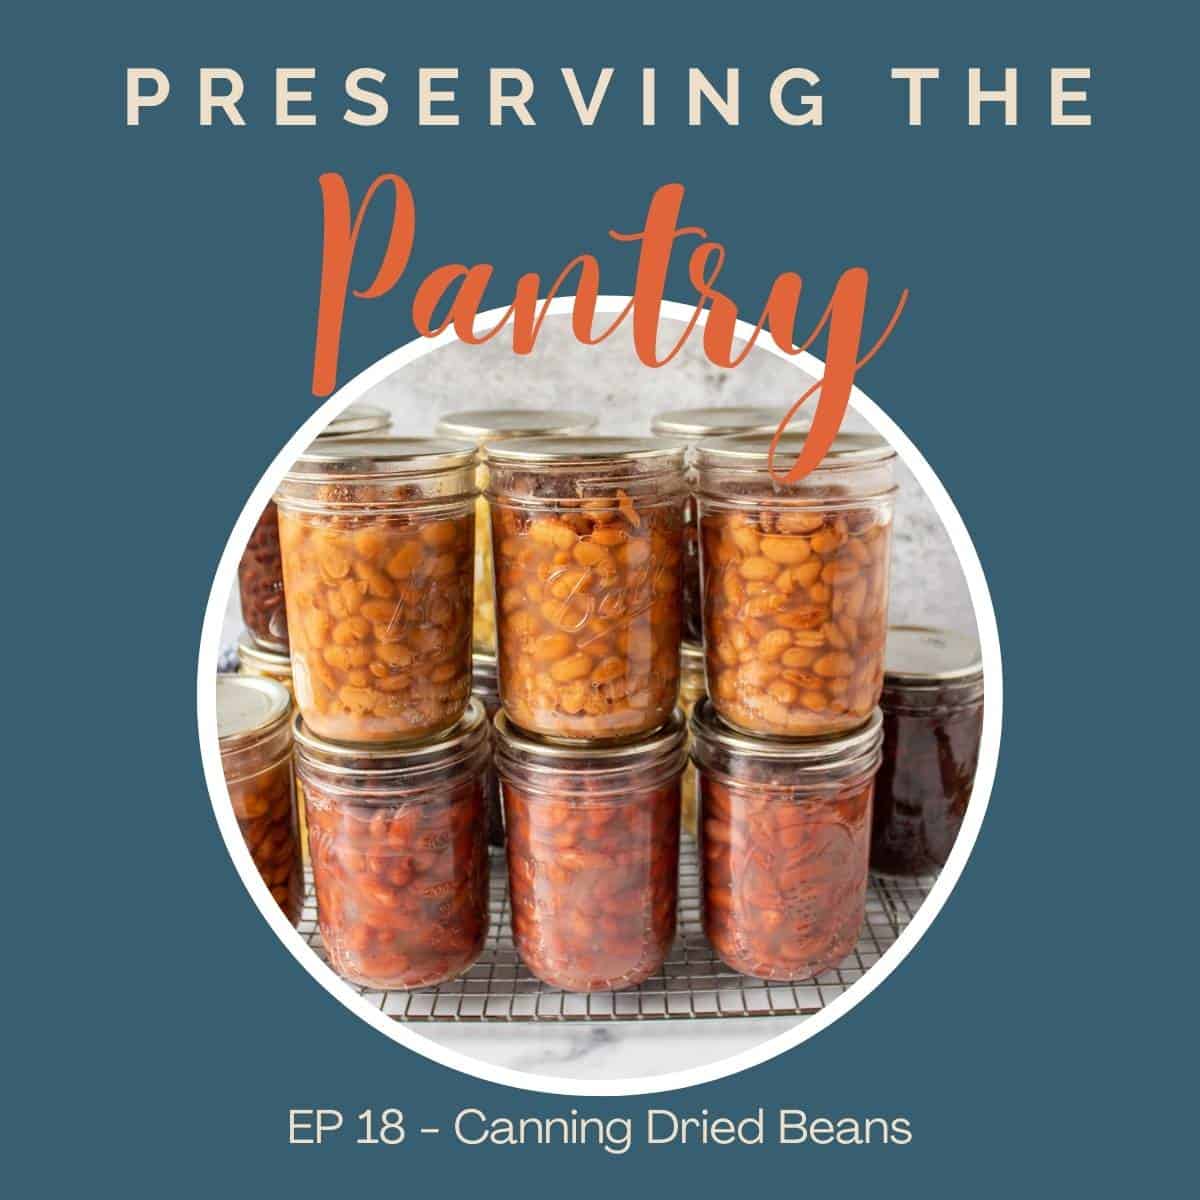
In this episode, Kathy discusses the method for canning dried beans so they are ready to eat and shelf stable.
Play the episode
Recipes
Find the complete recipe for How to Can Dried Beans
Recipes mentioned in this podcast:
Equipment needed
- My pressure canner is an All American 921 canner.
- Affiliate Link - Use coupon code BEYOND10 at All American for free shipping! (I receive a small commission from All American, but this does not affect the cost you pay!)
- Canning Jars
- Jar Lifter
In this episode you'll learn:
- The process for canning dried beans
- The type of dried beans good for canning
Where to listen to the podcast
Listen to this episode on iTunes, Spotify, Amazon Podcast, or your favorite podcast player. Or scroll down to read a full transcript.
If you love this podcast, I’d love to hear about it! Leave a comment below and hop over and leave a comment on Instagram @preservingthepantry!
Transcript
Hello everyone, and welcome back to the Pantry. We are finally in good fall weather. The temperatures are nice and crisp. We have rain and snow just above us in the mountains.
Our harvest in our garden is completely done. We've canned tomatoes, we've canned green tomato relish. We've put the garden to bed, but this is still one of my favorite times of year to can, and this is when I start canning items that we don't necessarily grow in our garden.
Today we're going to be talking about how to can dried beans. I started canning dried beans just a few years ago, and what I love about this recipe is I have ready to eat beans in my pantry. Just like you would buy a can from the store. But the difference here is that you've done this yourself. It's very economical, and you know exactly what you've put into this recipe.
So the full recipe is on my website and I will have a link to that in the show notes as well as how to use a pressure canner. Dried beans will be using the pressure canner, and I'll walk you through the process now, but when you make this recipe, you're going to want to refer to both of those recipes, how to can dried beans, and how to use a pressure canner.
You can use almost any type of dried bean for this recipe. When I did this, I used black beans, kidney beans, pinto beans, garbanzo beans and white beans. But you can use any type of dried beans. You can use all one type of bean, or you can make a couple of different types of beans.
Depending on the size of your pressure canner, you can can about 17 pints at one time. I use an All-American 921 pressure canner, and I can have one layer of pint jars, put a diffuser on and add a second row of pint jars and then put my lid on.
The size of your pressure canner is going to determine how many jars you can can. You could do all one type of beans, all black beans, or you could decide you need six cans of kidney beans and six cans of pinto beans.
The process is going to be the same. The only difference is that you're going to prep these separately, so you'll need different size pots. The first time I did this, I actually did four different types of beans, which turned out great. I had a great variety in my pantry, but that meant I had to have four soaking bowls, four pots simmering on the stove, and then just one once I added them to the jars and put them in the pressure canner, everything else was the same.
The first thing you're going to do is you're going to just sort through your beans. Any really dried or shriveled beans you want to discard. Sometimes in dried beans, you'll find like little stone or pebble or something else. Make sure those are gone.
Then you're going to soak your beans. You're going to put them in a bowl, fill it up with water, and just let 'em soak for at least eight hours or overnight.
Now you can also do a quick soak method if you prefer. So you'll place your beans in a pot, bring them to a boil, turn off the heat, and let them soak for an hour.
Once your beans have soaked, you're going to drain all of that water off and you're gonna put your beans in a pot and cover them with at least two inches of water. More is okay.
You're going to bring the beans to a boil and then reduce the heat and simmer them for 30 minutes. You turn your heat off. Your beans will not be fully cooked. They'll finish cooking in the pressure canner. You need to do this step first, though, so that the beans absorb a lot of liquid and so you want them to have most of that already absorption done.
The beans will have expanded in size, and then you'll be able to add them to your jars. So you're going to soak your beans. Put them in a pot with fresh water. Bring them to a boil simmer for 30 minutes. Turn the water off. You'll ladle out your beans and put them into your pint size jars. You can also do these in quart size canning jars if you'd prefer.
That's too many beans usually for me at one time, I like the pint size jars, but you can decide what works best for you. Fill your beans and then add some of that hot bean water over the top. Leave one inch from the top of your beans and your water to the rim, so you need a one inch head space. Wipe down your rims.
Add a lid. And your ring and finger tighten that jar and add it into your pressure canner. Your pressure canner will have two inches of water and you want that water simmering. I put the jars in there and continue on with the rest of your jars. Once all of your jars have been filled and added to the pressure canner, you'll put the lid on the counter and lock it in place.
Then you turn up the heat and wait for that steam to start to come out the steam vent. Once it starts to come out, you'll wait 10 minutes for that steam to vent, and then you'll add the cover over the steam vent and let the pressure begin to rise. You'll want 10 pounds of pressure, but make certain that you adjust for your elevation.
Where I'm located, I need to adjust my can to 12 pounds of pressure. I have a complete chart that shows you exactly how you need to adjust according to your elevation. Pint jars, you're going to cook at the, your recommended pressure for 75 minutes and court jars will be for 90 minutes.
You'll turn off your heat once that time is done and just let your canner naturally come back to zero. Do not remove the steam vent cover during this. It takes quite a while for your pressure canner to come back down to zero. After it has dropped all the way back to zero, then you can remove that steam vent cover.
Wait a few minutes, take off your lid. The contents are still going to be very hot. Allow your jars to sit in the canner with that lid off for about 10 minutes and then take them out of the canner and put them on a rack and let them sit there until they're fully cool. Do not adjust the rings. Do not push down the center of the lid.
Let your jars cool for 12 to 24 hours, and then check the seals. You'll remove the bands. Check the seal of the lid, wash your jars off with good soapy water. Label and date your contents and then store in your pantry. That is it. So you have ready to eat canned beans that are perfectly cooked just like the cans you'd buy from the store, except you have done these.
I'm going to come back on another episode and share several recipes for how to use these canned beans with you. That's it for today. I hope to see you again next week. We'll see you in the pantry.
Thanks for listening, and be sure to tune in again next week for more episodes of Preserving the Pantry.


Leave a Reply