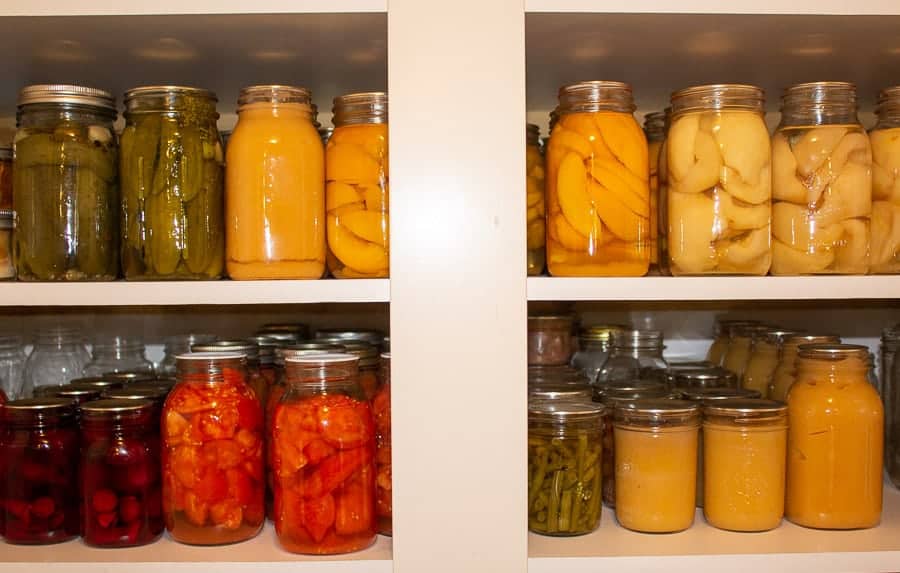
Step-by-step directions on how to process foods using a pressure canner. Pressure canning makes foods shelf stable and allows you to preserve your own food.
Why pressure can
There are many reasons why people home can their food. Some do it so they can be self-sustainable and grow, harvest, and preserve their own food.
Other people can food in order to save money and some do it because their grandmother canned food and they want to carry the tradition.
No matter the reason you want to can, there are several things you must know about safe home canning.
This post will give you step-by-step directions on how to pressure can and when and why pressure canning is needed for some foods.
Pressure canning or water bath canning
There are two main methods for safely canning your food at home; pressure canning and water bath canning. It's important to know which method to use.
Pressure canning is necessary for foods containing low-acid foods. Items like fish, dried beans, meats, soups, or most vegetables need to be pressure canned.
Foods having a pH higher than 4.6 must be pressure canned. Pressure canning brings foods to 240°F for a specific amount of time. This high temperature and time destroys all bacteria, their spores, and the toxins they produce. Killing this bacteria can only be done in a pressure canner.
A pressure canner allows the inside of the canner to become hotter than the boiling point of water. Pressure canners can achieve 240° when brought to 10 pounds of pressure. Adjustment of the pressure is needed for elevations above 1000 feet. (See chart below.)
Water bath canning is used for canning foods that are high in acid or have a sufficient amount of acid added to increase the pH level to 4.6 or lower. Foods such as lemons, apples, blackberries, peaches, or pickled or fermented foods can be processed using a water bath canner.
Types of pressure canners
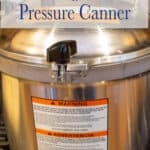
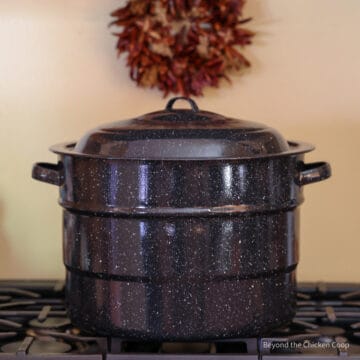
A pressure canner is a specially designed pot with a locking lid, a vent and a gauge to measure the pressure in the pot.
There are many different types of pressure canners and many of the older models still do a good job. The main difference between pressure canners is a dial gauge or a weighted gauge. Some models include both.
A dial gauge has a dial that measures the pressure and a weighted gauge jiggles when the pressure reaches a certain point.
Always make certain you read your instruction manual on how your specific canner works.
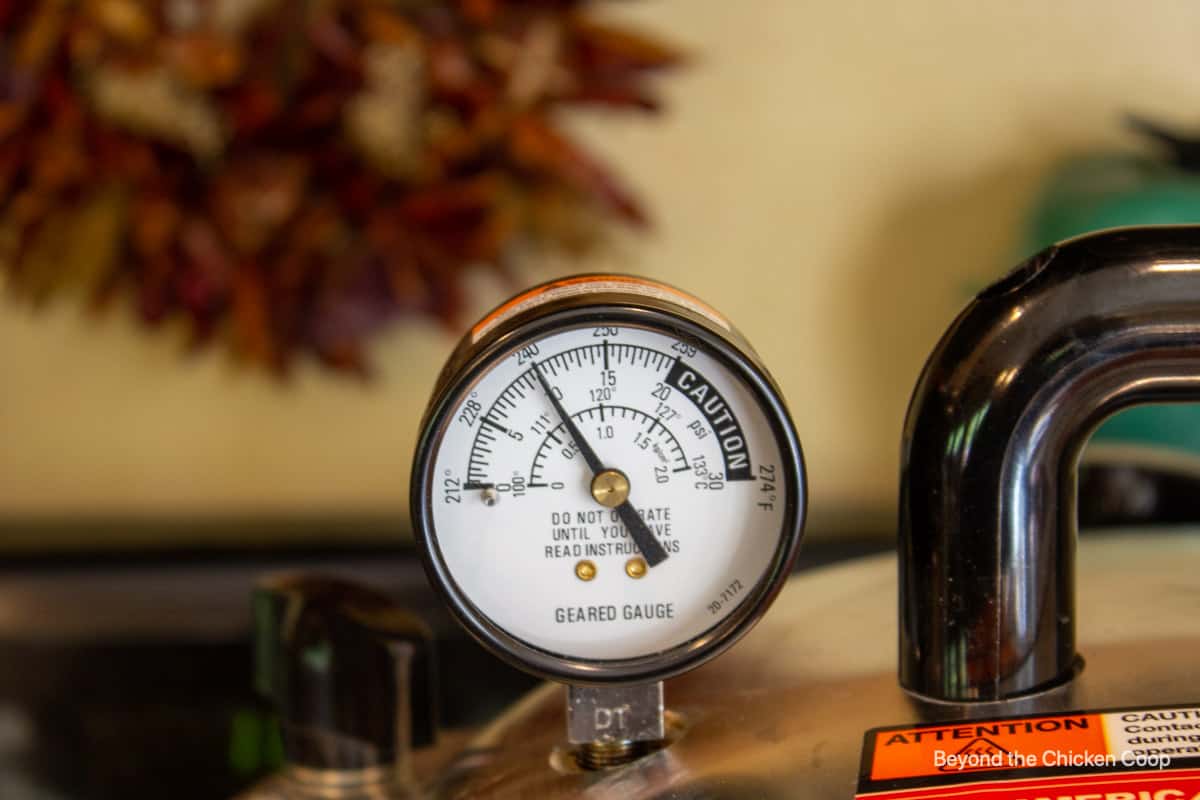
Dial gauge
A dial gauge tells you exactly how much pressure has built up in your canner. The pressure gauge must be monitored to make certain the pressure does not drop below the necessary pressure.
A pressure gauge should be tested at least once a year for accuracy. Most county extension offices offer this testing or can tell you where testing is offered in your area.
Weighted gauge
A weighted gauge has a couple of different weight settings and is placed on the steam vent after the steam has been vented for 10 minutes. The pressure then begins to rise in the canner and when the pressure is reached, the gauge begins to jiggle.
The drawback of the weighted gauge is that it cannot be adjusted precisely for higher altitudes. A 15-pound weight must be used for processing at higher altitudes. This could result in over-processing at altitudes requiring 12 to 14 pounds of pressure and creating lower quality canned food.
Rubber gasket
Many models of pressure canners have a rubber gasket. Although not all models do. If yours has a rubber gasket, be certain to check the gasket each time you can. If the gasket is cracked, brittle or no longer fits in the lid you'll need to replace the gasket.
The NSHFPstates a pressure canner much be large enough to hold at least 4 quart-sized canning jars in order to be considered safe for canning.
My choice for pressure canner
I have canned for more than 30 years and grew up with my mom and grandmother who canned every summer.
I have used several different types of canners and most of the pressure canners were hand-me-downs from family members. All of the canners I've used have been dial gauge canners and it is what I continue to use. I like having the control of knowing the exact pressure in my canner.
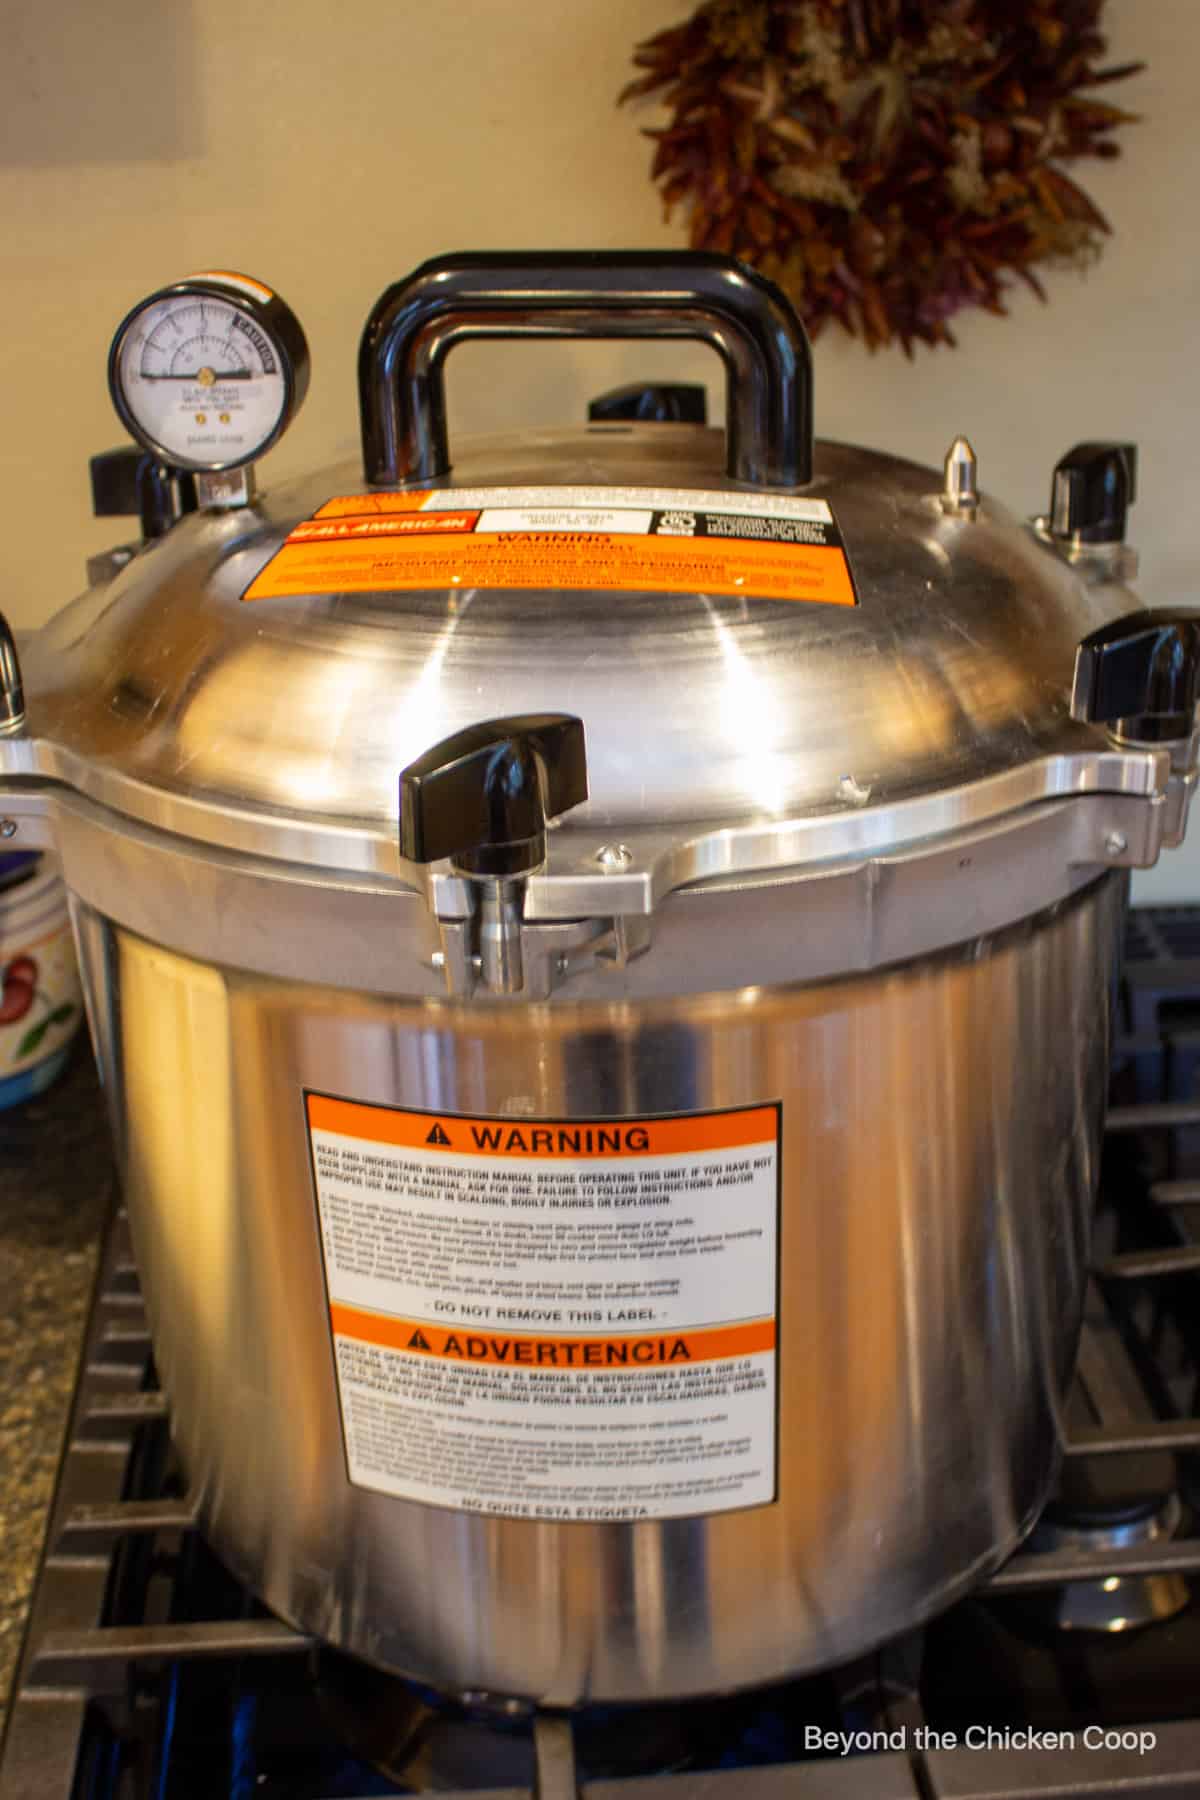
Currently, I use an All American 921 Pressure Canner. It's a massive canner that will hold 7 quarts or 19 pints. This canner has both the dial gauge and the weighted gauge. All American has several other models, including one that is larger in size and a few smaller sizes.
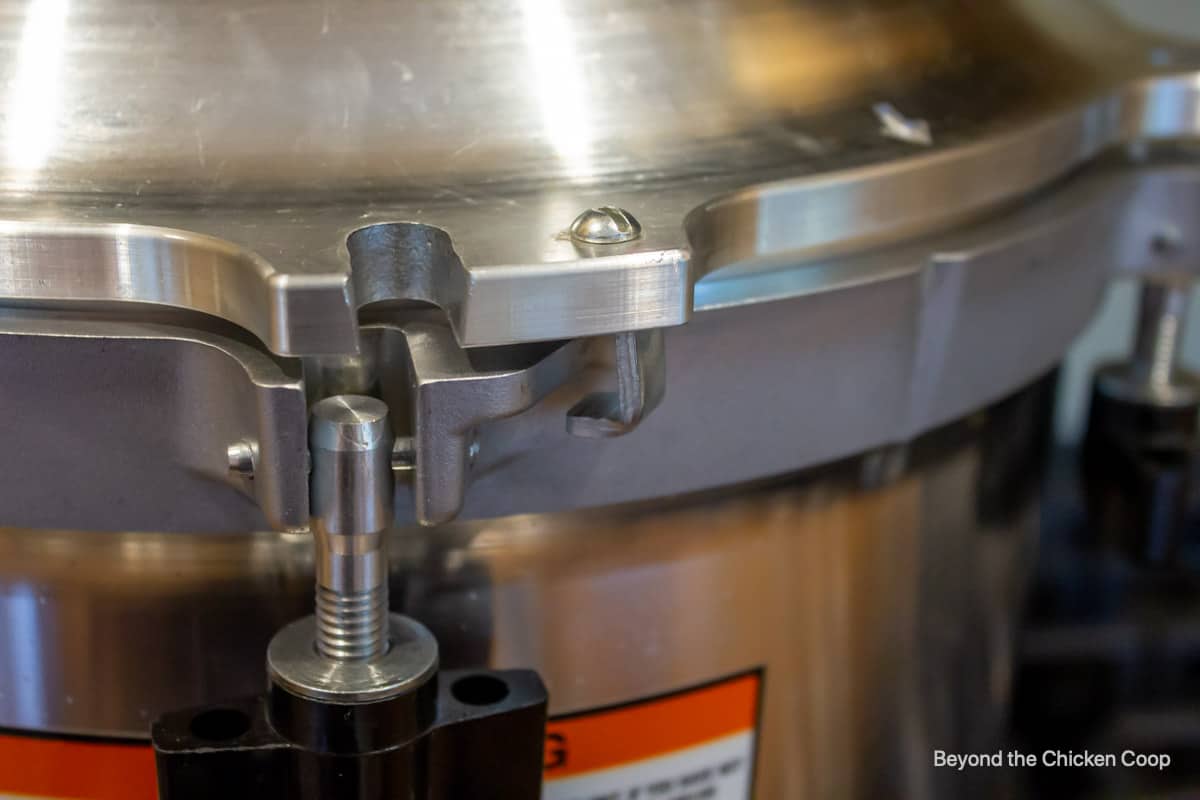
The lid does not have a gasket. It is metal on metal and the lid not only locks into place by turning the lid, it also has locking bolts that are tightened into place.
No matter the model you have, the general canning guidelines will be the same.
Using the pressure canner
- Find a recipe for canning that follows current USDA recommendations
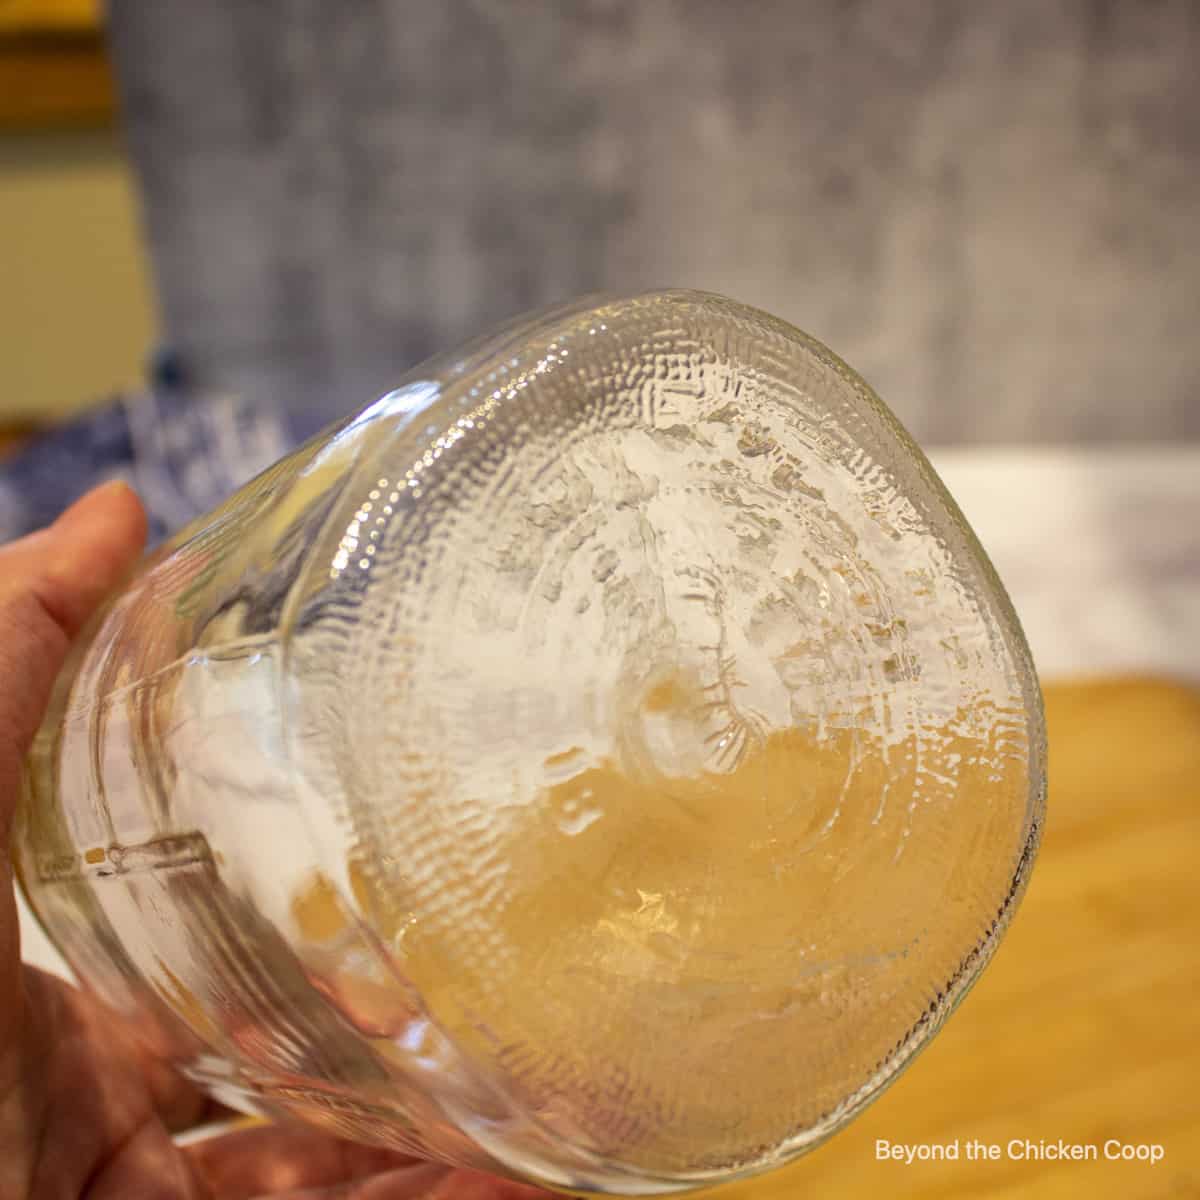
- Select your canning jars. Jars should be designed for canning and can be reused. Make certain jars are clean and free from any nicks or hairline cracks.
Filling the canner
- Fill your canner with 2-4 inches of water. The amount of water varies depending on the length of the cooking time. Each canning recipe should dictate the amount of water needed. The water does not cover the top of the jars like it does in water bath canning!
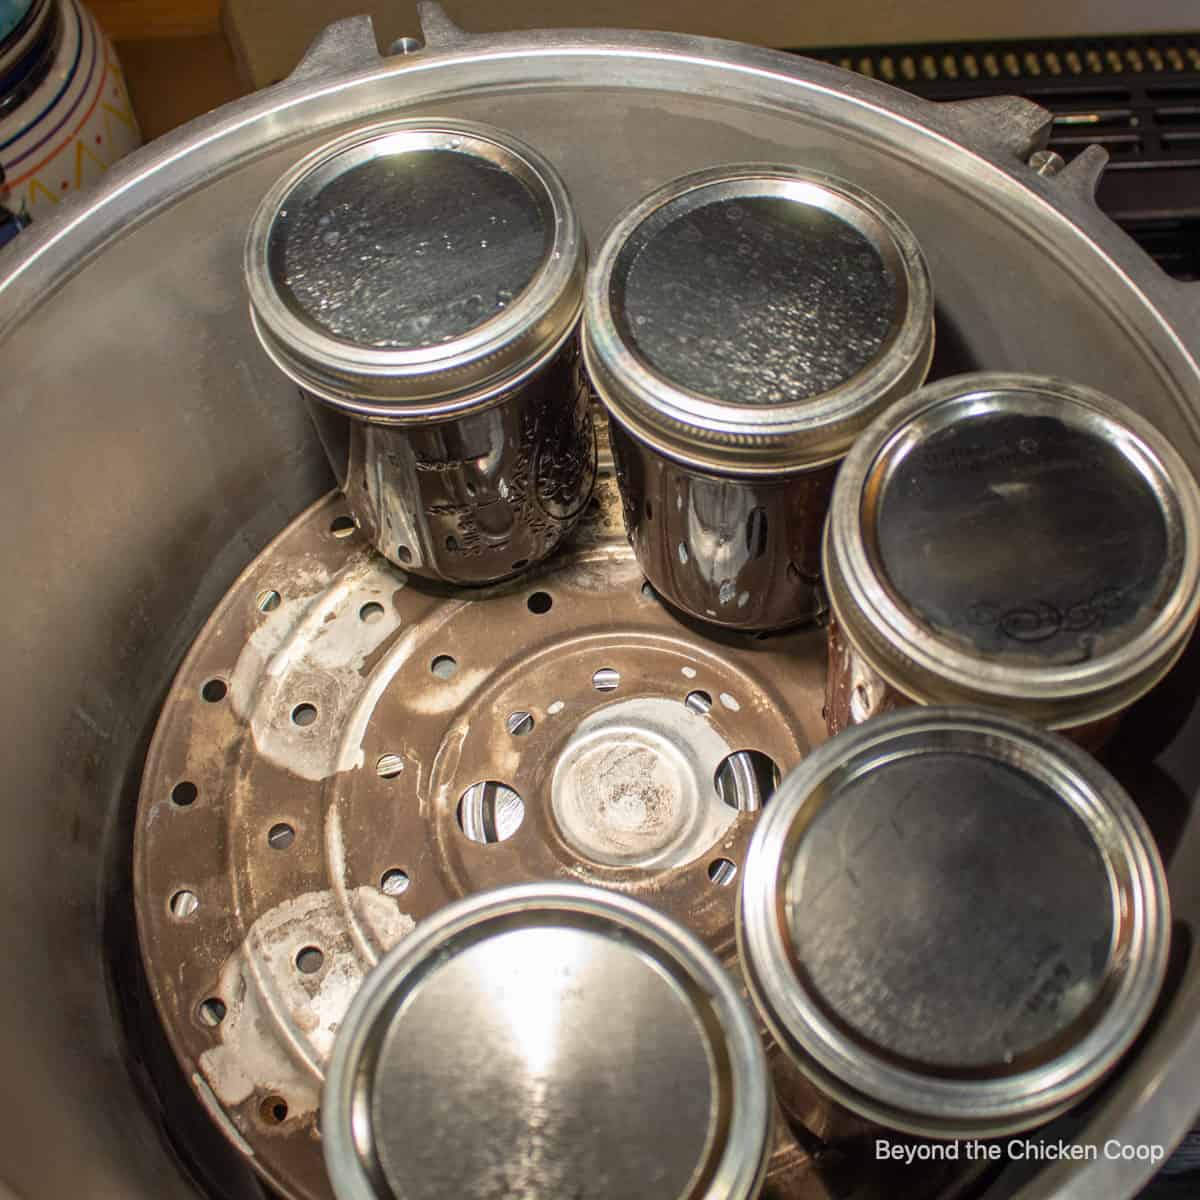
- Place the canning rack with the lip down in the bottom of the canner and turn heat on so the water begins to simmer
- Place hot food into jars. Wipe down rims and place lid and ring on jars. The ring should be finger tightened and not over-tightened. Just screw it until it's tight.
- Place jars in canner. If using pint-sized or half-pint-sized jars, a double layer may be added to most canners. Place a canning rack between the layers of jars.
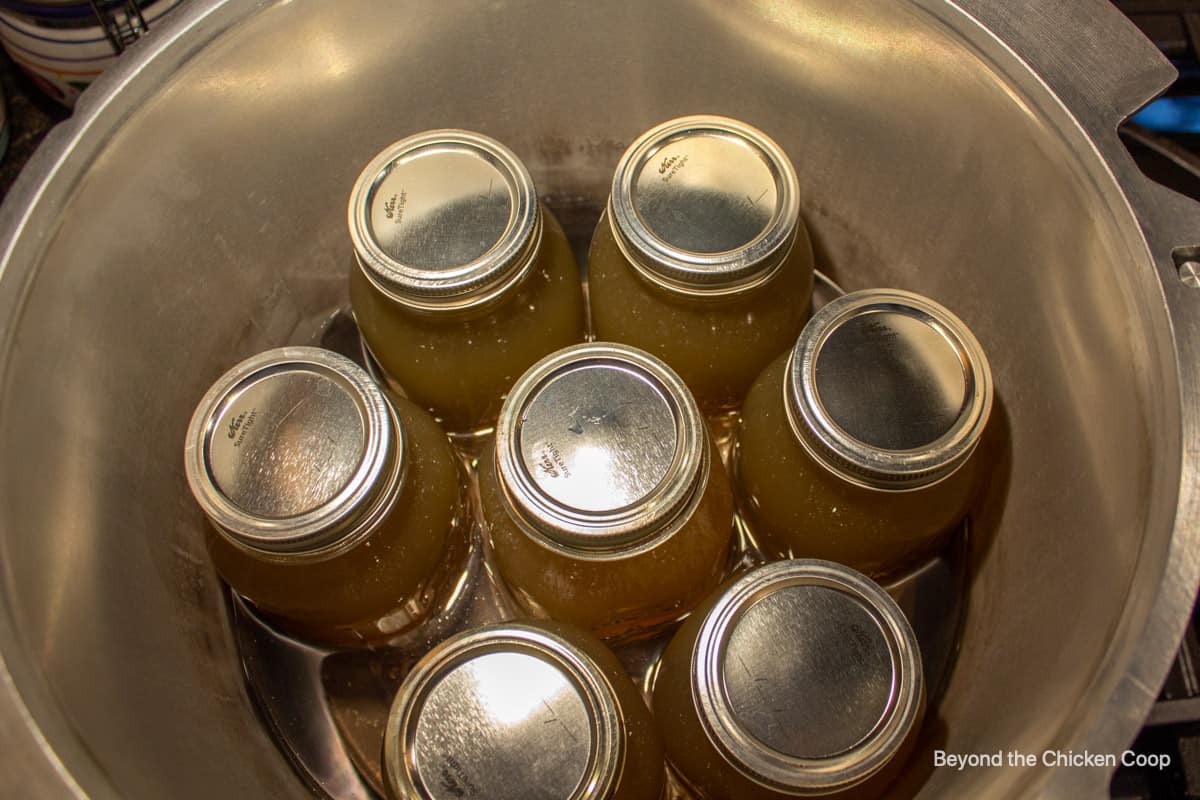
- Place lid on the canner and lock into place. My canner has an arrow on the lid that lines up with the base. The lid is then rotated into place so the safety lip latches onto the base.
- Lock into place using the wing nuts (if your model has them)
Monitoring the pressure
- Make certain the steam vent is off and the vent is clear
- Turn heat up and watch for steam to begin venting. Allow the steam to vent for 10 minutes. This step is very important to remove all the air from the canner. The jars will not process correctly without the venting.
- After 10 minutes, place the lid or weighted gauge on the steam vent
- Wait for pressure to begin to rise. When pressure reaches 10 pounds (or higher for higher elevations, see chart below) begin timing your processing.
Final steps
- Monitor your gauge to make certain it doesn't drop below pressure or get too high. Make small adjustments to your stovetop heat and monitor gauge.
- After the required processing time, turn heat off. Do Not Remove vent cover or weighted gauge. Allow pressure to fully drop to zero before carefully removing vent cover.
- Wait 5 minutes and carefully remove cover. The contents will still be very hot.
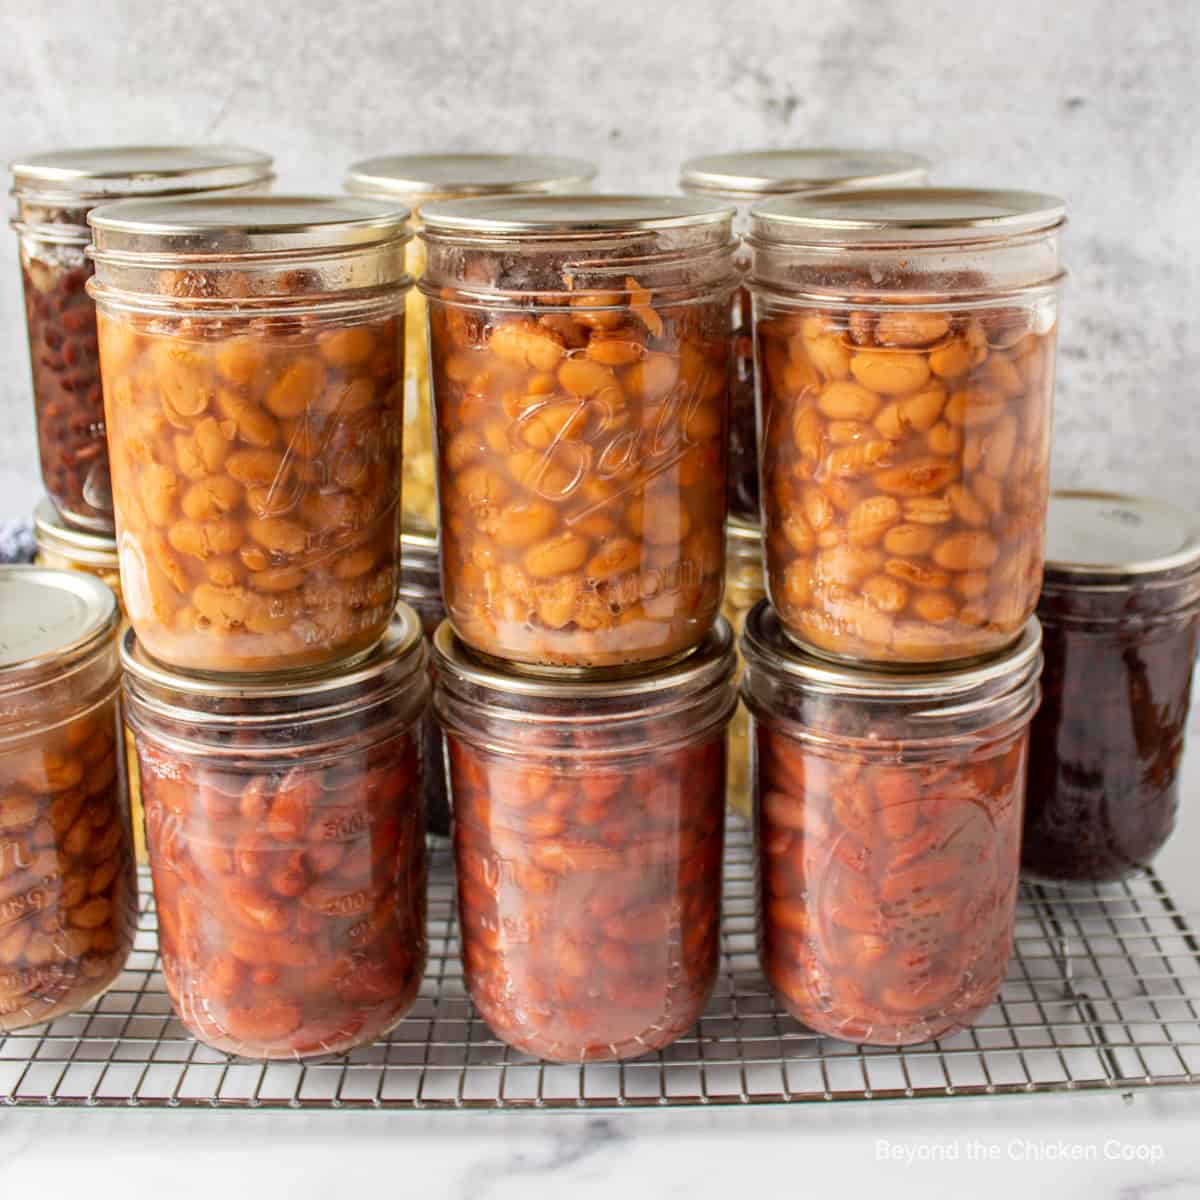
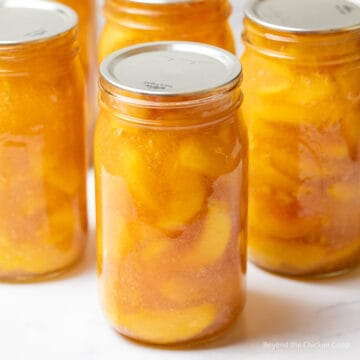
- Wait an additional 10 minutes and then remove jars from canner using a jar lifter. Place jars on a cooling rack and allow jars to fully cool without touching for at least 12 hours! Do not adjust rings or push down on lids! The contents in the jars may continue bubbling for several hours.
- Remove rings from jars and check seals. The seals should be depressed in the center and should be stuck tight to the jars.
- Wash the outside of the jars to remove any possible residue
- Label contents and add date to the jars
- Store in a cool dark place
Altitude adjustment
Knowing and adjusting to the correct altitude is important. Use the chart below to determine how many pounds of pressure you need to process your beans. Below 1000 feet is 10 psi.
| Altitude Feet | Pounds of Pressure |
|---|---|
| 1,001- 2,000 2,001- 3,000 3,001- 6,000 6,001 - 8,000 8,001-10,000 | 11 pounds 12 pounds 13 pounds 14 pounds 15 pounds |
If using a weighted gauge, use 10 pounds of pressure below 1,000 feet and 15 pounds of pressure up to 10,000 feet.
Pressure canning safety
- Read your manual for your pressure canner before using
- If you have an older model, inspect the rubber gasket. If dry or crumbly, it will need to be replaced.
- Make certain lid is fully locked into place
- Keep an eye on your pressure to make certain it doesn't go below the desired temperature and that it doesn't go too high
- If you have a glass-topped stove, please check with the manufacturer before using a pressure canner. The high heat may not work with your stovetop.
- Always double-check that you have enough water in the pressure canner. Most canning recipes call for 2 -4 inches, depending on the length of time the item will be under pressure. You do not need to cover the jars with water.
A Note on Home Canned Food
Improperly home canned food can carry the risk of causing botulism. If eaten, this can cause a serious form of food poisoning that can lead to paralysis or death. Please follow safety procedures and inspect your food before consuming.
- Always inspect your home canned food before eating
- If in doubt, throw it out!!! The FDA recommends throwing out the food and the jar.
- Do not taste if in doubt!
- Throw it out if -
- the can is bulging, leaking or swollen
- the container looks damaged or abnormal
- the container spurts liquid or foam when opened
- the food is moldy, discolored or smells bad
- the seal is no longer intact when you examine the food
Frequently asked questions
Unfortunately, a broken jar can happen from time to time. A small crack or nick may have gone unnoticed.
If a jar does break, you will have the contents strewn everywhere inside your canner. Remove any jars still intact after the processing time and after waiting for the appropriate time for the pressure canner to return to zero pressure.
Once the canner has fully cooled, wash well with soapy water.
This is a personal preference. However, I store without the rings for a few different reasons. First, the rings should be removed after the jars have fully cooled for at least 12 hours to fully check the seal.
Second, I store without the rings because sometimes a jar may lose its seal while being stored. If the ring is on, the lid may have a false seal and appear to still be sealed.
And finally, the rings can become rusty if left on the jars while stored.
Each step after the processing time is important to help avoid siphoning of the contents.
Siphoning is when the hot jars are cooled too quickly and the contents seep out the top of the jar. Allowing the jars to sit in the canner for 5-10 minutes after removing the vent cover and then after removing the lid helps avoid siphoning.
Listen to the podcast
Listen to the podcast episode from Preserving the Pantry where I talk about what foods to water bath can and what needs to be pressure canned.
Recipes using a pressure canner
- Canning carrots
- Canning dried beans
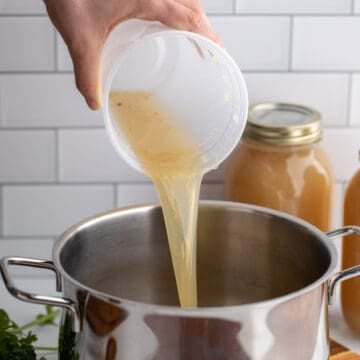
- How to can chicken stock
- Canning smoked fish
- How to can fish
- Canning homemade chili
Be certain to check out all my home canning recipes, including recipes using a water bath canner and a pressure canner.
If you use a pressure canner, I’d love to hear about it! Leave a comment below and snap a picture and tag me on Instagram @beyondthechickencoop
David @ Spiced says
Interesting! I've heard a lot about water bath canning, but pressure canning is all new to me. (To be fair, both are all new as I've never actually tried it.) I keep saying I want to get into canning, though. Great post, and I appreciated you sharing the links to your equipment, too!