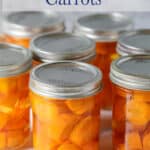
Step by step directions on how to can carrots so they are shelf stable. Canning carrots isn't difficult, but there are a few crucial steps you need to follow.
Preserve your carrot harvest to use all year long.

Why can carrots?
Whether you grow your own carrots or have access to really great carrots from a local garden or farmers' market, it's great to find a way to make certain you can extend the harvest.
Carrots can typically last for several months in a refrigerator or root cellar. Canning your carrots will last for a few years and are shelf stable.
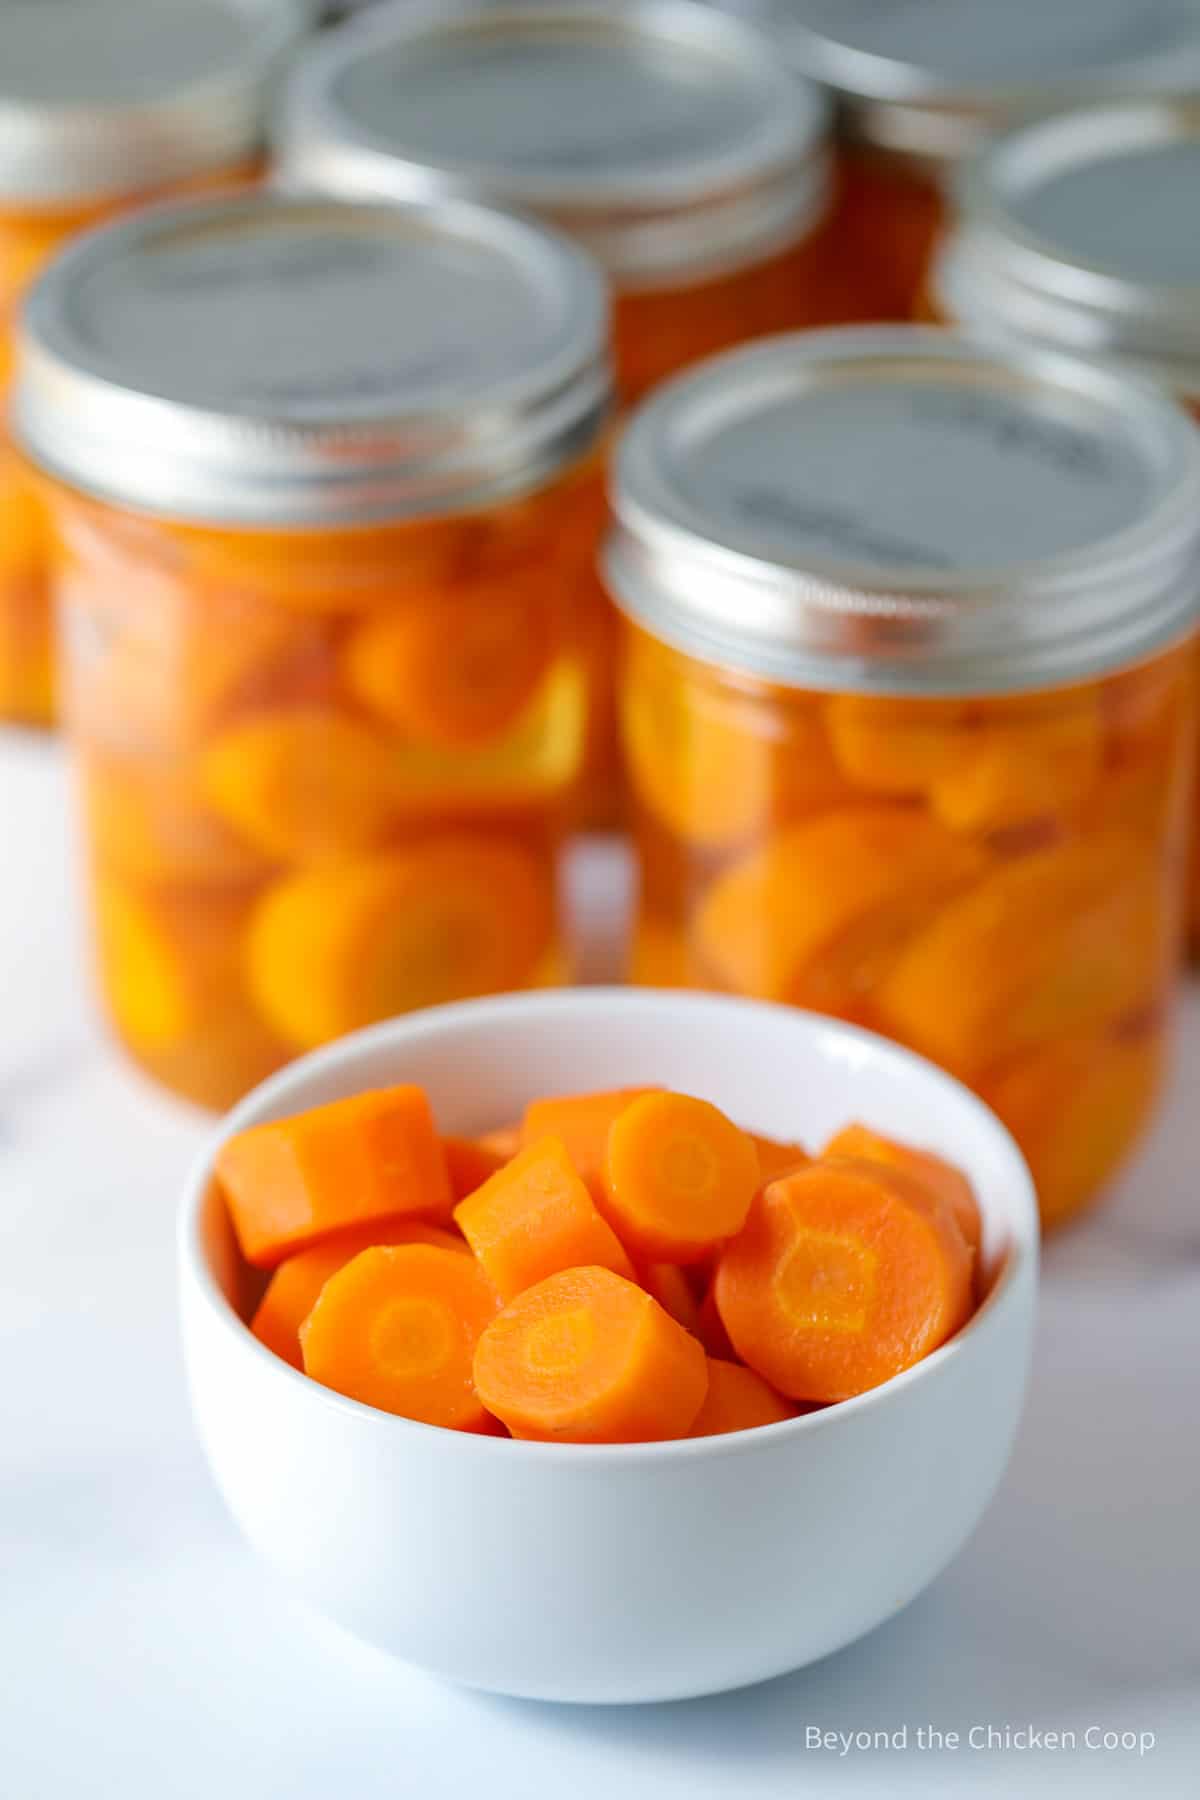
These carrots are ready to eat and you can easily just heat and serve. They are also great to add to a roast, stew, or soup for a last-minute meal.
Because these carrots are already cooked, they are perfectly soft, but not mushy. I like to drain the carrots, mash them, and then use them in my carrot cake or carrot cookies. These will also work for maple-glazed carrots. Drain the carrots and add to the sauce, and cook until heated through.
The already-cooked carrots save a bit of time when I'm baking!
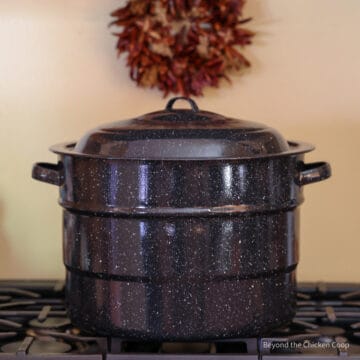
Canning carrots requires the use of a pressure canner. If you've never used a pressure canner before, reading How to Use a Pressure Canner is a good place to start!
Key ingredients
All you need for canning carrots is carrots! You'll also use water and you can add a bit of salt if you desire.
I usually don't add salt when canning carrots but it's totally up to you! Just be certain to add canning salt and not table salt.
Table salt has other additives that can make your carrots cloudy.
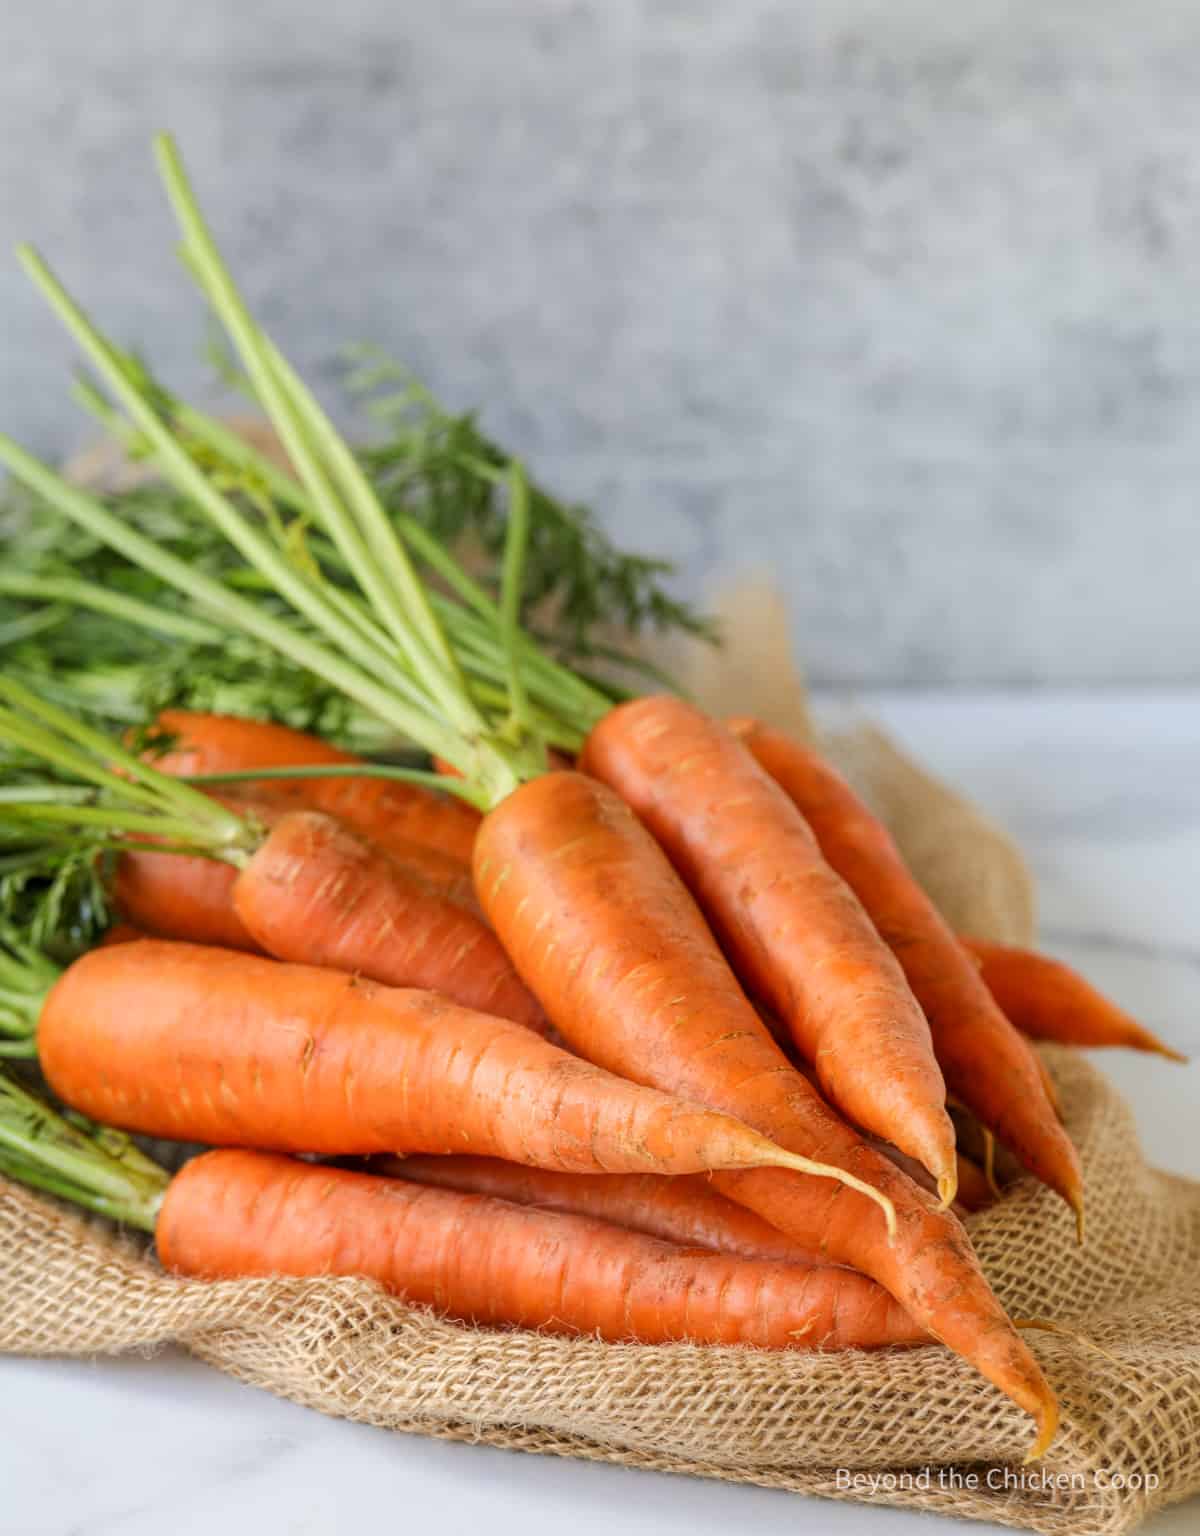
Use really great organic carrots. Try one and make certain it's sweet and full of flavor. If the carrot isn't delicious raw, it won't be delicious canned either.
I've seen a few people can those pre-cut baby carrots. I do not recommend using those! They aren't the freshest you can get and manufacturers usually soak the carrots in a bleach solution to help prevent them from turning slimy.
In my opinion, if you aren't using the freshest and the best, there's no reason to can them.
How to can carrots
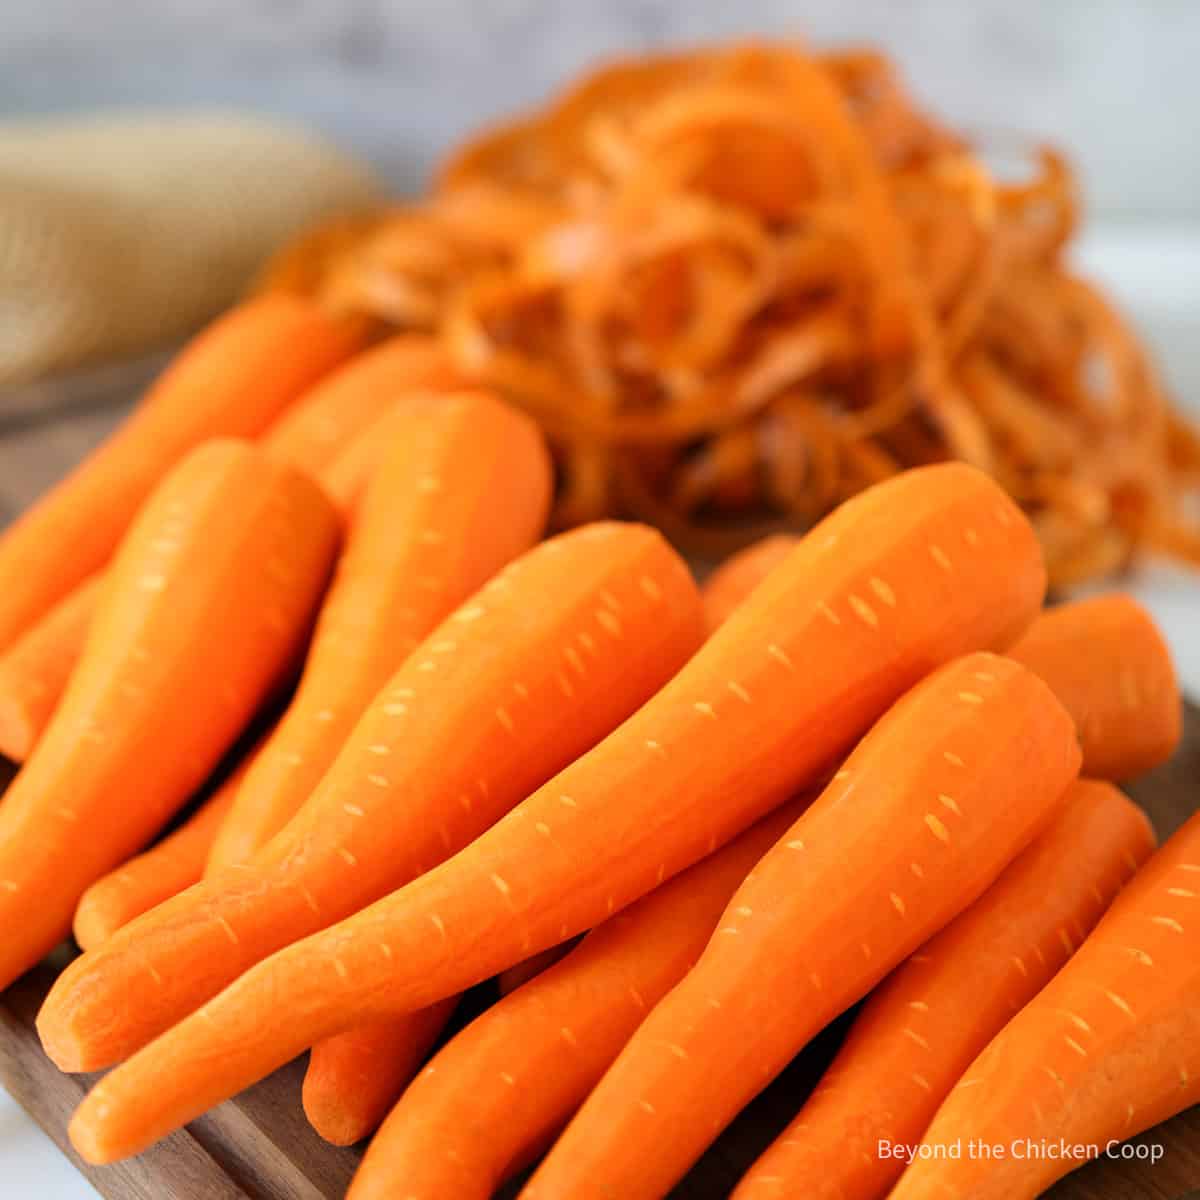
- Wash and peel your carrots. Wash again after peeling with cool water
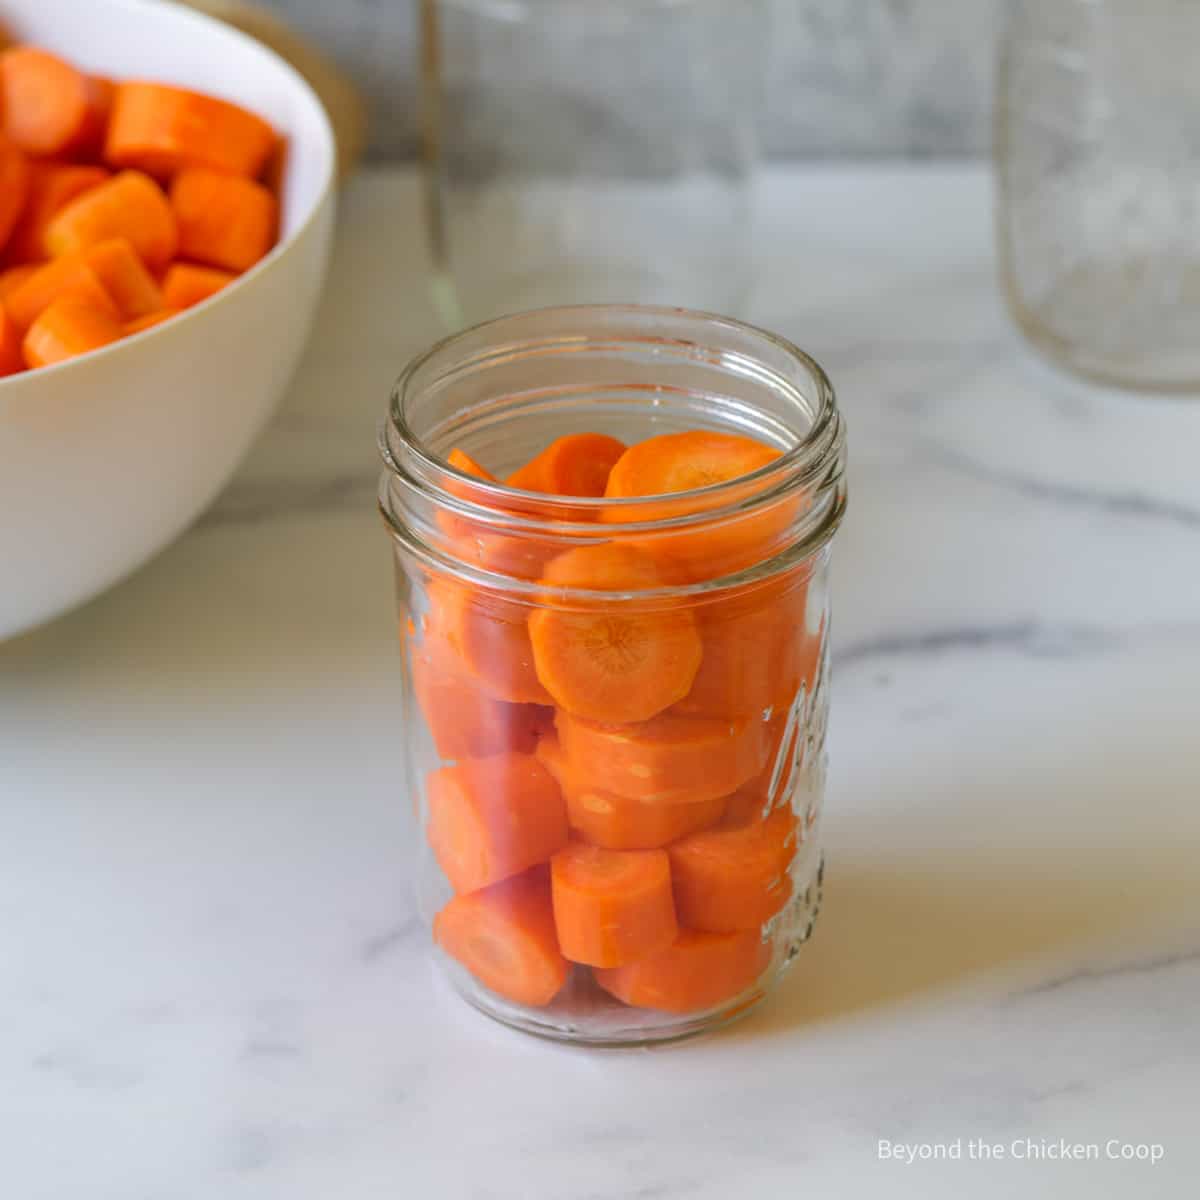
- Cut off ends and cut into desired shapes - rounds, diced or spears
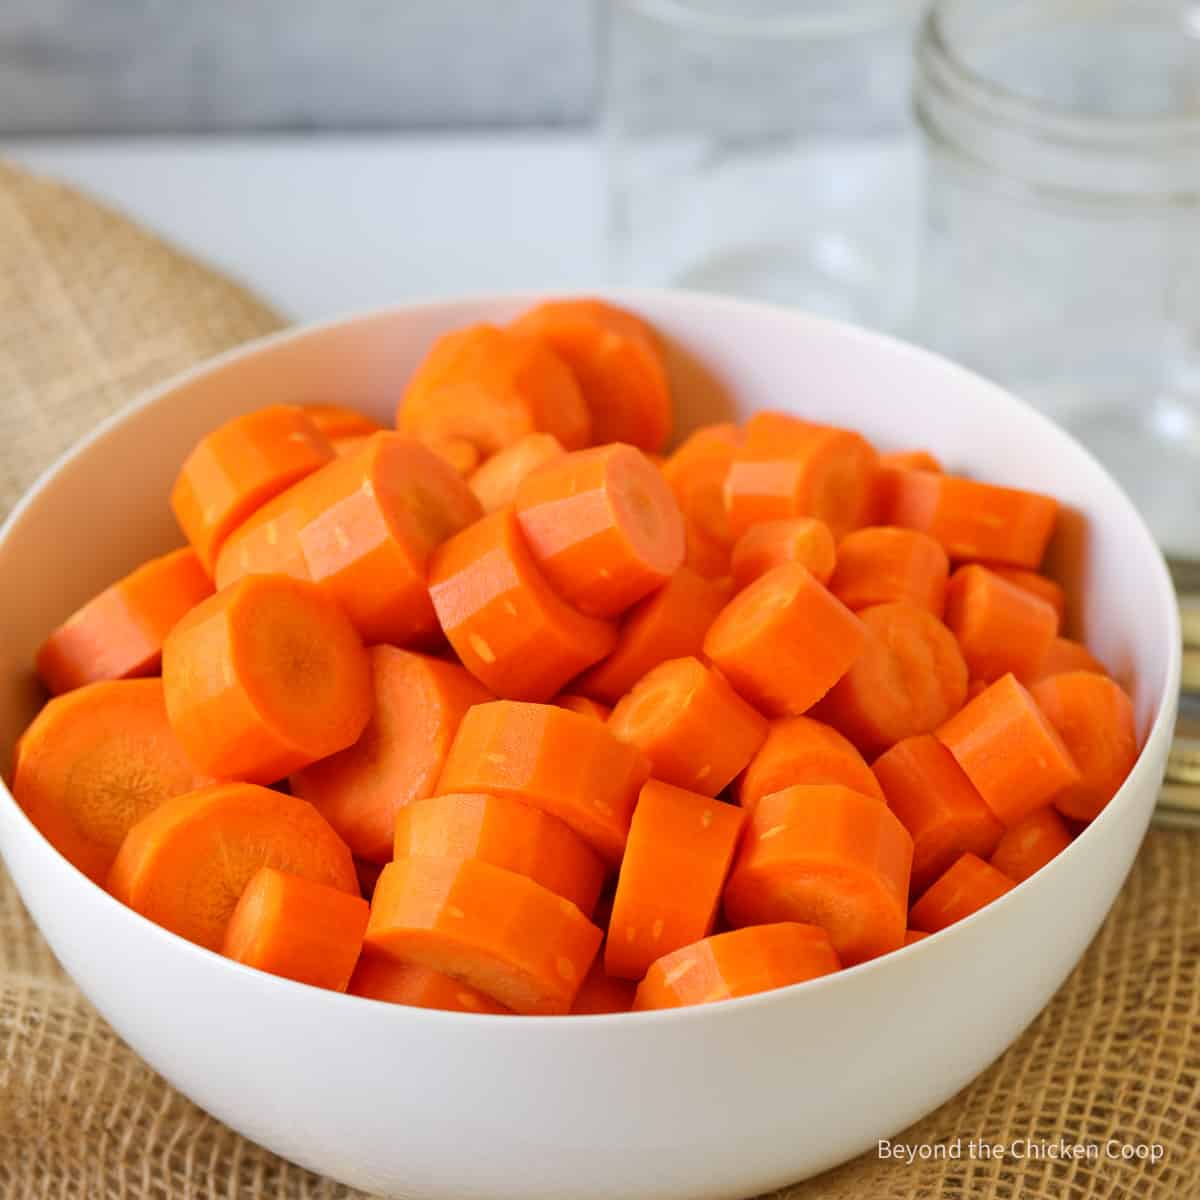
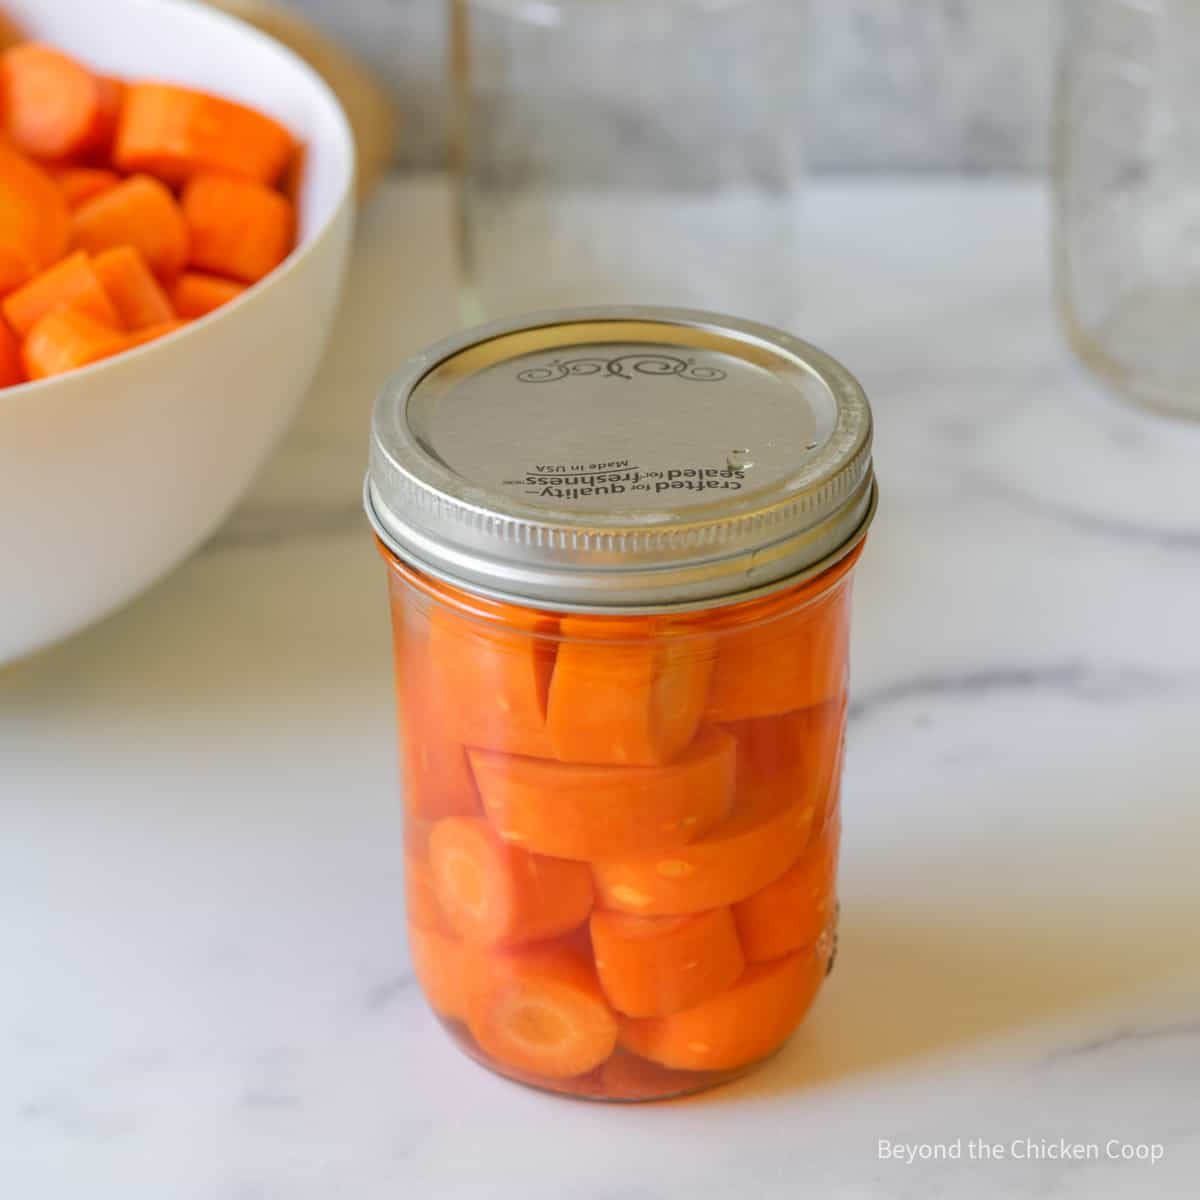
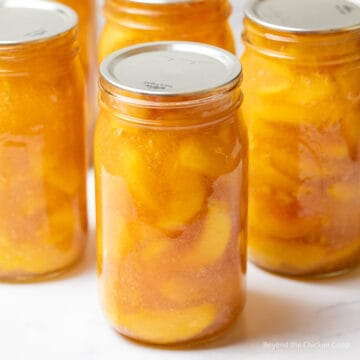
- Place carrots in clean canning jars
- Add salt if using
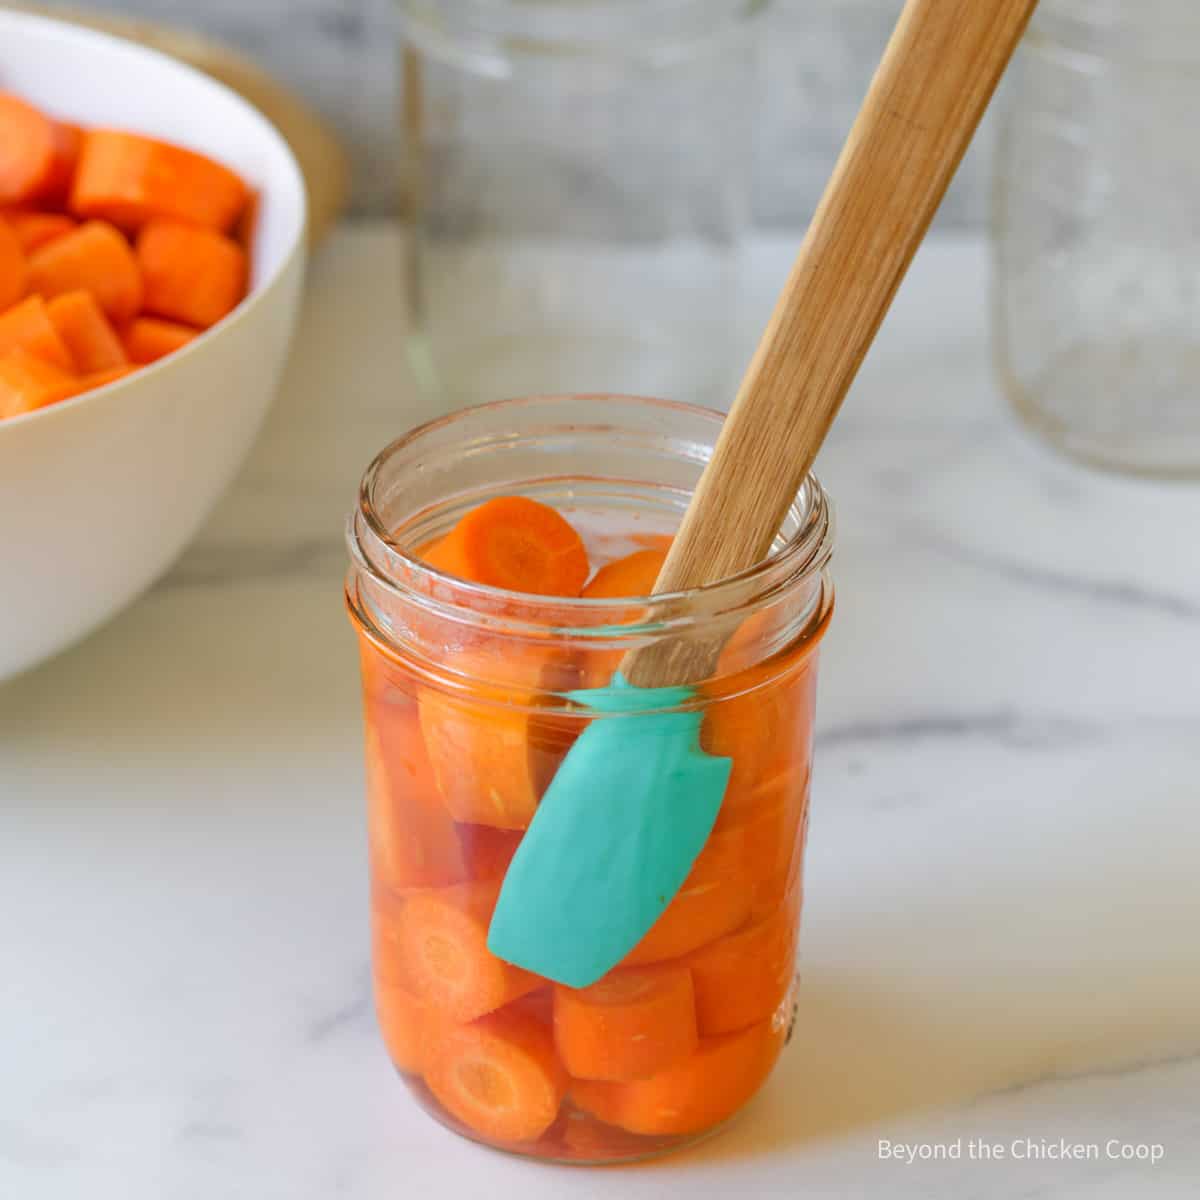
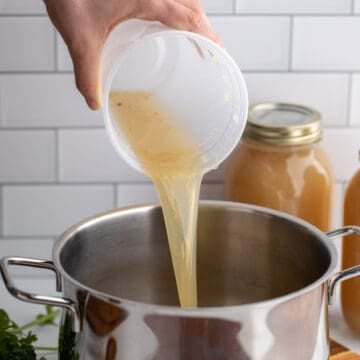
- Add boiling water leaving a 1-inch headspace in each jar
- Remove air bubbles from jars by using a bubbler or a small plastic spatula
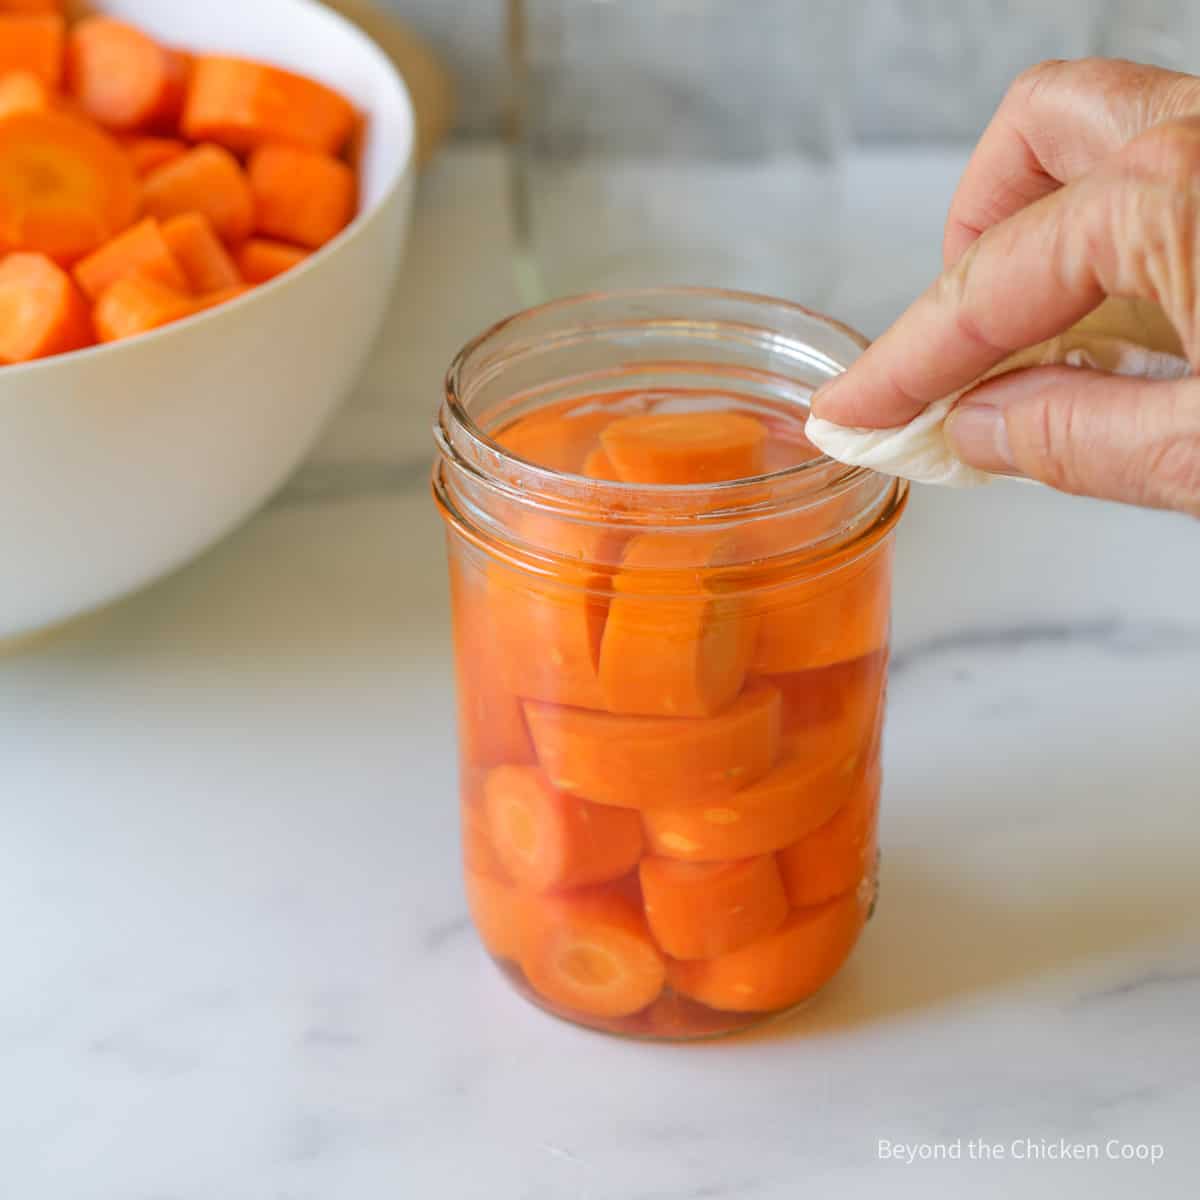
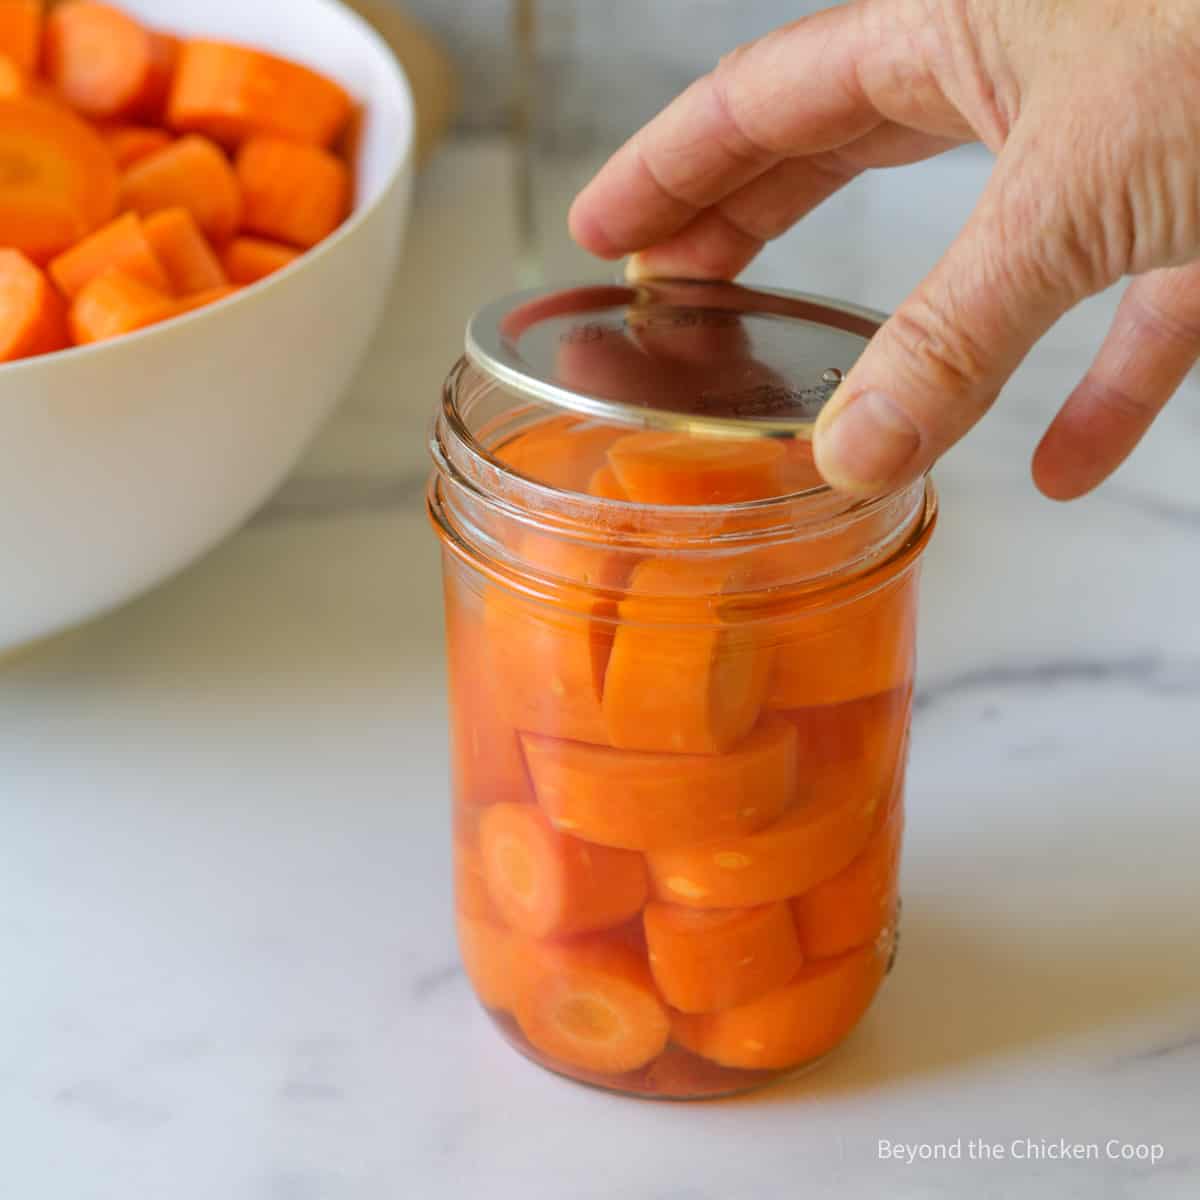
- Wipe the rim and place a clean lid and ring on each jar
- Place jars in a pressure canner filled with two inches of hot simmering (not boiling) water
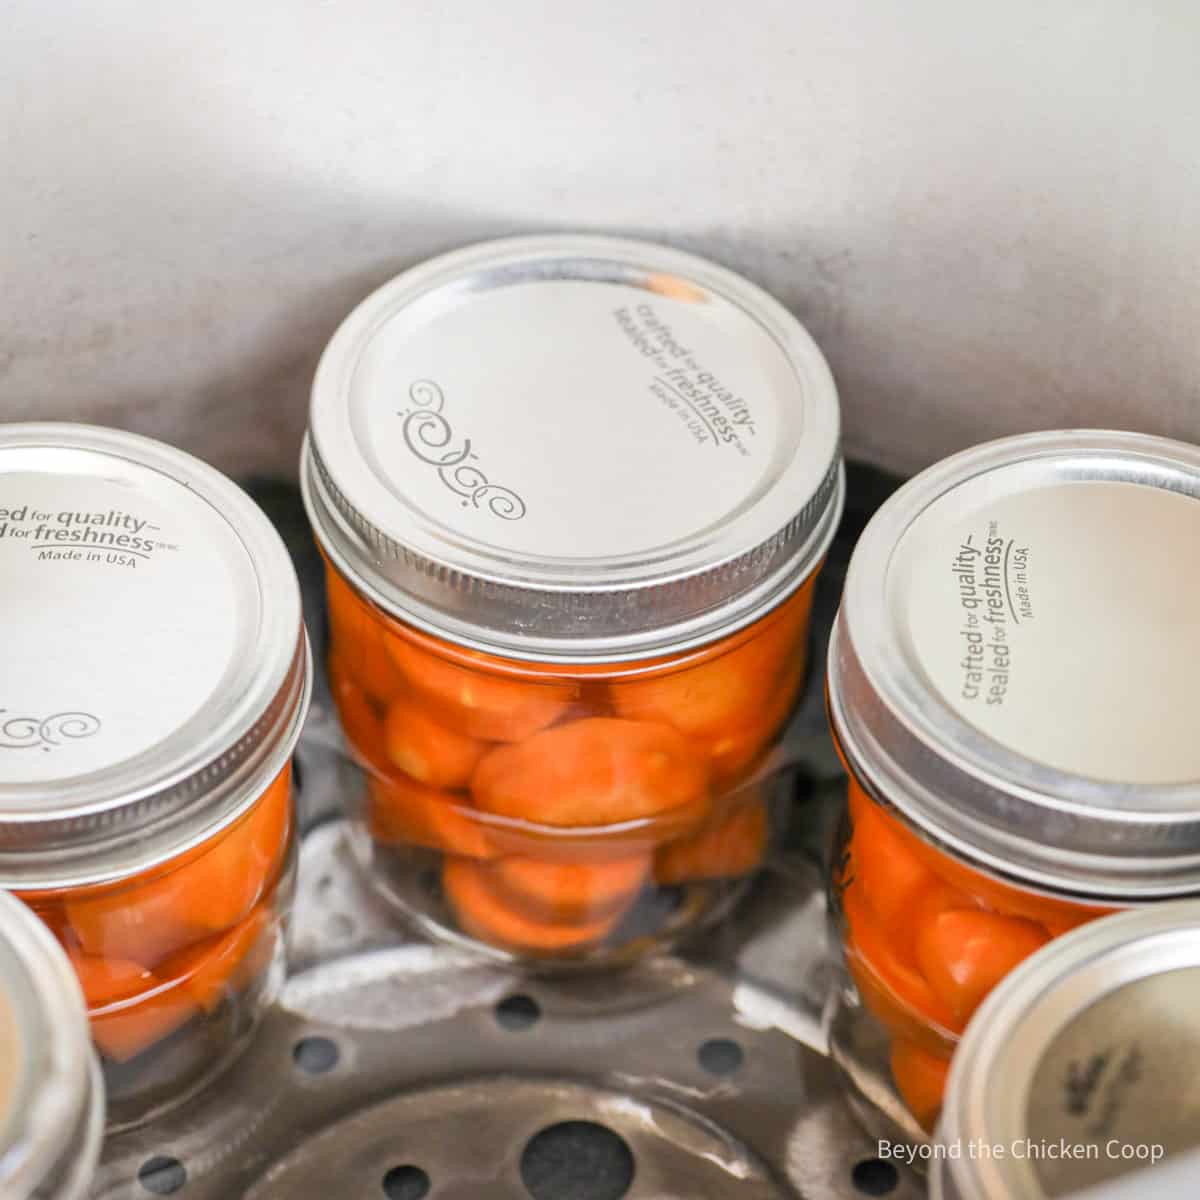
- Place lid on canner and increase heat to medium-high until the canner begins steaming out the vent
- Allow the steam to vent for 10 minutes and then place vent cover on
- Allow pressure to reach 10 psi (or higher for your elevation. See chart below.)
- Process pints for 25 minutes and quarts for 30 minutes
- After process time, turn off heat and allow pressure to return to zero without removing the vent cover
- Carefully remove the vent cover and then wait an additional 5 minutes before removing pressure canner lid
- Once lid has been removed, keep jars in canner for 5-10 minutes to help reduce siphoning
- Remove jars with a jar lifter and place on a rack
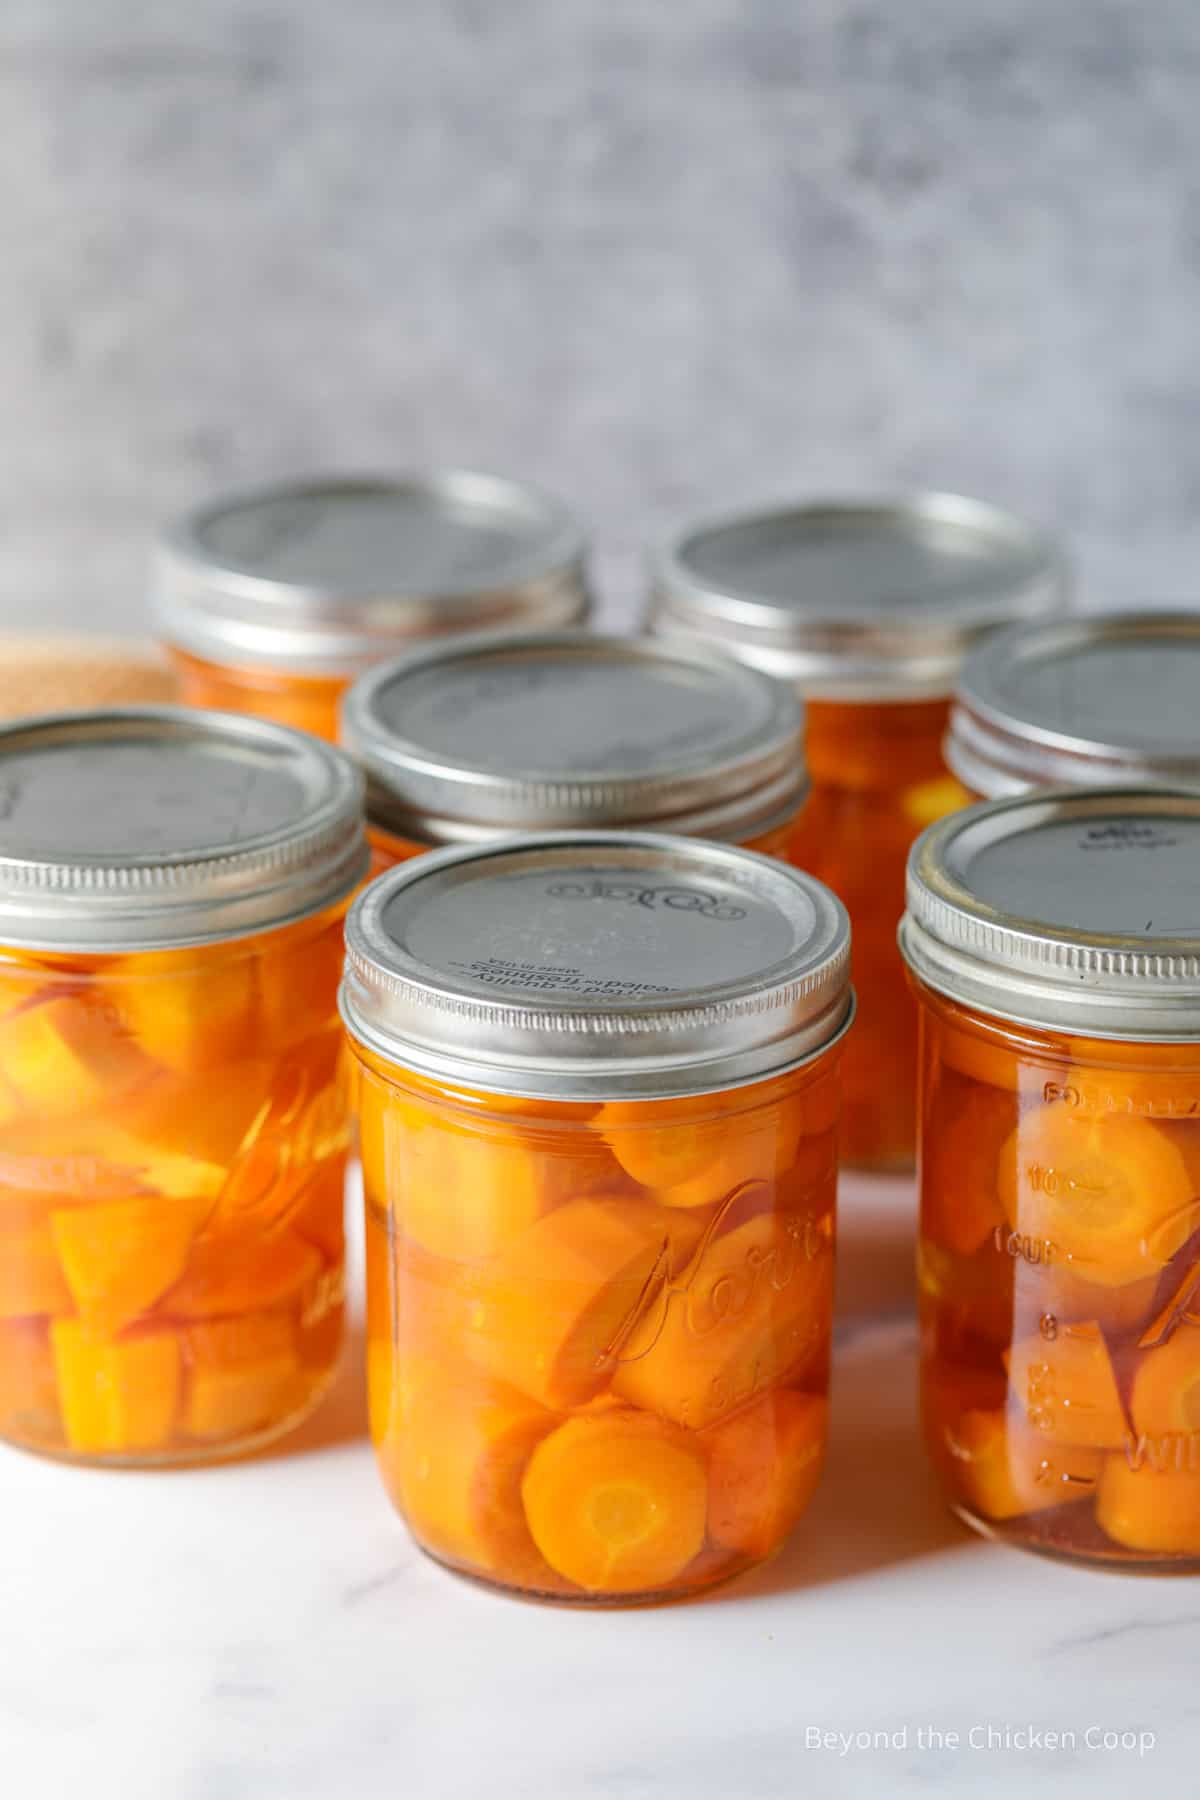
- Let jars fully cool for 24 hours before moving
- Remove rings and check seals. Wash jars, label with contents and date and store in a cool, dry place.
Elevation adjustment
Be certain to adjust your pressure based on your elevation. Under 1,000 feet is 10 pounds of pressure.
| Altitude Feet | Pounds of Pressure |
|---|---|
| 1,001- 2,000 2,001- 3,000 3,001- 6,000 6,001 - 8,000 8,001-10,000 | 11 pounds 12 pounds 13 pounds 14 pounds 15 pounds |
Recipe tips
- Be certain to inspect your jars before using. Do not use if chipped or cracked.
- Cut carrots to any size you desire. You can cut into rounds, diced or spears. Each jar can be different but put the same type of cut into one jar.
- Use pint or quart-sized jars
- Yield will depend on the size of your pressure canner and the amount of carrots you have available to can
Frequently asked questions
For quality purposes, home canned food is best used within 2 years. Food will last for years longer, but the quality may begin to deteriorate.
Always inspect your home canned jars before consuming them.
First, do a visual inspection. Ensure that the jar is still sealed. Look for discoloration and bubbling or frothiness. If the jar is swollen or bulging, throw it out.
Once the jar is opened if the contents are bubbling or foaming or it spurts contents, throw it out. If the contents are moldy, discolored or smell bad, throw it out.
If in doubt, throw it out!
Pressure canning safety
- Read your manual for your pressure canner before using
- If you have an older model, inspect the rubber gasket. If dry or crumbly, it will need to be replaced.
- Make certain lid is fully locked into place
- Keep an eye on your pressure to make certain it doesn't go below the desired temperature and that it doesn't go too high
- If you have a glass-topped stove, please check with the manufacturer before using a pressure canner. The high heat may not work with your stovetop.
- Always double-check that you have enough water in the pressure canner. Most canning recipes call for 2 -4 inches, depending on the length of time the item will be under pressure. You do not need to cover the jars with water.
A Note on Home Canned Food
Improperly home canned food can carry the risk of causing botulism. If eaten, this can cause a serious form of food poisoning that can lead to paralysis or death. Please follow safety procedures and inspect your food before consuming.
- Always inspect your home canned food before eating
- If in doubt, throw it out!!! The FDA recommends throwing out the food and the jar.
- Do not taste if in doubt!
- Throw it out if -
- the can is bulging, leaking or swollen
- the container looks damaged or abnormal
- the container spurts liquid or foam when opened
- the food is moldy, discolored or smells bad
- the seal is no longer intact when you examine the food
Equipment
Pressure canning does require special equipment. This is what I use:
- Pressure Canner - There are a variety of models and sizes available. You need to have a pressure canner that has a pressure gauge or a weighted gauge in order to determine the pressure. An electric pressure cooker or instant pot is not suitable for canning.
- Jar Lifter - There are several canning starter kits available with some useful tools. The most important ones are the jar lifter and the funnel. Those are the two I use. You can purchase a kit or buy pieces separately.
- Canning Jars - Use quart jars or pint jars. Make certain the jars you use are specifically designed for canning.
- Canning Lids - If you purchase a new set of jars, they will come with lids and bands. Otherwise, when reusing canning jars, you need to use new lids every time.
More home canning recipes
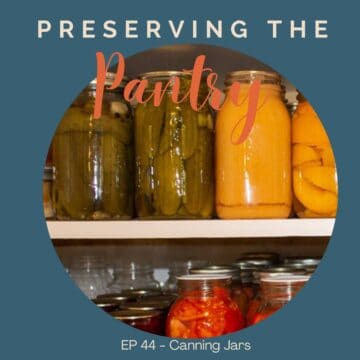
Listen to the podcast episode
In Episode 10, of Preserving the Pantry, I talk about the process for canning carrots.
If you make this recipe, I’d love to hear about it! Leave a comment below and snap a picture and tag me on Instagram @beyondthechickencoop
Be certain to check out all my canning recipes!

Canning Carrots
Equipment
- Canning Jars - 16 oz
Ingredients
- 4-6 pounds carrots
- 4 teaspoons canning salt (optional)
- 12 cups boiling water
Instructions
- Wash, peel and wash carrots again after peeling.
- Cut carrots into desired shape and size (rounds, diced or spears)
- Place carrots in jars
- Add salt, if using. Add ½ teaspoon to each pint or 1 teaspoon to each quart.
- Pour boiling water over carrots, leaving a one inch headspace
- Remove air bubbles
- Wipe down rim and place lid and ring on jar
- Place jars in pressure canner with simmering 2-3 inches of water
- Place lid on pressure canner and lock into place. Make certain vent cover is off.
- Increase heat to medium high. Once steam begins to stream through vent, time for 10 minutes. After 10 minutes, place vent cover on to stop steam.
- Begin watching for pressure. Once 10 pounds of pressure has been reached (or the pressure needed for your elevation) begin timing. Pints need 25 minutes and quarts 30 minutes. Make certain the minimum pressure is maintained during processing time.
- Turn off heat, but DO NOT remove vent cover until pressure has fully returned to zero.
- Carefully remove vent cover and wait 5-10 minutes. Then carefully remove lid.
- Allow jars to sit in pressure canner for 5-10 minutes with the lid off. Then use a jar lifter to remove each jar and place on a baking rack.
- Let jars fully cool for 24 hours. Then remove rings, check for seal and wash and label jars.
- Store jars in a dark cool location
Notes
- 1000-2000 feet - 11 pounds of pressure
- 2001-3000 feet - 12 pounds of pressure
- 3001-6000 feet - 13 pounds of pressure
- 6001- 8000 feet - 14 pounds of pressure
- 8001-10000 feet - 15 pounds of pressure
- Be certain to inspect your jars before using. Do not use if chipped or cracked.
- Cut carrots to any size you desire. You can cut into rounds, diced or spears. Each jar can be different, but put the same type of cut into one jar.
- Use pint or quart sized jars
- Yield will depend on the size of your pressure canner and the amount of carrots you have available to can
- Read your manual for your pressure canner before using
- If you have an older model, inspect the rubber gasket. If dry or crumbly, it will need to be replaced.
- Make certain lid is fully locked into place
- Keep an eye on your pressure to make certain it doesn't go below the desired temperature and that it doesn't go too high
- If you have a glass-topped stove, please check with the manufacturer before using a pressure canner. The high heat may not work with your stovetop.
- Always double-check that you have enough water in the pressure canner. Most canning recipes call for 2 -4 inches, depending on the length of time the item will be under pressure. You do not need to cover the jars with water.
Nutritional Disclaimer:
Nutritional information is provided as a courtesy and should only be construed as an estimate rather than a guarantee. To obtain the most precise nutritional information in a provided recipe, you should calculate the nutritional information with the exact ingredients you are using when preparing the recipe using your preferred nutrition calculator.
Nutrition
Resource: National Center for Home Food Preservation.
Bill Cross says
Great recipe, but my bad!!! I did not see the button for printing only the recipe and just hit print on my phone. Printer spit out 35 pages.
My bane is Bill and this is what happens when you let a man in your kitchen!!! LIK!!!
Kathy says
Oh dear! Have Bill go the the recipe card next time. It's at the very bottom of the post and you can print just the recipe itself. Hopefully Bill can still be a help in the kitchen! 🙂
Glad you enjoyed the recipe.