

 by
by 
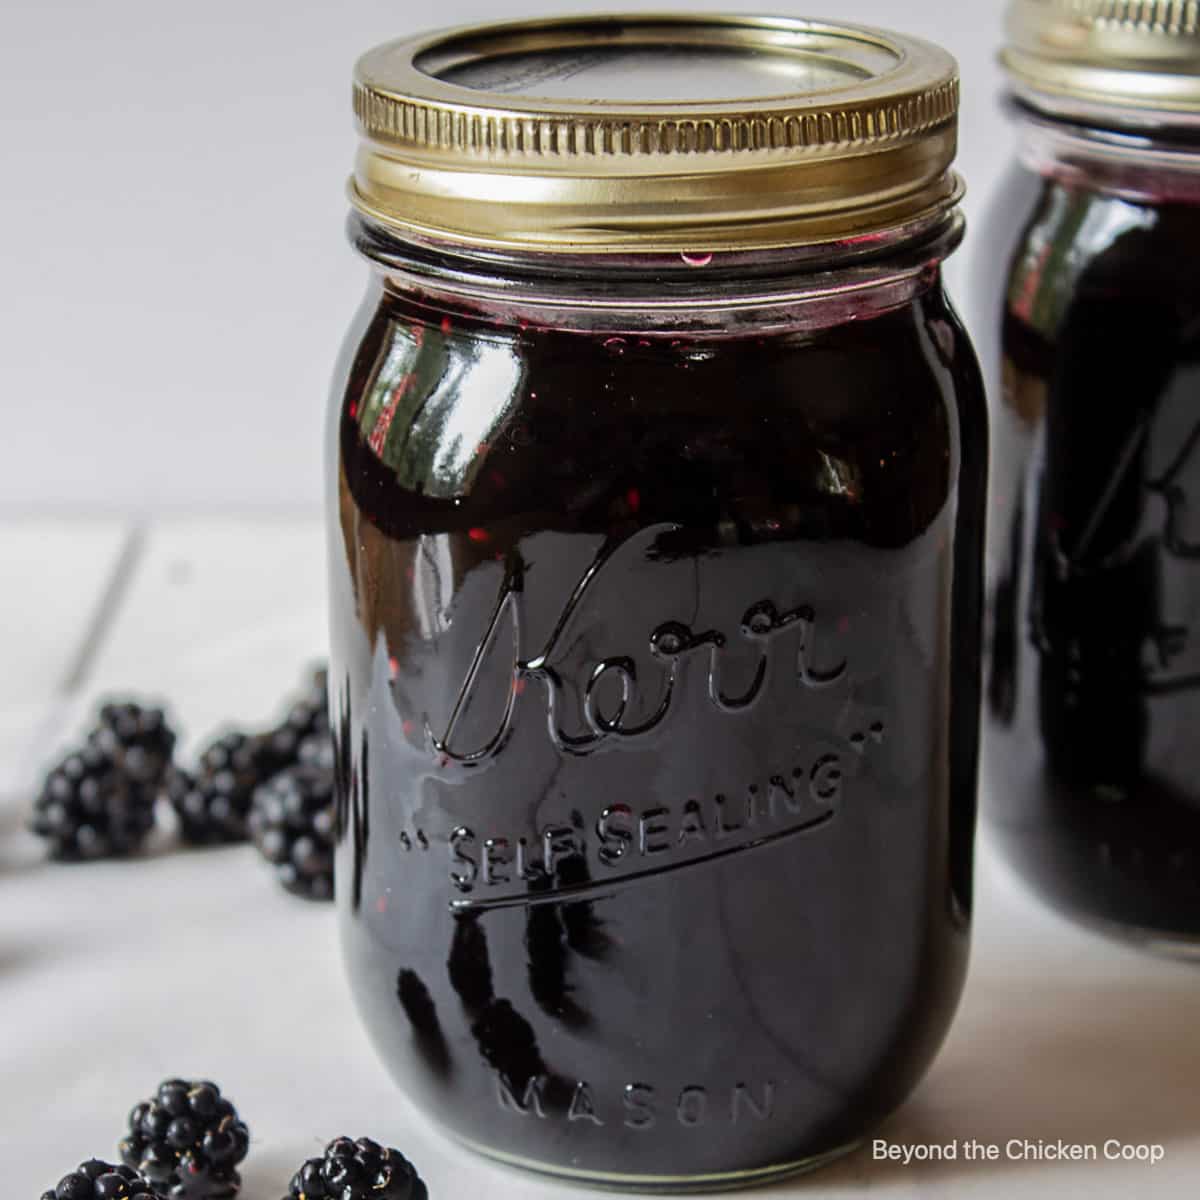
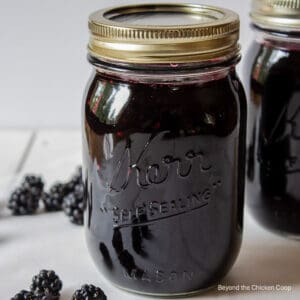
Fresh blackberries, sugar and lemon juice are the ingredients needed to make this delicious jam! No added pectin is needed as wild blackberries are naturally high in pectin.
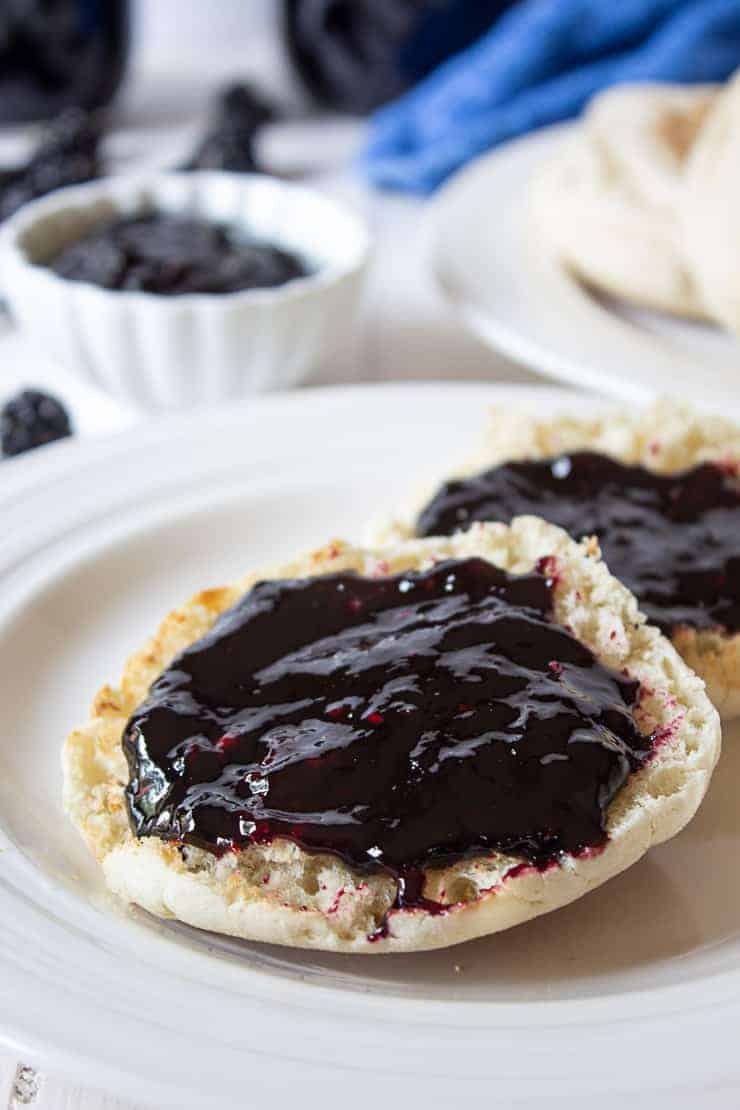
This seedless blackberry jam is perfect for spreading on toast or in sandwiches.
Jump to:
- Homemade Blackberry Jam
- Blackberry Jam Ingredients
- Making blackberry jam without pectin
- How to Make Blackberry Jam
- How do you know when blackberry jam is ready?
- Altitude adjustment
- Blackberry Jam Recipe Tips
- Canning Homemade Blackberry Jam
- FAQs for this Seedless Blackberry Jam
- Seedless Blackberry Jam Recipe
Homemade Blackberry Jam
My favorite method for making jam is with just a few ingredients and no added commercial pectin. I have everything you need to know in order to make a perfect blackberry jam.
Follow my three-ingredient recipe along with my step-by-step directions, photos, and tips to yield perfect homemade blackberry jam.
The hardest part about making jam without commercial pectin is knowing how long to cook the jam. I have three different methods for testing your jam so you’ll know exactly when it’s done.

Blackberry Jam Ingredients
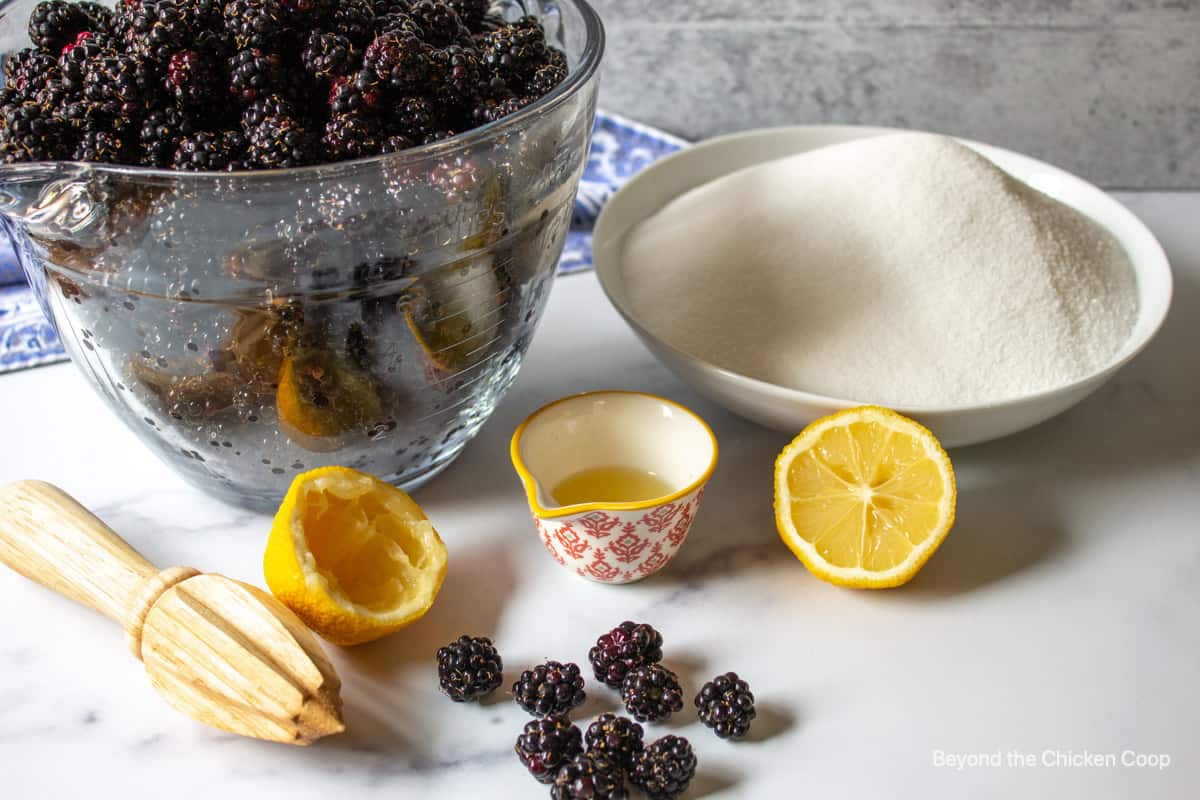
This section reviews the best ingredients and substitutions for this recipe. For an exact list of ingredients and quantities, check the recipe card below.
- Blackberries - fresh or frozen. If using frozen, allow berries to thaw first. Be certain to keep all the juice that is released as the berries thaw.
- Sugar
- Lemon juice
Making blackberry jam without pectin
Pectin is a naturally occurring substance in many berries and fruits. It is also produced commercially to aid in setting jams and jellies. Commercial pectin requires an exact amount of fruit and a high amount of sugar in order for the jam or jelly to set.
Lemon juice and sugar are added to help activate the natural pectin.
Blackberries are naturally high in pectin, so no added pectin is needed. I always add a few reddish blackberries into the mix because they have even more pectin than the riper black ones.
Because this recipe doesn't use a commercially added pectin, the amount of sugar added is all up to you! I added 4 cups of sugar to 8 cups of strained fruit. Most jam recipes call for equal amounts of sugar to fruit!
How to Make Blackberry Jam
In this section, I share step-by-step photos, cooking methods, techniques, and a general overview. For detailed instructions, temperatures, and timing, check the printable recipe card below.
- Mash berries and strain seeds
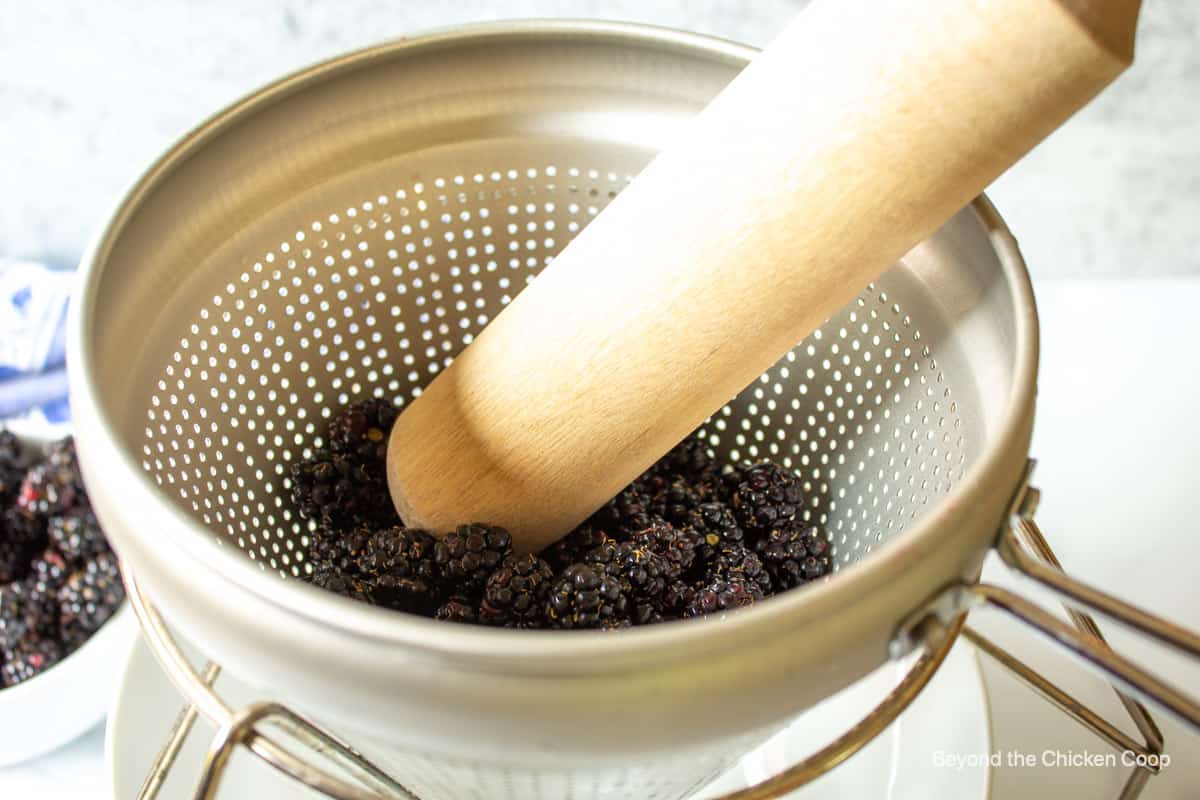
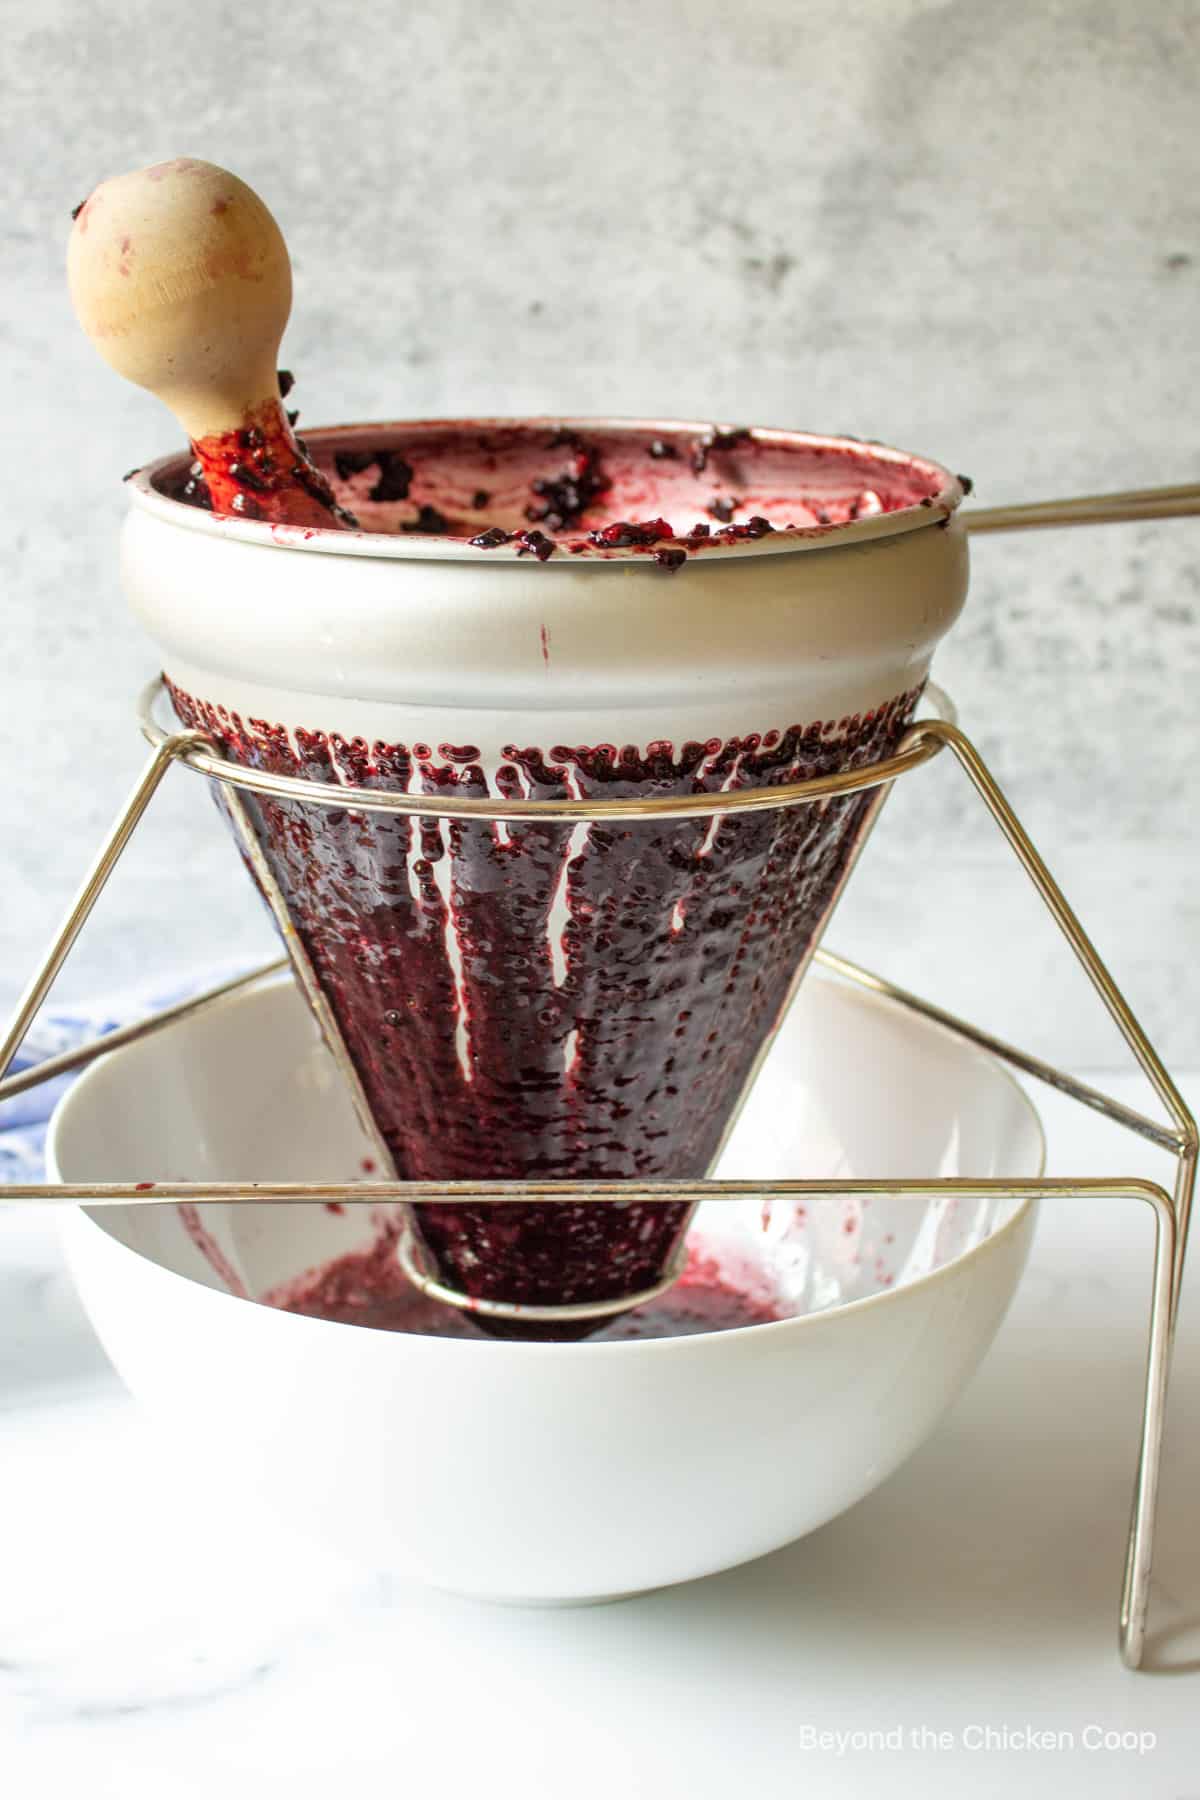
2. Place strained berries, sugar and lemon juice in a pot over medium-high heat
3. Stir often to avoid scorching
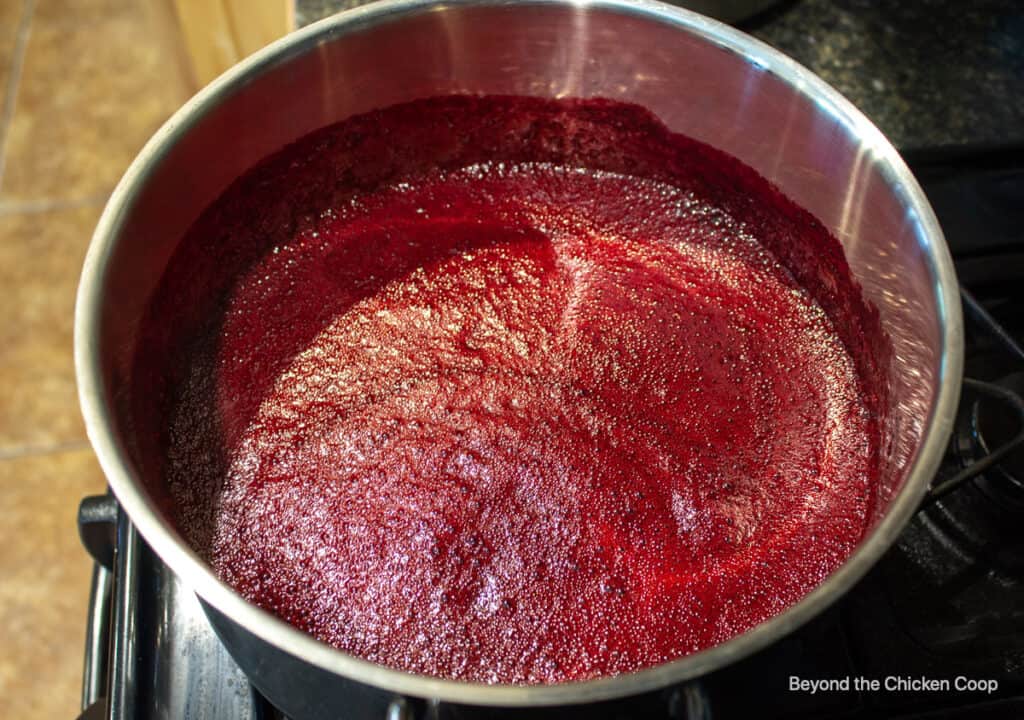
4. Heat until jam reaches the gel stage
5. If canning, place jam in clean and sterilized jars
6. Wipe rim clean
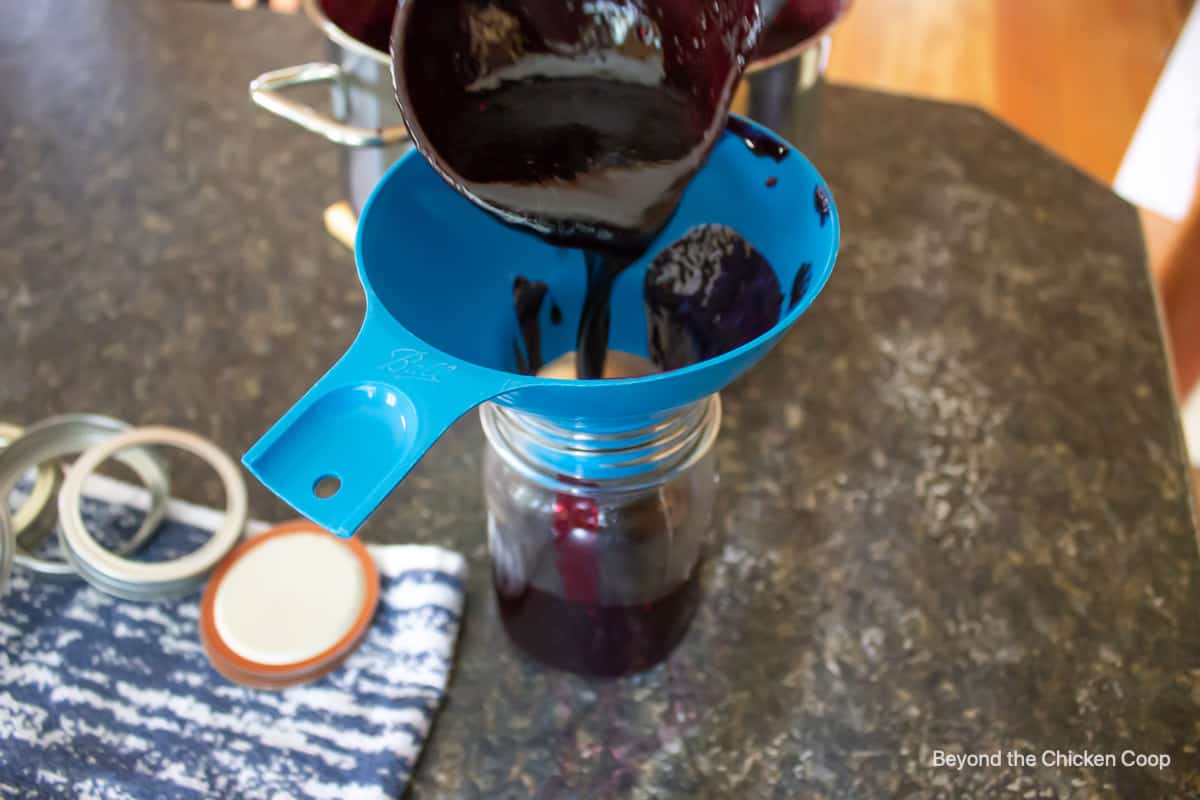
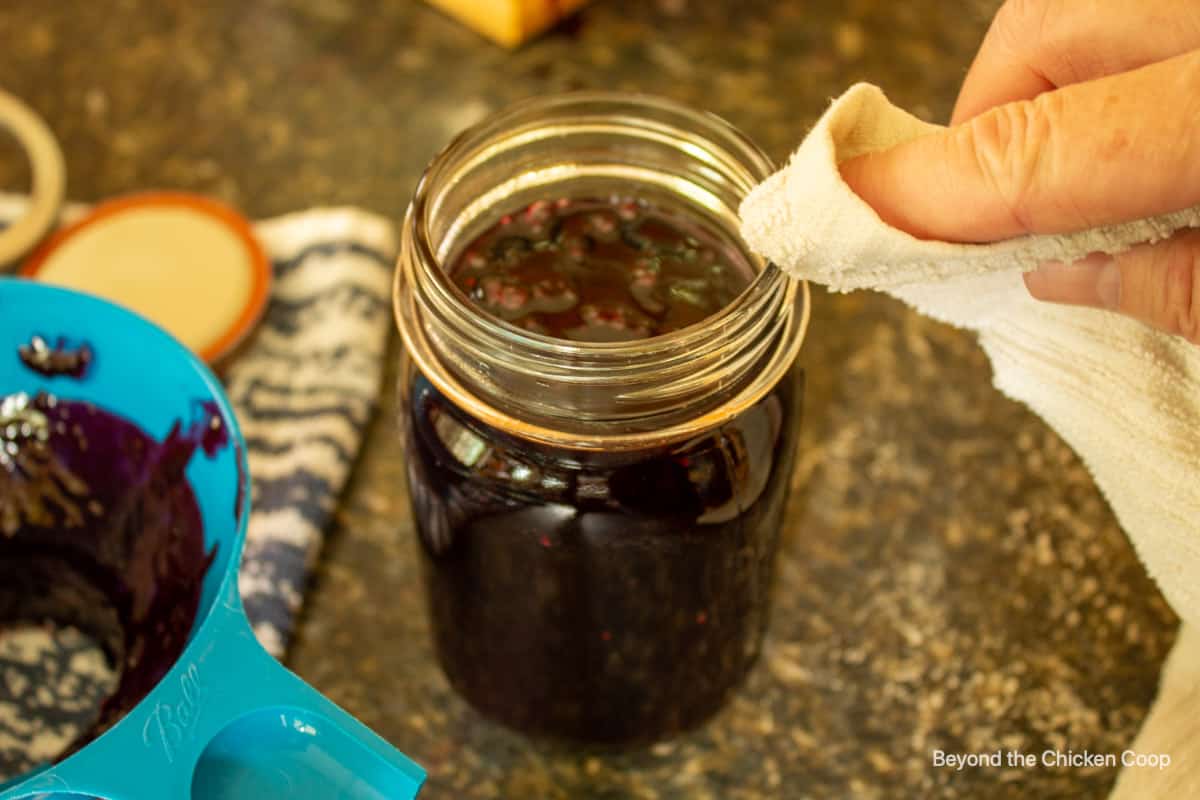
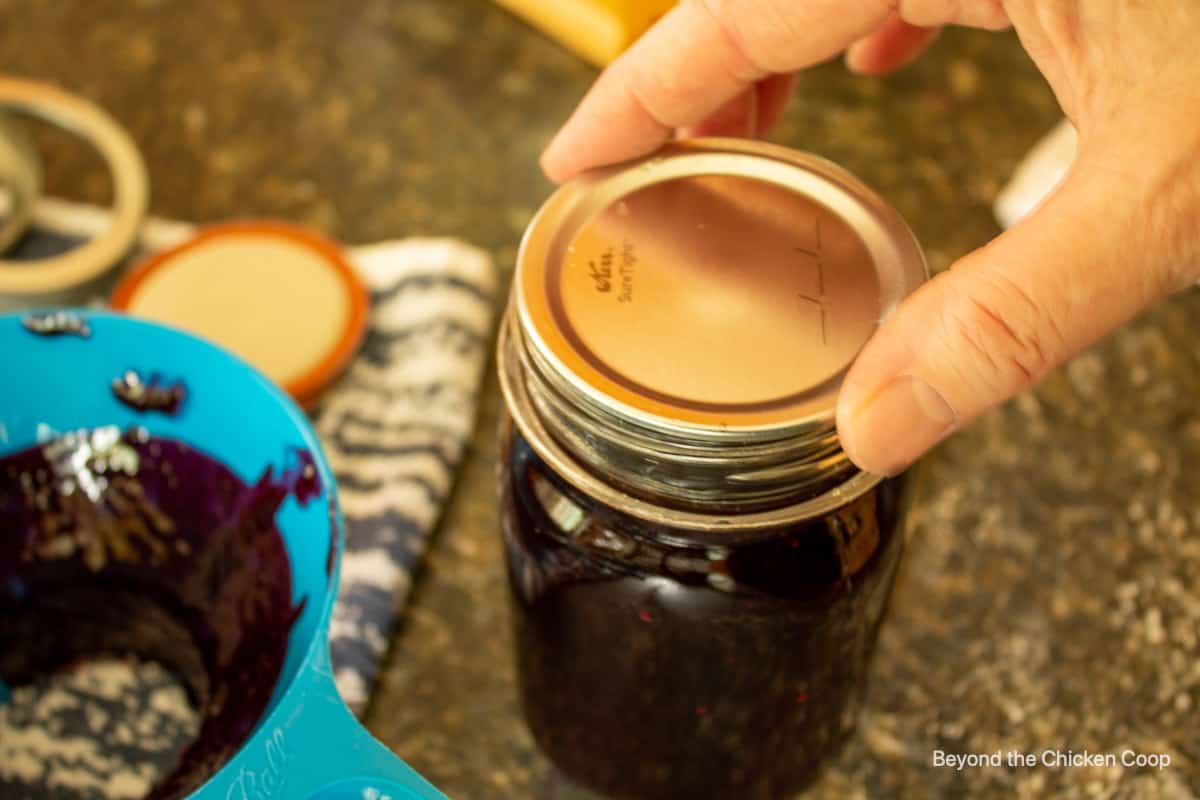
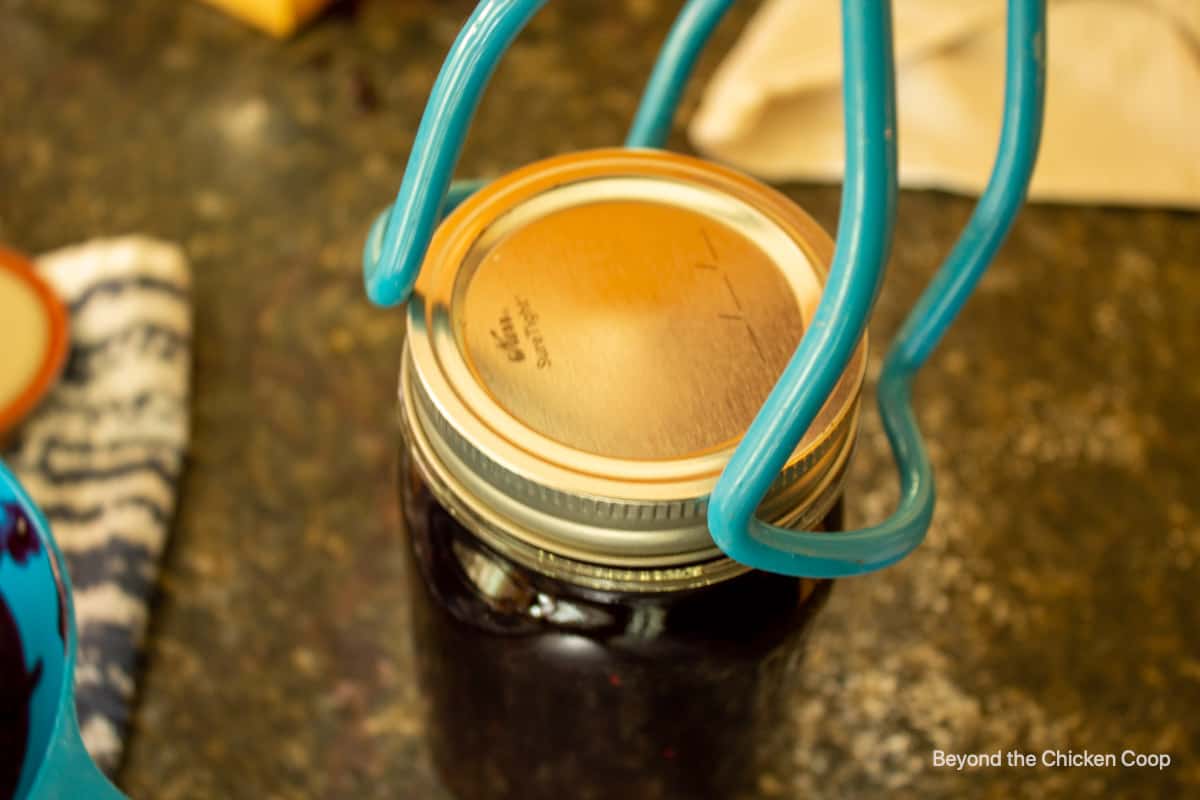
7. Add lid and screw cap and process in a hot water bath
How do you know when blackberry jam is ready?
Knowing when your jam is set, or done is the hardest part of making jam.
When cooking without commercial pectin you need to rely on a spoon test, a plate test or check the temperature. I like to use at least two methods, and often all three methods when making jam.
Spoon test
The spoon test relies on watching the sheeting or drops as they come off the spoon while it is cooking. When the jam first starts boiling, it comes off in thin droplets.
When the jam has set, the jam will come off the spoon in more of a sheet. This takes some time to learn what this looks like, and even though I've been making jam for years, I always rely on a second method.
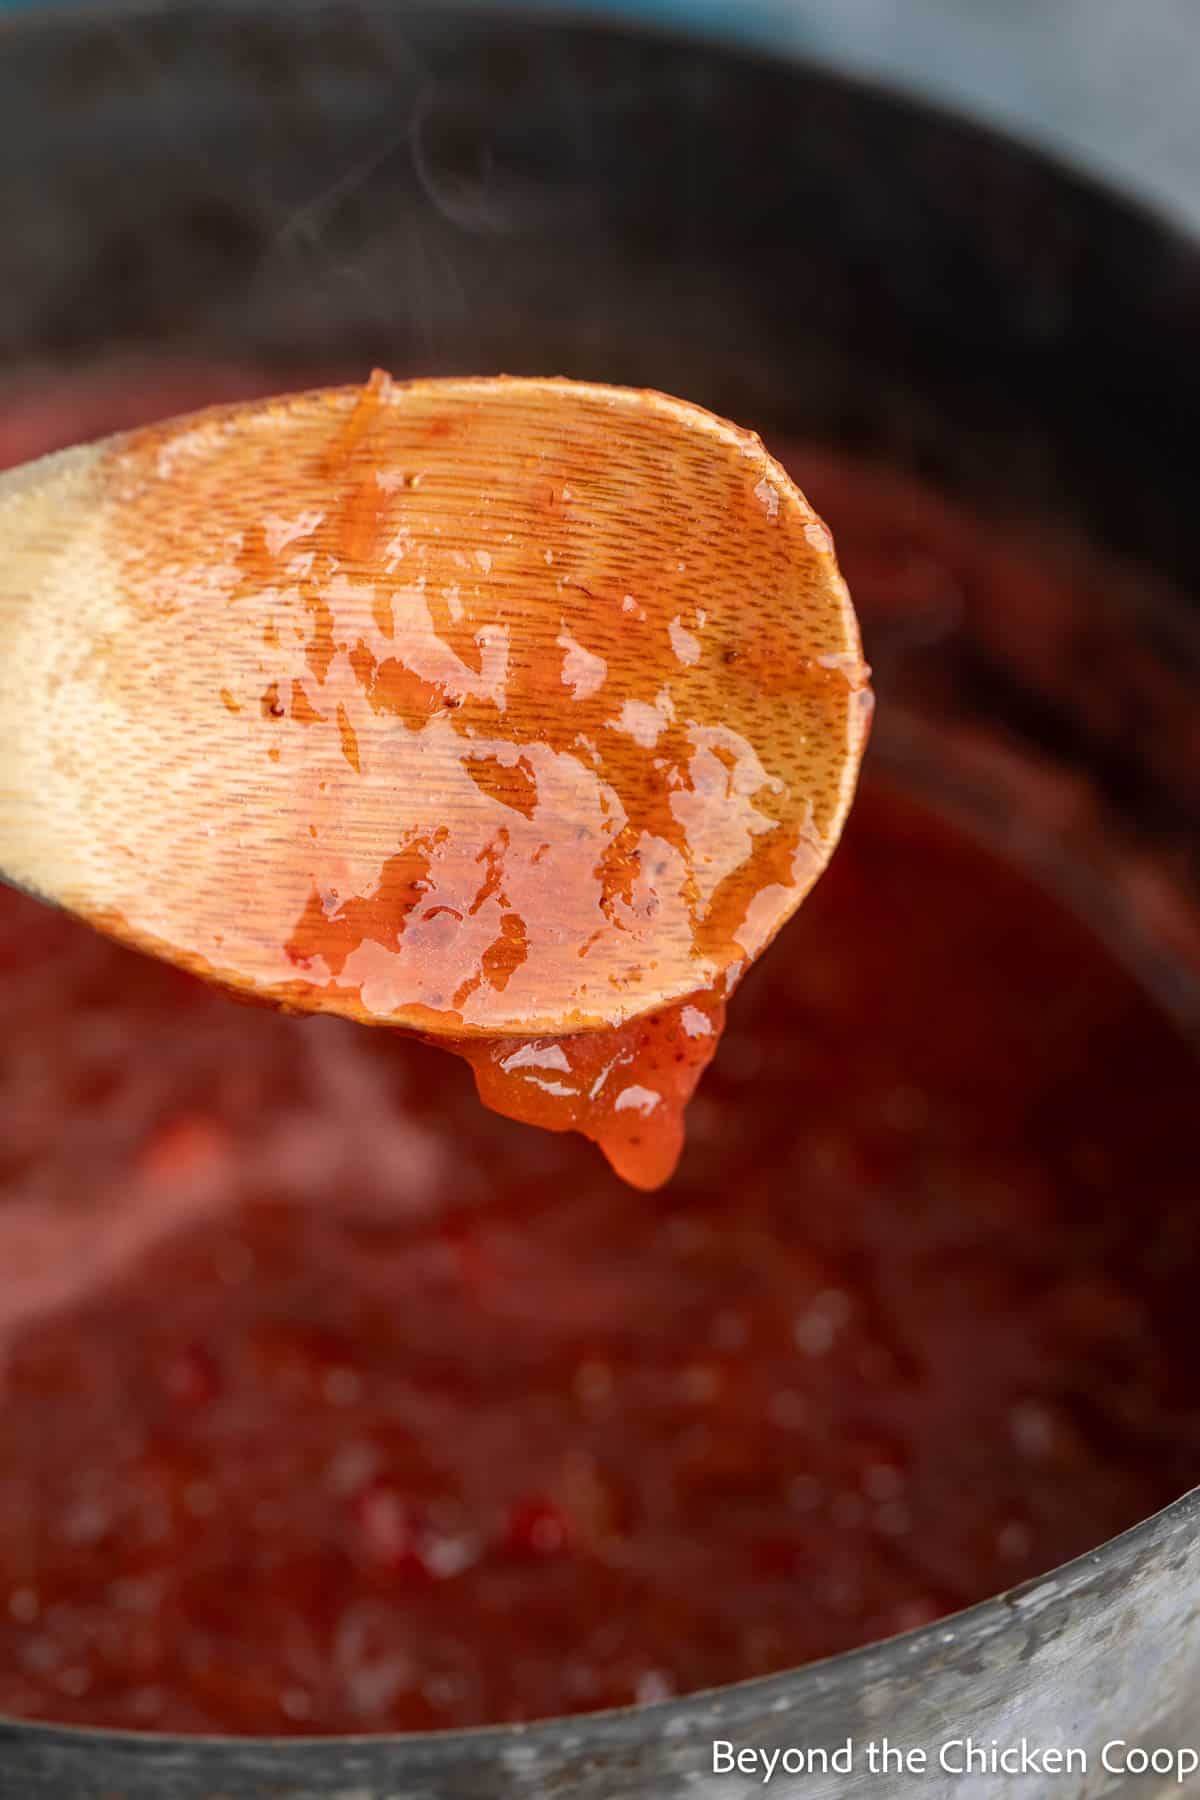
Plate test
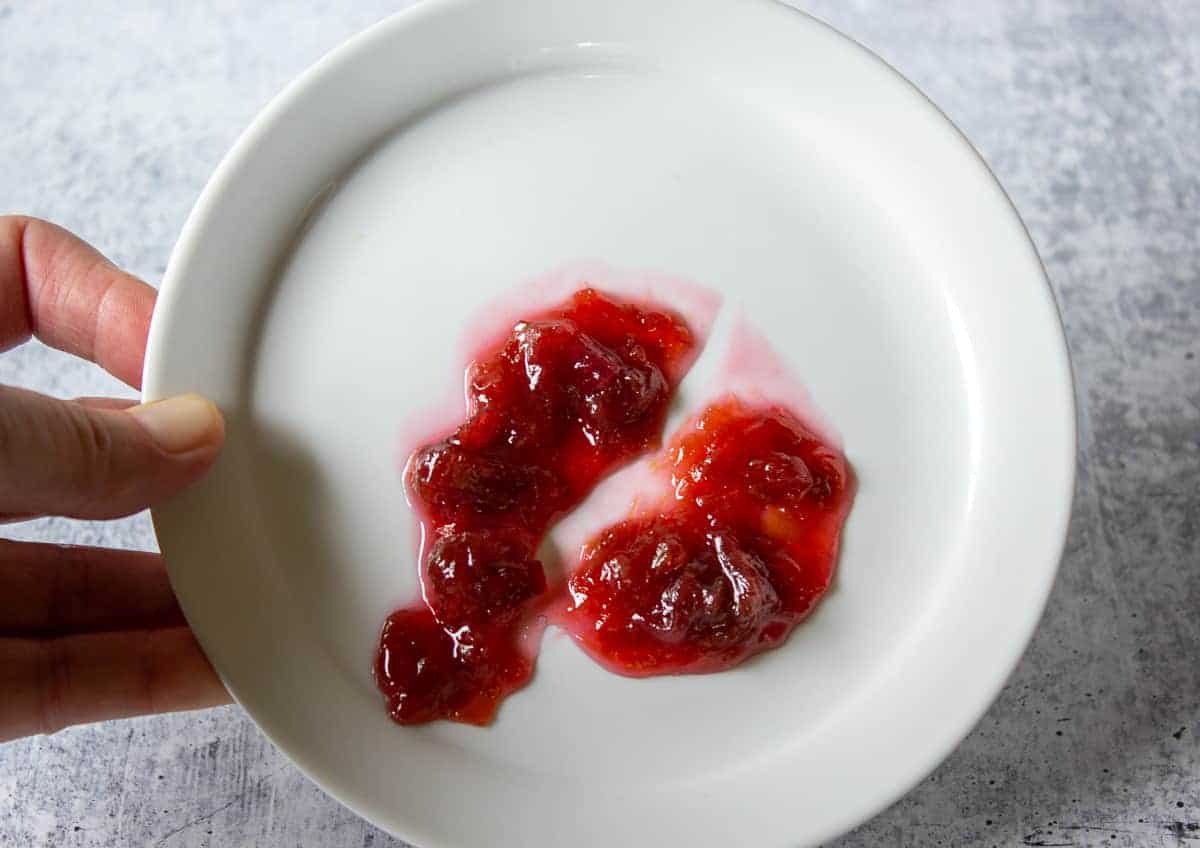
Have a small plate chilling in the refrigerator. When you think the jam has set, place a spoonful of hot jam on the cold plate. Wait one minute and draw a line through the center of the jam. If the line holds its shape and doesn't run, the jam is set.
Temperature test
The temperature test is the most reliable. However, the exact temperature will vary, depending on your altitude. You will deduct 2° for every thousand feet above sea level. Jam sets at 220°F at sea level. I'm at about 2000 feet above sea level, and my jam sets between 216°F and 218°F.
I usually watch my jam with a thermometer, and when it starts getting close to 215°F, I begin doing a sheeting test and then the plate test. I don't like to rely on just one method.
Altitude adjustment
| Altitude Feet | Increase Processing Time |
|---|---|
| 1,001- 3,000 3,001- 6,000 6,001- 8,000 8,001-10,000 | 5 minutes 10 minutes 15 minutes 20 minutes |
Blackberry Jam Recipe Tips
- Blackberries are very messy, and the juice will stain. Wipe up spills and drips quickly and wear something you don't mind if a few stains remain.
- Use a pot that is at least double the size of the ingredients. When you boil jam, it will really swell up in the pot.
- Keep a close eye on your jam. You don't want it to burn or boil over. The pictures below show my jam boiling all the way to the very top of a large pot. If this happens, turn down the heat, blow gently on the top of the jam, and carefully stir the jam. You don't want it to boil over and lose all that jam and have a burnt sticky mess to clean up.
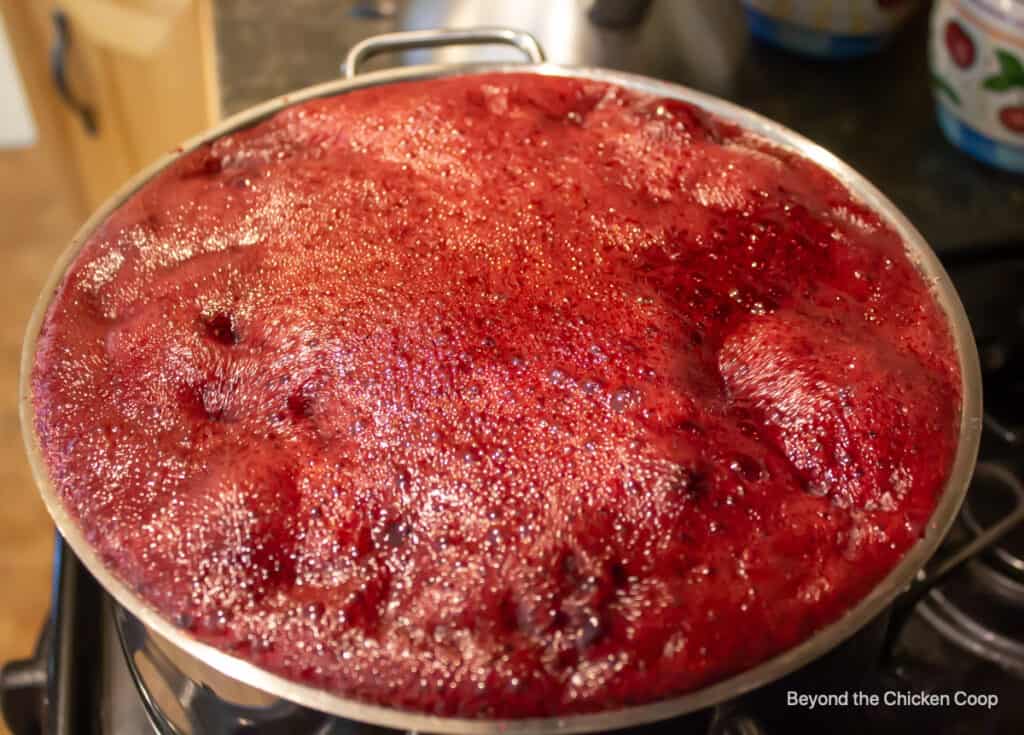
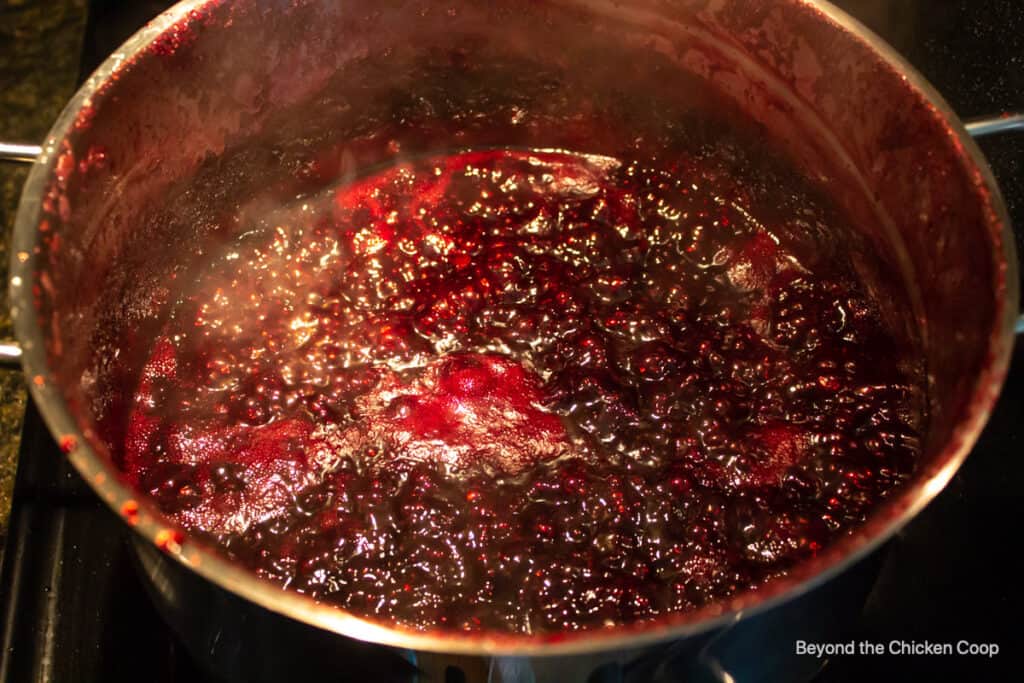
- Jam will often create foam when boiling. I just ignore the foam. It usually disappears once the jam is set. If you still have foam on top of the jam, you can skim it off before canning your jam.
Canning Homemade Blackberry Jam
- Make certain you always clean your jars prior to using.
- Use new canning lids that have been washed.
- Fill jars, leaving a ¼ inch headspace.
- Hot water bath your jars for 10 minutes for half-pint (8 ounces) or pint jars (16 ounces), and always adjust for your elevation (see chart below).
- Once jars are sealed and cooled for 12 hours, remove rings and wash the outside of jars. Replace rings if desired.
- Label and date jars.
Canning Supplies
A few supplies you may need to when canning this jam include a canning jar lifter, a food press(or chinois), a large canning pot, and canning jars.
If you'd like to freeze excess blackberries, follow these steps for freezing raspberries.
FAQs for this Seedless Blackberry Jam
Removing the seeds from blackberry jam is optional and a personal preference. I make blackberry jam with wild blackberries and the seeds often seem large. I prefer this jam without the seeds.
If the blackberry jam is processed in a water bath canner, the jam will have the best quality when used within 12 months. Once a jar is opened, the jar should be covered and refrigerated and used within 1-2 months.
Yes, the blackberries should be rinsed under cool water before making the jam.
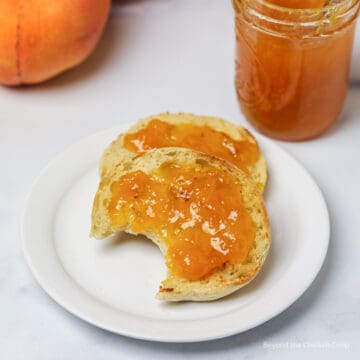
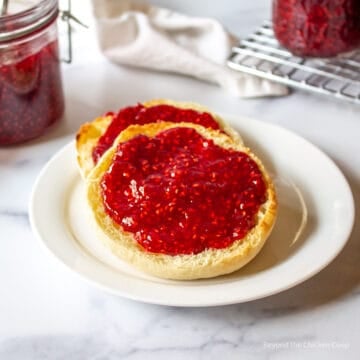
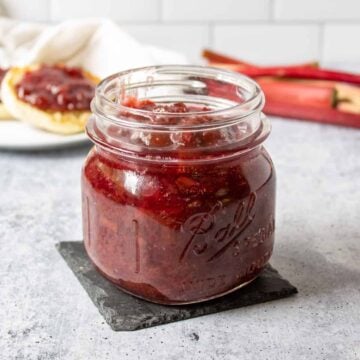
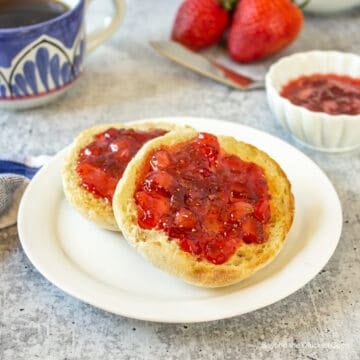
Some additional jam recipes for you to try include Apricot Jam, Rhubarb Jam, Strawberry Jam, and Plum Jam.
If you make this recipe, I’d love to hear about it! Leave a comment below and snap a picture and tag me on Instagram @beyondthechickencoop
Check out all my Canning Recipes.
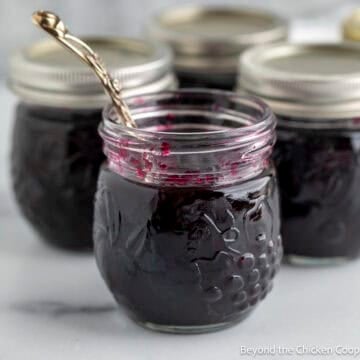
Seedless Blackberry Jam Recipe
Equipment
- Measuring Cups
- Canning Jars - 16 oz (Pint sized jars or smaller sized jars)
Ingredients
- 12 - 14 cups blackberries (ripe berries and a few unripe berries)
- 4 cups sugar
- 2 tablespoons lemon juice
Instructions
- Mash and strain seeds from blackberries using a chinois. Measure out 8 cups of strained fruit for jam.12 - 14 cups blackberries
- Put 8 cups of fruit, sugar and lemon juice in a heavy stockpot over medium heat.12 - 14 cups blackberries, 4 cups sugar, 2 tablespoons lemon juice
- Stir until sugar is dissolved. Continue cooking over medium heat until mixture comes to a boil. Stir every few minutes to prevent scorching.
- Boil until jam is set (220 degrees at sea level and subtract 2 degrees for every 1000 feet above sea level.. 1000 feet = 218°). Jam needs to reach temperature in order to thicken. Stir often to prevent scorching. Remove from heat. Ladle into clean, sterilized jars leaving a ¼ inch headspace.
- Wipe down rims and add canning lids and rings. Place in a hot water bath and boil jars for 10 minutes (adjust time according to elevation - see notes below)
Notes
- Be certain to add some unripened, or reddish berries as well as the ripe blackberries. The unripe berries have higher levels of pectin.
- Cooking time will vary depending on your elevation and your stove.
- I used pint-sized jars (2 cups.) You can also use ½ pint size jars. Processing time will remain the same.
- Be certain to adjust water bath times according to your elevation.
Nutritional Disclaimer:
Nutritional information is provided as a courtesy and should only be construed as an estimate rather than a guarantee. To obtain the most precise nutritional information in a provided recipe, you should calculate the nutritional information with the exact ingredients you are using when preparing the recipe using your preferred nutrition calculator.
Tim Shehu says
Your measurement aren’t accurate! You initially say 12 cups of blackberry fruit then on your instructions you state 8 cups and sugar. It would make much more sense to use proper measuring instruction with grams.
Kathy says
Hi Tim,
There are two different measurements - the 12 cups is for the whole blackberries. The 8 cups is for the crushed and seeded blackberries. It takes approximately 12 cups of blackberries to make the 8 cups of crushed and seeded blackberries. I've included both measurements so people have an estimate on how many blackberries they will need.
Donna says
Wow! You needn't be SO rude! All the measurements were clearly given, please read more carefully in the future.
Robin says
My mom used to make blackberry jam when I was small, but I never had. I used 10 pints of beautiful blackberries from a neighbor with this recipe. I put them through my Kitchen Aid vegetable strainer to remove most of the seeds and ended up with about 9 cups of juice/pulp.I used 5 cups of sugar and 3 TBLS of lemon juice. I also had a hard time getting it to a soft gel, but I think I was boiling it too low for a while. Once I got it to a foamy boil, it probably took 20 min. to reach gel temp (I also couldn't find my candy thermometer so I used the freezer method to check it.) I ended up with 8 half pints and a 4 oz jar that I plan to eat without canning it...that one went straight to the fridge when cool!
Kathy says
Hi Robin,
Thanks for your tips! Enjoy that jam!
🙂
Gretchen Buegge says
I cannot say how much I appreciate that you include how many cups of strained blackberries/puree/juice needed. I processed all my berries last night to prep for making jam today and every recipe I'm finding gives me "cups of berries". I was starting to get so frustrated! Again, thanks! On to making jam!
Kathy says
Thanks, Gretchen! Good luck with the jam! 🙂
Araceli Lindsley says
Hello Kathy, I live in Washington State, I had some blackberries in the freezer and decided to try your recipe, I boiled the berries for 45 minutes but the jelly neve thickened enough , I put it in the jars anyway in hope that when it cool off it would thickened but unfortunately it didn't . Can I boil the jam again ? should I add some pectin? the flavor is delicious so I want to save it, I would appreciate your help.
Kathy says
Hi Araceli,
I'm so sorry this didn't set up. I have had some jams in the past that haven't set up and I have reboiled. I think in this case, I would add pectin. You should choose a natural pectin or a low sugar pectin that doesn't require a specific amount of sugar added. You could also save some of the jam you've already made and use it as a syrup instead of a jam.
Let me know how it turns out.
Kathy
Leonard Schmitt says
I used 9 cups of berries and 6 cups of sugar, starting with those amounts that were given me by a friend from an old recipe she had. I used a candy thermometer to be sure I got to 220 degrees. I plan to divvy it up between the 12 grandkids (4 households). Great project with being cooped up due to the coronavirus.
Kathy says
Your grand kids are going to be so happy!
Liz says
Sorry to see this has happened to others, mine didn’t set up either. Guess I’ll have to try reboiling and adding pectin. Just frustrated because I had canned most of it and small jars to give as gifts so now I need 15 new lids. Sigh. Onward I go!
Kathy says
Hi Liz,
The key is getting the jam to the 220 degrees.
Kathy
Liz says
Thanks I did but unfortunately it still didn’t gel.
Kathy says
I'm sorry that it didn't turn out.
Lisa says
Hi Kathy!
I had 19 cups of liquid and added 10 cups of sugar. What should my yield have been? I think I cooked it way too long and basically reduced it.
Kathy says
Hi Lisa,
I'm not certain what the yield should be. This isn't a recipe that I have doubled or increased. How does the jam taste? Did it set up okay?
-Kathy
Rick says
Did not gel at all,...can jars be opened and cooked longer or is is ruined...
Kathy says
Hi Rick, You can open jars and reboil to the gelling stage. You will need to discard the lids and use new lids to seal.
Good luck!
Linda Racine says
Hi Kathy...
I made this today. Waiting till tomorrow morning to test whether it's thick.
I don't understand your instruction above "Once jars are sealed and cooled for 12 hours, remove rings and wash jars. Replace rings if desired." How do you wash the jars if there's jam in them?
Kathy says
Hi Linda,
You are just washing the outside of the jars. They often will have a sticky residue from the jam so it's best to wash them off before storing them away.
Thanks! 🙂
Lori D says
Just made this after going picking in Western Coastal Washington, was amazing the amount of berries out there! Didn't make a huge batch, downsized it to about half of the recipe, added a little fresh lemon juice, and voila! Jam! What did I do differently? I had to cook it longer to hit the temp, so about 25-30 minutes, kept it at a rolling boil, never had it foam up. Set perfectly!
Is excellent jam, but will be good to use in savory cooking, such as a blackberry sauce for pork tenderloin, will add a little chile!
Kathy says
Hi Lori,
Thanks for all your details! I love the idea of serving with savory foods and adding a little chili for spice! Great idea!!!
Deann says
I must have done something wrong. It took way more than 12 c of berries to produce 8 cups of product! More like 20 cups, which luckily I had. I had skim off at least a cup of foam from the boiling liquid. And, in the end, it did not jell. At least it will be a really tasty blackberry sauce!
Kathy says
Hi Deann - That's quite a big difference in the measurements. Maybe some blackberries don't produce as much juice and pulp. I do pack my cups pretty full when measuring. I'm glad you had enough berries. The jam does need to boil for at least 20 minutes or until it reaches the soft gel stage ( 220 degrees) This can be tricky without a candy thermometer. I also always include a few berries that aren't all the way ripe and are a bit on the reddish side. That helps add a little extra pectin.
Thanks for your feedback and happy canning!
Lee Ann Verzi says
Just made your recipe this morning! So easy now can’t wait to try it!
Kathy says
There's nothing more wonderful than making homemade jam and enjoying it all year long!
Cindy says
Made this recipe it does not thicken without using pectin
Kathy says
Hi Cindy,
I'm sorry this didn't thicken for you. It does have to reach the soft gel stage which is reached at 220 degrees on a thermometer. You can also check by testing a small spoonful on a plate and letting it cool in the freezer. This takes a couple of minutes, but does indicate if the jam is thickening.
Thank you!
carol fitzgerald says
to day in sydney it will be 41 deg as my blackberries are ready i will be doing mine in the microwave as usual plus it will be this temprature for the next 3 days .thank goodness for air conditioning and solar panels. happty new year to everybody.
carol fitzgerald says
i live in sydney australia and i love making my own pickles and jams. we have a thornless blackberry i think it is called waldo in our garden we have to treat it like a wild plant but it is so good for children to be able to pick their own blackberries.
now for quite a few years i have been sealing my jars in the microwave TRUE. i have a vacola bottling outfit and i do the seals the same way ( i still cook on the stove top cant change old habits)
as you all do but i do it in the MICROWAVE this is really handy as it is generally very hot in aus so when i have put seals on
i then put a metal spoon in the jar and fill up jar with hot jam (so it wont crack) then put the lids and clips on and seal 3 jars at the same time generally for 3-5 minutes (DO NOT LET THEM TOUCH OR THEY WILL BREAK) now i am not the person who devised this method but i love it the person's name is isabel webb she is a home economist from albury nsw i think she would be retired by now. maybe available on line.if not i could possibly give you the basic info
MERRY CHRISTMAS EVERY ONE MAY YOUR JAMS ALWAYS SET!
Kathy says
What an interesting way to seal the jars. I haven't heard of this method before.
Thanks for sharing your method. 🙂
Fred G says
Jam on toast is yummy.
Stacey @ The Sugar Coated Cottage says
Yay for seedless lol. This jam looks wonderful and only 2 ingredients! Take care.
Kathy says
Blackberries and sugar is all you need!
Dawn says
I was just given a whole bunch of blackberries so this would be a perfect use for them! Though I don't mind seeds in my jam, I bet the strainer makes it ultra silky! I didn't even realize that you could get such a thing. Love that there's only two ingredients too - can't beat that 🙂
Kathy says
Normally seeds don't bother me, but for some reason the seeds on blackberries seem huge!
Adina says
Wonderful looking jam, I wish I had access to so many blackberries, I was only able to get a bowl to make a pie. Normally if I feel like eating blackberry jam I have to buy it...
Kathy says
A blackberry pie sounds yummy. I just might need to use some of my stash for a pie!
Adam Madron says
If you want blackberries, just move to Western WA. They are invasive out here and plenty to be had along roadsides, abandoned lots and anywhere that is not regularly maintained. I pick mne from the back yard where a patch overgrows my fence every year and if not cut back my entire backyard would be overrun with them. I have made jam from them and definitely prefer to have it seedless.
David @ Spiced says
You're killing me here, Kathy! I would give my right arm to have a wild blackberry patch like the one that Rod found. 8 gallons of blackberries in the freezer seriously sounds like my heaven. I would definitely have to take some of those berries and turn 'em into a cobbler because that was a childhood favorite. But jam? You're talking my kinda language there! I made jam a couple times, but that was years ago. I would love to try it again because those English muffins topped with blackberry jam are making me really hungry right about now! 🙂
Kathy says
We tend to go overboard sometimes! It's why we just added a 4th deep freeze!!! I'm not kidding - and they are all pretty full!
annie@ciaochowbambina says
Nothing like homemade jam for my morning toast! this looks wonderful! We're both feeling the blackberries today!
Kathy says
I just had some for breakfast on my toast! 🙂
Tina says
Can frozen blackberries be used to make this jam?
Kathy says
Yes, you can use frozen blackberries to make this jam. Allow berries to fully thaw and then follow the steps listed.
Thanks!
Mimi says
Lovely. You’re so lucky to have berries to pick!
Mary Ann | The Beach House Kitchen says
I love making jams and jellies Kathy! I'll need to get these easy one on my list. Hope you have a wonderful week!