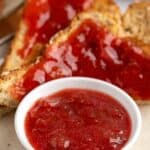
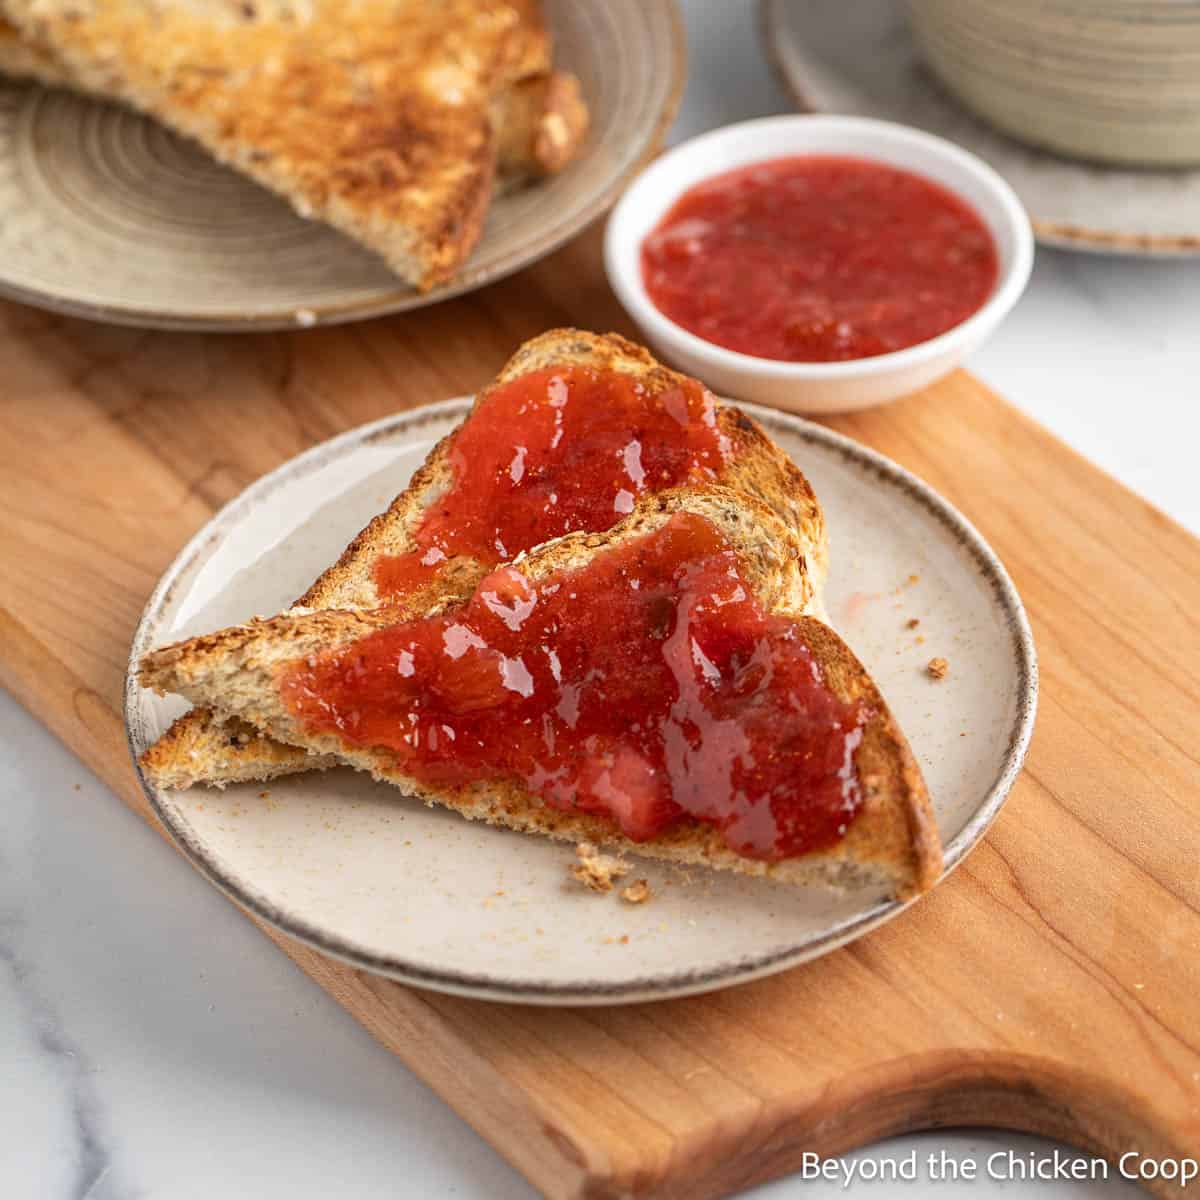
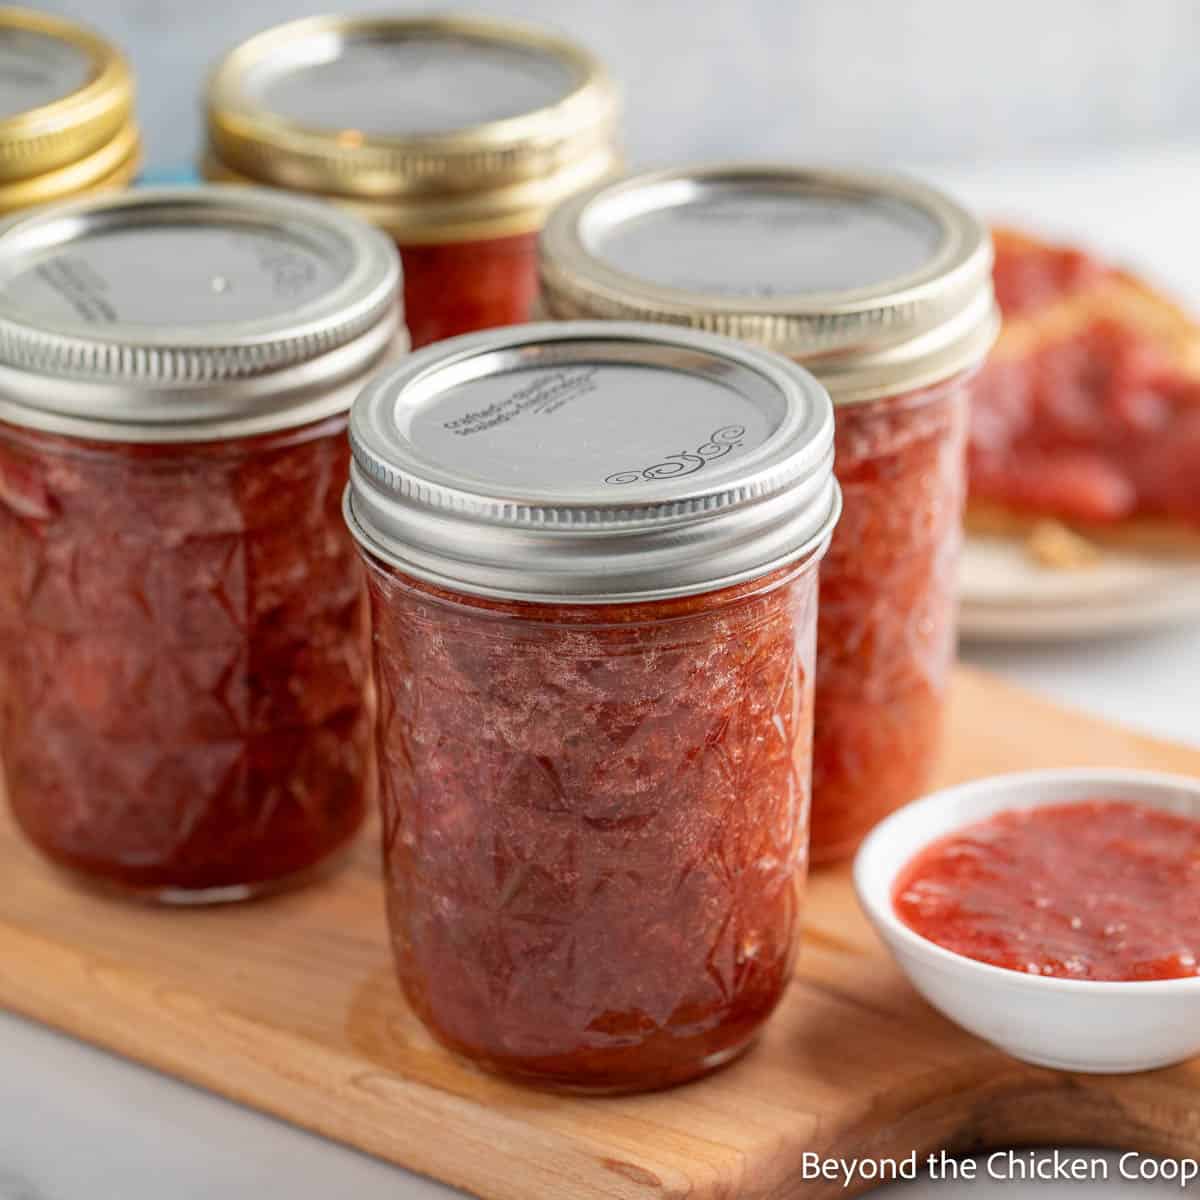
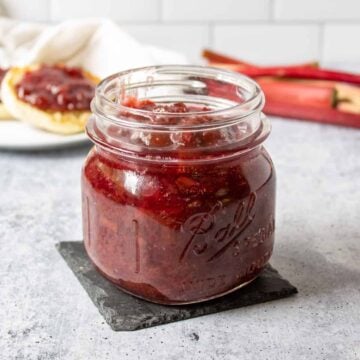
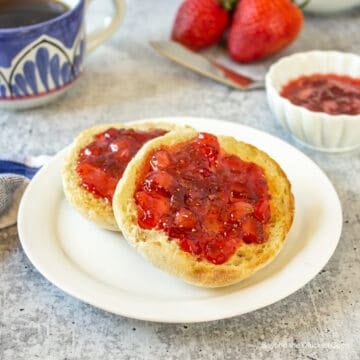
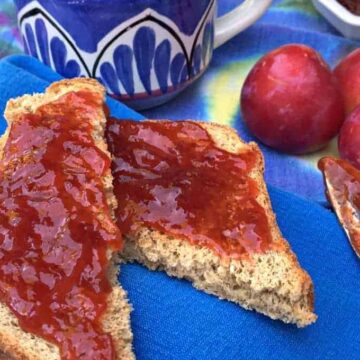
This classic combination of strawberries and rhubarb comes together in this delicious strawberry rhubarb jam. Made with just strawberries, rhubarb, sugar and a fresh squeeze of lemon juice.
Homemade jam
Making jam is what I do! Homemade jam is one of the first things I ever learned to preserve using a water bath canner. My preference when making homemade jam is to make it without the addition of commercial pectin.
Many fruits contain natural pectin and you can successfully make a beautiful jam if you follow the correct process. The main difference when making jam without commercial pectin is the amount of time it takes to cook the jam.
With commercial pectin, you are given an exact time to cook everything. Without it, the time varies every time. Knowing exactly when the jam is ready is an art...or really a science. I use three different methods to know when my jam has reached the gelling stage and I've outlined them below.
I make several batches of different types of jam every year. I've had tons of success and I've also had a few failures. I consider each batch a learning opportunity.
Key ingredients
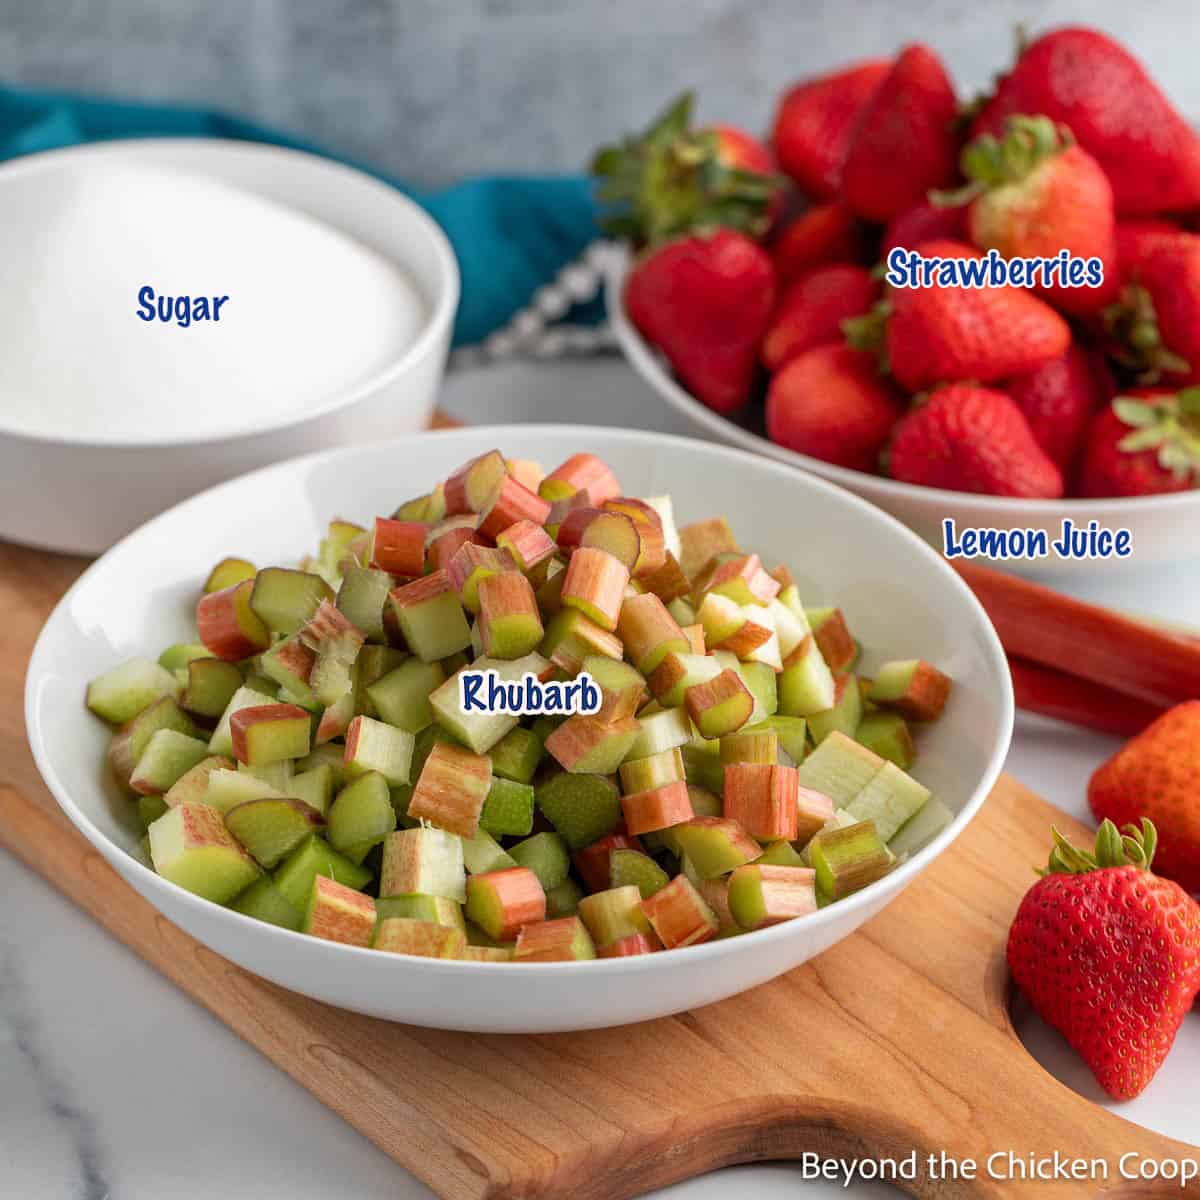
- Rhubarb - You can use fresh or frozen rhubarb in this recipe. If using frozen, allow the rhubarb to thaw, but be certain to collect all the juice as the rhubarb thaws.
- Strawberries - Find the best strawberries available. Fresh or frozen work in this recipe.
- Sugar - I only use three cups of sugar in this recipe. Since I am not using commercial pectin, the amount of sugar can be adjusted to your liking. Like a sweeter jam? Add more sugar.
- Lemon Juice - Lemon juice helps gell the jam and preserve its color. I prefer to use freshly squeezed lemon juice, but bottled juice can be used.
Making strawberry rhubarb jam
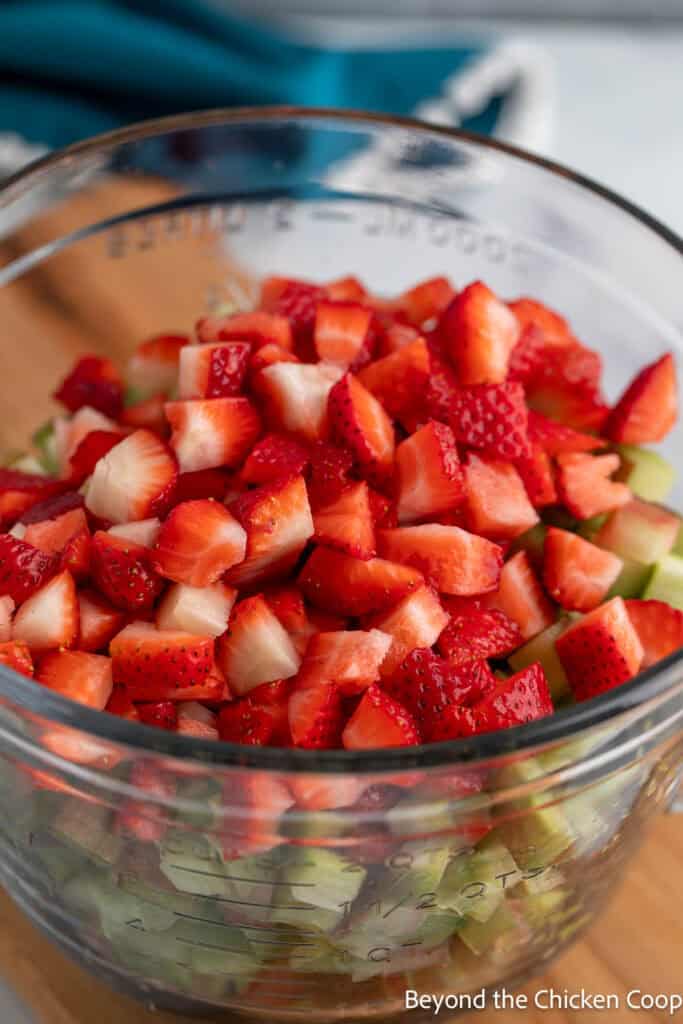
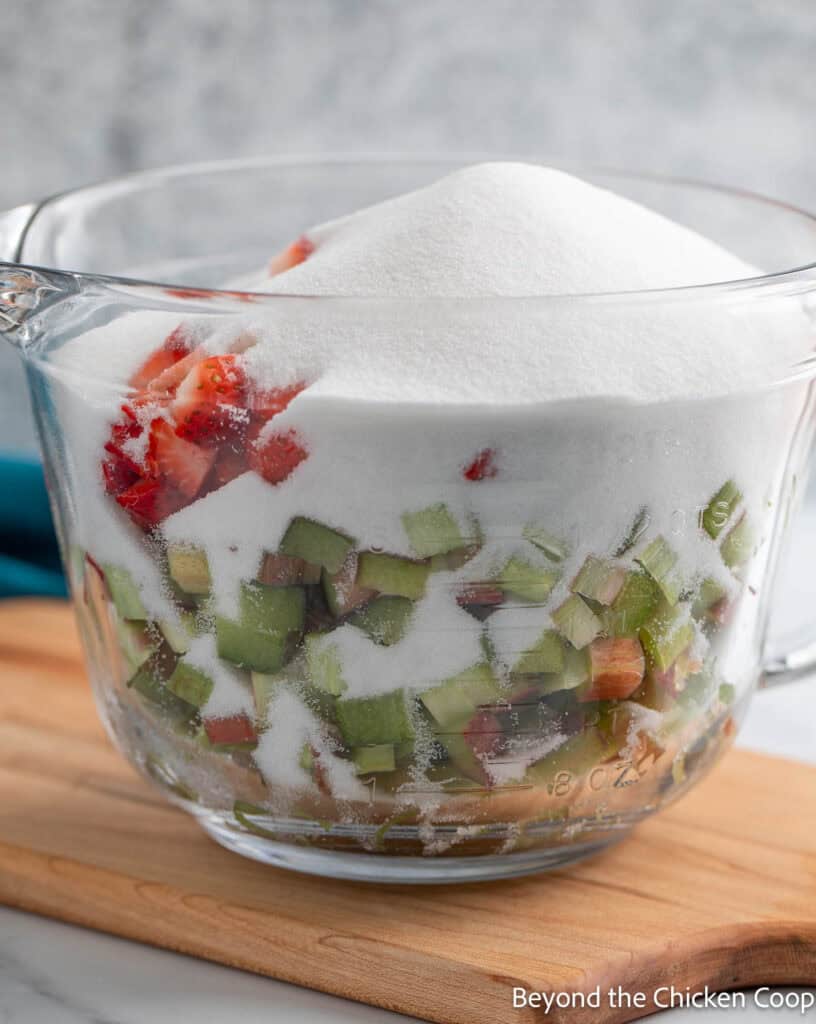
- Chop rhubarb and strawberries into small ¼ inch pieces. Place in a large bowl.
- Add sugar and stir to coat.
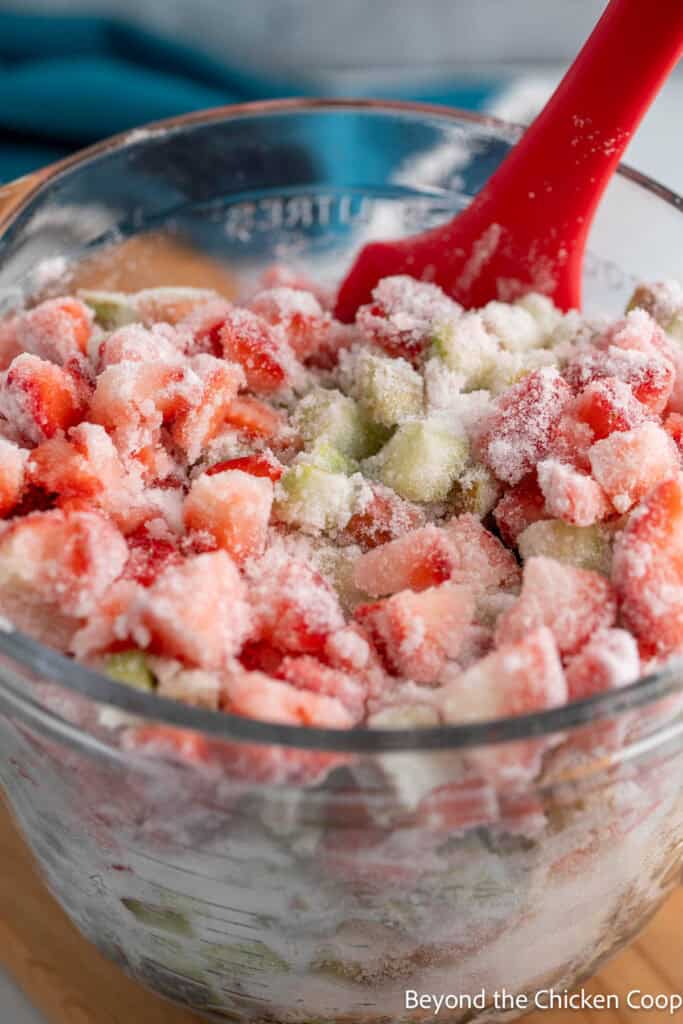
- Add lemon juice.
- Cover and refrigerate for 8-24 hours stirring once or twice during this time to help redistribute the sugar.
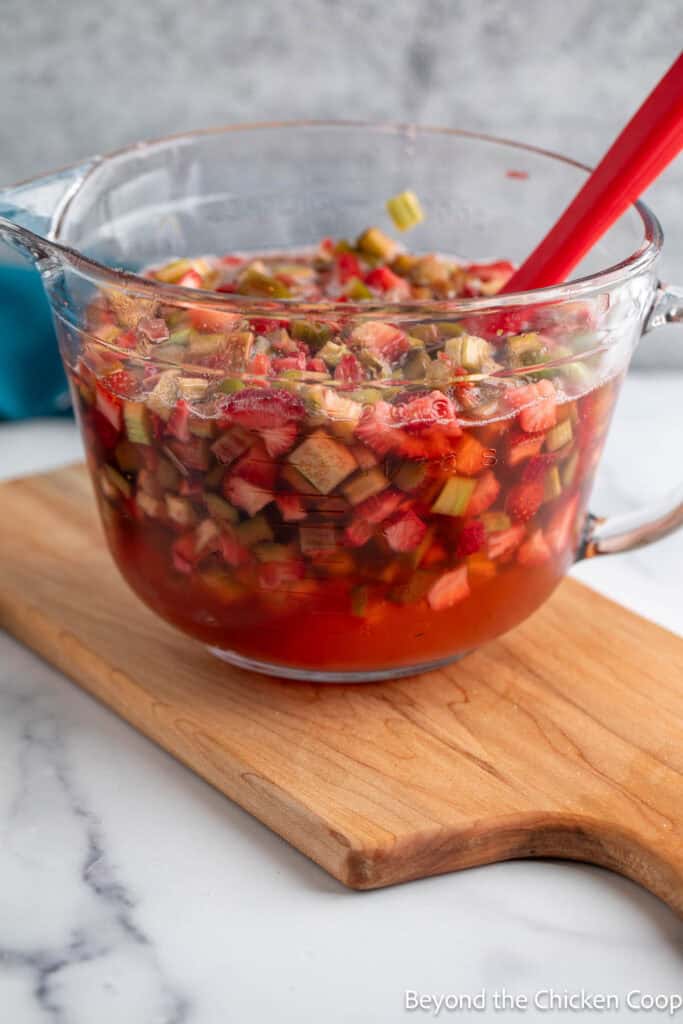
- Place rhubarb and strawberries along with all the juice into a large pot.
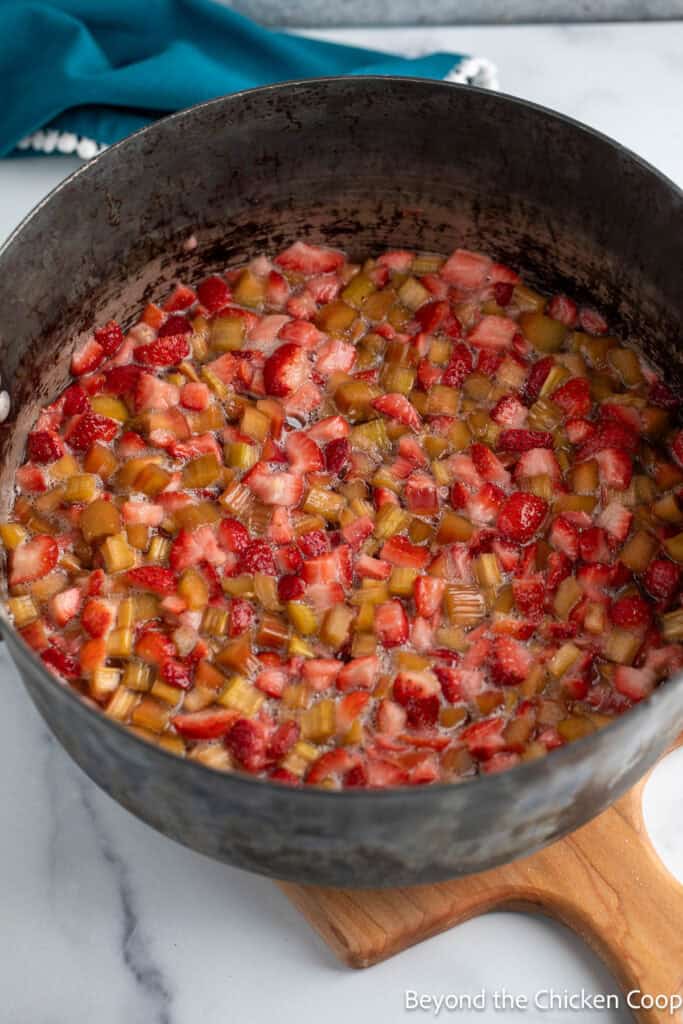
- Heat over medium heat until the mixture comes to a boil. Lower heat to medium-low so the a simmer is maintained. Stir mixture often to avoid scorching.
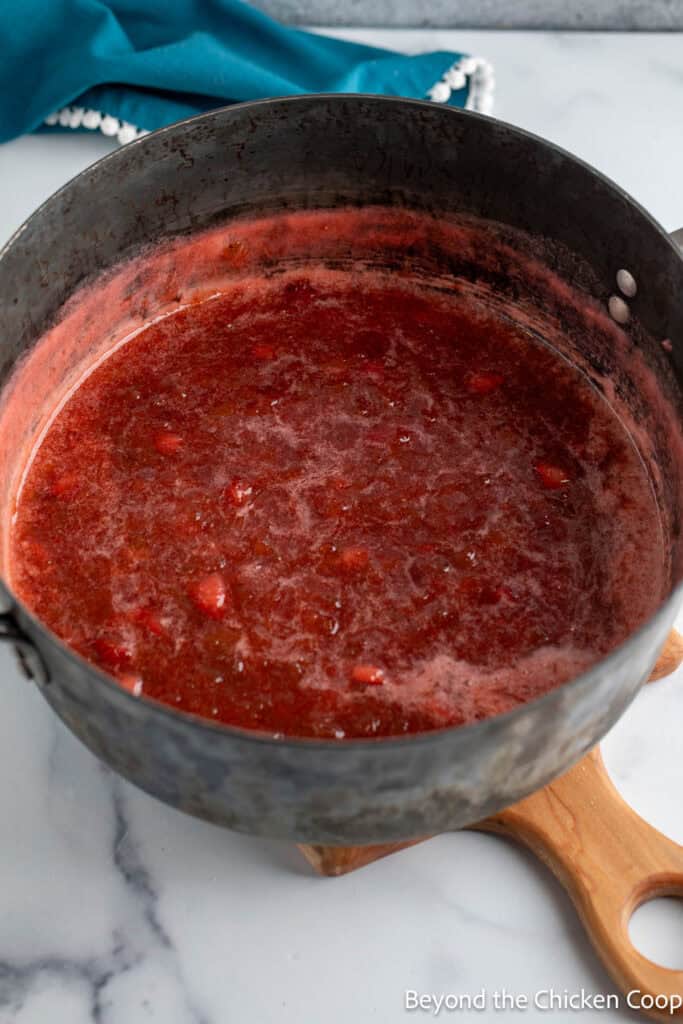
- Cook until the jam has reached the gelling stage. Test for the gelling stage three different ways.
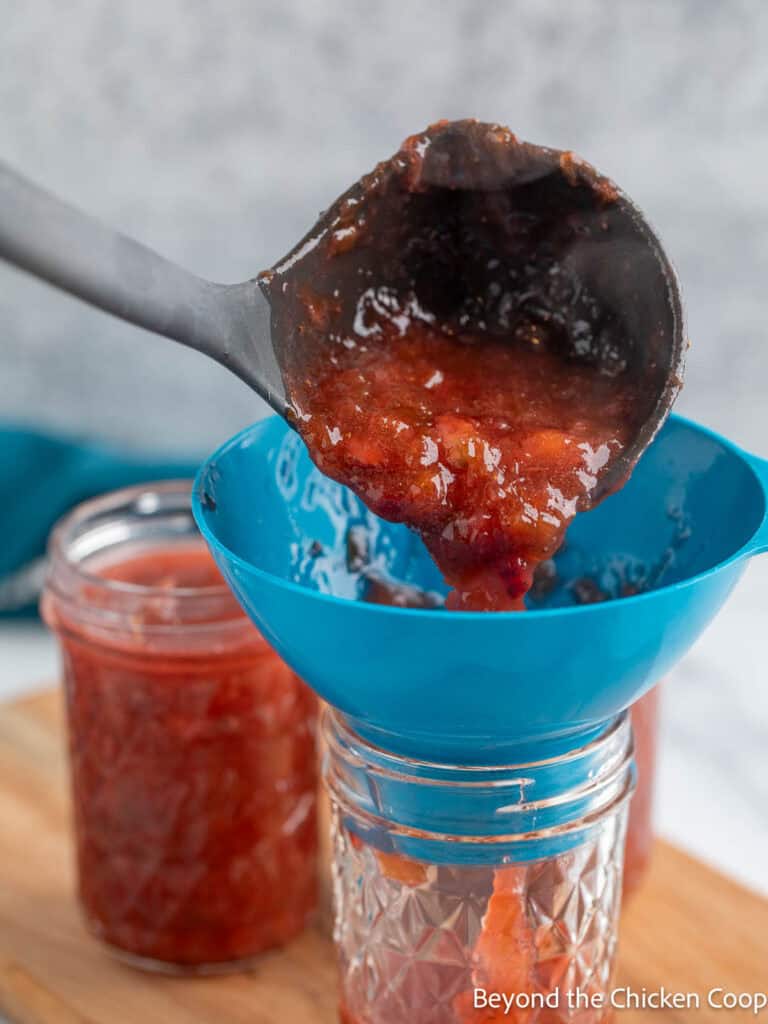
- Once jam is fully set, place into clean canning jars and process in a water bath canner or use freezer-safe containers and freeze after allowing the jam to fully cool.

Testing the gelling stage of jam
Temperature test
Test the temperature of boiling jam using a jelly or candy thermometer. Jam sets at different temperatures according to your altitude.
| Sea Level | 1000 ft | 2000 ft | 3000 ft | 4000 ft | 5000 ft | 6000 ft |
| 220°F | 218°F | 216°F | 214°F | 212°F | 211°F | 209°F |
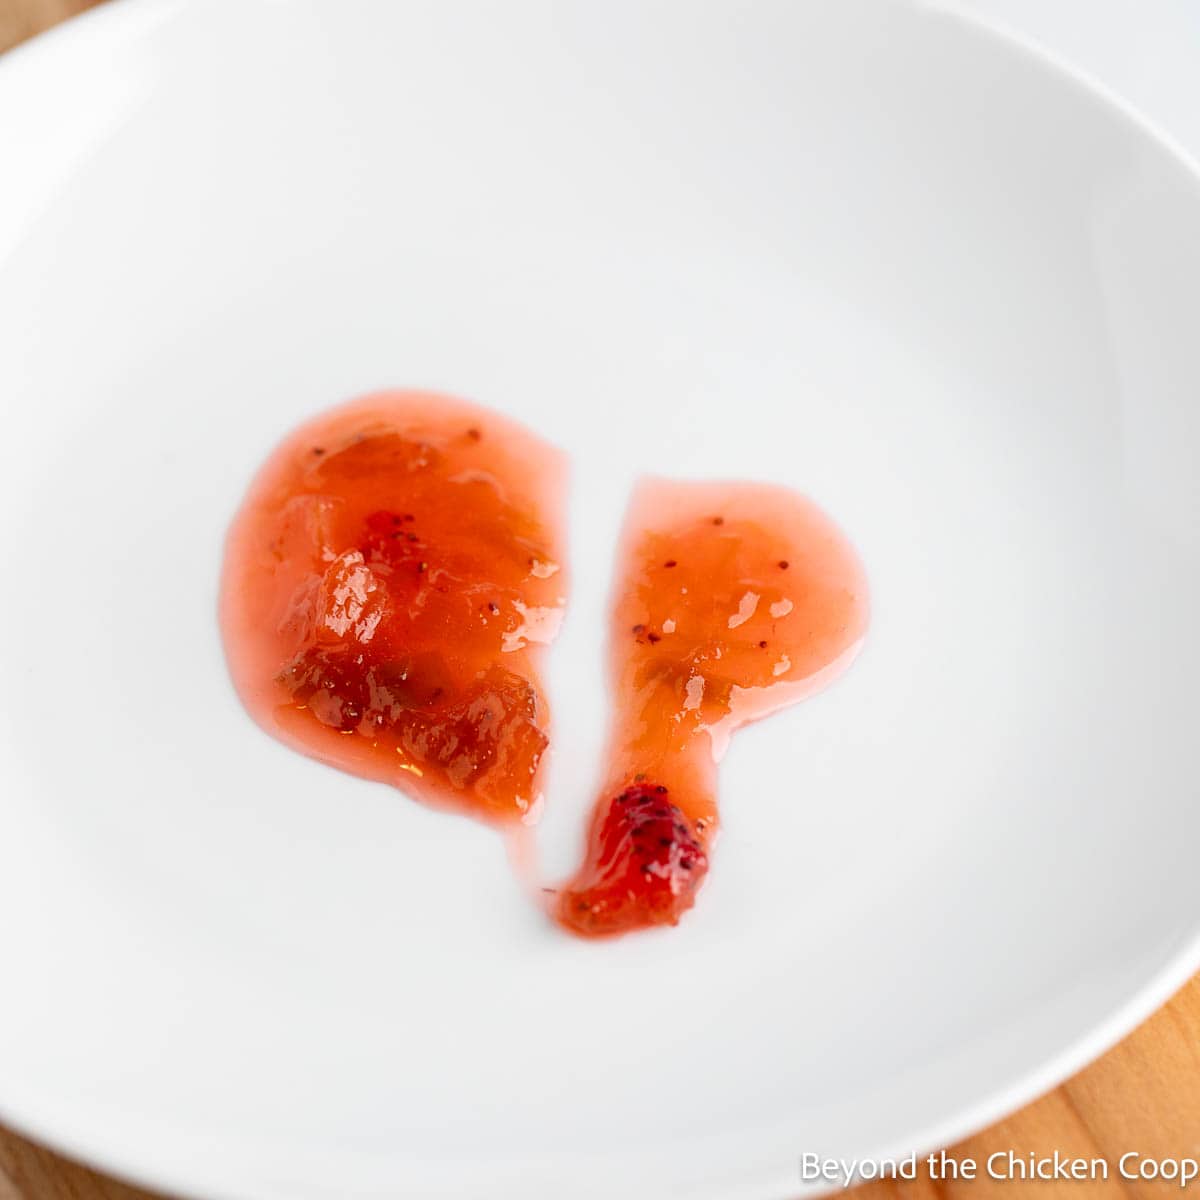
Plate test
Have a small plate chilling in the refrigerator. When you think the jam has set, place a spoonful of hot jam on the cold plate. Wait one minute and draw a line through the center of the jam. If the line holds its shape and doesn't run, the jam is set.
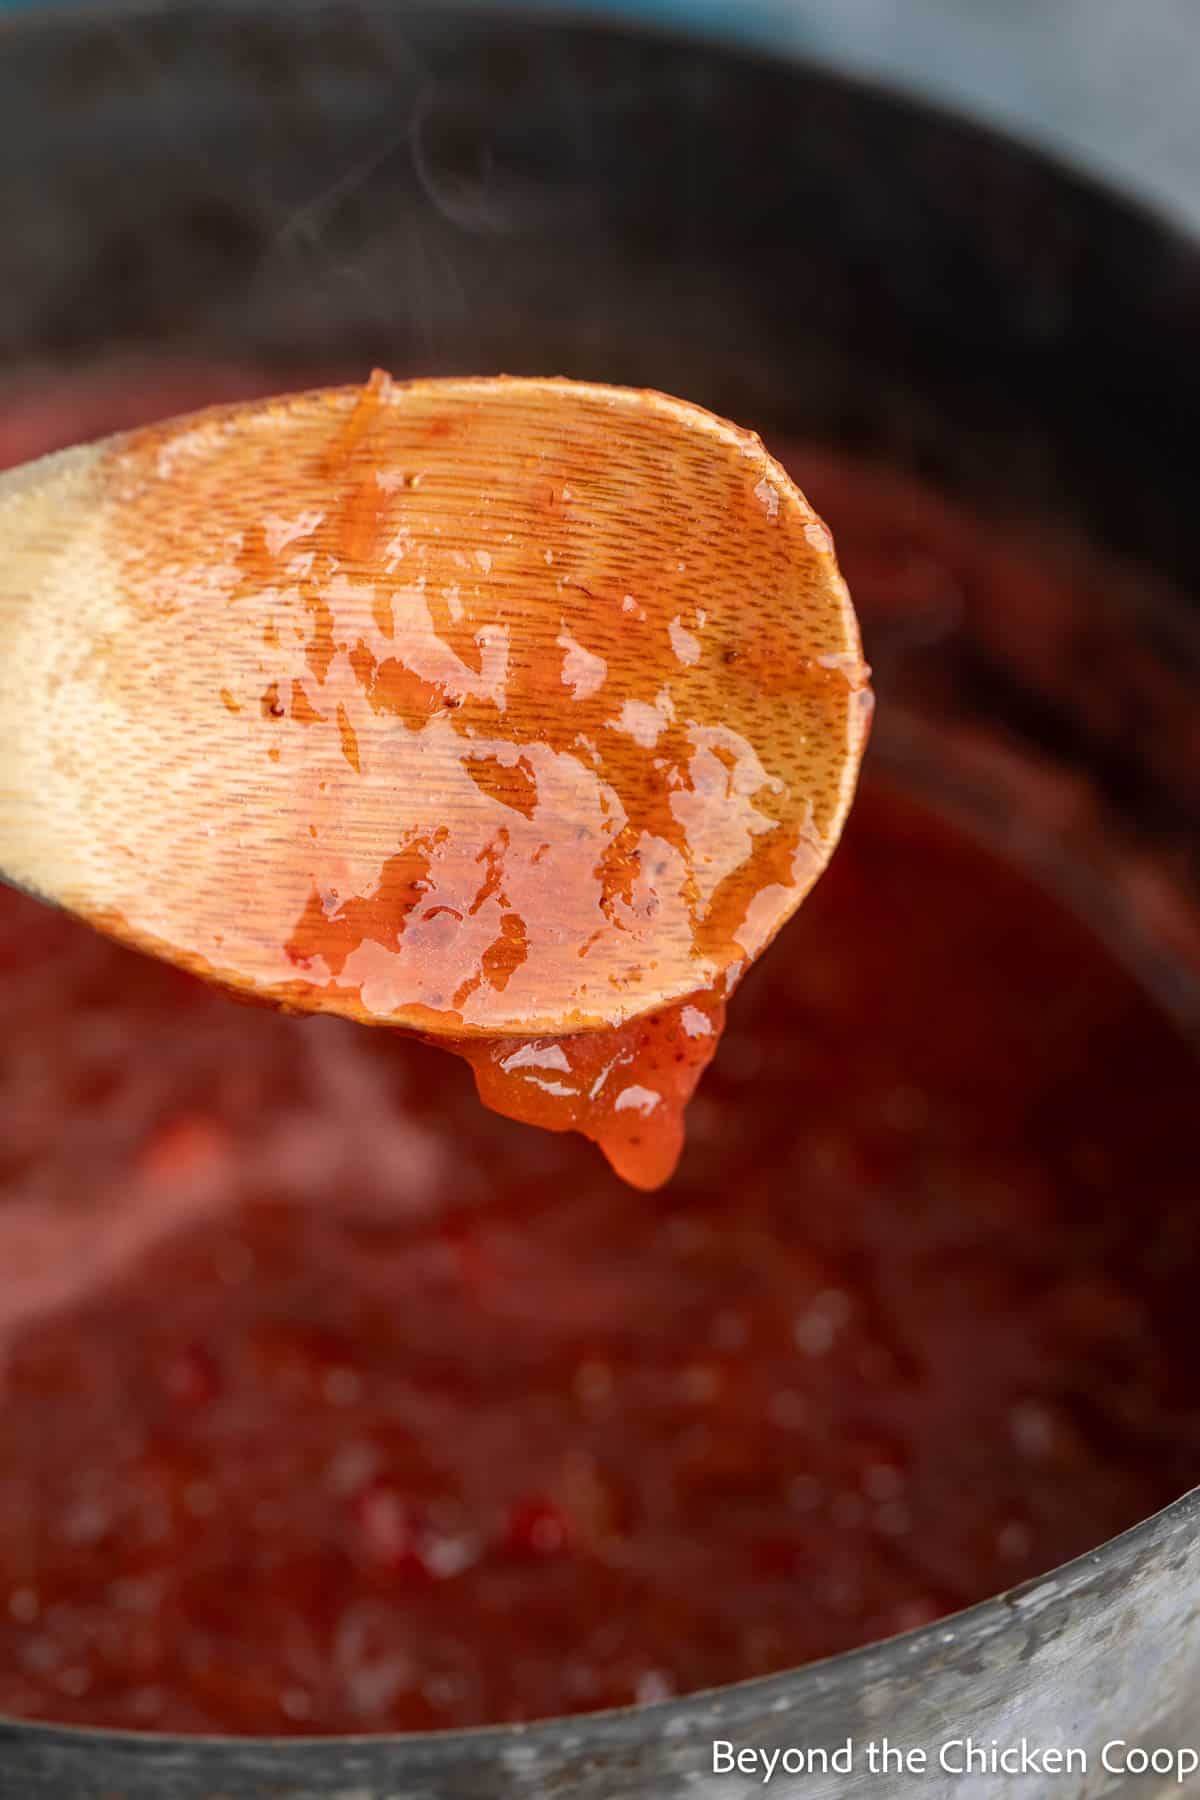
Spoon test
The spoon test relies on watching the sheeting or drops as they come off the spoon while it is cooking. When the jam first starts boiling it comes off in drops or thin streams.
When the jam has set, the jam will come off the spoon in more of a sheet. This takes some time to learn what this looks like and even though I've been making jam for years, I always rely on a second method.
Strawberry and rhubarb jam recipe tips
- Allowing the fruit to macerate with the sugar helps soften the fruit.
- Use a large pot at least double the size of the amount of ingredients you are using. Once the jam starts to boil, it will foam up and can boil over.
- Keep an eye on your jam while cooking to ensure it isn't burning.
- Stir often.
- Use my three methods to determine if the jam is done.
Ways to preserve homemade jam
Refrigerator
If you plan on using your jam right away, it can be stored in a covered container in the refrigerator and used within one month.
Freezer
Pour jam into freezer-safe containers leaving ½ inch headspace. Place lid on jars and allow jam to cool to room temperature before placing in the freezer. Freeze for up to one year.
Water bath canning
If you are new to water bath canning be certain to read all about water bath canning before you begin.
- Pour hot jam into clean canning jars leaving a ¼ inch headspace.
- Wipe down rims and add rings.
- Place jars in a water bath canner with simmering water.
- Make certain water covers the jars by at least 1 inch.
- Turn up heat and place a lid on the canner.
- Once the water comes to a full boil, start your time.
- Process half-pint-sized jars need to be processed for at least 15 minutes, adjusting the time for your altitude.
Altitude adjustment for water bath canning
When water bath canning, you need to add additional time depending on your altitude.
| Altitude Feet | Increase Processing Time |
|---|---|
| 1,001- 3,000 3,001- 6,000 6,001- 8,000 8,001-10,000 | 5 minutes 10 minutes 15 minutes 20 minutes |
Safe canned food
Improperly home canned food can carry the risk of causing botulism. If eaten, this can cause a serious form of food poisoning that can lead to paralysis or death. Please follow safety procedures and inspect your food before consuming.
- Always inspect your home canned food before eating
- If in doubt, throw it out!!! The FDA recommends throwing out the food and the jar.
- Do not taste if in doubt!
- Throw it out if -
- the can is bulging, leaking or swollen
- the container looks damaged or abnormal
- the container spurts liquid or foam when opened
- the food is moldy, discolored or smells bad
- the seal is no longer intact when you examine the food
More rhubarb recipes
If you have an abundance of rhubarb, you'll want to try these other tasty rhubarb recipes. You may also want to freeze rhubarb so you can make these tasty treats all year long!
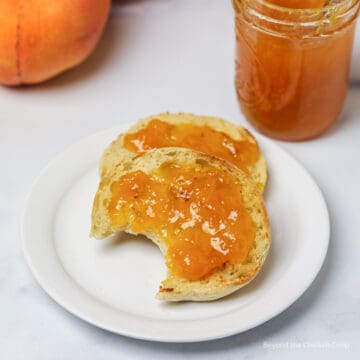
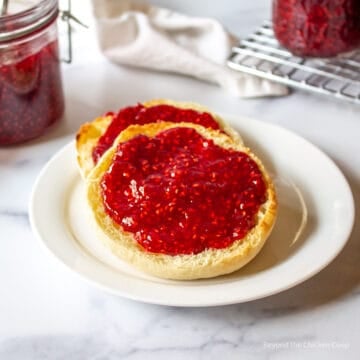
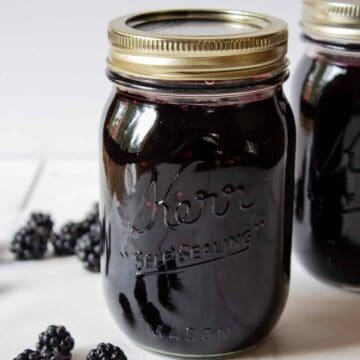
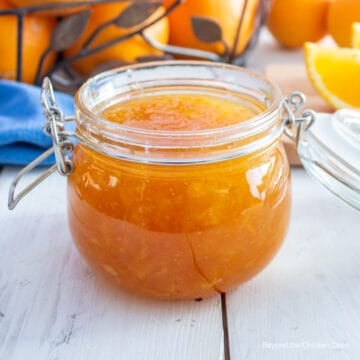
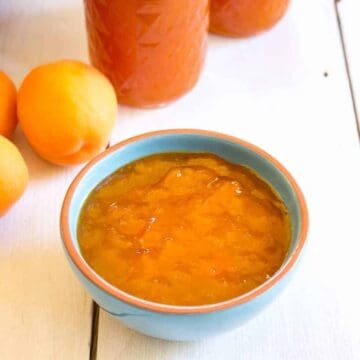
More delicious homemade jam recipes
Frequently asked questions
No, you do not need to peel your rhubarb. If a long string appears while you are chopping your rhubarb, you can discard it. But otherwise, the rhubarb is fine.
If your jam is runny, it wasn't cooked long enough. You can leave the jam runny and serve as a syrup or you can reboil the jam until it reaches the gel stage.
If your jam is too thick, it was cooked too long. Some ideas for thick jams are to thin a small amount with a bit of water and heat on the stove or microwave. This can be used as a syrup for breakfast or over ice cream.
You could also heat a small amount and then use as a glaze over baked meat. Resource: NCHFP
It is best to use home-canned jam within one year. Always inspect your canned jam before using.

If you make this recipe, I’d love to hear about it! Leave a comment below and snap a picture and tag me on Instagram @beyondthechickencoop
More recipes
Check out all my delicious jam recipes!

Strawberry Rhubarb Jam Recipe
Equipment
- Half-Pint Canning Jars (8 ounce jars)
Ingredients
- 6 cups chopped rhubarb (cut into ¼ inch pieces, approximately 1 ½ pounds)
- 4 cups chopped strawberries (cut into ¼ inch pieces, approximately one pound )
- 3 cups granulated sugar
- 1 tablespoon lemon juice
Instructions
Jam
- Chop rhubarb and strawberries into small ¼ inch pieces. Place in a large bowl.6 cups chopped rhubarb, 4 cups chopped strawberries
- Add sugar and stir to coat.3 cups granulated sugar
- Add lemon juice .1 tablespoon lemon juice
- Cover and refrigerate for 8-24 hours stirring once or twice during this time to help redistribute the sugar.
- Place rhubarb and strawberries along with all the juice into a large pot.
- Heat over medium heat until the mixture comes to a boil. Lower heat to medium-low so the a simmer is maintained. Stir mixture often to avoid scorching.
- Cook until the jam has reached the gelling stage. Test for the gelling stage three different ways.
- Once jam is fully set, place into clean canning jars and process in a water bath canner or use freezer-safe containers and freeze fully cool jam.
To Water Bath Can
- Once jam has reached the gel stage, remove from heat and place in canning jars leaving a ¼ inch headspace
- Remove air bubbles, wipe down rim of jars and place lid and ring on jars
- Place jars in canning pot. Make certain jars are covered with at least 1 inch of water over the top of the jars. Turn heat to high and bring to a boil.
- Process half-pint and pint-sized jars for 15 minutes (adjust for altitude)Turn off heat and remove lid from canning pot. Wait 5 minutes then remove jars from canner.
- Place jars on a rack on counter. Do not touch until fully cool (12 hours). Remove rings and check seals. Wash outside of jars. Label and date jars and store in a cool, dark place.
Notes
-
- Allowing the fruit to macerate or soak with the sugar helps soften the fruit.
-
- Use a large pot at least double in size of the amount of ingredients you are using. Once the jam starts to boil, it will foam up and can boil over.
-
- Keep an eye on your jam while cooking to ensure it isn't burning.
-
- Stir often.
-
- Use my three methods to determine if the jam is done.
-
- Test the temperature of boiling jam using a jelly or candy thermometer.
-
- The temperature test is the most reliable. However, the exact temperature will vary, depending on your altitude. You will deduct 2° for every thousand feet above sea level. Jam sets at 220° at sea level. I'm at about 2000 feet above sea level and my jam sets between 216° - 218°
-
- I usually watch my jam with a thermometer and when it starts getting close to 215° I begin doing a sheeting test and then the plate test. I don't like to rely on just one method.
-
- The spoon test relies on watching the sheeting or drops as they come off the spoon while it is cooking. When the jam first starts boiling it comes off in drops or thin streams.
-
- When the jam has set, the jam will come off the spoon in more of a sheet.
-
- Test jam on a plate - scoop out a tablespoonful of jam onto a plate. Allow to cool for a minute and then run the back of a spoon through jam. If the jam stays separated, it is done.
-
- Tilt the jam - the jam should only have a slight slide
Nutritional Disclaimer:
Nutritional information is provided as a courtesy and should only be construed as an estimate rather than a guarantee. To obtain the most precise nutritional information in a provided recipe, you should calculate the nutritional information with the exact ingredients you are using when preparing the recipe using your preferred nutrition calculator.
fwg says
Great combiations to make a tasty jam
Kathy says
Thanks so much! I hope you try it! 🙂