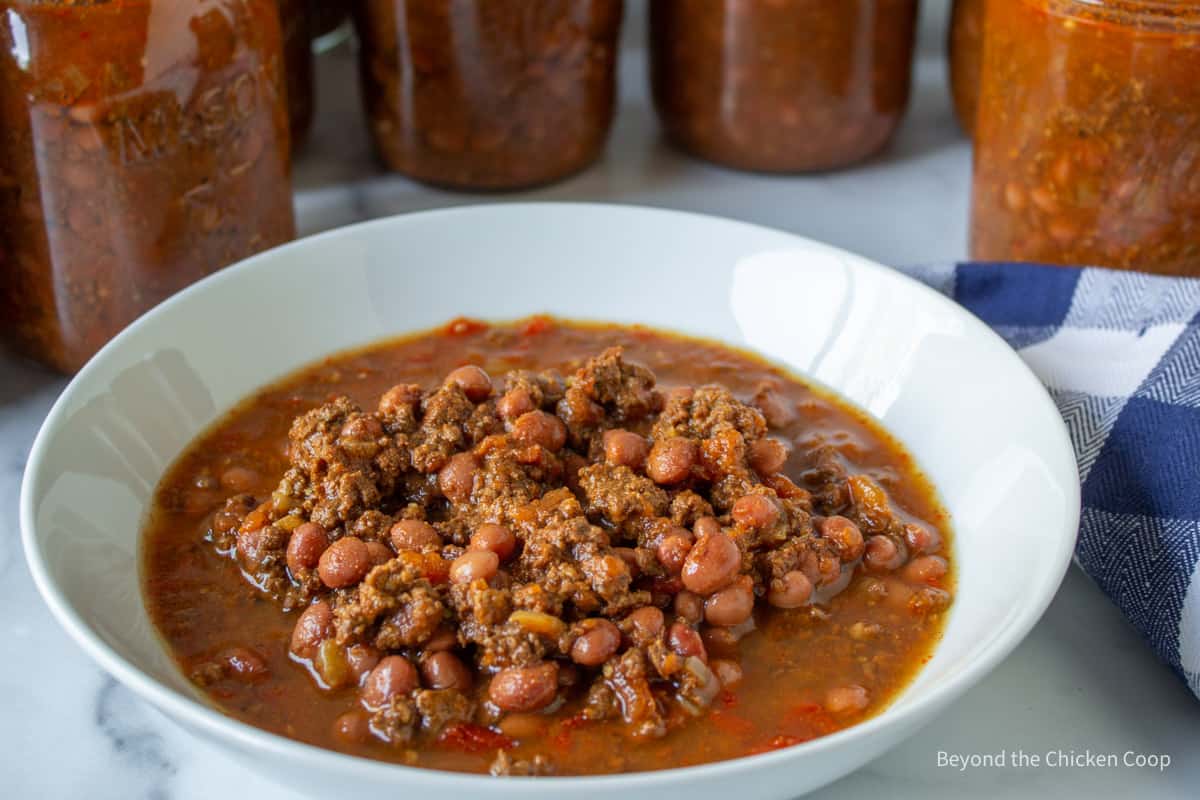
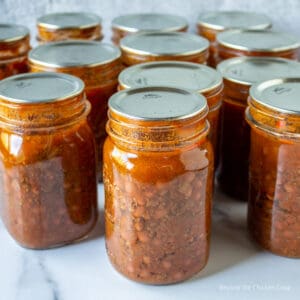
Home canning chili with a pressure canner means you can have delicious homemade chili anytime you want!
Step-by-step directions on how to can chili.
Why can your own chili
I love to make homemade chili and I will often make a big batch. Any leftovers get put into the freezer and we pull out later for another meal. This method works great and I really love my homemade chili.
However, I still find my husband buying canned chili at the store. He often likes to just heat up one can for a quick dinner or to add to hot dogs or a baked potato.
I realized I needed my homemade chili to be easily accessible and not have to wait for my homemade batch to thaw.
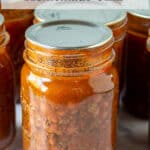
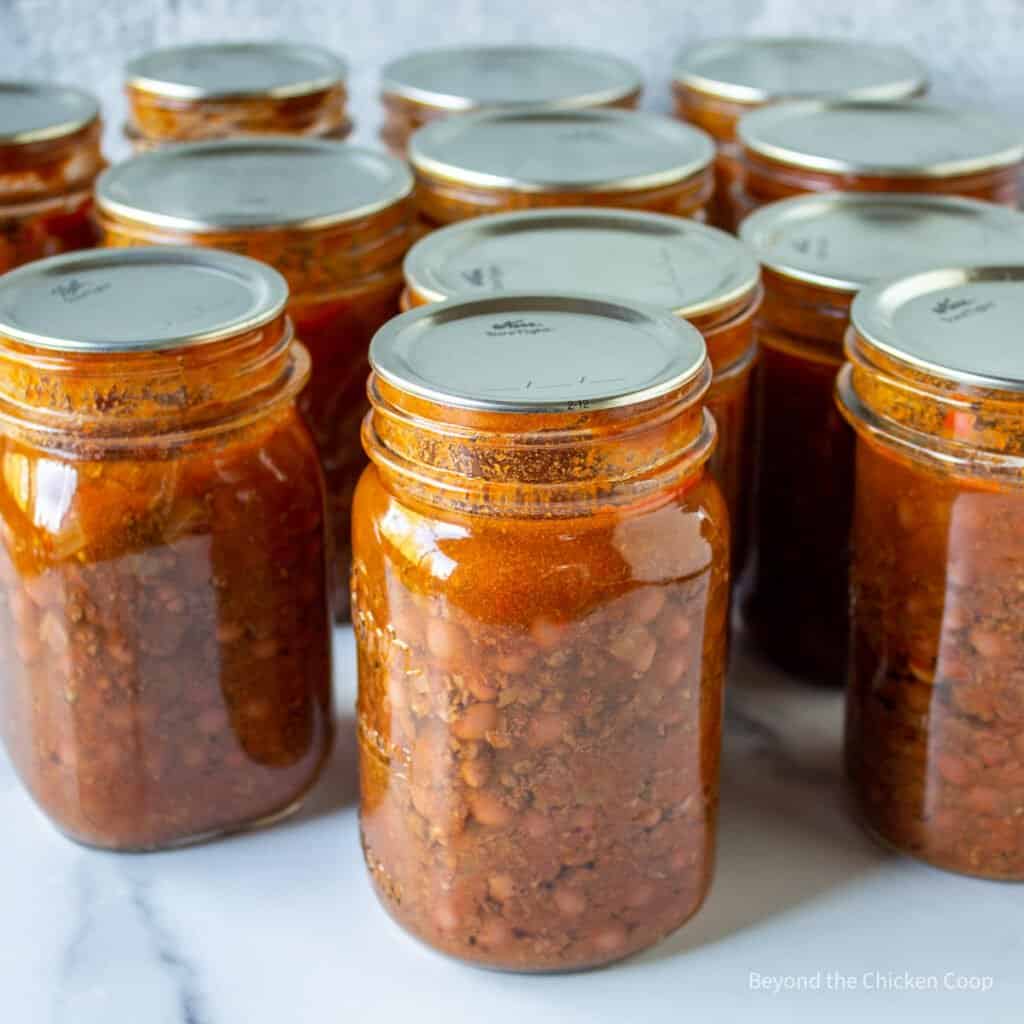
This home-canned chili is not only so easy to grab and just heat up for a quick meal, but it's also shelf stable - which means it's not taking up my valuable freezer space.
This canned chili can be thrown into our camp box for easy-to-eat meals while camping. I will often take along a few jars just in case we need them. If they don't get used, they go back in the pantry when we get home.
Canning homemade chili takes a few steps, but the results are amazing and you have homemade food ready to eat whenever you need it.
I use the same ingredients as my homemade chili, however, the process isn't exactly the same. You do not fully cook the beans before canning chili. The beans are just par-cooked, similar to how I can dry beans.
The beans finish cooking in the jars while they are being pressure cooked in the canner.
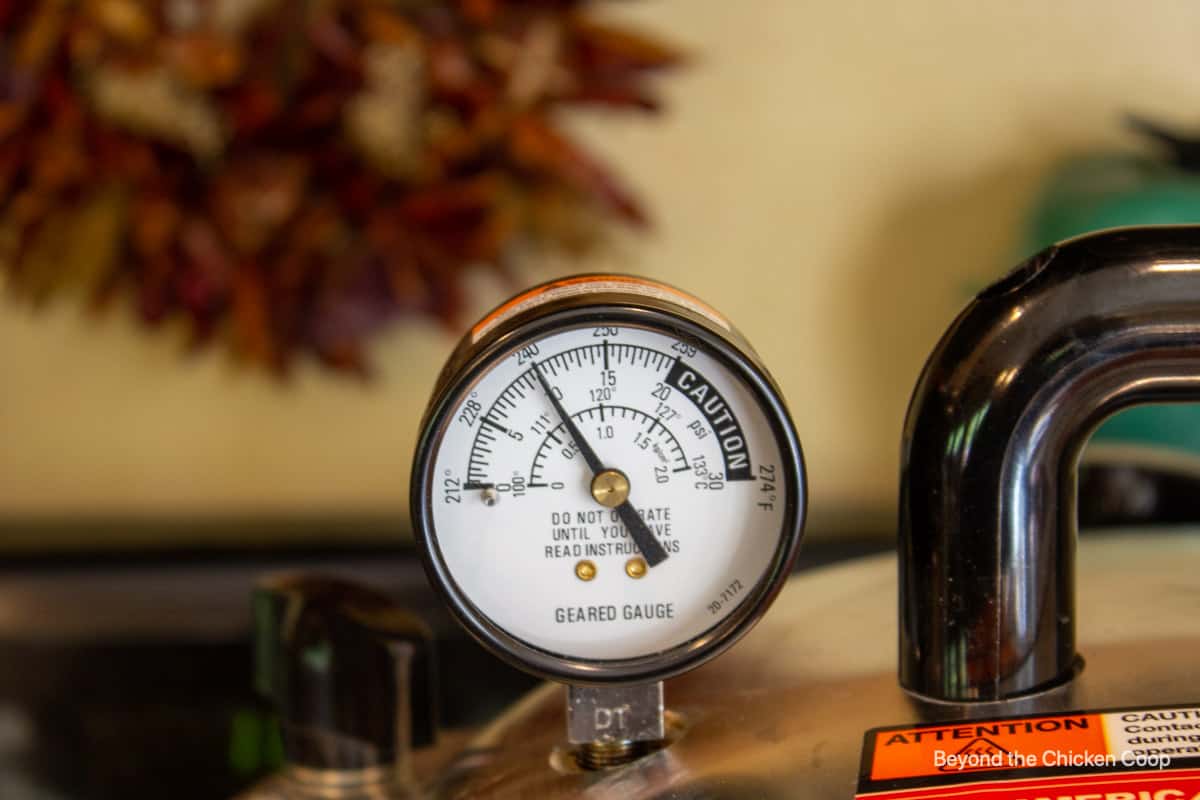
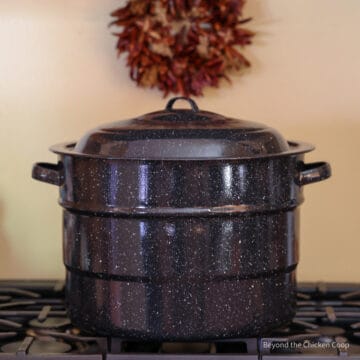
This homemade chili needs to be processed in a pressure canner. If you haven't used a pressure canner before, be certain to read How to Use a Pressure Canner first.
Key ingredients
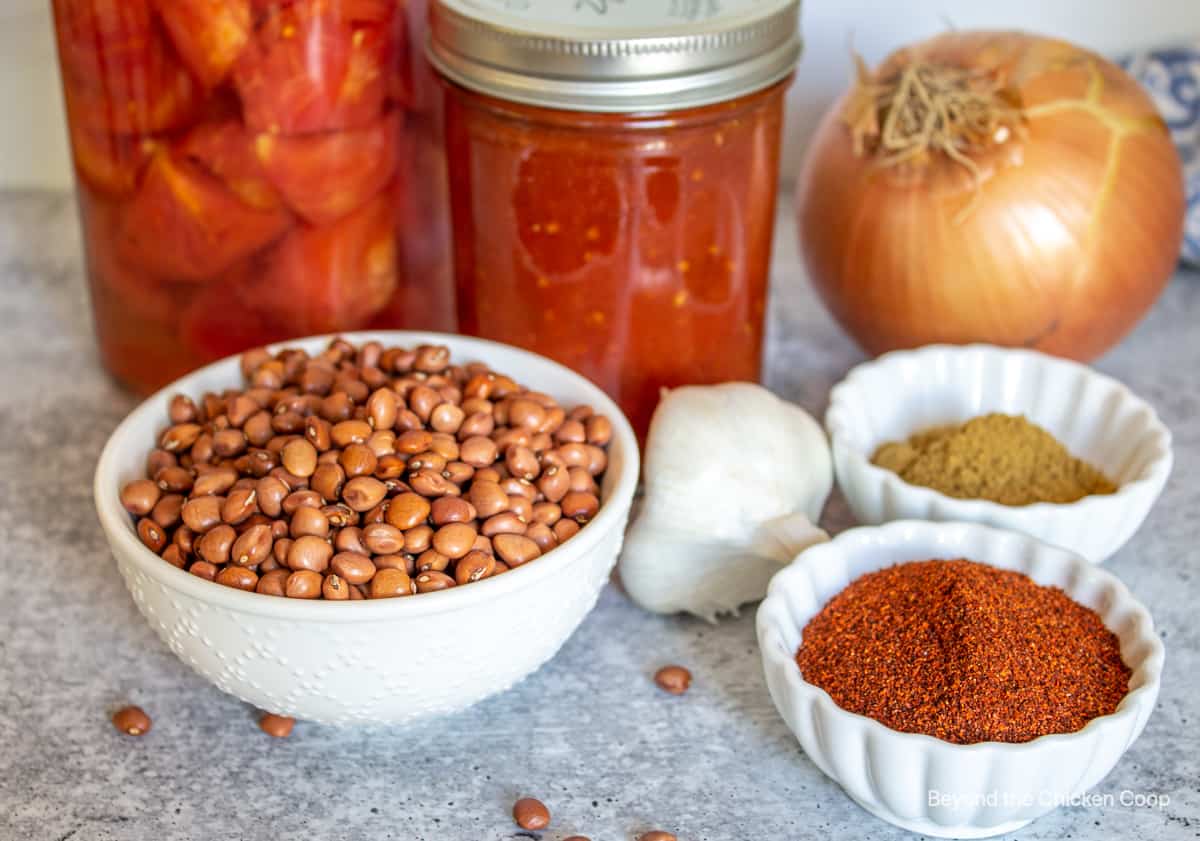
- Dried Beans - I use pinquito beans but kidney beans can be used too.
- Ground burger - I use ground elk burger. Any ground burger works - beef, venison, moose, turkey
- Onion
- Garlic
- Canned tomatoes - whole or crushed
- Tomato sauce
- Chili powder
- Cumin
Step by step directions
This chili will be fully cooked. However, the beans will not be fully cooked. They finish cooking during the processing time in the pressure canner.
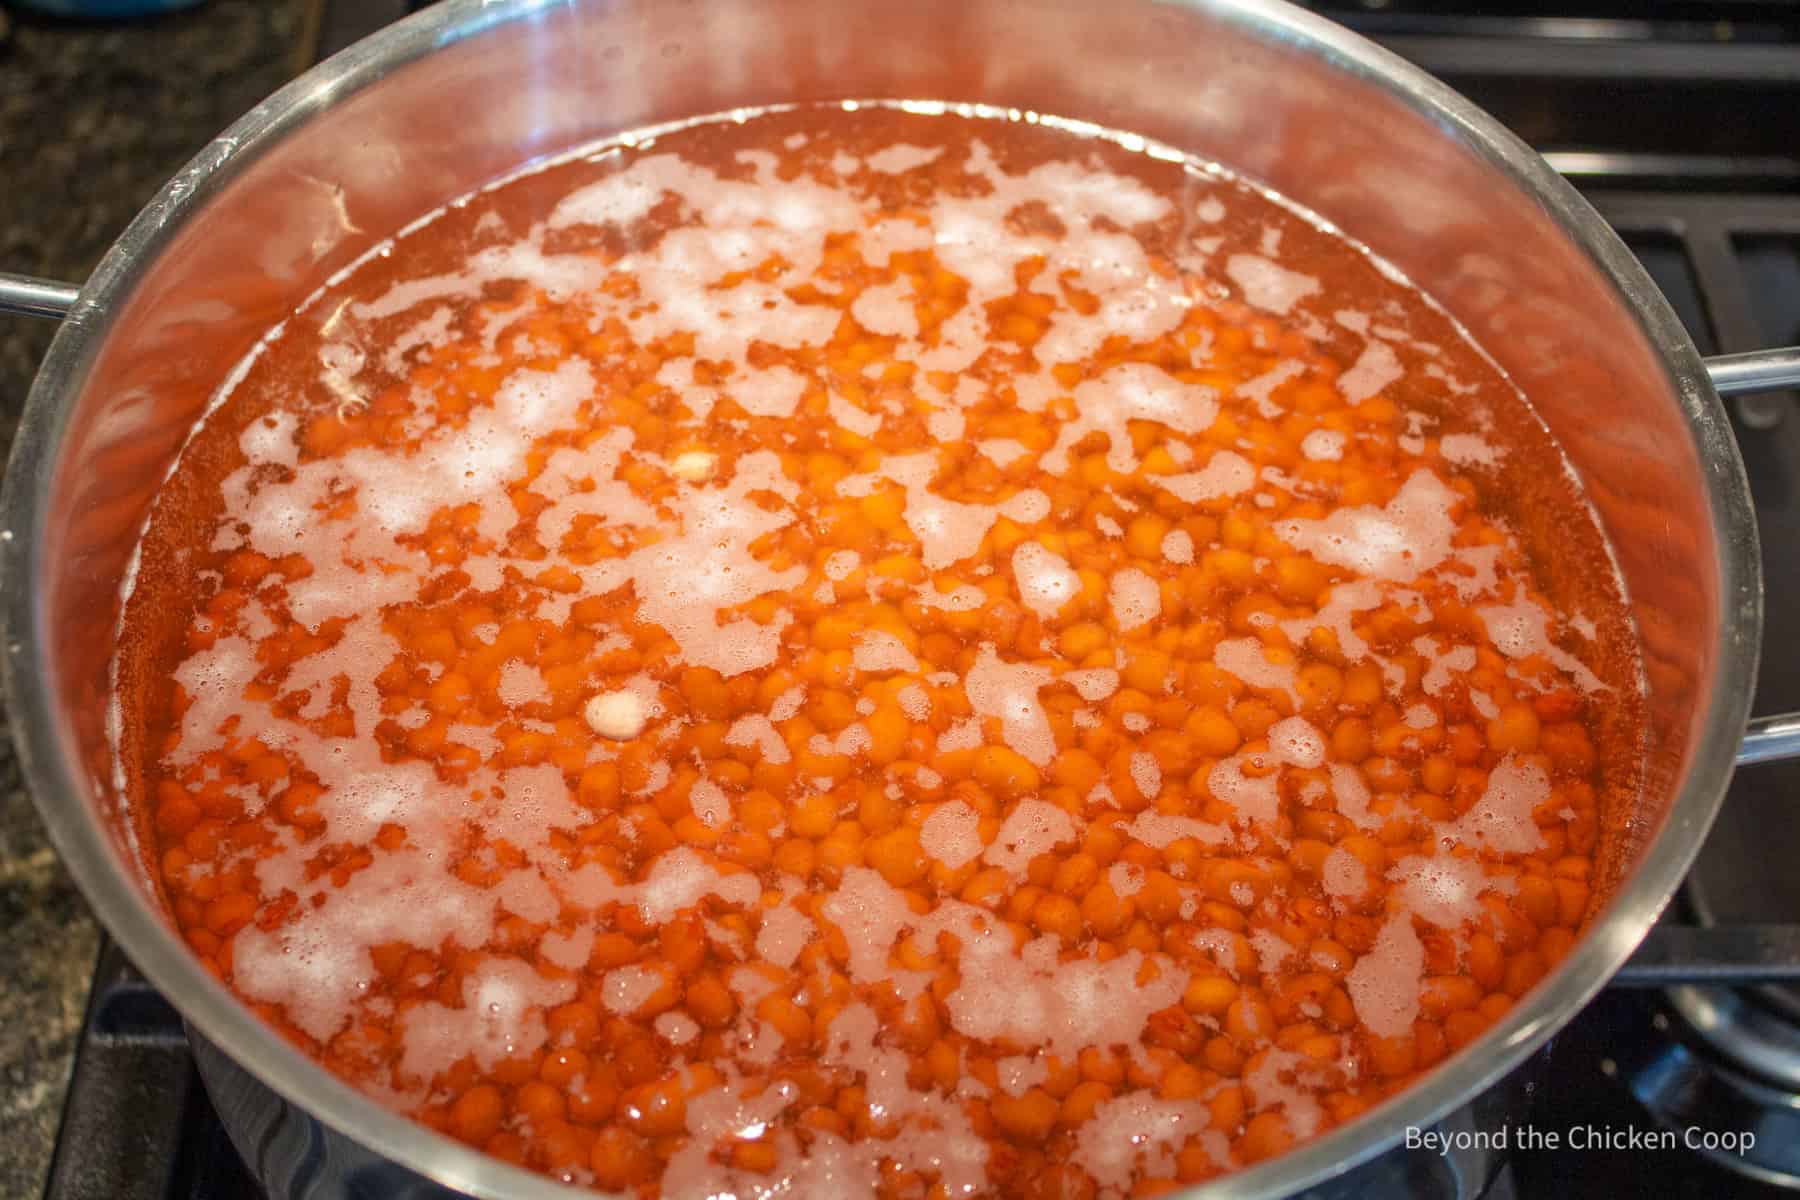
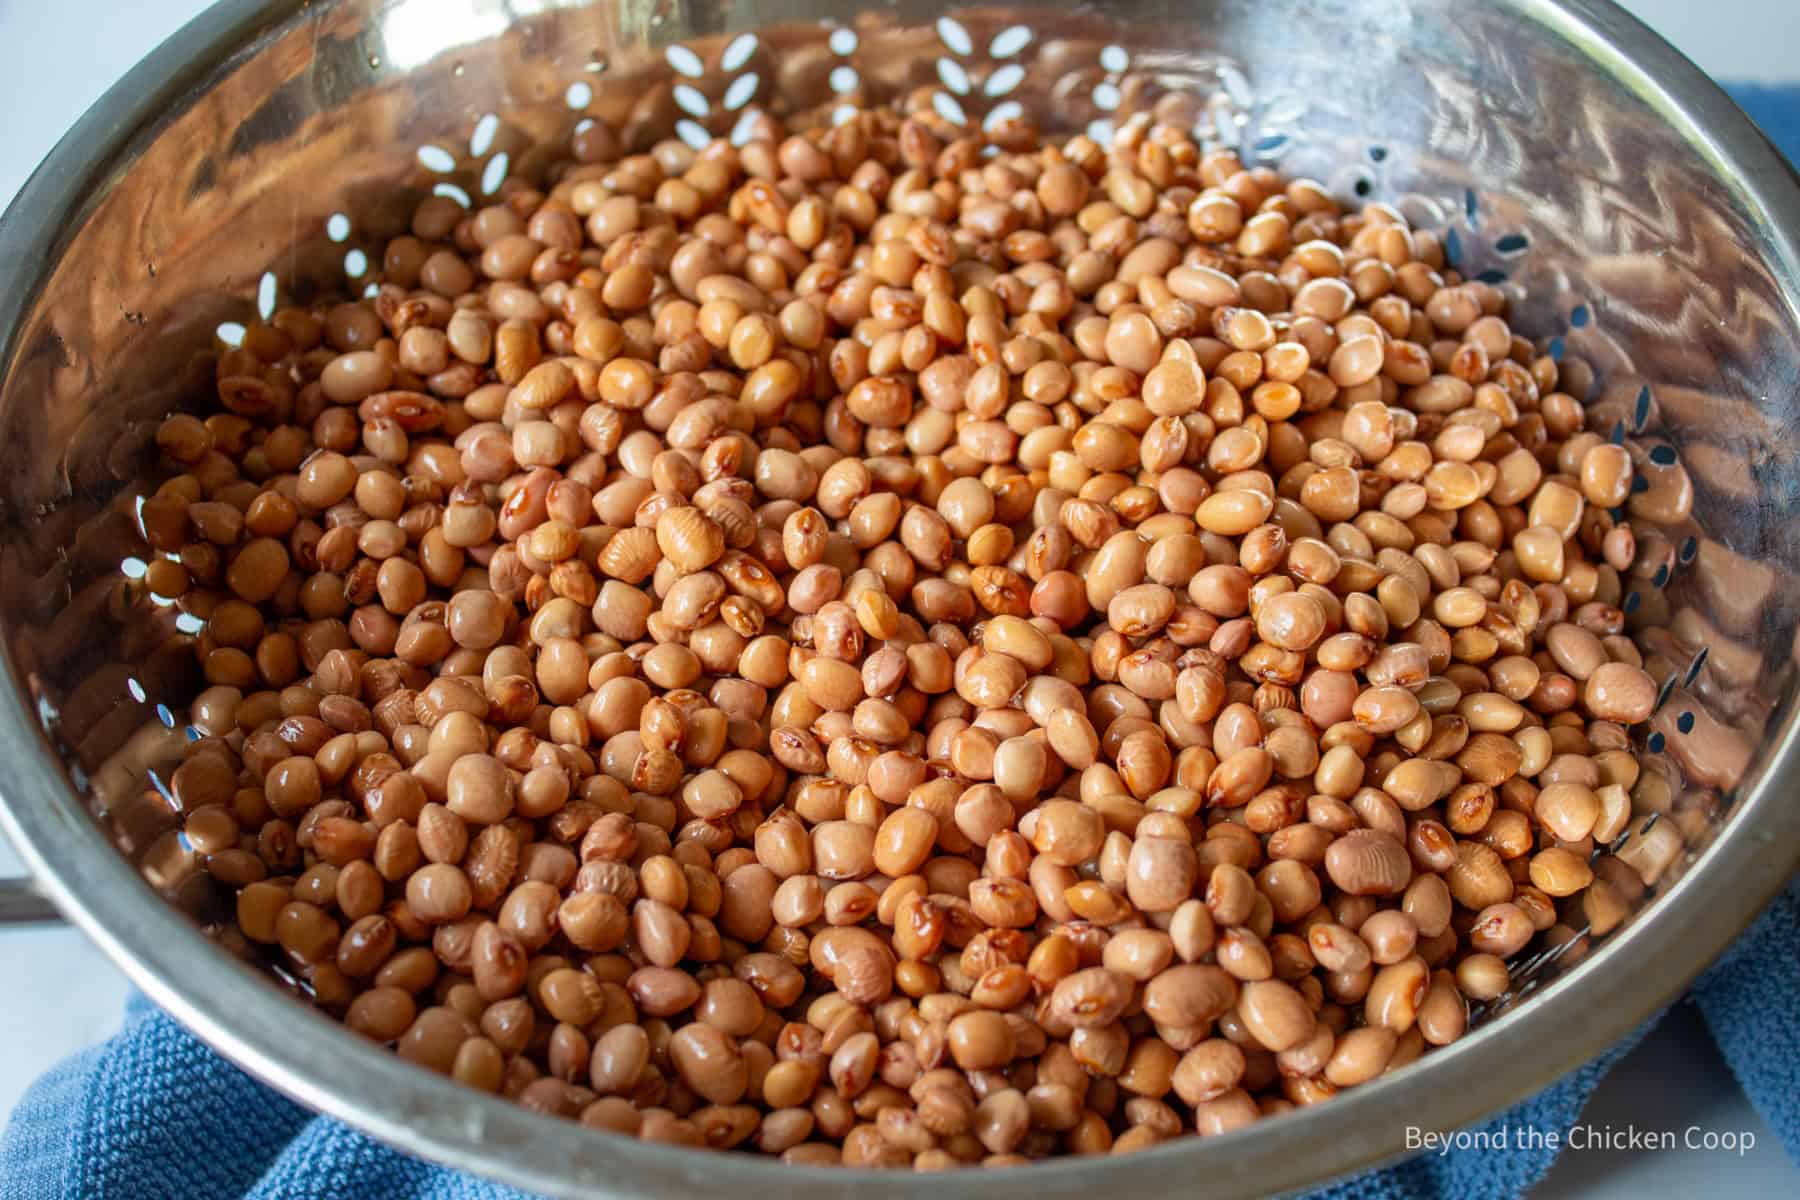
- Soak beans overnight or place in hot water for at least 2 hours
- Drain beans and place in a large pot covered with at least 2 inches of water. Bring water to a boil then reduce heat and simmer for 30 minutes. Drain beans, reserving 2 cups of the bean water (it will be used later to thin the chili) Beans will NOT be fully cooked.
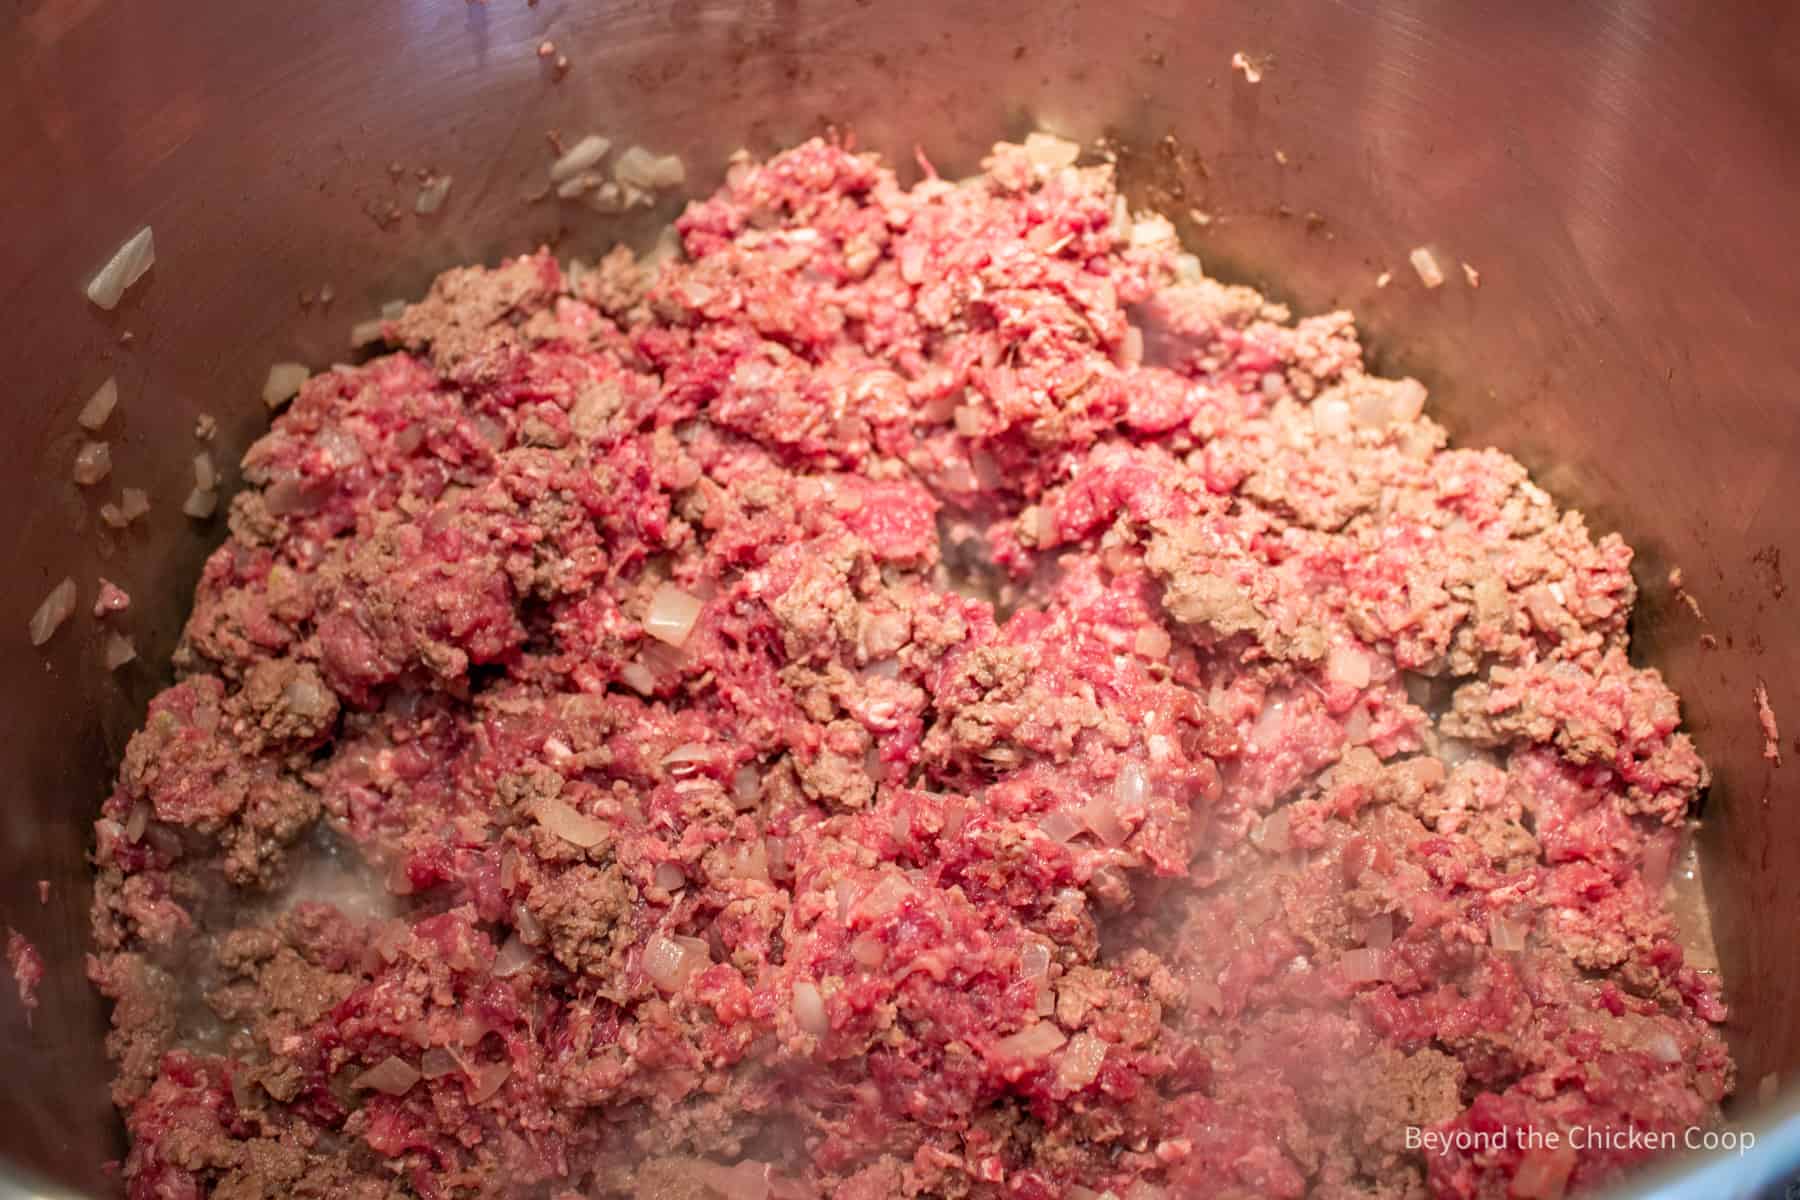
- Cook onions until soft and slightly translucent
- Add garlic
- Add burger and cook through. If burger is high in fat, skim off all excess grease.
- Pour in canned tomatoes, with the juices. If using whole tomatoes, break them up into smaller bits.
- Add tomato sauce, chili powder, cumin, salt, pepper and brown sugar
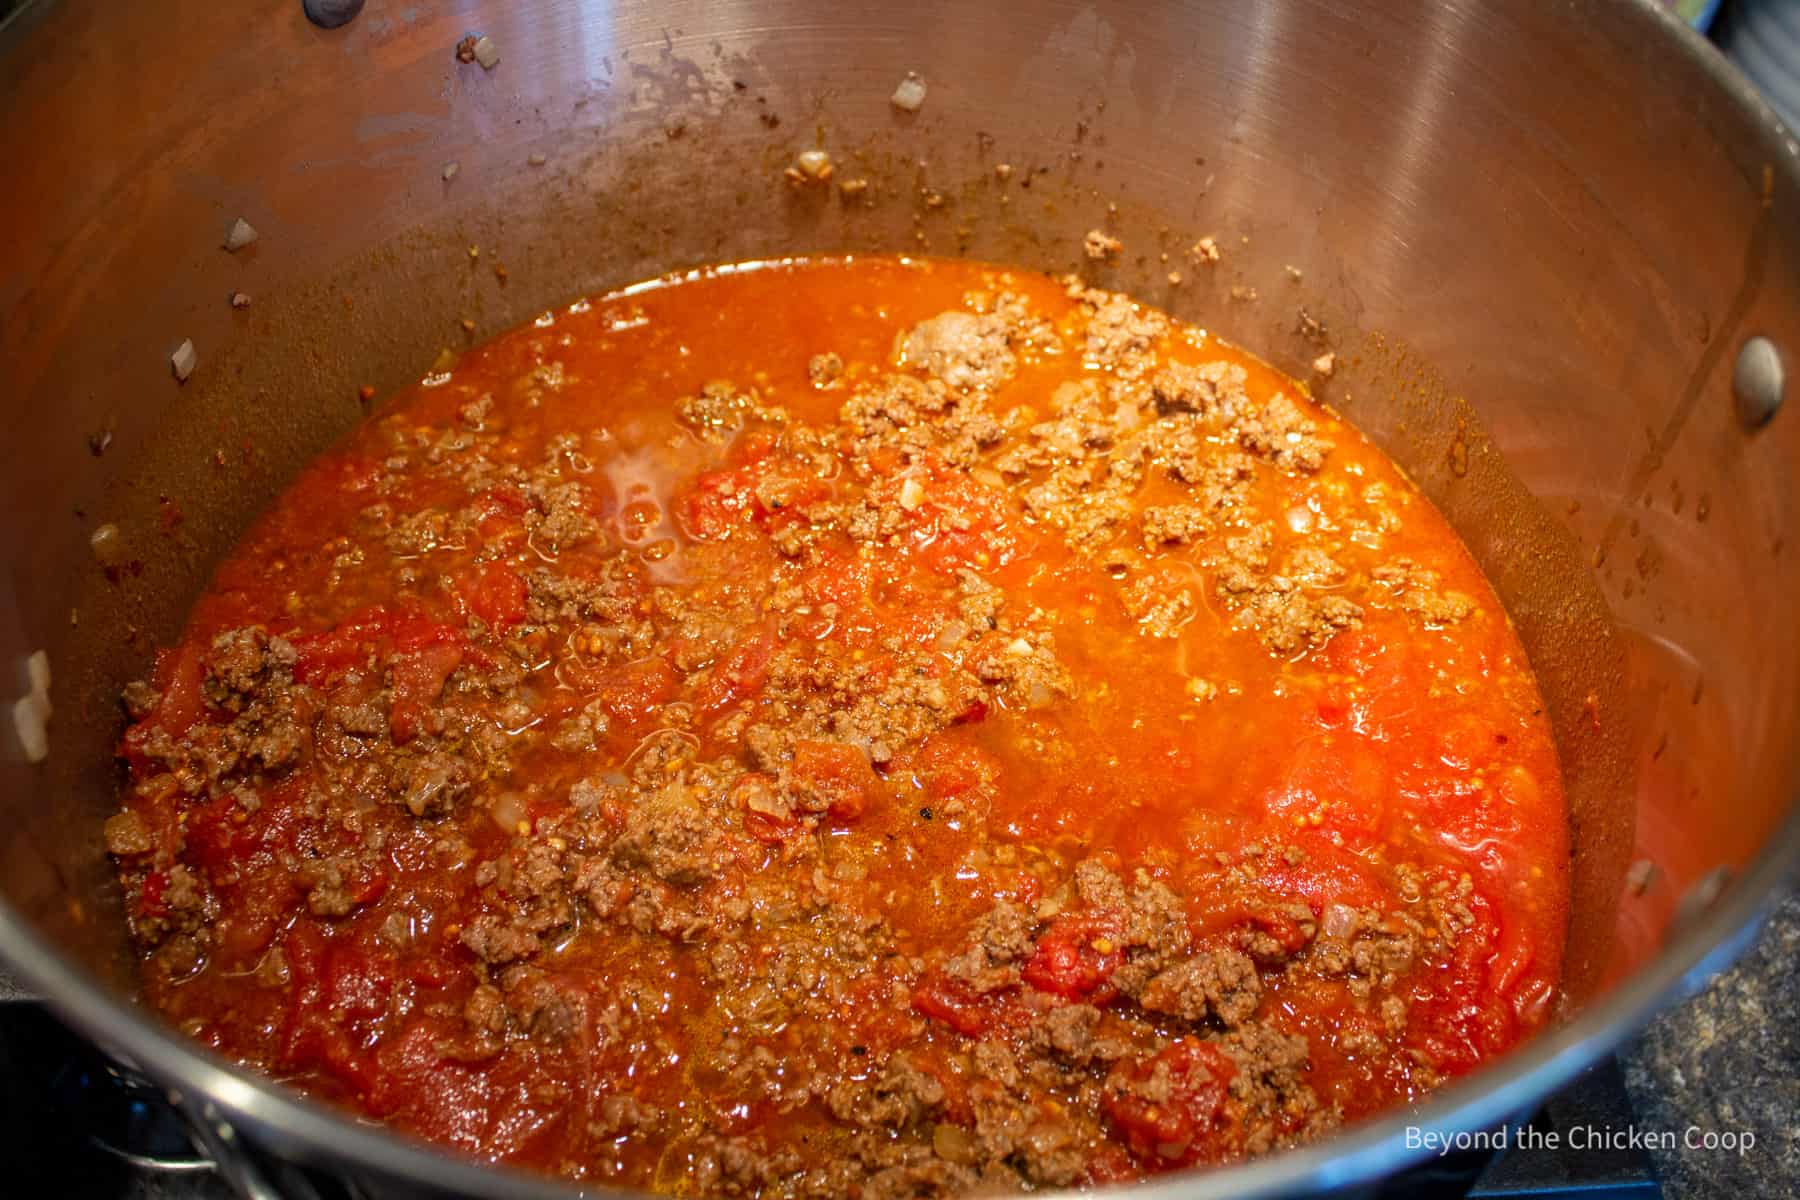
- Heat until mixture is simmering
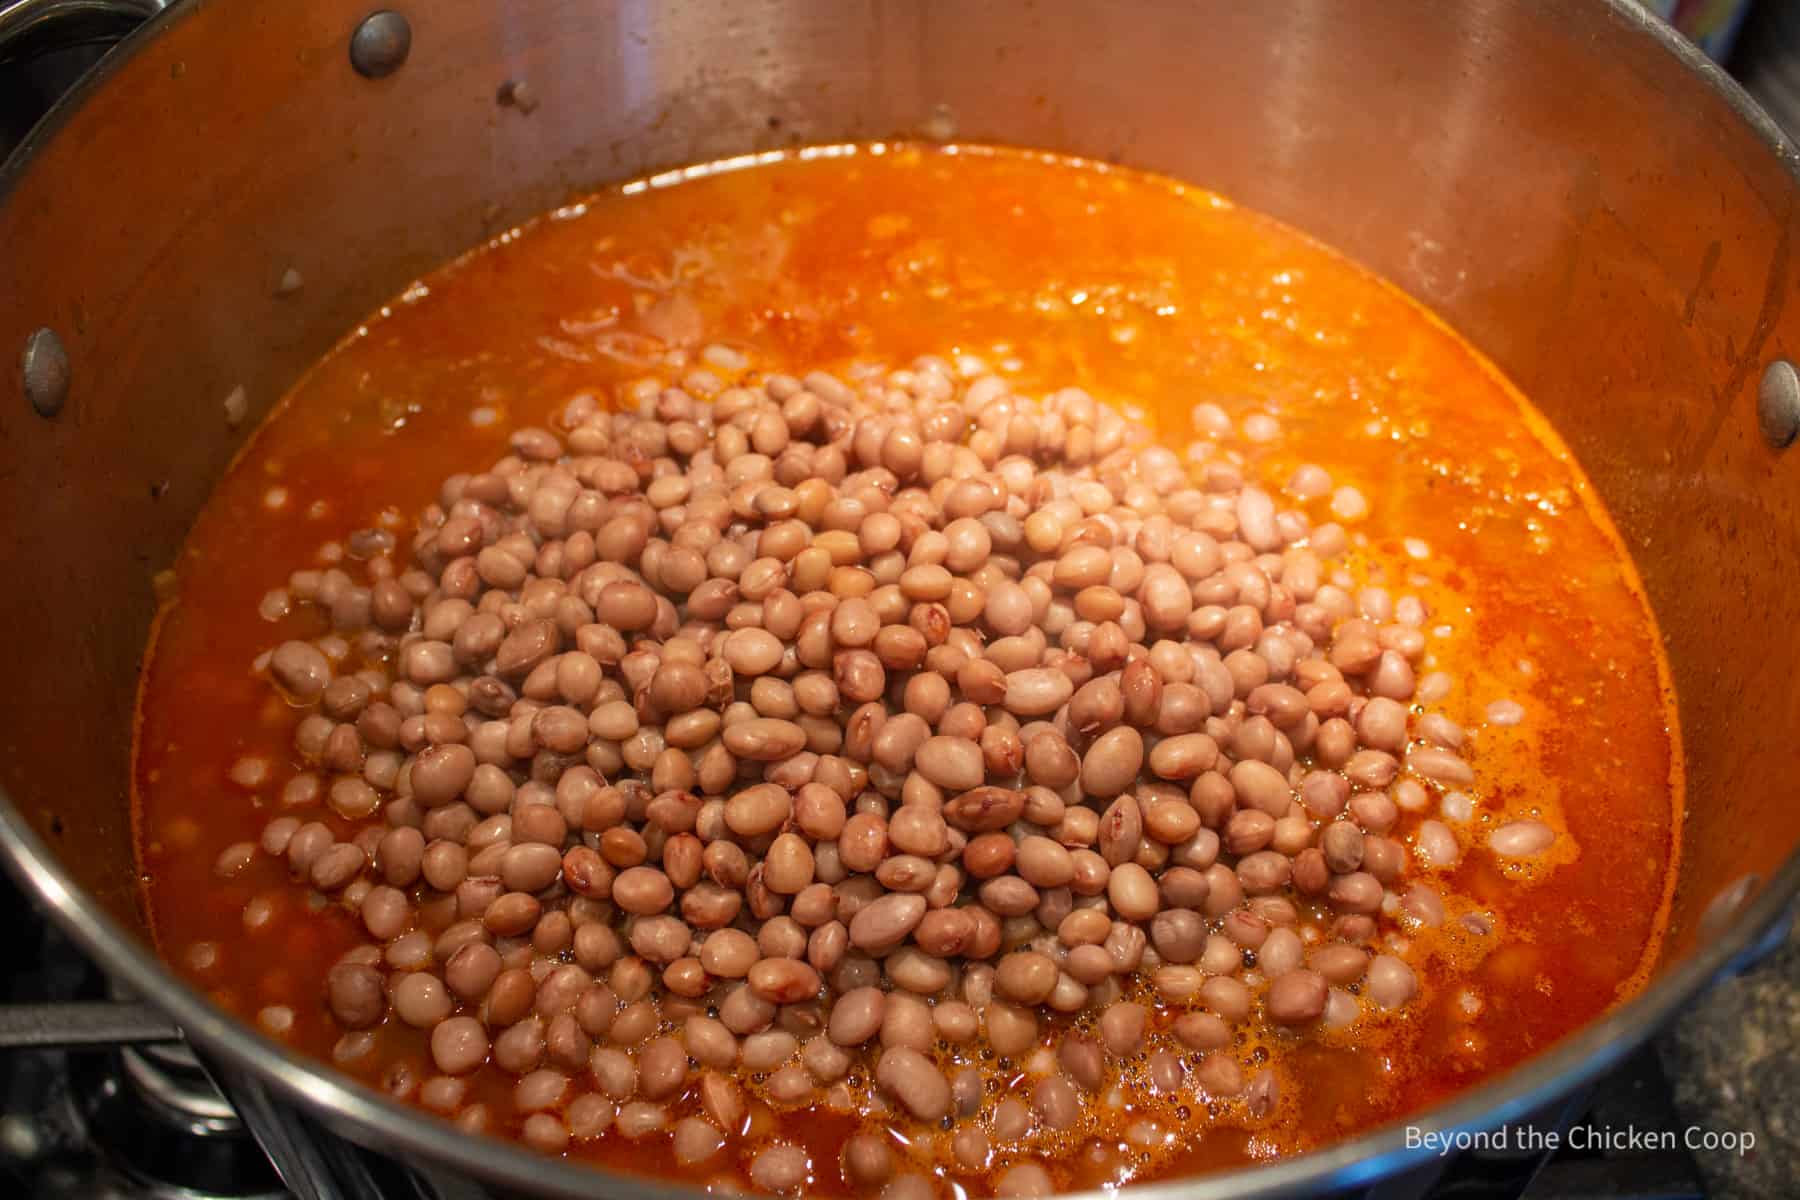
- Add partially cooked beans and 2 cups of bean water
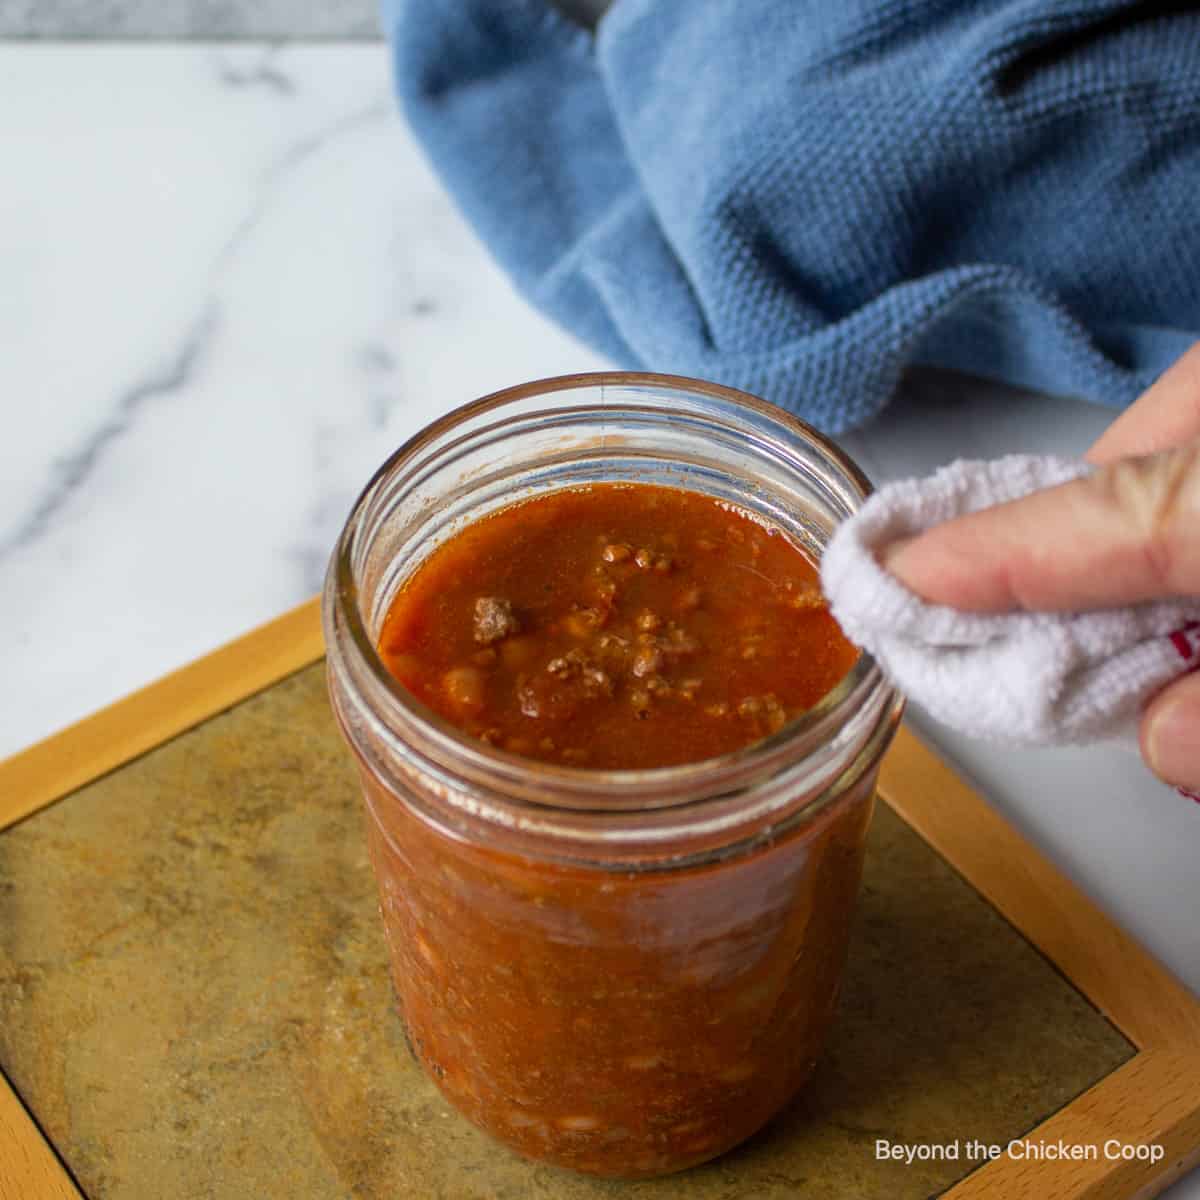
- Pour chili into clean, hot jars leaving 1 inch of headspace

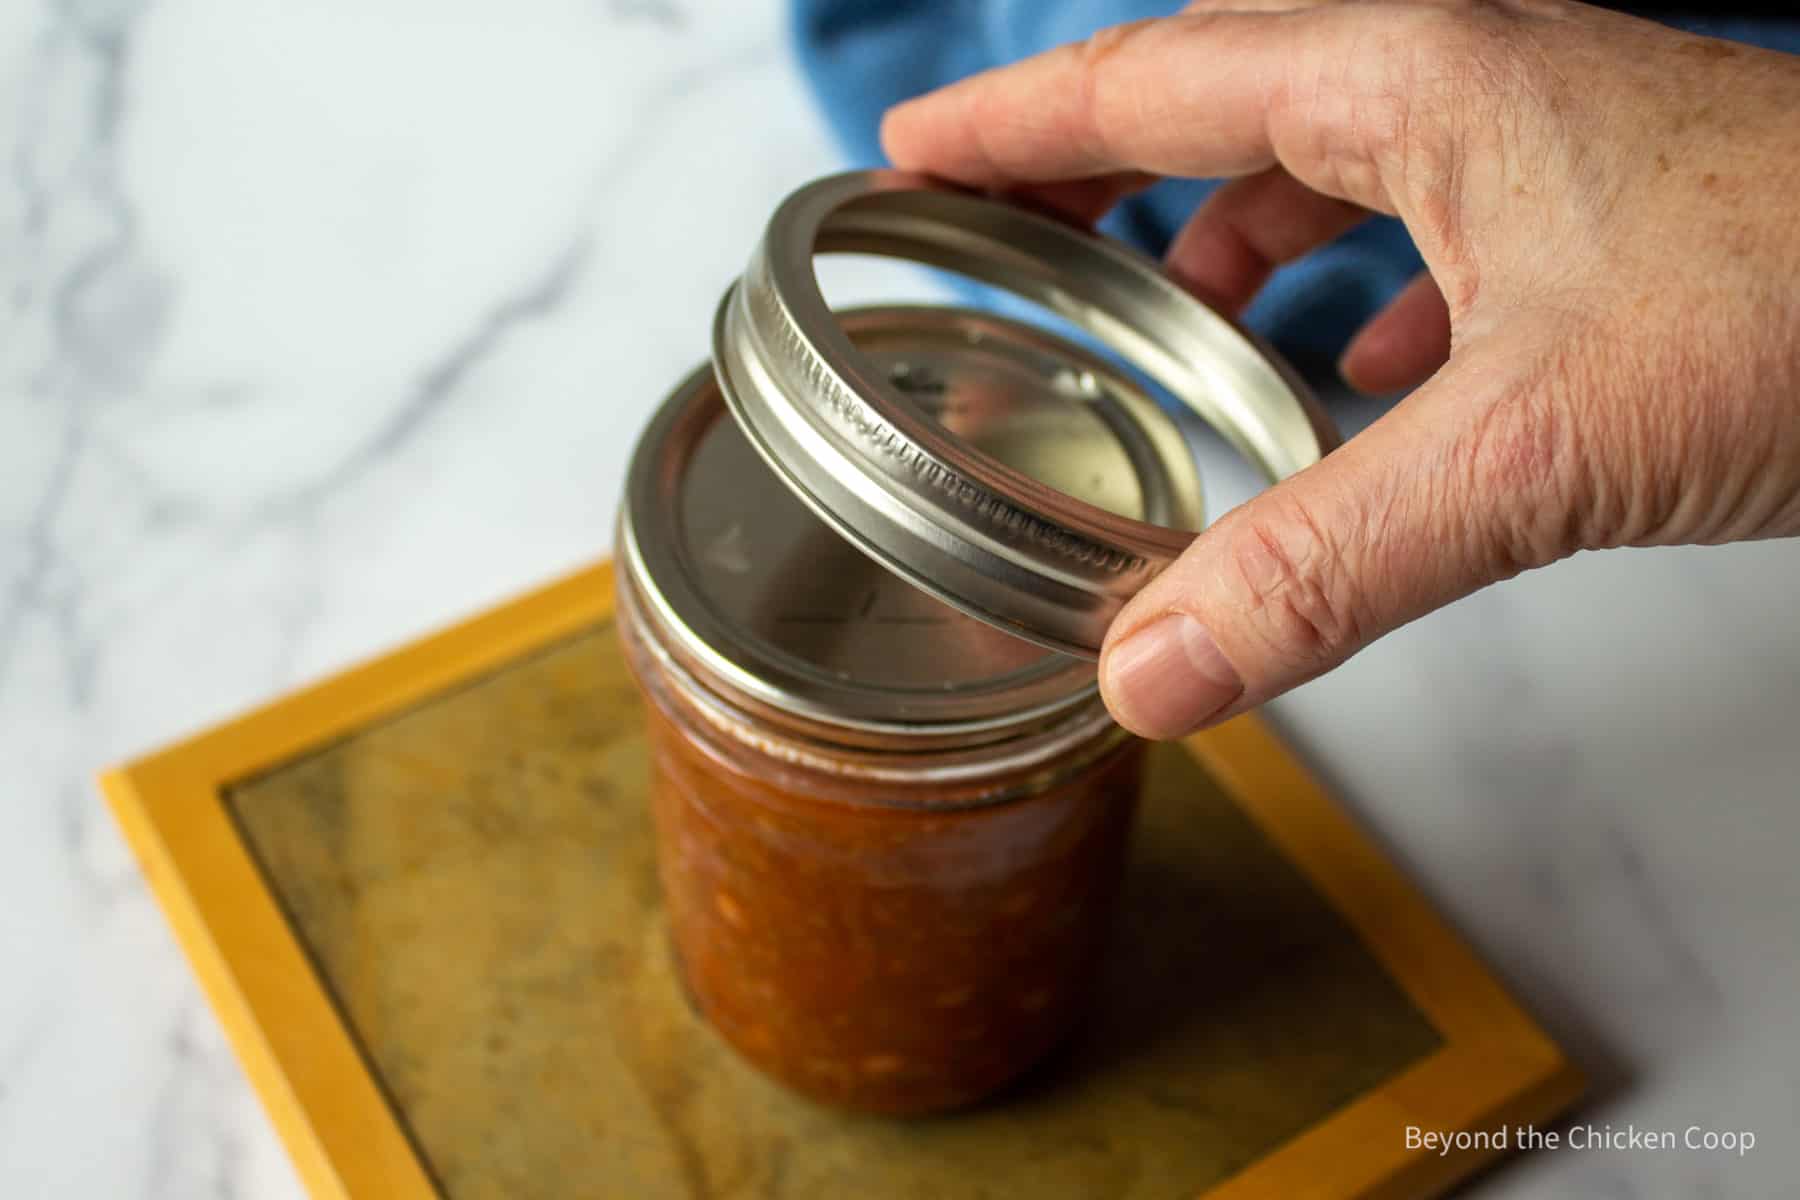
- Wipe down the rim of each jar and place a clean lid and ring
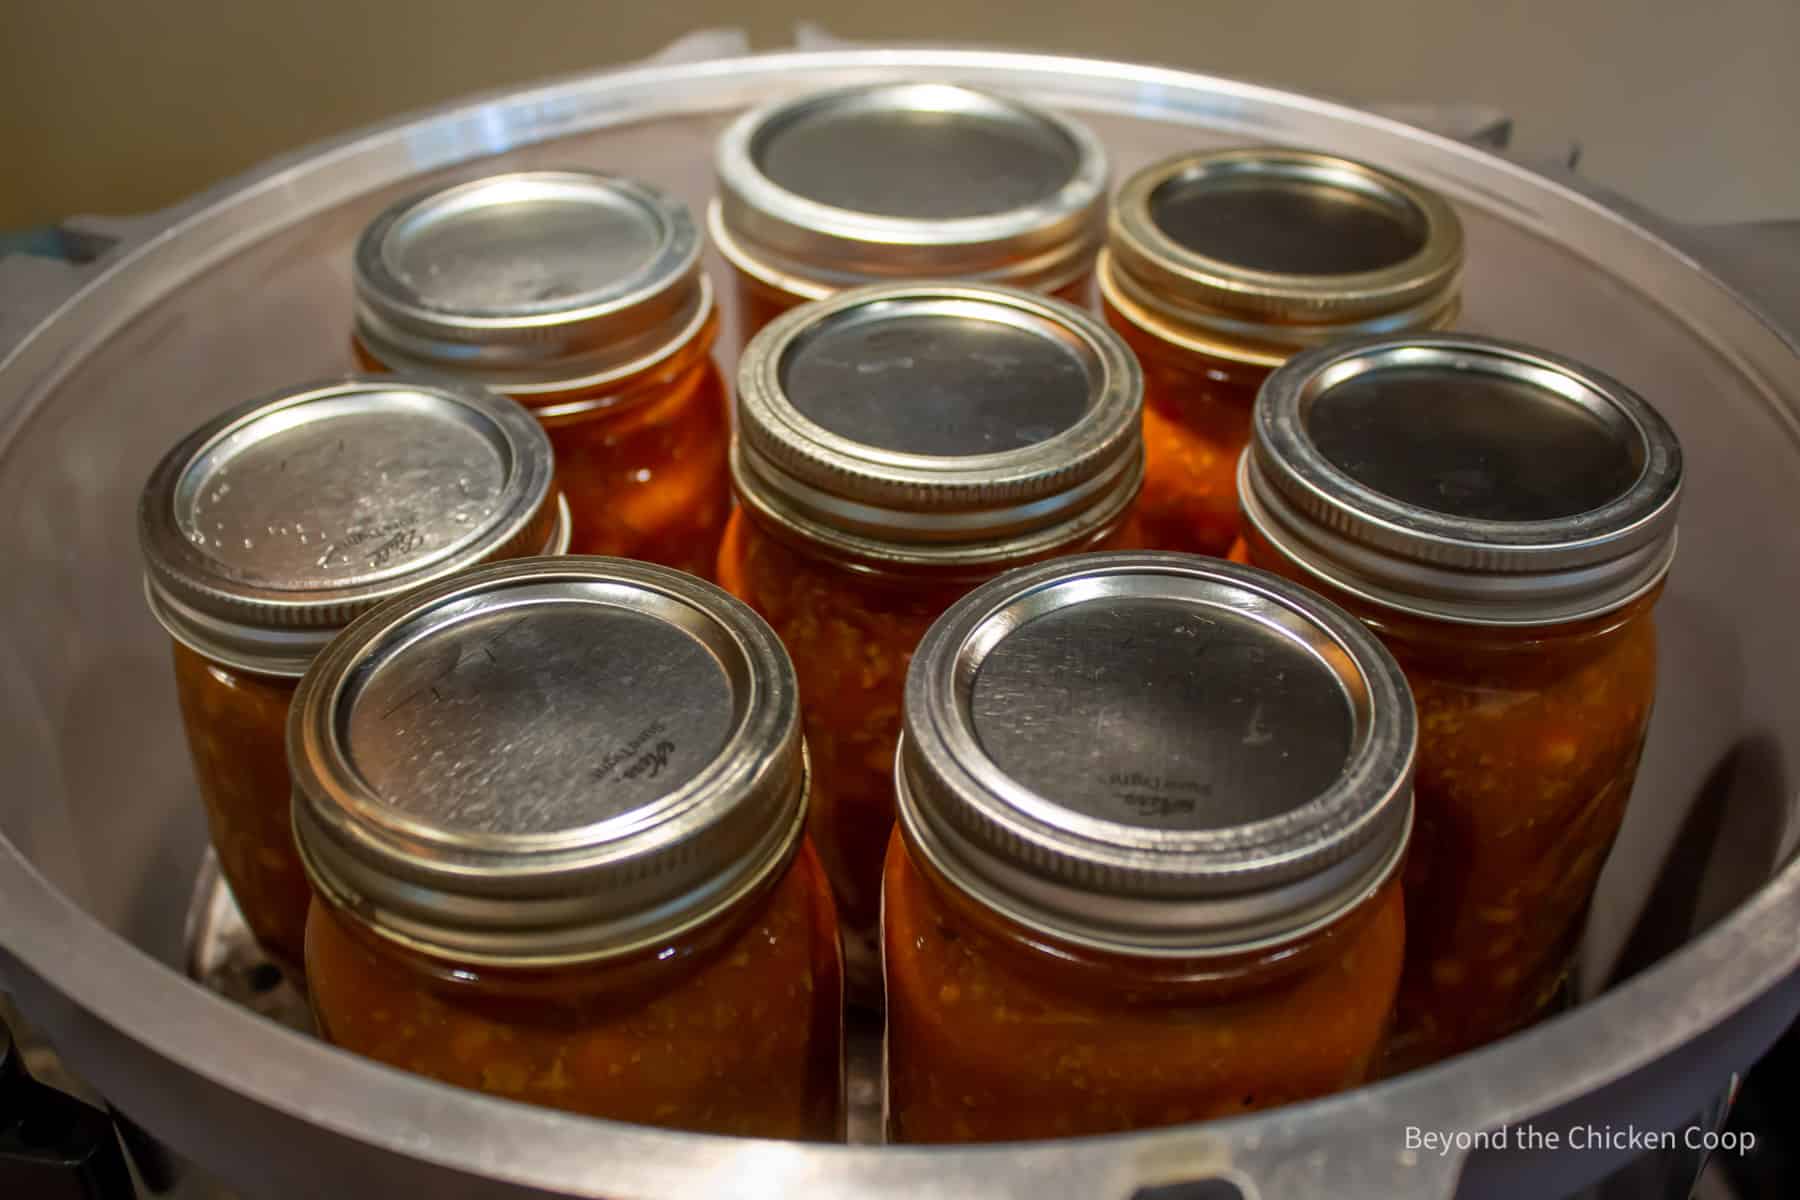
- Place each jar into a pressure canner with 2 inches of simmering water in the bottom of the pot. Make certain the rack is in the bottom of the canner.

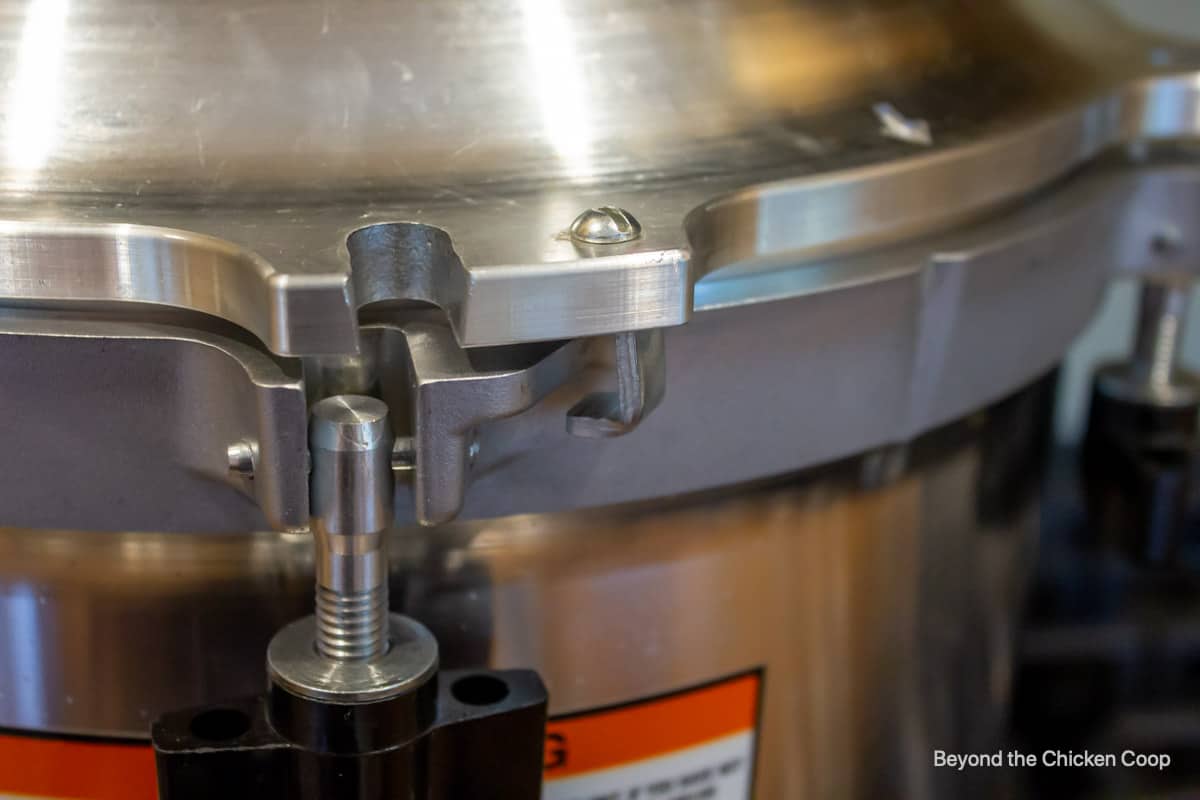
- Put lid on pressure canner and lock into place. Make certain steam vent cover is off.
- Turn heat up to medium-high. Once steam begins to flow, vent steam for 10 minutes then place cover over steam vent.
- Watch pressure until 10 pounds of pressure is reached (or higher for elevations over 1000 feet. See chart below)
- Process pint jars for 1 hour 15 minutes or quart jars for 1 hour and 30 minutes
- Monitor pressure during processing times to make certain pressure does not fall below desired pressure
- After processing time has been reached, turn off heat and allow pressure cooker to depressurize naturally. Do Not Remove the steam vent cover until the pressure falls to zero.
- Carefully remove steam vent cover. Wait 5 minutes then carefully remove pressure canner lid.
- Wait an additional 5 minutes and then remove jars and place on a baking rack to cool.
- Let jars cool for 12 hours without touching jars or lids. Do not tighten bands or push down the center of the lids while jars are cooling.
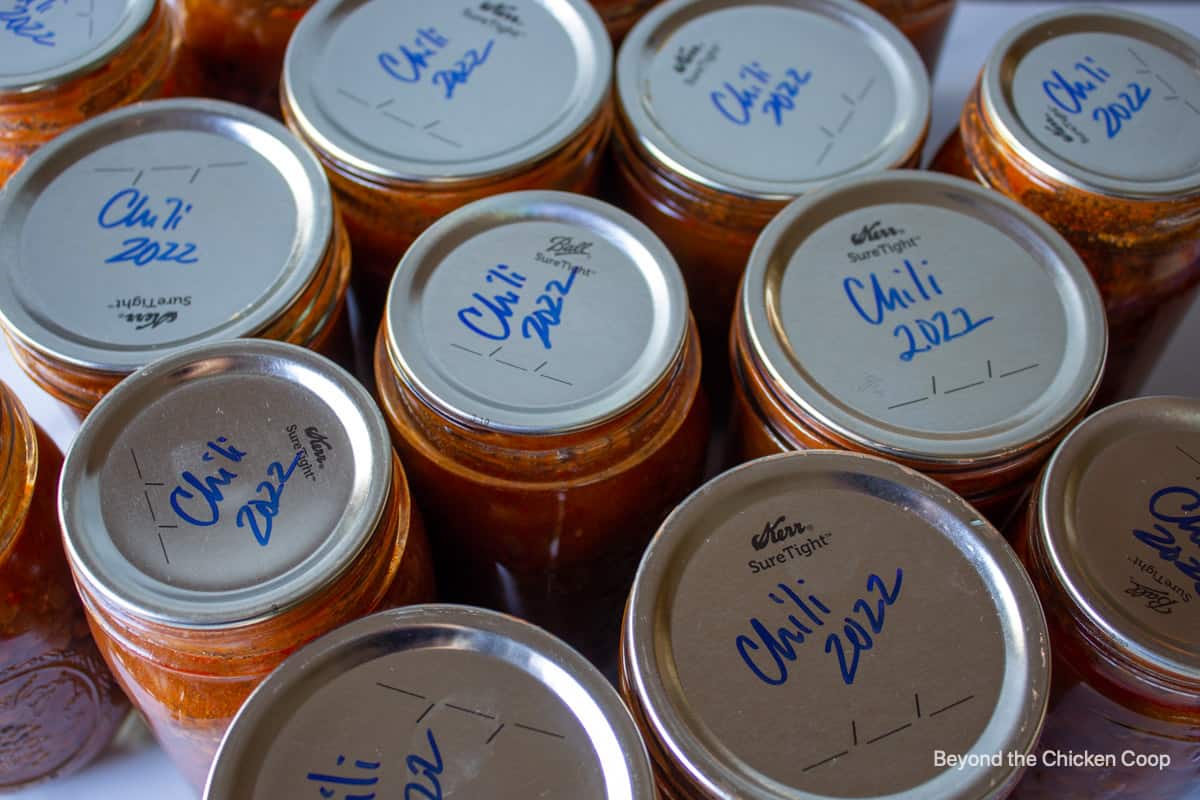
- After 12 hours, remove rings and test seals. Wash outside of jars. Label with date and contents and store in a cool, dark place.
Recipe tips
- Read the recipe completely through before beginning
- Place all ingredients and equipment out before starting. You don't want to get part way through and realize you are missing something.
- Plan enough time. Canning takes time, but it's not all hands-on time. Make certain you have enough time to fully complete your canning.
- Do not add any sort of thickener to the chili
- Make certain you leave at least 1 inch of headspace in each jar
- Adjust your pressure based on your elevation (see chart below)
Siphoning of contents
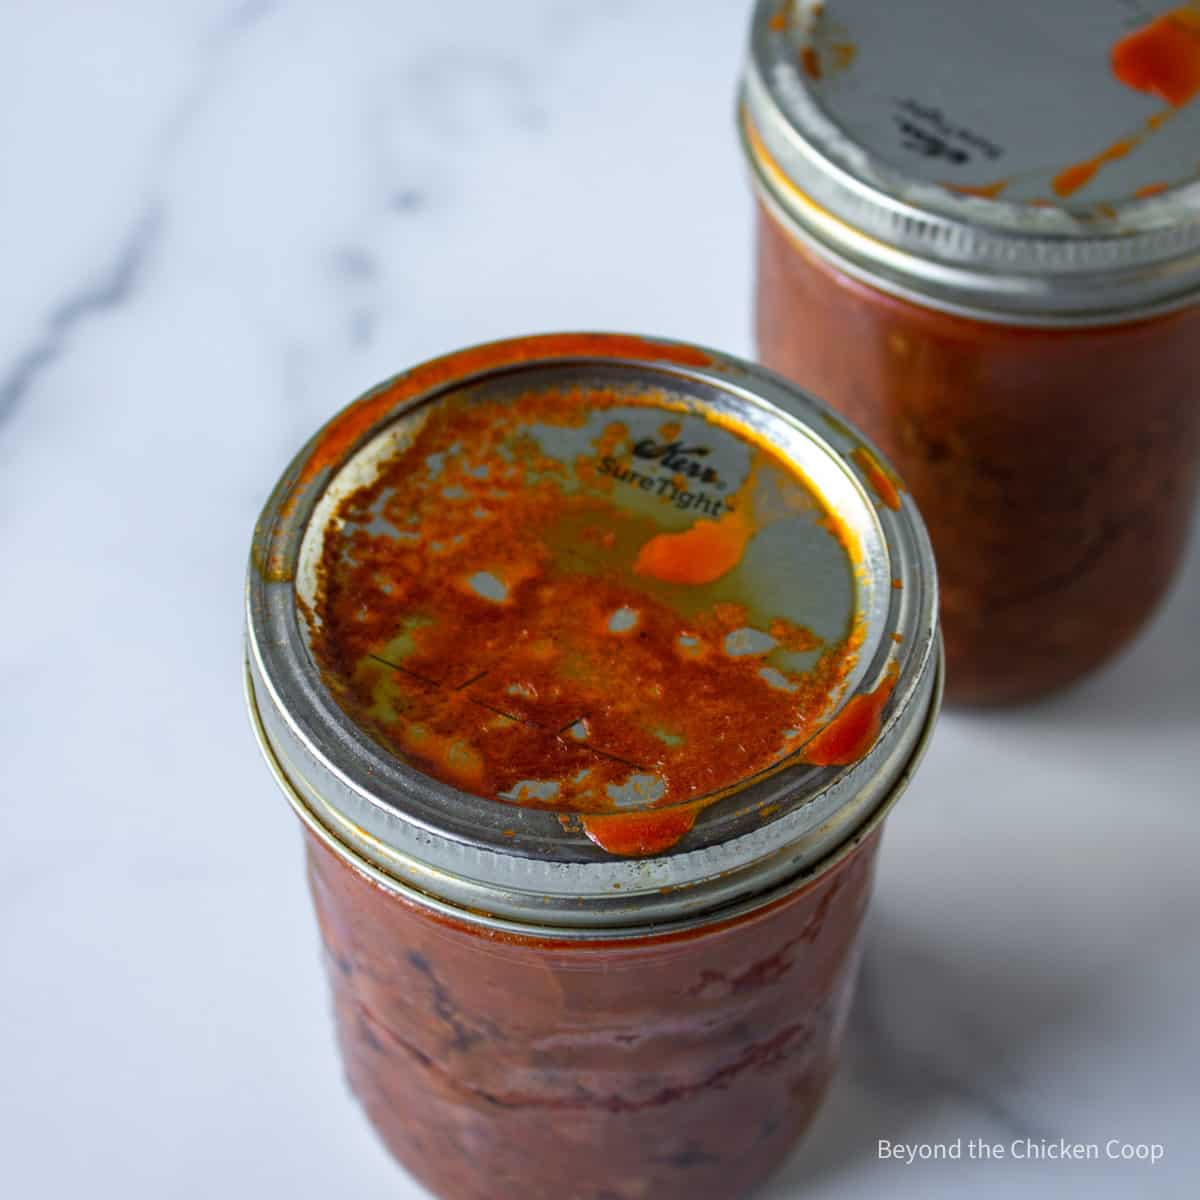
Siphoning, or the forceful pressure that creates liquid to be pushed out of the jar can occur for a number of reasons.
- Not enough headspace in jar
- Rapid temperature change when cooling jars
- Air bubble left in contents that was forced out
- Imperfection in rim of jar or canning lid
When siphoning is evident, it does not mean that your jar is bad. Remove the ring and wash the jar. Check the lid for a proper seal. If the jar is sealed, the contents are still good.
If the jar is not sealed, refrigerate the jar and consume right away.
Elevation adjustment
| Altitude Feet | Pounds of Pressure |
|---|---|
| 1,001- 2,000 2,001- 3,000 3,001- 6,000 6,001 - 8,000 8,001-10,000 | 11 pounds 12 pounds 13 pounds 14 pounds 15 pounds |
Frequently asked questions
Yes, you may omit the beans if you prefer.
Pint jars or quart jars may be used when canning chili. Both jars will be processed at 10 pounds of pressure (or higher for your elevation.) Pint jars will be processed for 1 hour and 15 minutes and quart jars for 1 hour and 30 minutes.
Pressure canning safety
- Read your manual for your pressure canner before using
- If you have an older model, inspect the rubber gasket. If dry or crumbly, it will need to be replaced.
- Make certain lid is fully locked into place
- Keep an eye on your pressure to make certain it doesn't go below the desired temperature and that it doesn't go too high
- If you have a glass-topped stove, please check with the manufacturer before using a pressure canner. The high heat may not work with your stovetop.
- Always double-check that you have enough water in the pressure canner. Most canning recipes call for 2 -4 inches, depending on the length of time the item will be under pressure. You do not need to cover the jars with water.
A Note on Home Canned Food
Improperly home canned food can carry the risk of causing botulism. If eaten, this can cause a serious form of food poisoning that can lead to paralysis or death. Please follow safety procedures and inspect your food before consuming.
- Always inspect your home canned food before eating
- If in doubt, throw it out!!! The FDA recommends throwing out the food and the jar.
- Do not taste if in doubt!
- Throw it out if -
- the can is bulging, leaking or swollen
- the container looks damaged or abnormal
- the container spurts liquid or foam when opened
- the food is moldy, discolored or smells bad
- the seal is no longer intact when you examine the food
More canning recipes
- Canning chicken broth
- Canning smoked fish
- How to can tomatoes - water bath method
- Canning dried beans
- Green tomato relish - water bath method
- Canning peaches - water bath method
If you make this recipe, I’d love to hear about it! Leave a comment below and snap a picture and tag me on Instagram @beyondthechickencoop
Be certain to check out all my canning recipes.

Canning Chili
Equipment
- Measuring Spoons
- Measuring Cups
- Canning Jars - 16 oz
Ingredients
- 1 ½ pounds dried beans (pinquito or kidney )
- 1 tablespoon oil (vegetable, canola or olive oil)
- 2 cups onion (diced)
- 4 cloves garlic (minced)
- 5 pounds burger (beef, elk, venison, moose, turkey)
- 4 quarts canned tomatoes (whole, diced or crushed)
- 4 cups tomato sauce
- 4 tablespoons chili powder
- 3 tablespoons cumin powder
- 1 tablespoon salt
- 1 tablespoon black pepper
- 1 tablespoon brown sugar
Instructions
- Soak beans overnight or place in hot water for at least 2 hours1 ½ pounds dried beans
- Drain beans and place in a large pot covered with at least 2 inches of water. Bring water to a boil then reduce heat and simmer for 30 minutes. Drain beans, reserving 2 cups of the bean water (it will used later to thin the chili) Beans will NOT be fully cooked.
- Cook onions with oil until soft and slightly translucent2 cups onion, 1 tablespoon oil
- Add garlic4 cloves garlic
- Brown burger along with onions in pot. If burger is high in fat, skim off all excess grease.5 pounds burger
- Pour in canned tomatoes, with the juices. If using whole tomatoes, break up into smaller bits.4 quarts canned tomatoes
- Add tomato sauce, chili powder, cumin, salt, pepper and brown sugar4 cups tomato sauce, 4 tablespoons chili powder, 3 tablespoons cumin powder, 1 tablespoon salt, 1 tablespoon black pepper, 1 tablespoon brown sugar
- Heat until mixture is simmering
- Add partially cooked beans and 2 cups of bean water
- Pour chili into clean, hot jars leaving 1 inch of headspace
- Wipe down the rim of each jar and place clean lid and ring
- Place each jar into a pressure canner with 2 inches of simmering water in the bottom of the pot. Make certain rack is in the bottom of the canner.
- Place lid on pressure canner and lock into place. Make certain steam vent cover is off.
- Turn heat up to medium high. Once steam begins to flow, vent steam for 10 minutes then place cover over steam vent.
- Watch pressure until 10 pounds of pressure is reached (or higher for elevations over 1000 feet. See chart below)
- Process pint jars for 1 hour 15 minutes or quart jars for 1 hour and 30 minutes
- Monitor pressure during processing times to make certain pressure does not fall below desired pressure
- After processing time has been reached, turn off heat and allow pressure cooker to depressurize naturally. Do Not Remove steam vent cover until pressure falls to zero.
- Carefully remove steam vent cover. Wait 5 minutes then carefully remove pressure canner lid.
- Wait an additional 5 minutes and then remove jars and place on a baking rack to cool.
- Let jars cool for 12 hours without touching jars or lids. Do not tighten bands or push down the center of the lids while jars are cooling.
- After 12 hours, remove rings and check seals. Wash outside of jars and label content and date. Store in a cool place.
- To use, open jar and remove contents. Heat and enjoy.
Notes
- Read recipe completely through before beginning
- Place all ingredients and equipment out before starting. You don't want to get part way through and realize you are missing something.
- Plan enough time. Canning takes time, but it's not all hands-on time. Make certain you have enough time to fully complete your canning.
- Do not add any sort of thickener to chili
- Make certain you leave at least 1 inch of headspace in each jar
- Adjust your pressure based on your elevation (see chart below)
- 1000-2000 feet - 11 pounds of pressure
- 2001-3000 feet - 12 pounds of pressure
- 3001-6000 feet - 13 pounds of pressure
- 6001- 8000 feet - 14 pounds of pressure
- 8001-10000 feet - 15 pounds of pressure
Nutritional Disclaimer:
Nutritional information is provided as a courtesy and should only be construed as an estimate rather than a guarantee. To obtain the most precise nutritional information in a provided recipe, you should calculate the nutritional information with the exact ingredients you are using when preparing the recipe using your preferred nutrition calculator.
Nutrition
Resource for recipe and canning procedures comes from National Center for Home Preservation.
Alison says
What is the shelf life for this?
Kathy says
According to the USDA, "As long as the can, (or jar) is in good shape, the contents should be safe to eat, although the taste, texture and nutritional value of the food can diminish over time. Home canned foods should be used within 1 year."
Tasha says
Have you done this recipe using fresh Roma tomatoes instead of canned tomatoes? If not, do you think that would work ok?
Kathy says
Hi Tasha,
Yes, the fresh Romas will work. You'll want to peel and chop them first. You will need to add extra liquid, either water or tomato sauce.
Kathy
Leah Sperle says
Good morning, could I also add fresh shucked corn and mushrooms along with peppers to this recipe?
Kathy says
Hi Leah,
I always default to recommendations from the NCFHP. I'm not certain if adding corn or mushrooms is considered safe.
Jason says
Can you tell me how many estimated pints, or quarts this recipe makes?
Kathy says
Yep! 15 pints.
adam kyle says
Can I swap chicken for beef in this recipe? Thanks
Kathy says
Hi Adam,
Yes, you can use chicken instead of the beef.
Enjoy! 🙂
Kathy
AMK says
Hello, could I use canned kidney beans? Or will they become mushy? Thank you!
Kathy says
Using kidney beans in this chili following the same process works fine.
Maggie Cain says
How does the texture of canned chili compare to frozen? I have tried freezing batches of chili and I feel it changes the texture of the meat for the worse. I'm hoping to find a better way to preserve chili for year-round convenience. Thanks you!
Kathy says
I don't have a problem with the canned chili. You may need to try it to see if it meets your expectations.
Kathy
Karen says
Can I use an envelope of chili mix instead of the spices?
For example, McCormick's Chili Seasoning packet or Williams Chili Seasoning?
Kathy says
Hi Karen,
It should be okay. However, be careful with the ingredients. You don't want any flour, cornstarch, or other thickeners in the packets.
Kathy
Jeff Scoby says
When I make chili at home I put different colored bell peppers and a jalapeno or two in my chili. With your canning instructions can I still add the peppers or do I need to leave them out? Jeff
Kathy says
Adding bell peppers will be fine in this recipe. Enjoy 🙂
Sherry Gonzales says
This is very close to my recipe, so I was excited to can this. It’s really good. I added a total of 3 T brown sugar, we like our chili a little sweeter. Other than that i followed the recipe as written. This made 8 quarts and 1 pint.
Kathy says
Wonderful! I'm so glad you've made it!
Thanks so much!!!
Kathy 🙂
Mary Cochrane says
LOL, I would call that a canner full and lunch!
Kathy says
🙂
Sue says
Hi Kathy, I'm wondering if it matters if I do less beef and more beans. I usually do 3 lb mixed beans (black, red, and light red) to each 1 lb ground beef. I've seen that you can can a whole jar of ground beef, and you can can a whole jar of beans, so it would seem that the ratio of beef to beans wouldn't matter. Am I okay with this thinking, or no?
Kathy says
I think you'd be fine.
TT says
Hi there, looks like a good recipe and I'd like to try it. Most, if not all recipes I come across are 90 minutes for quarts and 75 for pints. I'm just curious why your processing time is so long? TIA
Kathy says
Hi!
My processing times are listed as 1 hour 30 minutes for quarts, which is 90 minutes and 1 hour 15 minutes for pints which is 75 minutes. I believe these are the same as what you are seeing, just written in a different manner. 🙂
Tonja says
I would like to make this recipe. I was wondering if I can leave the cumin and sugar out, or do I need them? So many recipes say not to delete or substitute ingredients.
Thanks
Kathy says
Hi Tonja,
Yes, the cumin and sugar can be left out.
Thanks for checking!
Kathy
Tena says
Just made a big big batch of chili and was looking for how to can it so thank you for helping with the pressure and time for pints and quarts. Next time I will try your recipe for the chili too. Love homemade canned chili my mom would make it all the time she also canned spaghetti sauce. She made the best lasagna.
Kathy says
Thank you
susan strauser says
I’m wondering what the shelf life of the chili is….
Kathy says
The USDA and the National Center for Home Food Preservation say to use up home canned food within one year. The food won't spoil after that time, but it won't be at its best quality.
Cathy says
How long is the shelf life for can this canned chili?
Kathy says
As a general rule, home canned foods should be consumed within 1-2 years.
Janet says
Not sure what I did wrong, but I got waaaaay more chili than 15 pints.
Regardless, it’s absolutely delicious. To make it taste like my mom’s chili I substituted green enchilada sauce for one of the cans of tomato sauce, and instead of sugar I poured in chokecherry syrup. I froze all of the extra chili!
Kathy says
Glad you are enjoying it!
Ashley says
I cannot say enough good things about this chili recipe! Super super easy to make and my family absolutely loves the taste! Getting ready to make more (double batch this time) and am using homemade tomatoe sauce from my garden😋
Kathy says
Thank you!!! It will be so wonderful to have your pantry stocked with for the winter! And bonus using your homemade sauce!!! 🙂
Lisa says
Can you use canned beans instead if the dried ones
Kathy says
Hi Lisa,
I don't know how canned beans will be in this recipe. When using the dried beans, they are softened and cooked while in the pressure canner. I don't know if the already canned and cooked beans will hold up to going through the whole process.
Kathy
martha says
Made 7 quarts this am, have a couple more to do, I used ground venison, and I tasted it, it's a good recipe,it will be so nice this winter when I don't feel like cooking, just open a jar, thank you so much
Kathy says
There's nothing better than having a pantry full of homemade goods! Thank you!!! 🙂
Eileen says
How many pints or quarts does this make?
Kathy says
This recipe makes 15 pints.
Eileen says
Thank you for this information. I just bought some dried kidney and black beans, and I’m going to try this recipe. Love my chili!
Kathy says
Wonderful! Let me know how it turns out! 🙂
David @ Spiced says
I literally looked at that first photo, and I said "woah...I need that!" What a great idea to can homemade chili. This would be WAY better than cans of the store-bought stuff. Excellent idea here, Kathy. And thanks to your husband for (indirectly) giving you the idea to can chili! 🙂
Kathy says
You're right, it is way better than the canned stuff you can buy! I think it's time for you to start canning! 🙂