
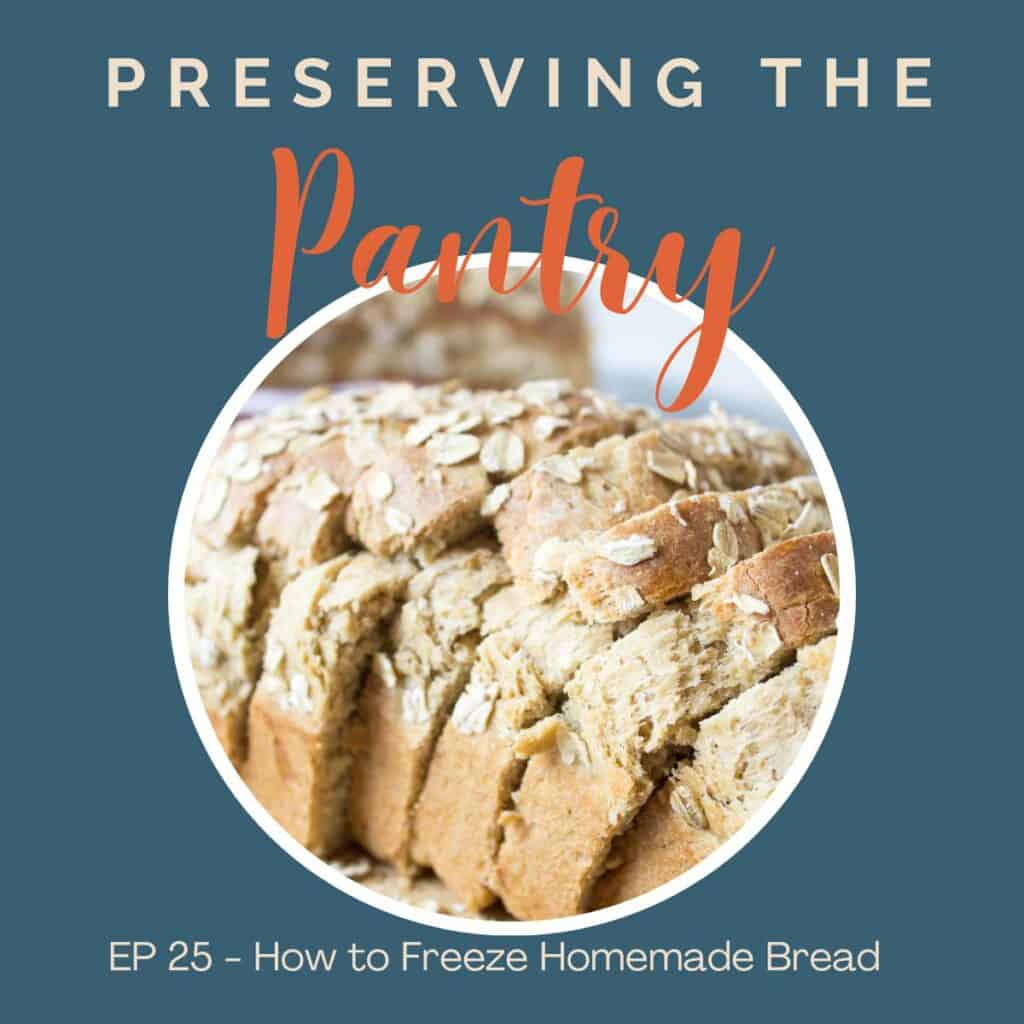
In episode 25, Kathy shares her method for freezing homemade bread.
Play the episode
Recipes
Recipes mentioned in this podcast:
- Honey Oat Bread
- White Wheat Bread
- Multigrain Bread
- Quinoa Banana Bread
- Cranberry Bread
- No Knead Bread
- Braided Bread
In this episode you'll learn:
- Number one must do for freezing homemade bread
- Why slice homemade bread before freezing
- Ways to freeze homemade bread
- How to freeze a large loaf of bread
- How to freeze muffins
- How to freeze quick breads
Where to listen to the podcast
Listen to this episode on iTunes, Spotify, Amazon Podcast, or your favorite podcast player. Or scroll down to read a full transcript.
If you love this podcast, I’d love to hear about it! Leave a comment below and hop over and leave a comment on Instagram @preservingthepantry!
Transcript
Hi everyone. We're back in the pantry today. Thanks for joining me.
Today I'm going to be sharing my method for freezing homemade breads. This includes muffins, quick breads, and yeasted breads. I think my all-time favorite thing to bake are breads, any kind. I have always loved it and I continue to make breads today.
Several years ago, I decided that our family was only going to eat homemade bread, and this was a great endeavor, but it was a little challenging. First of all, the only time that I had to make the yeasted breads was on the weekends. It was the only time I had, and so I would make anywhere from two to six loaves of bread.
Then I had to figure out how to make those so that my family would enjoy eating them all week long without them getting dry. And that's when I started freezing the bread.
I lasted on that endeavor for probably about, I don't know, four to six months, and then it started fading out and the one of the main reasons was that my weekends weren't available all the time for baking.
We were going on soccer road trips or having to go on different outings and the weekends just got eaten up by other activities. So as much as I loved doing that, I really wasn't able to sustain making only homemade breads.
I still made breads, but I also had to supplement with store bought bread. One of the problems with homemade bread though, is that it does dry out really quickly, and as I said, that's when I figured out I could start freezing that bread.
So here's my method for freezing homemade yeast bread. The first thing I do, of course, is make up the bread and I'd make honey oat bread or multi-grain bread or a white wheat bread, any type of bread, and I would bake up those loaves of bread and then allow them to fully cool on a baking rack. The number one thing that you need to know about freezing bread is the loaves have to be fully cool.
Now, the other thing that I like to do is once those loaves are fully cool, I like to slice them into slices. This made it so if I pulled out a loaf and it wasn't quite all the way thawed when I was ready to use it, it was really easy to pull off those outer slices and you could slide an a butter knife right through if it was still just a little bit frozen.
You could make a sandwich for lunch. It was perfect by the time it was lunchtime. So once the, the bread was fully cool, I'd slice it. And then depending on your loaf pan, I would put it into a Ziploc bag, get all the air outta that bag, label the bag with what was in there and the date, and then put it in our deep freezer.
Some of my bread pans don't quite fit into a Ziploc bag though, and that always drove me crazy. So what I would do then is I would wrap the loaf of bread really tightly. Not so it mushed it, but so that there were no air pockets. And I would wrap it so that every area was covered with the plastic wrap, and then I would wrap that in foil.
And I would, again, label and date, because let me tell you, sometimes you think, oh, I know exactly what's in that freezer, and two months later you're like, what is this? And how long has it been here? So always label and date, whatever you're putting into the freezer.
If a loaf is too big, you let it fully cool, slice it if you'd like to. Wrap it in plastic wrap and then wrap it in foil. Make certain that it's fully wrapped. You don't want any exposed areas because that was where your bread will dry out.
When you're ready to use that bread, any of the bread, just take it out of the freezer, place it on your counter and let it thaw.
So the plastic and the foil method works really well if you have long baguettes or a Dutch oven style bread that's too big for any sort of a bag.
When we make muffins, usually everybody eats those right up, but there are often still a couple of muffins leftover. So rather than letting those go to waste, I'll set aside six or eight muffins for us to eat right away.
I'll let the remaining muffins fully cool. Sometimes I will individually wrap those in plastic wrap and then put them in a Ziploc bag. That way you can pull out just one muffin at a time. It's great for when you need a breakfast on the go or something you throw in your lunchbox.
Or sometimes I often just put six muffins in the a Ziploc bag in a single layer, and then close that bag and put it in the deep.
The last type of bread that I freeze is quick breads, very similar to muffins but in a loaf shape. So that would include my cranberry bread, my banana bread, my quinoa banana bread. Any of those quick breads are great for freezing as well.
So whether you use a mini loaf tin or a full loaf tin, you can freeze these the same way again, make certain that they're fully cooled, and then sometimes I do slice them, put them in a Ziploc bag and put them in the freezer.
You could also do the same as we would with a large loaf of bread. Wrap that fully cooled loaf in plastic wrap, and then in foil, and then in the into the freezer.
Now when you want to use these breads, it's best if you use them within one to three months. They're never gonna go bad, but they may start to dry out or lose some of that freshness with them.
So try to rotate that product out and use it up as you have it. Freezing is a great way when you'll only have limited time for baking or when you wanna prepare for the holidays and have stuff ready to go for when your guests.
So hopefully this will encourage you to not let any of that fresh homemade bread go to waste, plan ahead, freeze it, even if it's only for two or three days. Pull it out and you'll have fresh tasting bread at any time.
I'll see you again next week in the pantry. Thanks for listen. And be sure to tune in again next week for more episodes of Preserving the Pantry.


Leave a Reply