Rendering Beeswax - A tutorial on how to turn beeswax from the hives into usable wax.

You've harvested your honey, but now what do you do with all that wax? Don't throw it out! Beeswax is very valuable and can be used for many purposes. Knowing how to render your wax is key to using it. You can use your rendered wax in these beeswax wraps.
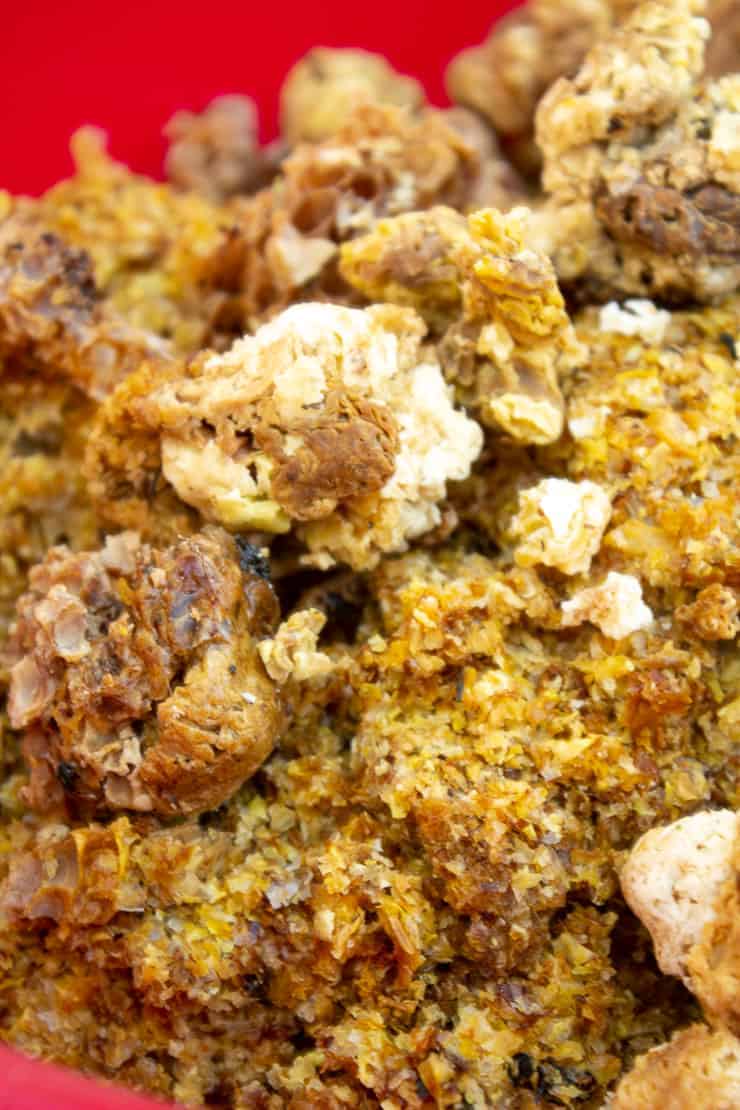
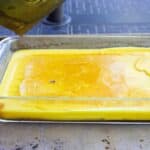
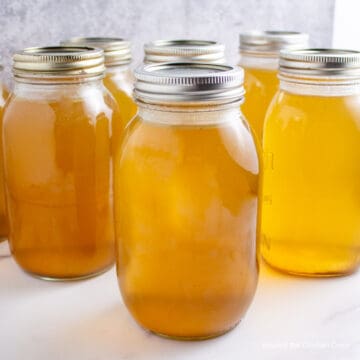
The picture below shows wax gathered after extracting honey.

There are many methods for rendering beeswax. I found a method for rendering it in the oven from LDS Prepper. He uses an outdoor solar oven, but I do it in my kitchen oven.
Why do I need to render the wax?
Beeswax from extracted honey is filled with more than just wax. It will still have some honey in there and then there are usually a few trapped bees and sometimes grass, leaves or small twigs that manage to get caught when you're moving the honey frames.
What are the steps for rendering beeswax?
- Rinse your leftover wax cappings. When you spin honey there is always leftover wax and there's always a bit of honey left in that wax. Put all cappings in a large bowl and fill with water. Let the wax soak for at least one hour. Drain and repeat. You will want to rinse at least three times.
- Strain off as much water as possible. I use an old sieve and allow my wax to just sit in it for a while so most of the water drains off.
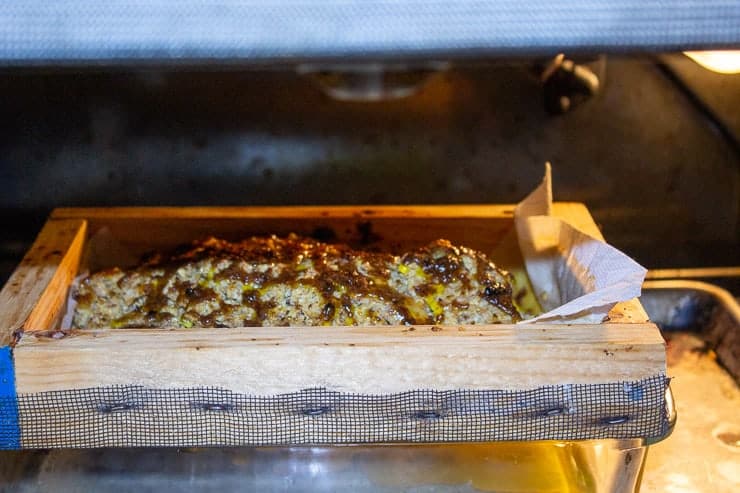
- Place wax on a screen lined with a paper towel. The paper towel will help catch any impurities in the wax.
- Place screen on top of a baking dish filled with ¼" of water.
- Place baking dish on an old baking sheet.
- Place in a 200 degree oven.
- When wax has melted, add additional wax if available.
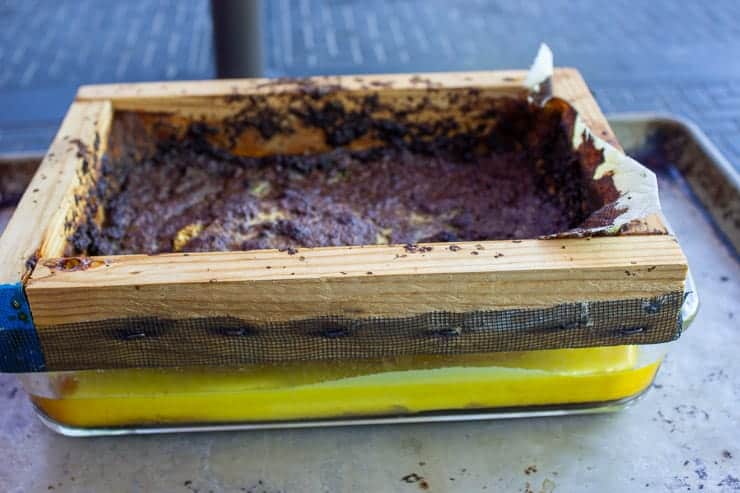
- When all wax has melted, turn off oven and allow to fully cool.
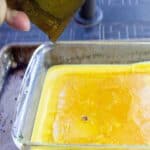
- When oven and wax are fully cooled, the wax will harden and turn yellow. Remove from oven.
- Discard paper towel and water in baking dish.
- Remove wax from baking dish.
Additional Tips for rendering beeswax
- Designate a dish that you will only use for beeswax. You can easily use an old dish or pick one up from a garage sale or a thrift store. Don't use your favorite anything - it just won't ever be quite the same again.
- Be very cautious with beeswax. It is very flammable.
- Do not try to move the wax when it is hot or liquid.
- You can purchase a screen from a home improvement store for a small window to use. My screen was made many years ago for making recycled paper with my students in my classroom. I still had it and decided to use it. Sometimes it pays to hang onto things forever although some people call that hoarding!
- Work in small batches, rather than doing a huge amount at a time. Smaller chunks of cooled wax are easier to cut into usable portions.
Other honey bee posts include Installing a hive, Checking the hive and Honey Bees.
If you make this recipe, I’d love to hear about it! Leave a comment below and snap a picture and tag me on Instagram @beyondthechickencoop
Rendering Beeswax
Equipment
- Screen
- Baking Dish
- Baking Sheet
- Paper Towels
Ingredients
- Sieve
- Baking Dish
- Baking Tray
- Window Screen
- Paper Towels
- Bees Wax
Instructions
- Rinse your leftover wax cappings. When you spin honey there is always leftover wax and there's always a bit of honey left in that wax. Put all cappings in a large bowl and fill with water. Let the wax soak for at least one hour. Drain and repeat. You will want to rinse at least three times.
- Strain off as much water as possible. I use an old sieve and allow my wax to just sit in it for awhile so most of the water drains off.
- Place wax on a screen lined with a paper towel. The paper towel will help catch any impurities in the wax.
- Place screen on top of a baking dish filled with ¼" of water.
- Place baking dish on an old baking sheet.
- Place in a 250 degree oven.
- When wax has melted, add additional wax if available.
- When all wax has melted, turn off oven and allow to fully cool.
- When oven and wax are fully cooled, the wax will harden and turn yellow. Remove from oven.
- Discard paper towel and water in baking dish.
- Remove wax from baking dish.
Dee says
Are you using fiberglass or metal screening?
Kathy says
Hi Dee,
Any type of mesh screen will work fine. I used flexible screening that we use on our windows. I'm not certain what it's made out of.
Kathy
Mary Ann | The Beach House Kitchen says
I love coming to your blog and learning something interesting Kathy! Such a great idea for a post!
Kathy says
Thanks!
David @ Spiced says
You amaze me, Kathy! I seriously love your 'behind the scenes' type of posts as it lets me live vicariously through you. I've always wanted to have honey bees! So this is such a cool post for so many reasons. I love that you aren't wasting anything, and the thought of homemade beeswax is just too fun. I did see a really cool idea when we were on vacation in Germany that made me think of you. For breakfast, the hotel had put a large piece of honeycomb (with honey) on a flat steel tray. The tray was tilted up (clearly made for this purpose), and it had a spout at the bottom. The honey slowly dripped into a bowl under the tray, and that's where you could get a spoonful. I've got a photo that I can send to you if you'd like! 🙂
Kathy says
Thanks, David! What a cool way to serve honey! Sounds like an amazing place.
Kelly | Foodtasia says
Omg, I want bees! So cool how you can harvest your own honey and beeswax!
Kathy says
🙂