
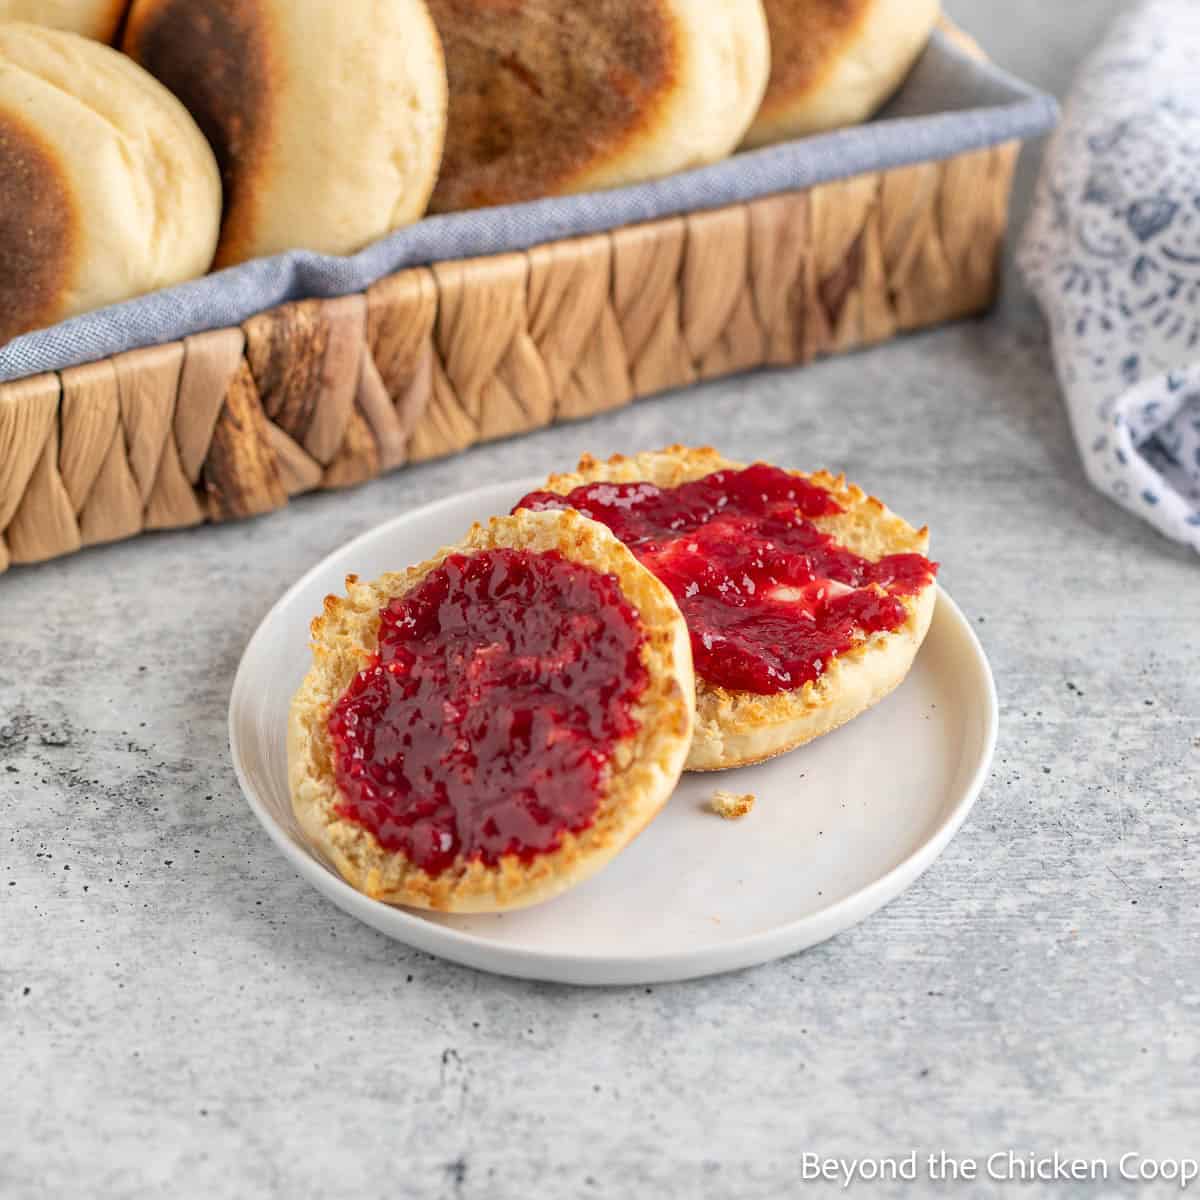
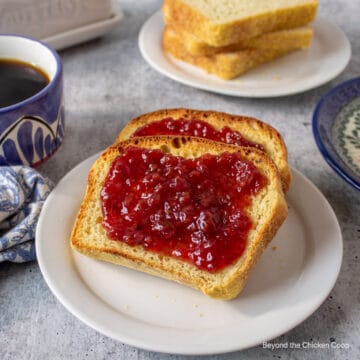
There’s nothing quite like a freshly made English muffin—golden on the outside, soft on the inside, and full of perfect little nooks and crannies for butter and jam. Making them at home is easier than you might think, and the flavor is so much better than anything from the store.

English muffins
I’ve been making English muffins for years, and they’re always worth the effort. There’s something so satisfying about watching them puff up on the griddle. Once you get the process down, they come together easily and taste so much better than store-bought.
The key is handling the dough gently and cooking them low and slow so they cook through without burning. For the best texture, split them with a fork instead of a knife. Those perfect little nooks and crannies are what make homemade English muffins so special!
I like to use these English Muffins when I make my English Muffin Egg Sandwiches. You will also want to try Sourdough English Muffins!
English muffins ingredients
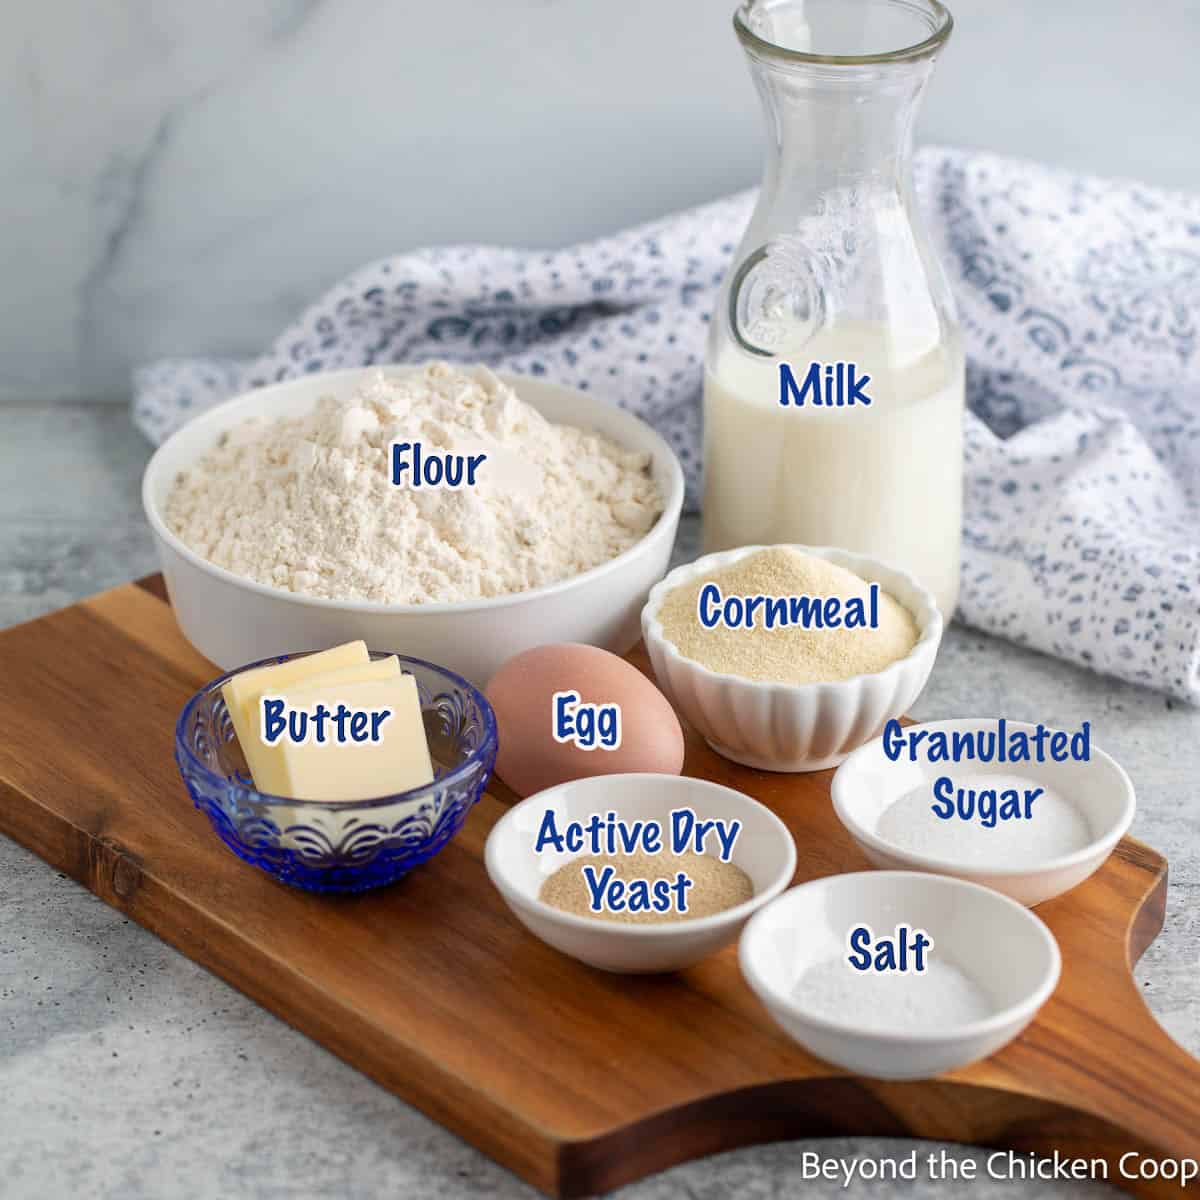
- Flour - Use regular all-purpose flour.
- Milk - I prefer to use whole milk or 2% milk. The milk adds flavor and texture to the dough.
- Yeast - This recipe uses active dry yeast. Instant yeast will work too.
- Butter - I use regular salted butter.
- Egg - The egg enriches the dough
- Sugar - Just a tablespoon of sugar is added which slightly sweetens the dough.
- Cornmeal - Used to help prevent the muffins from sticking to a baking sheet once the muffins are formed. Use fine or coarse cornmeal.
Making English muffins
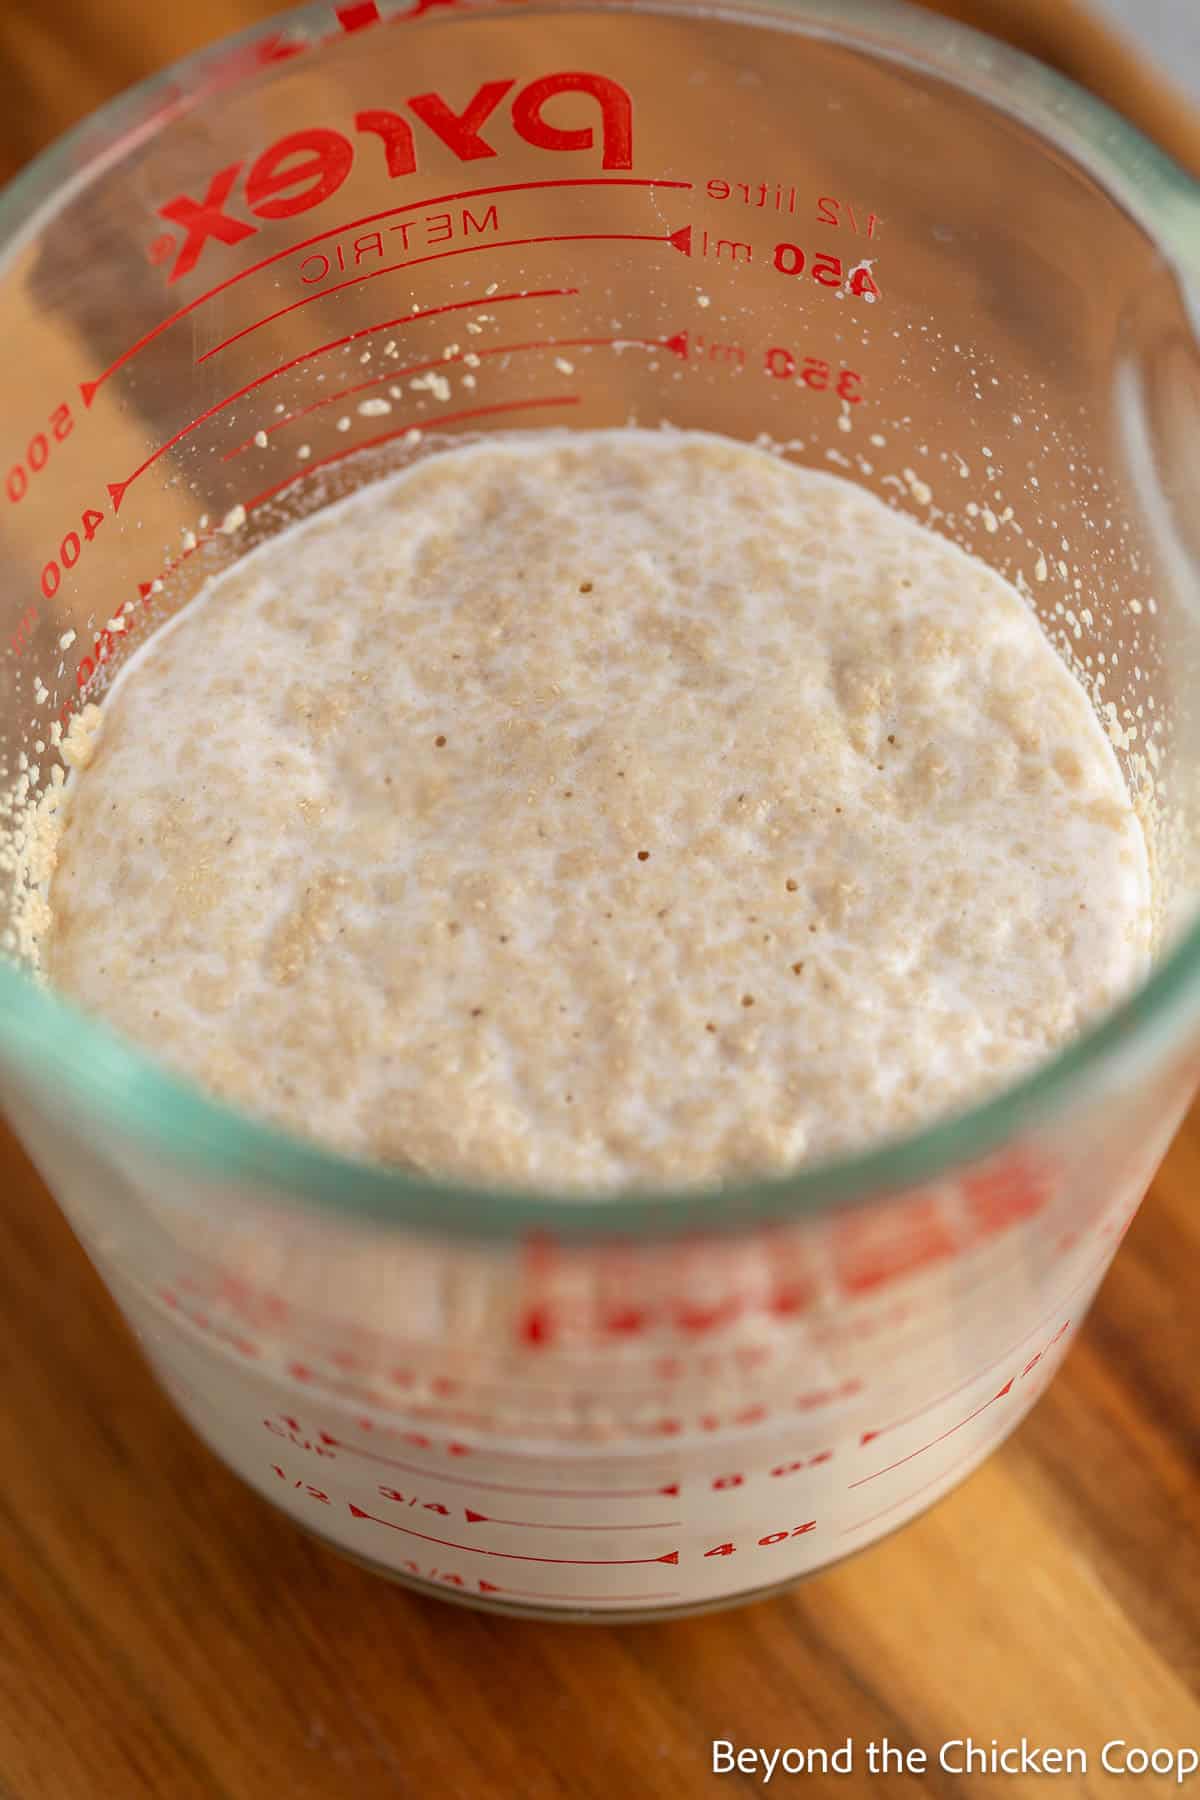
- Proof yeast by combining warm milk, sugar, and yeast together. Wait 5 minutes until the mixture becomes bubbly.
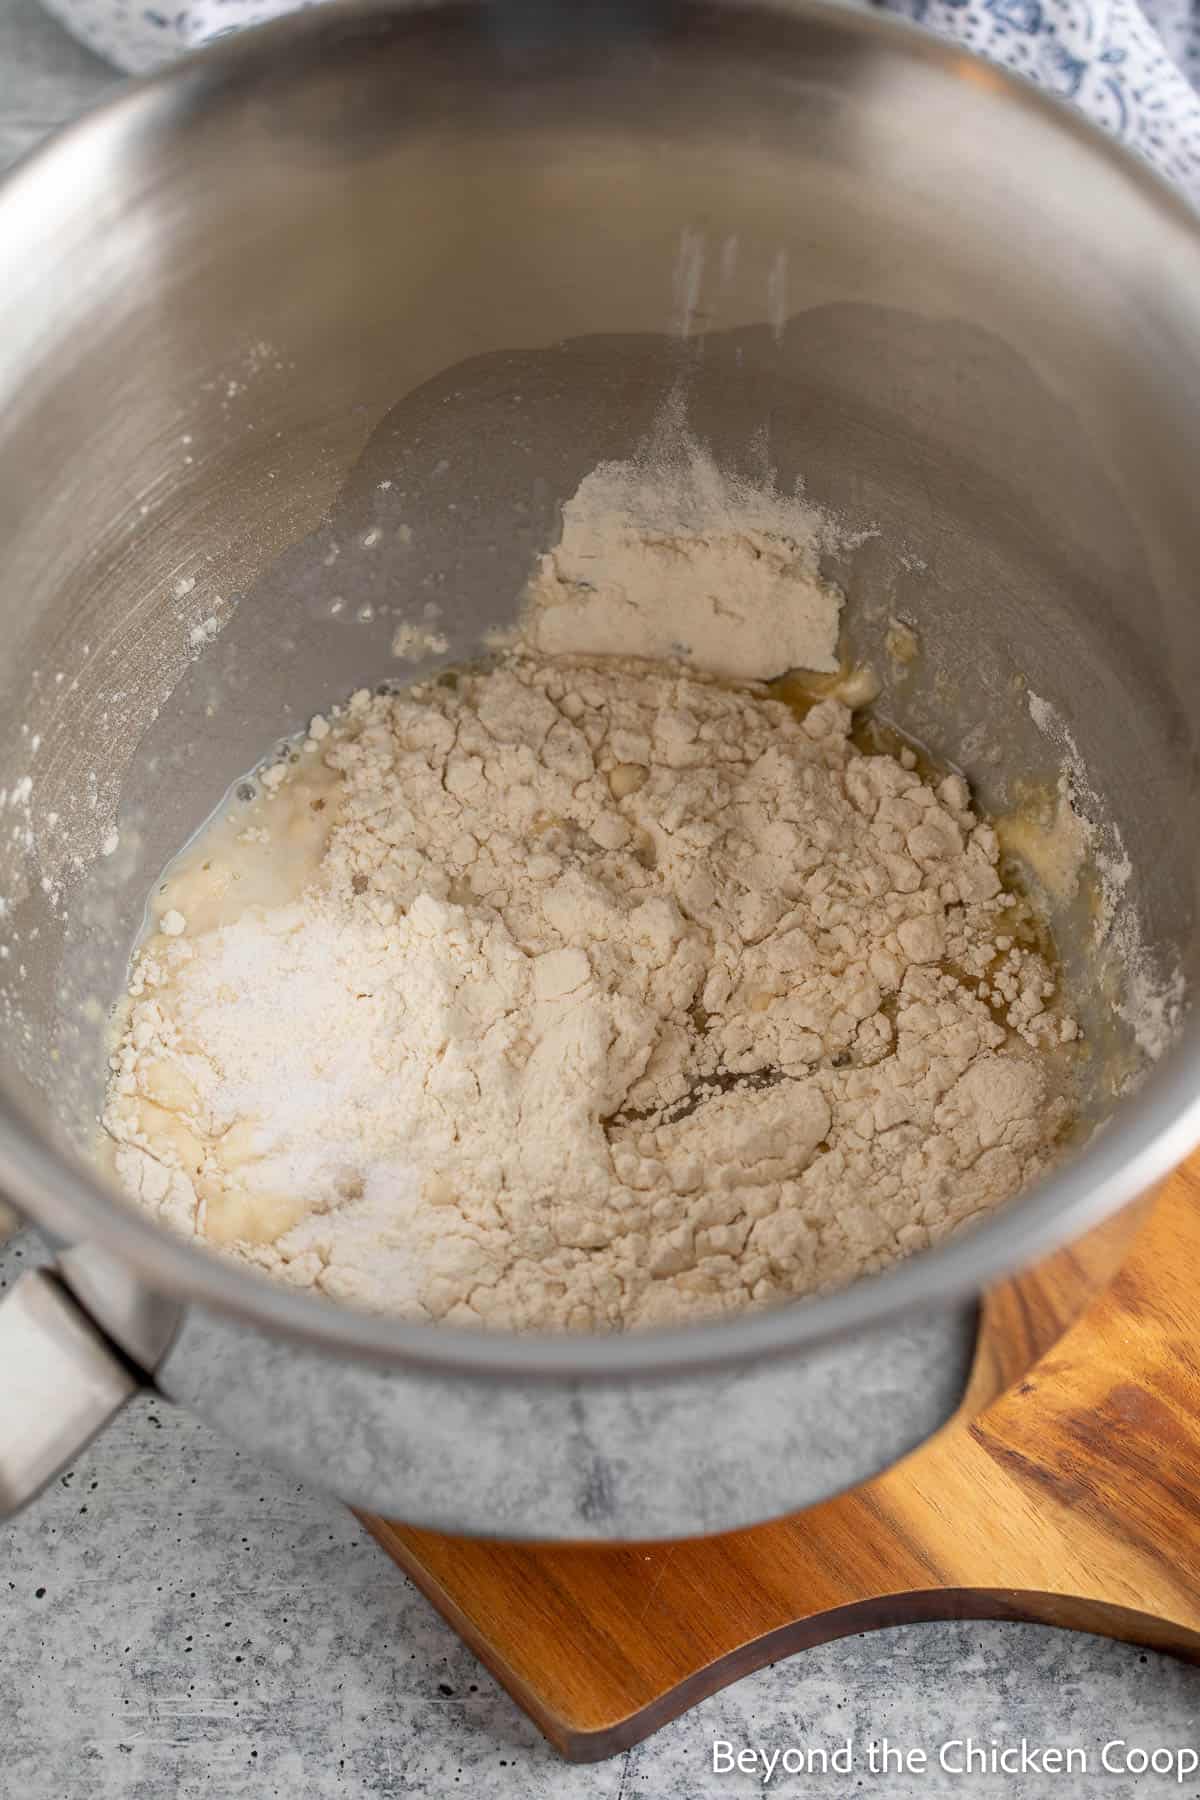
- Pour into a large bowl. Add one cup of flour and combine.
- Mix in egg, sugar and salt.
- Continue adding flour until the dough forms a ball.
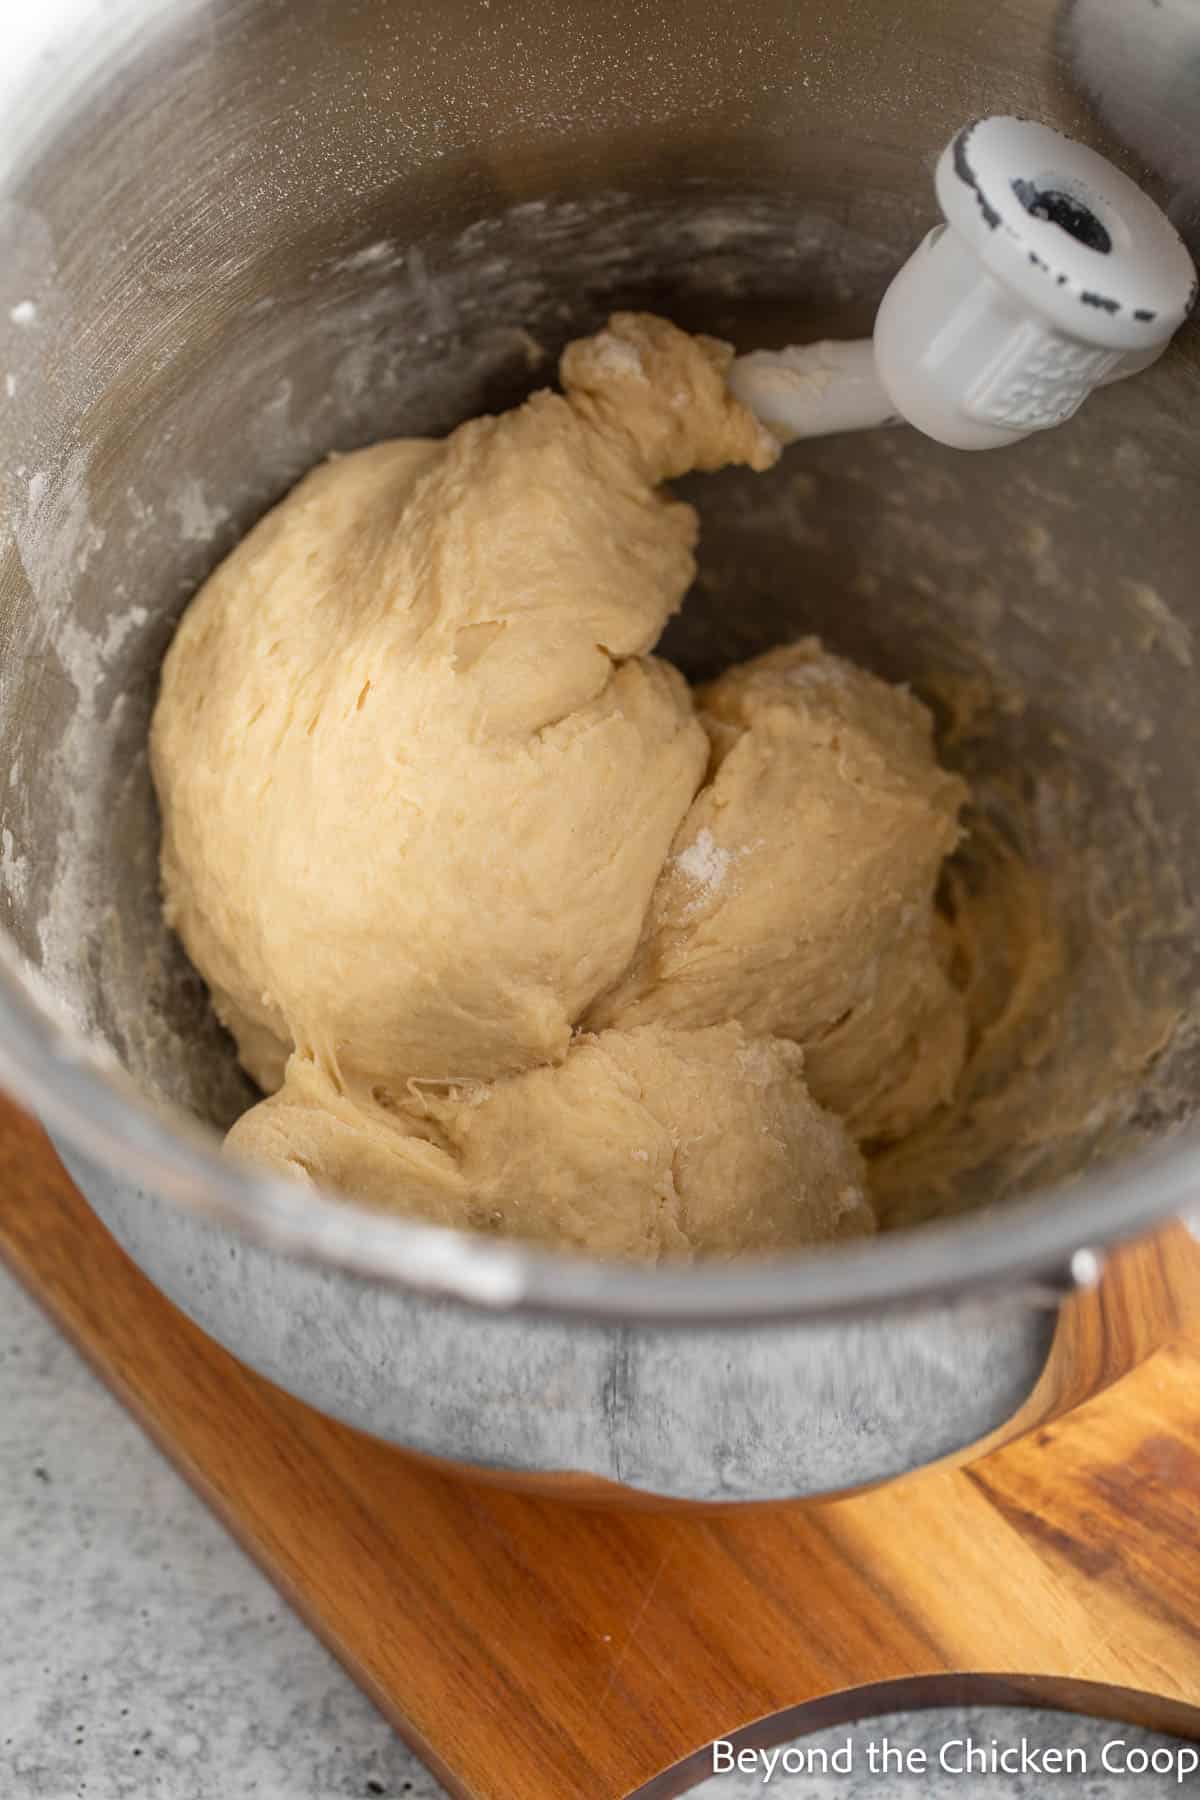
- Knead in mixer for 5 minutes.
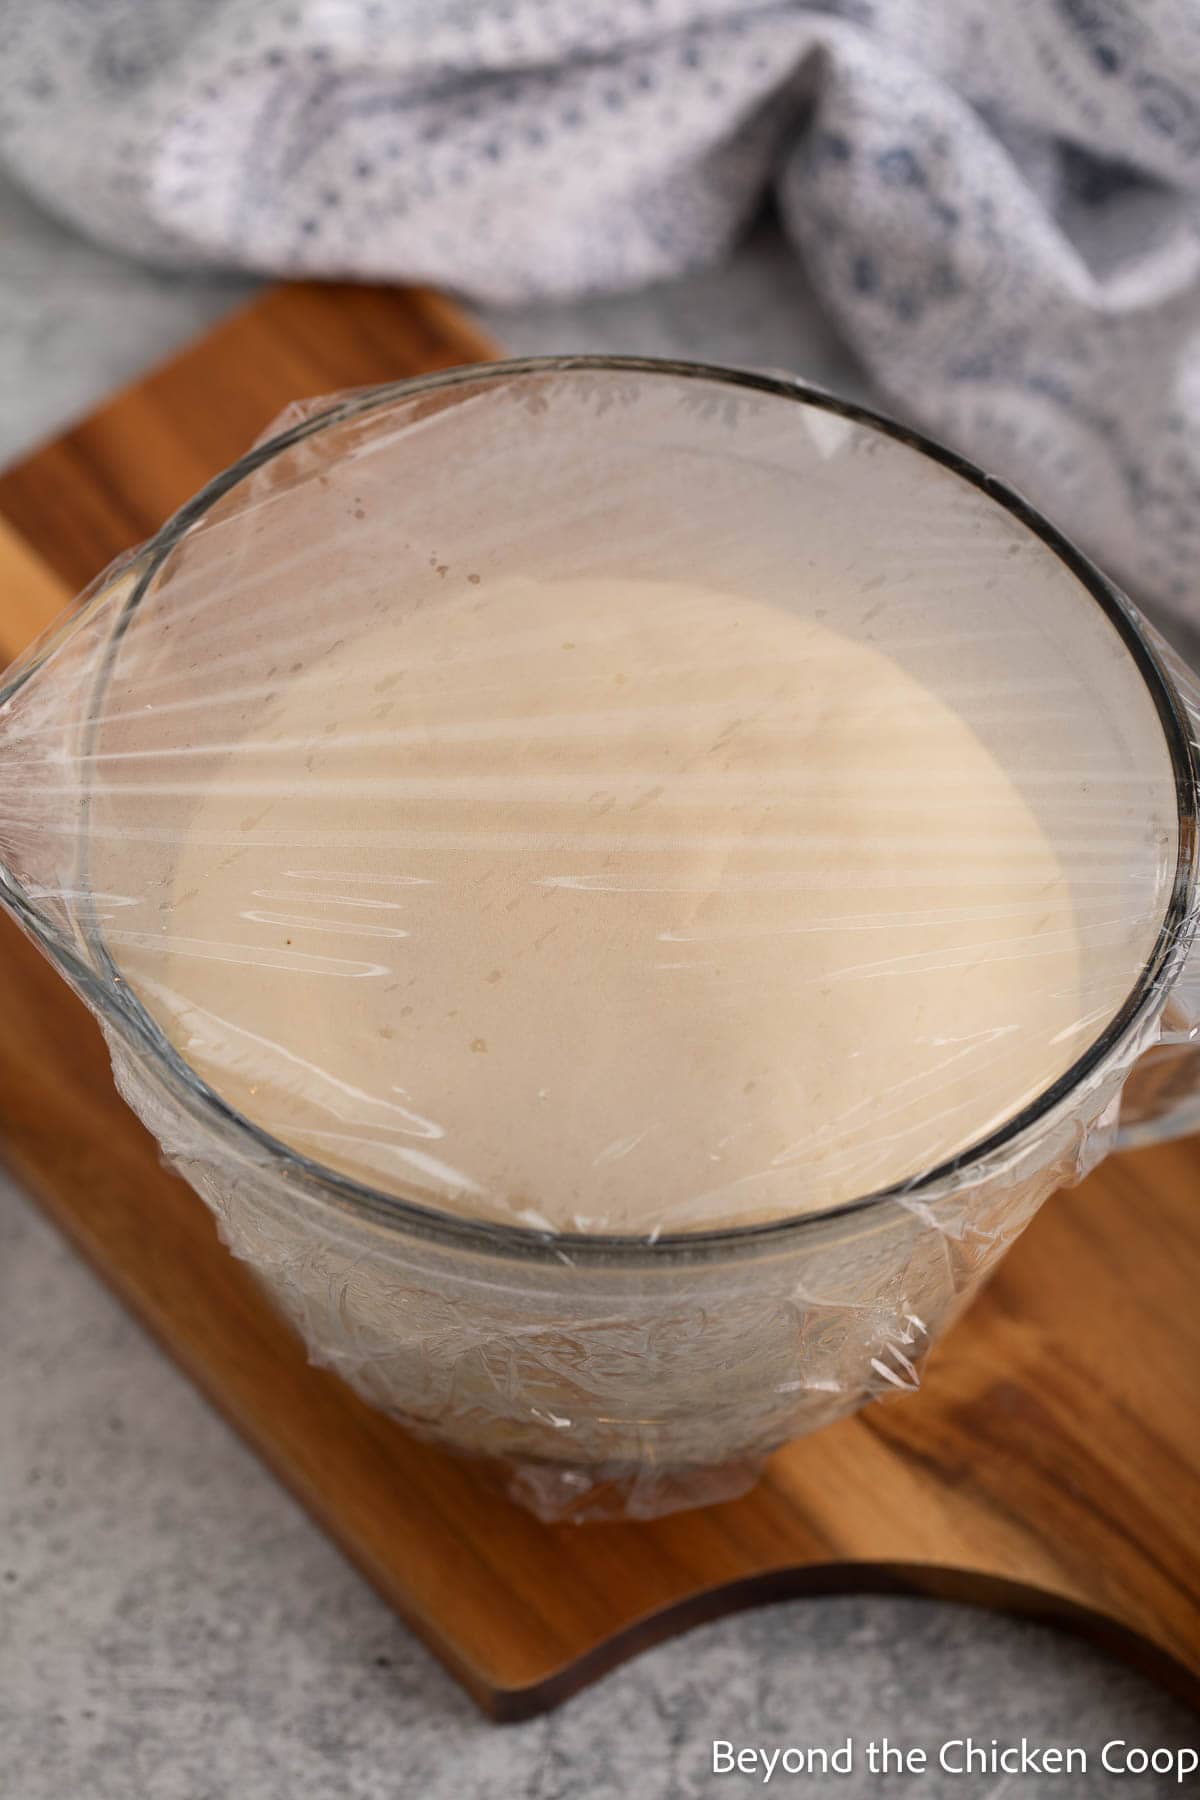
- Place dough in a lightly greased bowl and cover.
- Let rest until doubled in size.
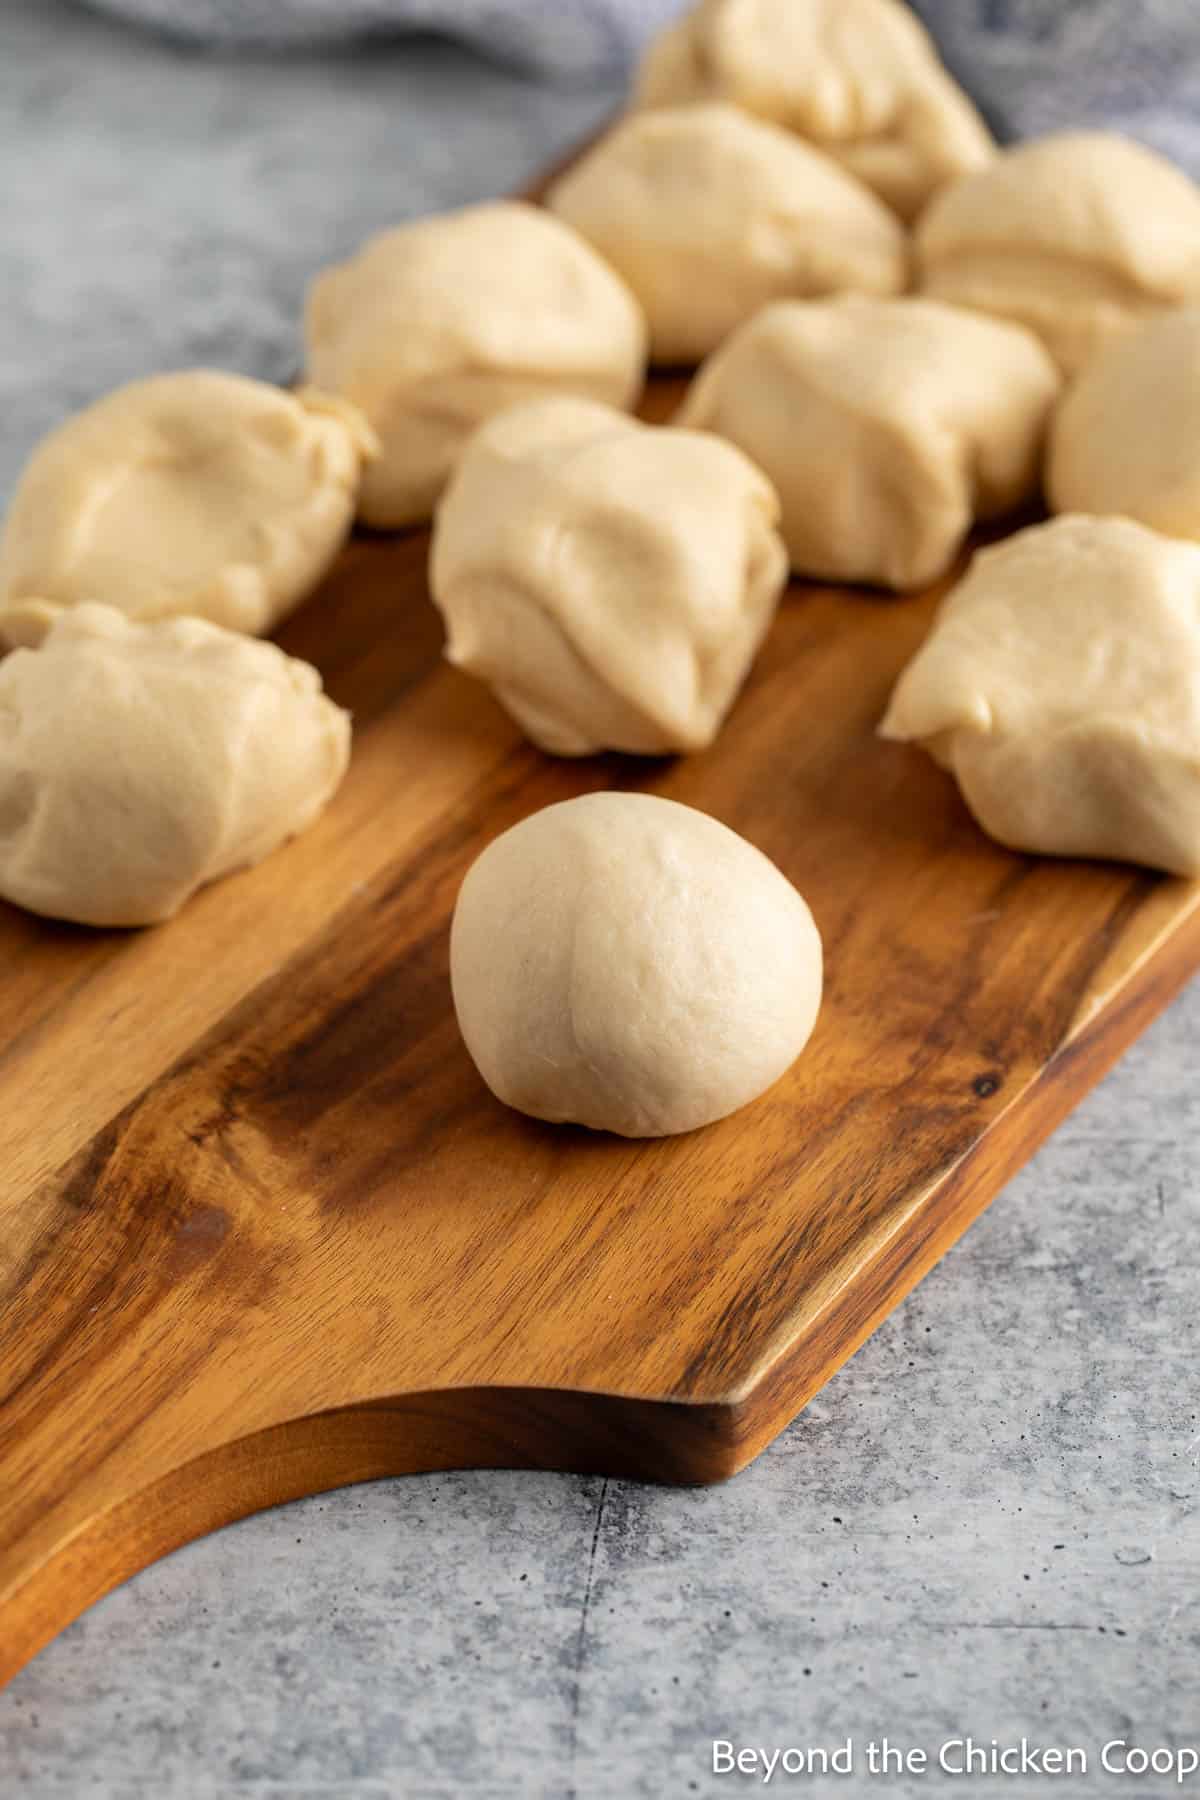
- Divide dough into 12 pieces and form into a ball.
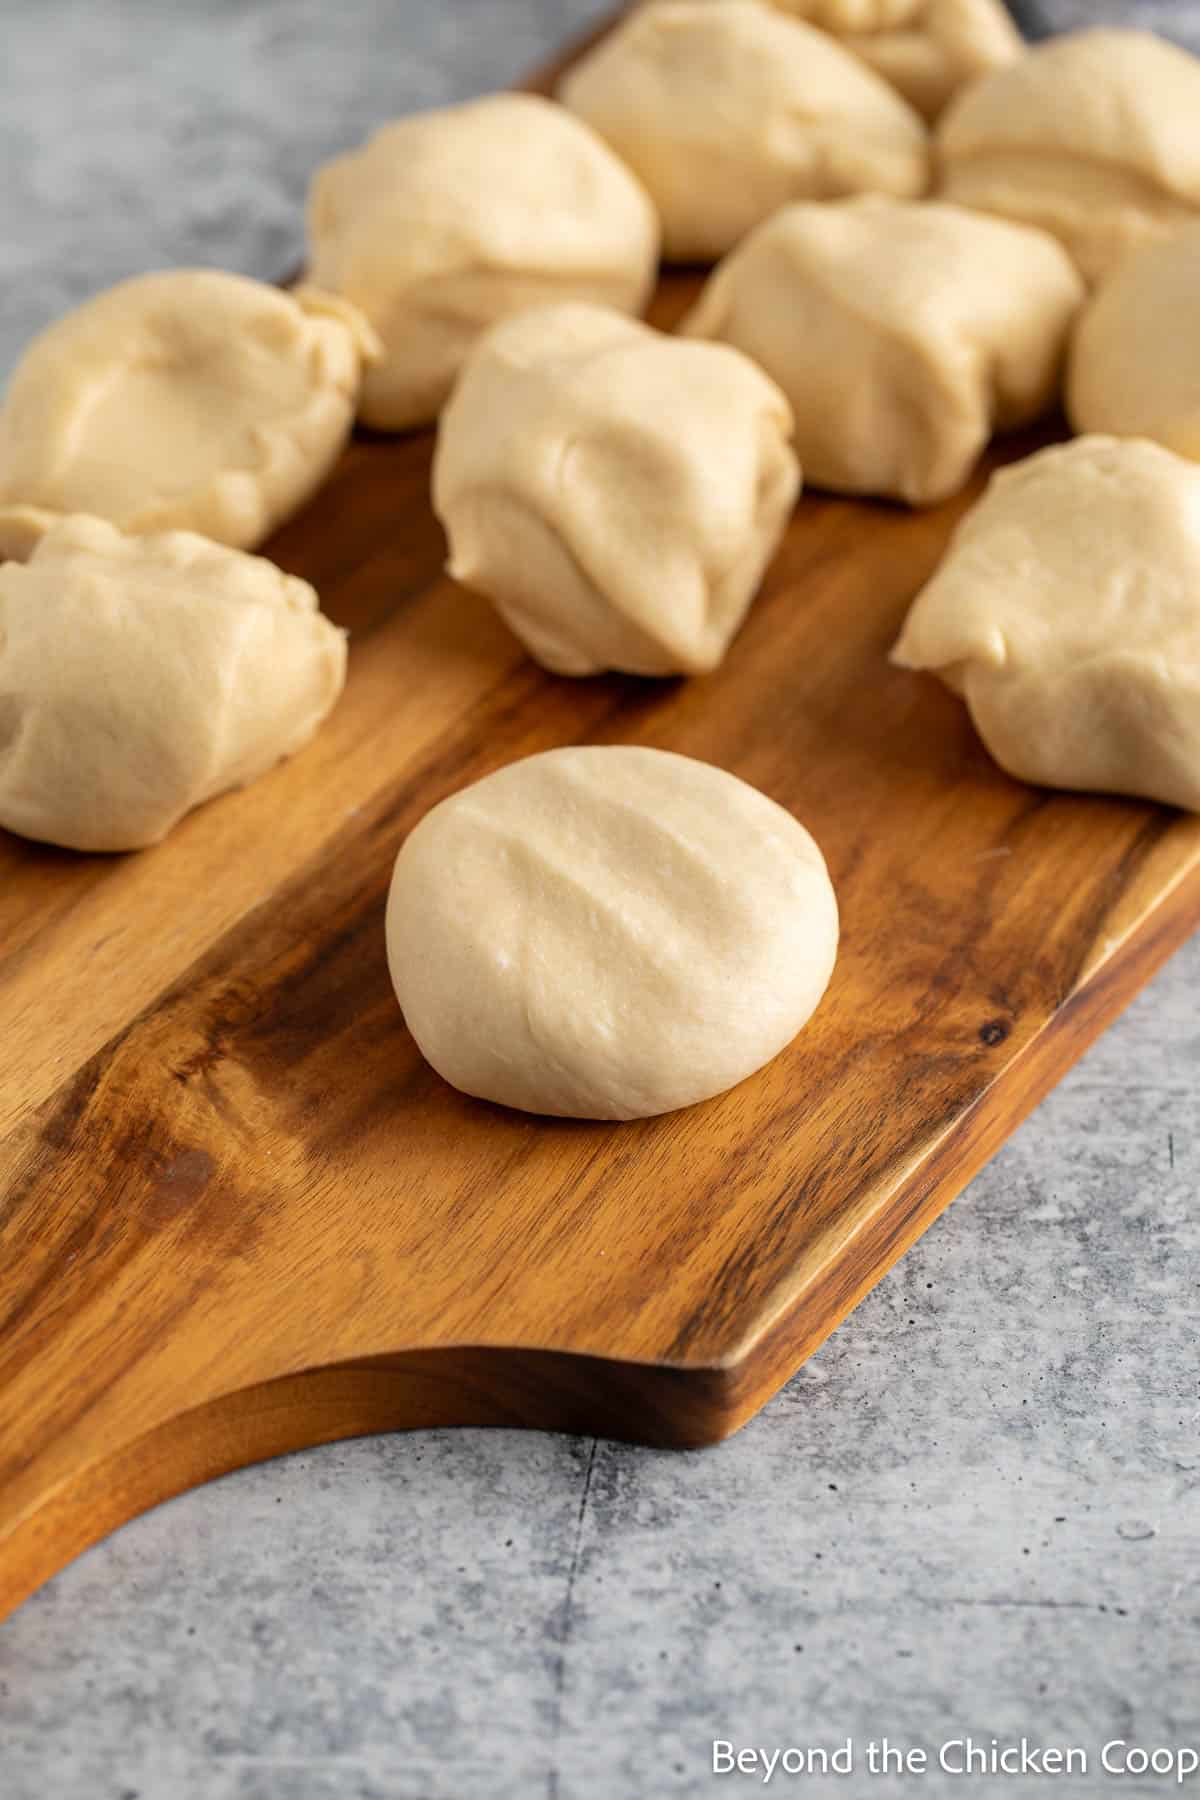
- Flatten each ball with your hands.
- Let the dough rest for 1-2 minutes and flatten again.
- Place on a baking sheet dusted with cornmeal.
- Cover and let rise for 30-45 minutes.
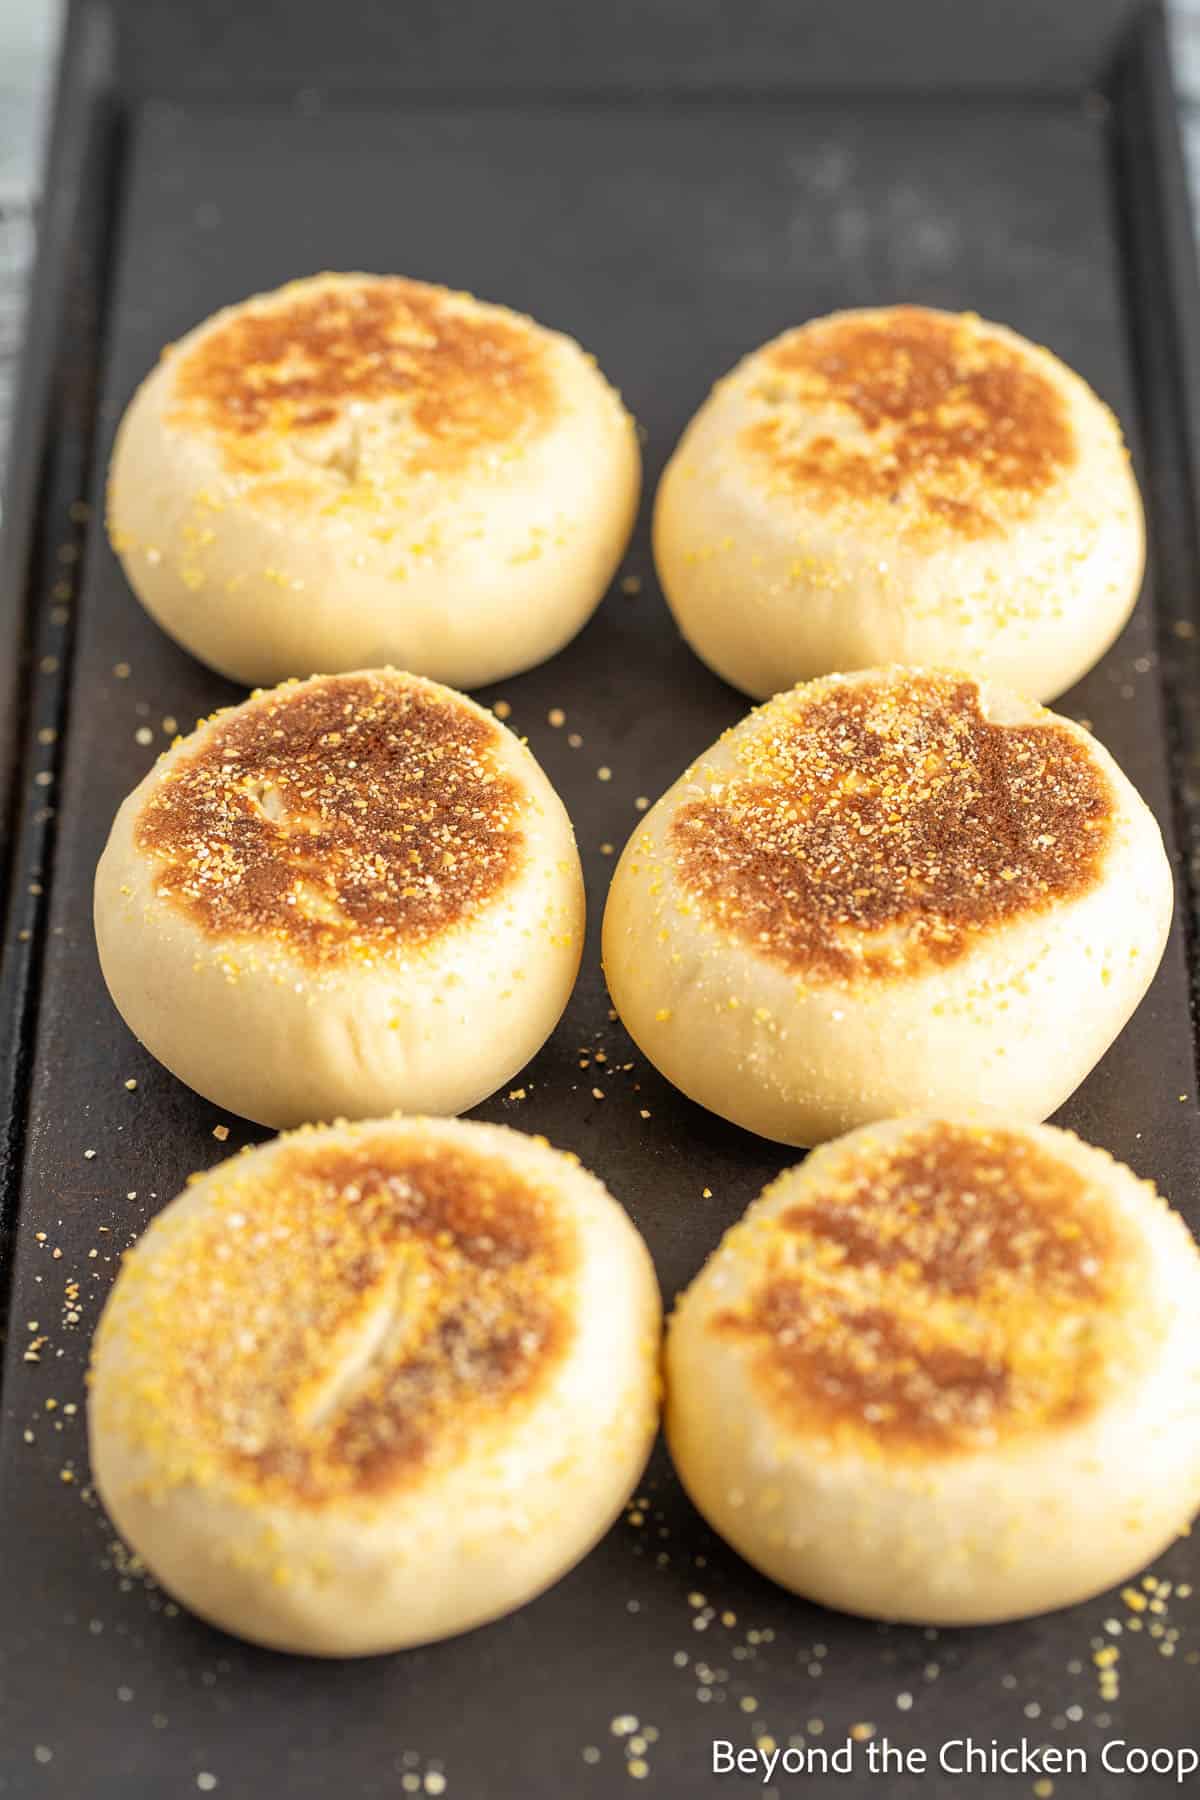
- Cook on a preheated cast iron skillet or griddle over low heat.
- Cook each side for 3-4 minutes until golden. Continue cooking and flipping until the English muffins reach 190-200°F in the center of the muffin.
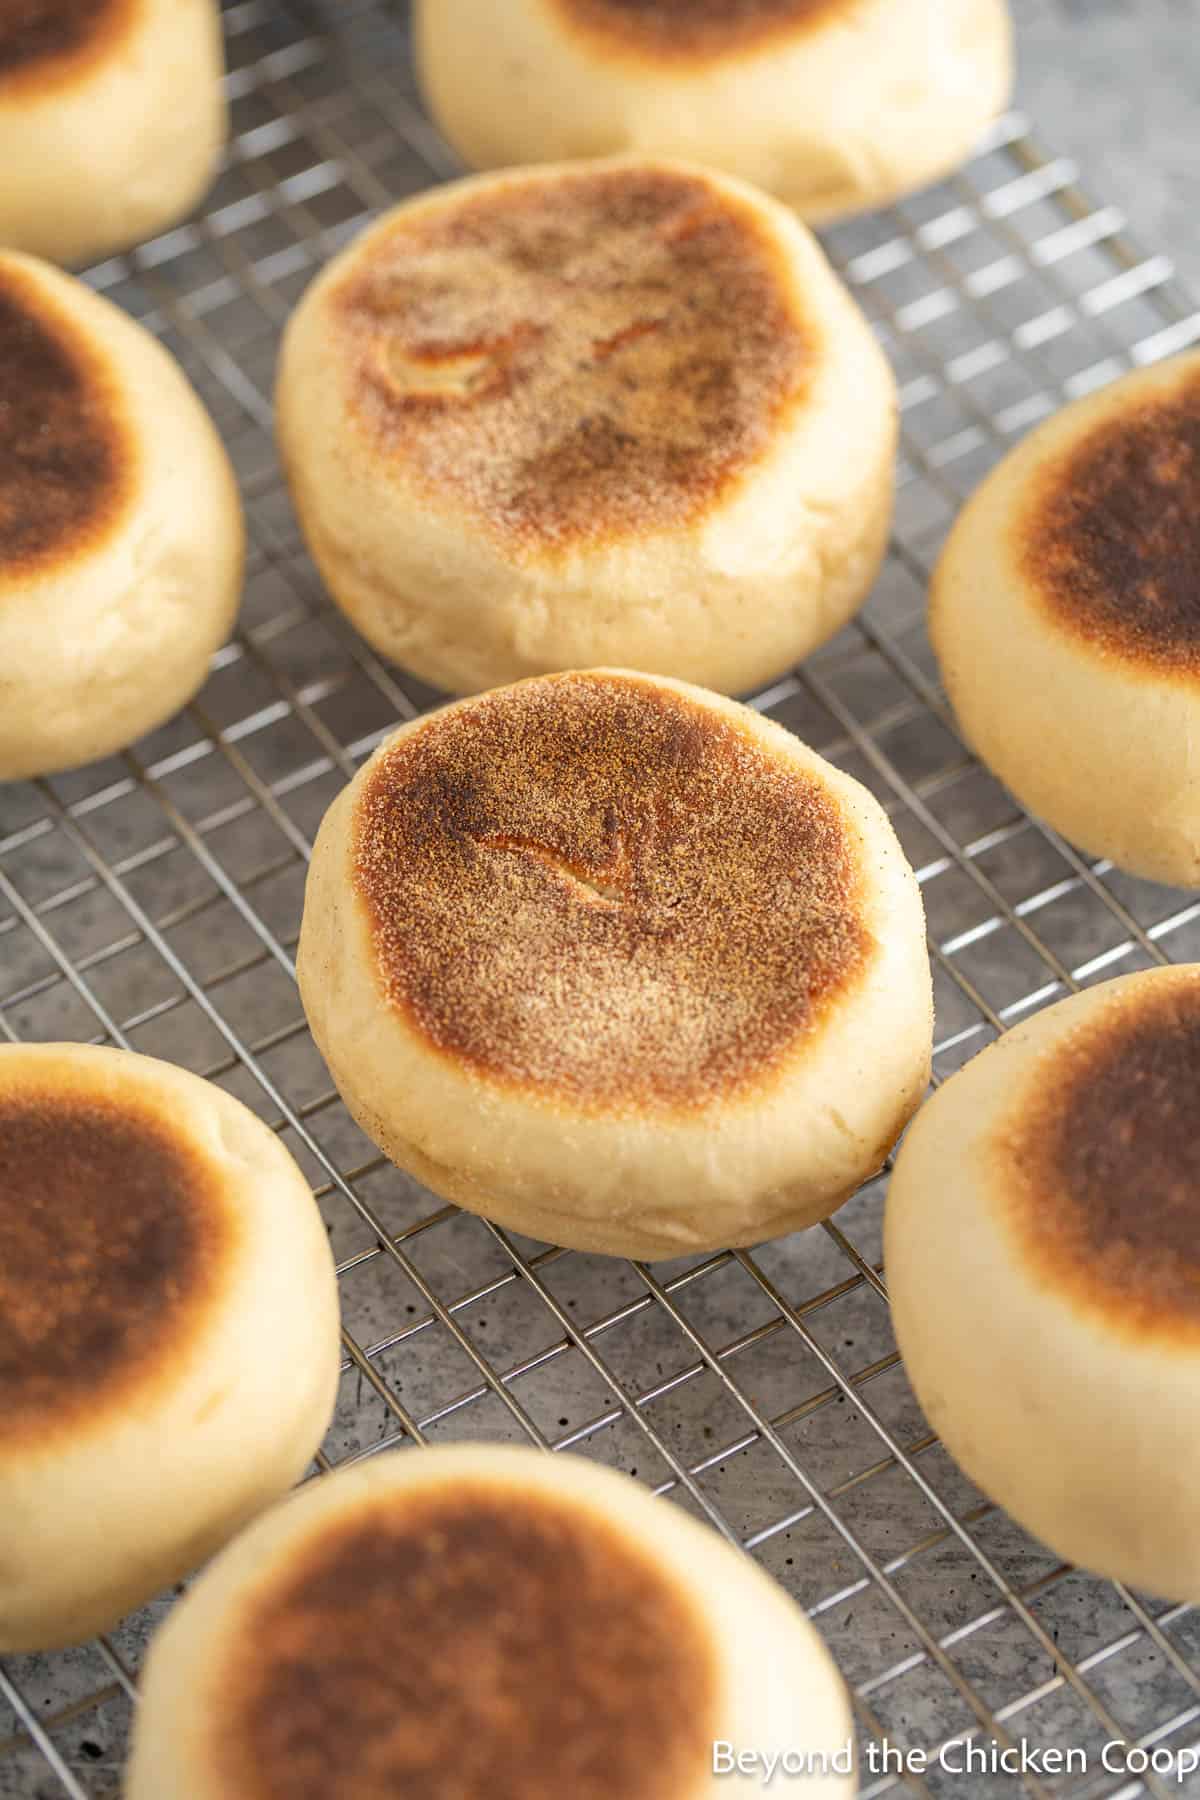
- Cool on a baking rack.
Tips for making English muffins
- Check for Proper Proofing – Before cooking, the muffins should be slightly puffy and pass the "finger dent test"—lightly press the dough, and if the indentation slowly springs back, they’re ready. Underproofed muffins will be dense, while over-proofed ones may collapse when cooking.
- Preheat the Cooking Surface – A consistent, low heat is key. Let your skillet or griddle fully preheat before adding the muffins to ensure even cooking and a well-developed crust.
- Flip Multiple Times for Even Cooking – Instead of flipping just once, turn the muffins every 3-4 minutes to prevent scorching and to cook them evenly. This helps avoid an undercooked center while keeping the crust from getting too dark.
- Use a Digital Thermometer - Test the center of the muffin with a digital thermometer to test if they are fully cooked. The center should reach 190-200°F.
- Cool Completely Before Cutting – Freshly cooked muffins continue to set as they cool. Cutting them too early can result in a gummy texture. For the best interior structure, let them cool for at least 20–30 minutes before splitting with a fork.
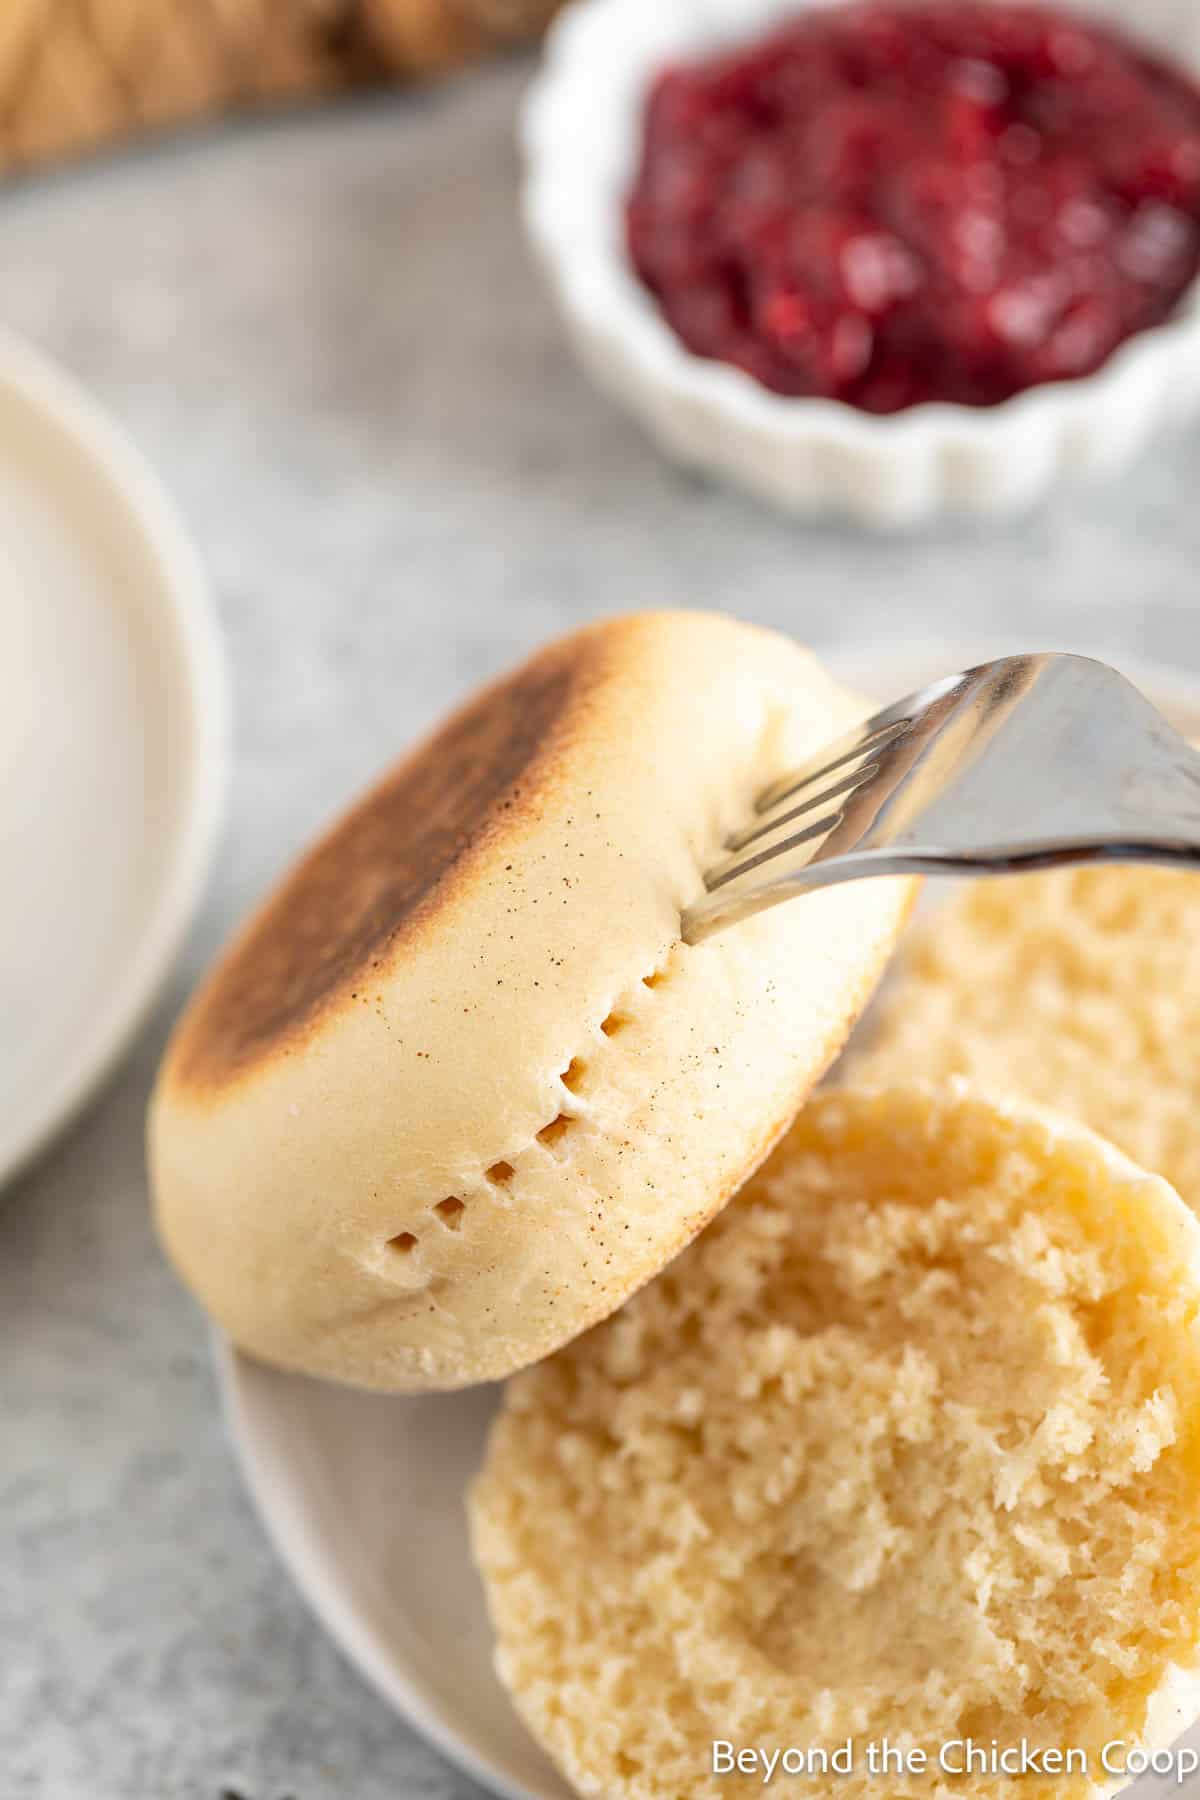
Fork-split English muffins
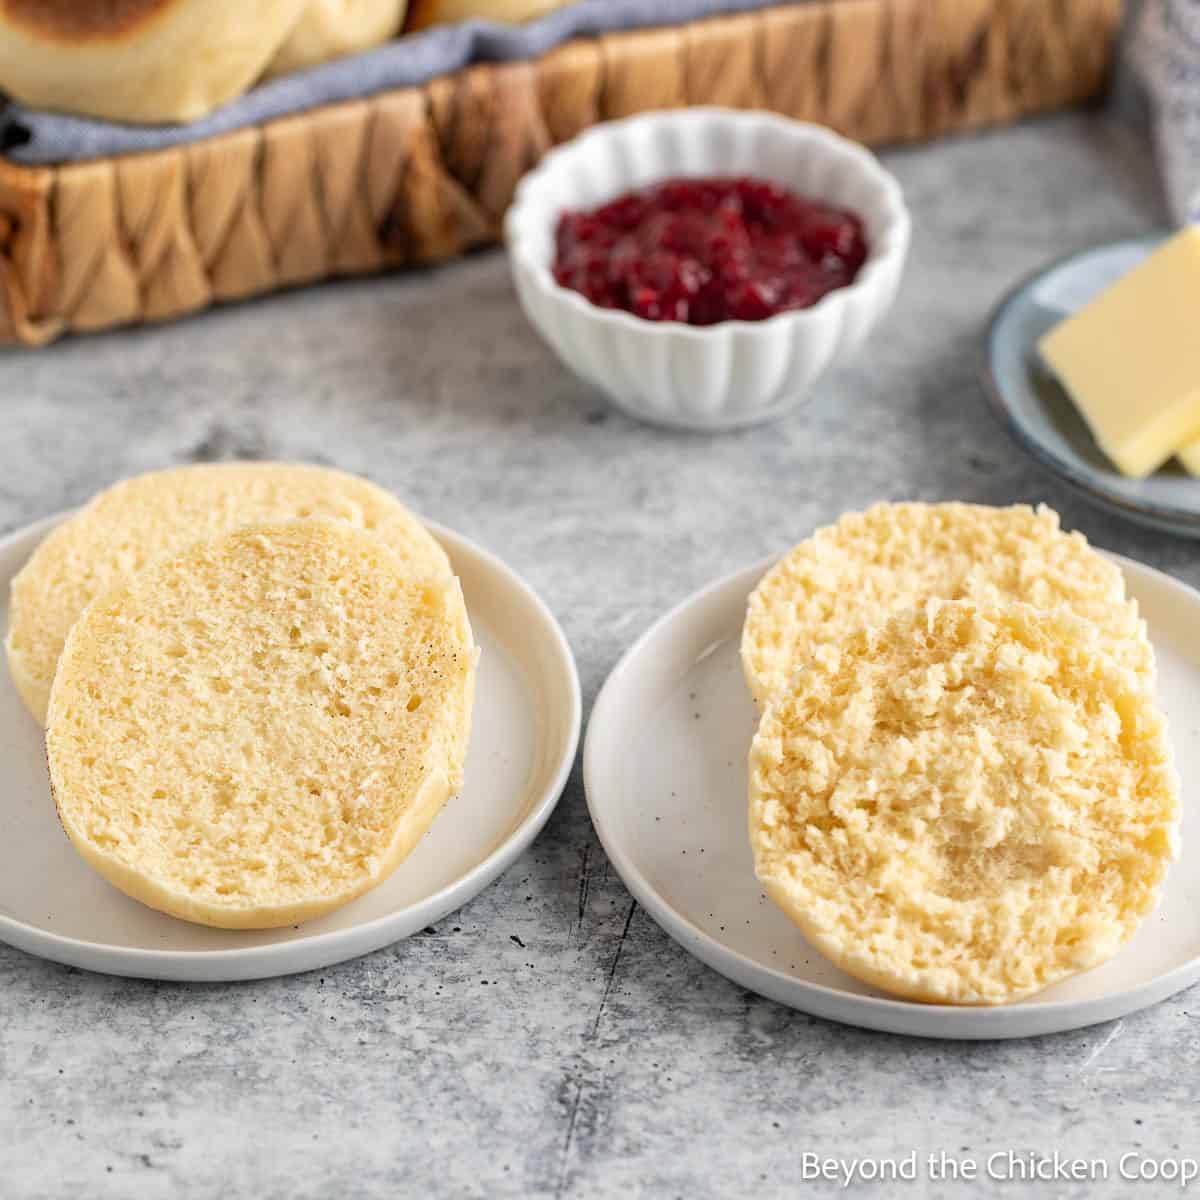
An English muffin can be sliced in half with a knife, but if you want the craggy surface, you'll want to fork-split the muffin.
To split using a fork, simply insert a fork into the outside of the center of the muffin. Continue working your way around the muffin. Once a full circle has been made, use the fork to pry the muffin apart.
Storing English muffins
Storage:
- Allow the muffins to cool completely before storing to prevent condensation from making them soggy.
- Store the muffins in an airtight container at room temperature for up to 3-4 days.
Freezing:
- To freeze, split the muffins in half before freezing so you can easily toast them straight from the freezer.
- Arrange the split muffins in a single layer on a baking sheet and freeze for about 1-2 hours until solid.
- Once frozen, transfer the muffins to a zip-top freezer bag or airtight container. They’ll keep for up to 3 months. When ready to enjoy, toast straight from the freezer for a warm, freshly baked feel.
More delicious bread recipes
If you love making homemade bread, you'll also want to check out these recipes:
- Honey Oat Bread
- Multigrain Bread
- Homemade White Bread - perfect for a beginner bread maker
- Apple Cinnamon Babka
- Cinnamon Rolls
If you make this recipe, I’d love to hear about it! Leave a comment below and snap a picture and tag me on Instagram @beyondthechickencoop
Check out all my homemade bread recipes!

Homemade English Muffins Recipe
Equipment
Ingredients
- 1 Cup Milk (Warmed to 100-120°F)
- 2 ¼ teaspoons active dry yeast (or 1 package yeast)
- 1 tablespoon sugar
- 2 tablespoons butter (melted)
- 1 egg
- 1 teaspoon salt
- 3 - 3¼ cups flour
- cornmeal for dusting
Instructions
- Combine milk, yeast and sugar. Let sit for 5 minutes until bubbly. Pour into a bowl in a stand mixer.1 Cup Milk, 2 ¼ teaspoons active dry yeast, 1 tablespoon sugar
- Stir in one cup of flour and then add butter, egg, and salt.2 tablespoons butter, 1 egg, 1 teaspoon salt, 3 - 3¼ cups flour
- Mix in flour ½ cup at a time until dough comes together and forms a ball. You might not add the full amount of flour.
- Knead for 5 minutes with machine.
- Place dough in a large, greased bowl. Cover and let rise until doubled.
- Divide dough into 12 pieces. Form into balls, and flatten. Place on a baking sheet sprinkled with cornmeal.cornmeal for dusting
- Cover and let rise for 30-45 minutes.
- Preheat a cast iron skillet over low heat. Cook muffins for 3-4 minutes per side. Flip muffins as needed during cooking to avoid burning. Continue cooking until fully cooked. Test a muffin with a digital thermometer. The center of the muffin should be between 190-200°F.
- Place on a baking racket to cool.
- Once cool, split muffins with a fork.
Notes
- Check for Proper Proofing – Before cooking, the muffins should be slightly puffy and pass the "finger dent test"—lightly press the dough, and if the indentation slowly springs back, they’re ready. Underproofed muffins will be dense, while over-proofed ones may collapse when cooking.
- Preheat the Cooking Surface – A consistent, low heat is key. Let your skillet or griddle fully preheat before adding the muffins to ensure even cooking and a well-developed crust.
- Flip Multiple Times for Even Cooking – Instead of flipping just once, turn the muffins every 3-4 minutes to prevent scorching and to cook them evenly. This helps avoid an undercooked center while keeping the crust from getting too dark.
- Use a Digital Thermometer - Test the center of the muffin with a digital thermometer to test if they are fully cooked. The center should reach 190-200°F.
- Cool Completely Before Cutting – Freshly cooked muffins continue to set as they cool. Cutting them too early can result in a gummy texture. For the best interior structure, let them cool for at least 20–30 minutes before splitting with a fork.
Nutritional Disclaimer:
Nutritional information is provided as a courtesy and should only be construed as an estimate rather than a guarantee. To obtain the most precise nutritional information in a provided recipe, you should calculate the nutritional information with the exact ingredients you are using when preparing the recipe using your preferred nutrition calculator.
Nutrition
This recipe and post were updated in March 2025 with updated photos, clearer instructions, and revisions to the recipe.
Trish says
I just might make these with my famous biscuit and gravy recipe!
Kathy says
Just think how impressed your boys will be!
Fran @ G'day Souffle' says
Gosh, it looks like there is a real technique to making these muffins- you have to be a real 'flip artist'! That jam looks great- I think I'll add a dollop of whipped cream on top!
Kathy says
Whipped cream! Now that would take it to a whole new level!
Meghan | Fox and Briar says
Oh, yum! I love english muffins! I am dreaming of a toasty, buttery english muffin right now. I have only made them once and I think I messed them up by dumping too much salt in. It was a tragedy! These look fantastic!
Anu-My Ginger Garlic Kitchen says
What a beautiful looking breakfast, Kathy. English muffins look super yummy!
Kathy says
They are super yummy!
Geraldine | Green Valley Kitchen says
Wow - those looks so great, Kathy! I've always wanted to make English muffins but never got around to it - will have to try them soon.
Kathy says
No reason to wait any longer! Give them a try!
Laura ~ Raise Your Garden says
Kathy, these look absolutely fabulous! My 5-year-old is peering over my shoulder (ok munching on Halloween candy) and still thinks your muffins look yummy. And said so! She's a tough critic too, lemme tell ya! I love the craggy surface and crinkly taste of English muffins and have never even considered making my own. I should! Or just pop over to your place to munch on them. Just kidding! Ok, not really.
Kathy says
I love your 5 year old! And she obviously has fabulous taste!
Cailee August says
Oh my word!! YUM!! These look amazing!! My mum LOVES english muffins and would love these...sadly I'm gluten intolerant... otherwise I'd gobble them up myself!! Lovely recipe!
Kathy says
Better make some for you mum!
Kristine | Kristine's Kitchen says
I've been wanting to try making homemade english muffins for so long, and you've convinced me that I just need to do it! You make these sound SO easy!
Kathy says
They were fun to make too! And then there's the bonus of them being delicious to eat!
Kathleen | Hapa Nom Nom says
I LOVE English muffins! My mother used to toast them and put a few slices of cheese on them for us before shoving off to school. To this day, I still love them just like that 🙂 I have though, never made them myself! I had no idea they weren't baked and they were so easy to make! I definitely gotta give these a try!
Kathy says
That sounds like the perfect portable breakfast meal!
Cheyanne @ No Spoon Necessary says
Heck yes to homemade english muffins!! These look fabulous my dear! Nooks and crannies in all the right places! 😉 Cheers!
Kathy says
Thanks, Cheyanne!
Ami@NaiveCookCooks says
Kathy I love good english muffins for breakfast especially on weekends! These look perfect!
Kathy says
These are perfect for a weekend breakfast!