
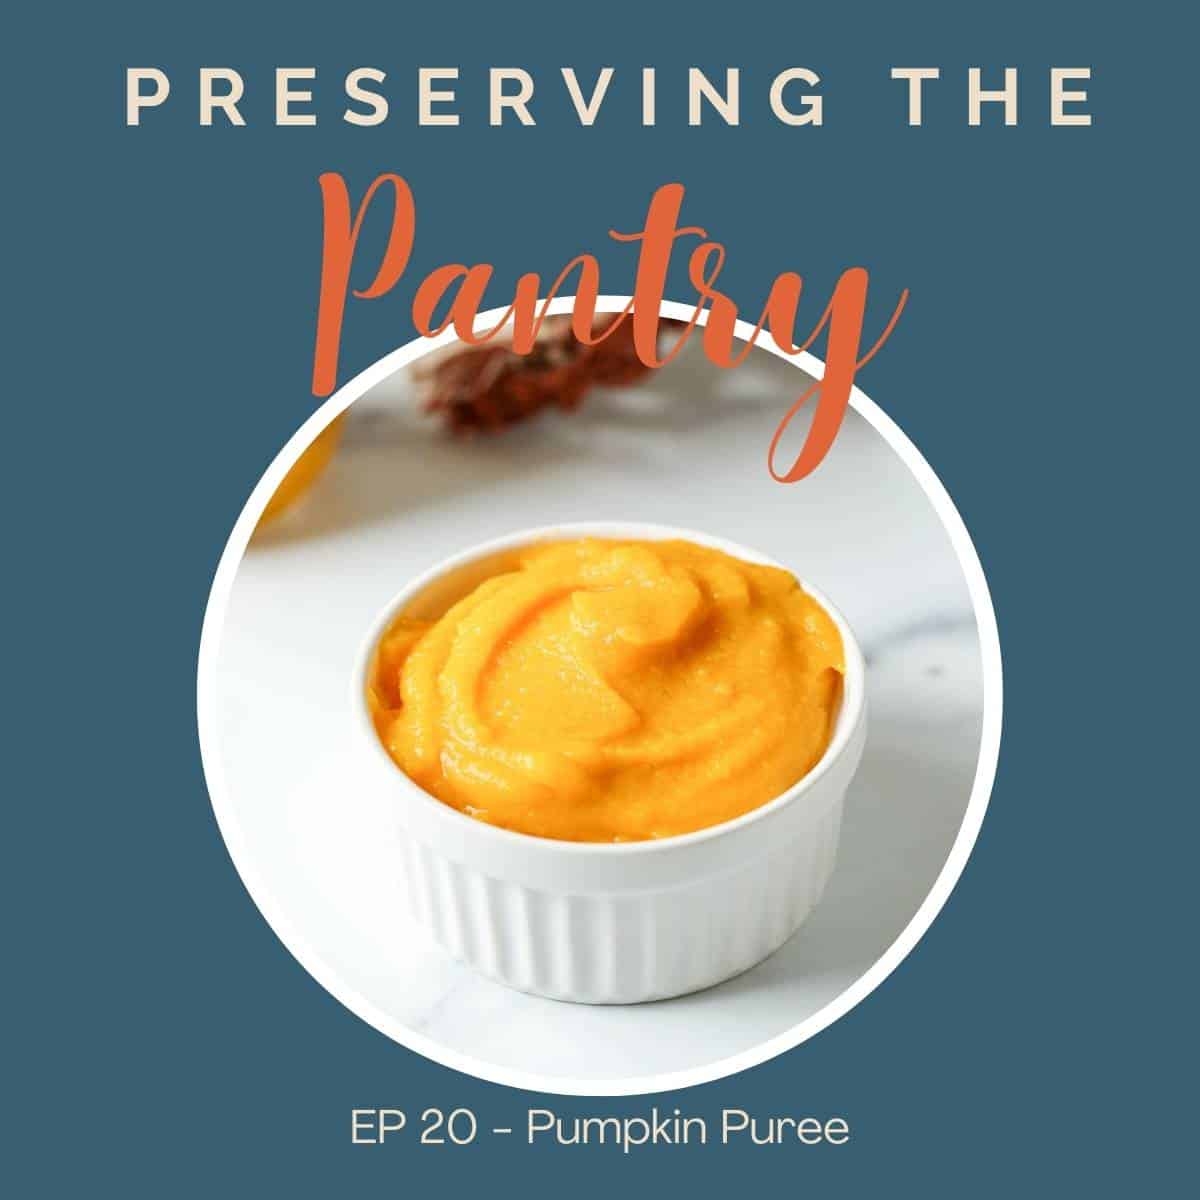
In episode 20, Kathy shares her method for making pumpkin puree.
Play the episode
In this episode you'll learn:
- What type of pumpkins are perfect for making pumpkin puree
- Steps to bake the pumpkins
- Method for pureeing the pumpkin
- How to store the puree
- Ways to use pumpkin puree
Where to listen to the podcast
Listen to this episode on iTunes, Spotify, Amazon Podcast, or your favorite podcast player. Or scroll down to read a full transcript.
If you love this podcast, I’d love to hear about it! Leave a comment below and hop over and leave a comment on Instagram @preservingthepantry!
Transcript
Hello everyone. Welcome back to the pantry. Today we are going to be making pumpkin puree. Now, Halloween is done. You're probably thinking pumpkin season is done, but that isn't true for this recipe.
You're not going to be using the pumpkins that you would use for carving for Halloween. Those are not quite sweet enough and are more fibrous than other types of pumpkins for making pumpkin puree.
You really want to find the smaller pumpkins. You'll look for a sugar pie pumpkin or a different variety that's grown just for making pumpkin puree. I can still find these at my local grocery store. In the produce section, pick up a couple of different ones.
They vary in size. But I usually try to do anywhere between two and four pumpkins when I'm making the puree. It's not any more difficult to cook all of those at once, and then I freeze my extra puree to use all year long. So what you'll need for this recipe are your pumpkins. Again, find the smaller size pumpkins and wash those off really well.
Pumpkins grow on the dirt and we want to make sure that we are removing any dirt that may still be on there. I just wash them off with really good, cool water. Preheat your oven to 350 degrees.
I like to cook my pumpkins whole. You could slice them in half and scoop out the seeds and then place those, the skin side up on your baking sheet and bake them that way.
But I like to leave the pumpkin whole and one of the reasons is it's just easier. You don't have to worry about trying to cut through that tough pumpkin. You don't have to scoop the seeds out while they're still really difficult to remove. And so I leave them whole. You can choose the way you want to do it.
I do take a sharp knife and I poke four to five different slits around the pumpkin. As that pumpkin is heating and cooking. You don't want it to explode in the oven, so it needs a place to vent out the excess moisture and steam that's going to develop inside that. So pierce your pumpkin in four to five different places.
Place it on a baking sheet and put it into a preheated 350 degree oven. It will take anywhere between 45 to 60 minutes for your pumpkin to be cooked through. It's going to vary depending on the size of your pumpkins. What I do at 45 minutes is I open and up my oven. I use a knife, and I just poke right into the pumpkin.
If it's soft and little resistance, your pumpkin is done. If you feel a bit of a resistance, let it cook for another 5, 10, 15 minutes. Once your pumpkins are cooked through, remove them from the oven and let them cool. Once they're cool, they're so much easier to handle, so I let them cool. Then it's really easy to clean up these pumpkins.
I grab onto the stem and just pull it off. Cut my pumpkin in half, scoop out the seeds. You can use those for something if you'd like, or I just feed them to my chickens. And then you can literally just pull that skin right off. You can also use your knife to help slice it off. I then cut my pumpkin into cubes and add it into a food processor.
Once your food processor is full, you're going to puree it until that pumpkin is fully smooth. You want it just baby food smooth. Sometimes I do have to stop and push down the pumpkin mixture a little bit because it may get stuck up on the sides, and so you're looking for a very smooth.
Now pumpkin has a lot of liquid in it, and so once you're done with this, I put the puree into a fine mesh strainer and put it over a bowl, and I just let it sit there.
Sometimes I come back 30 minutes later or an hour later, you'll find that a lot of the liquid has tripped out of the pumpkin. You're going to put the puree into a container and it's ready to use just refrigerate. And use it within a week, or you can freeze it and then that pumpkin puree is ready for you at any time.
It's best to use that within six months, but it's not going to go bad. It just may lose some of its freshness or may start to get some ice crystals developed in the pumpkin puree. Just pull it out, let it thaw, and it's good to go. When I freeze my pumpkin puree, I will often freeze it in one cup containers, and that makes it really easy to pull out just the amount that I need.
I freeze them in small plastic containers, and then I take them, once that's fully frozen, I take it out of the freezer. I bang those on the counter to remove the frozen pumpkin from those containers, and then I pop them into a Ziploc bag.
Some of the ways that I use my pumpkin puree is pumpkin apple muffins, which are perfect for fall. They have fresh apples, the pumpkin puree, and a crumble topping. They're a great muffin for breakfast.
I also make pumpkin waffles. They have the warm pumpkin pie, spices of cinnamon and nutmeg, as well as the pumpkin puree. You can top that with just maple syrup or even a bit of whipped cream with the spices in it.
Or of course you can make your pumpkin pies. I have a great recipe for pumpkin pie bars you'll want to check out.
So that's it for making pumpkin puree. Give it a try. It's well worth making your own pumpkin puree.
Thanks for listening, and be sure to tune in again next week for more episodes of Preserving the Pantry.
Leave a Reply