Step-by-step directions on how to use a pressure canner to preserve chicken stock and make it shelf stable.
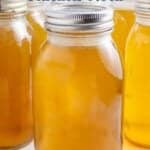
Canning chicken stock is economical and allows you to control the ingredients.

Making and canning your own stock
Making your own chicken stock or broth isn't difficult. I often make my own. Sometimes I use a whole chicken and sometimes I use the leftover bones from a roasted chicken or turkey.
The results are always amazing. I like knowing exactly what goes into my food and making your own means you're in control of the ingredients.
Once your stock is made you can use it all right away, freeze it or can it using a pressure canner.
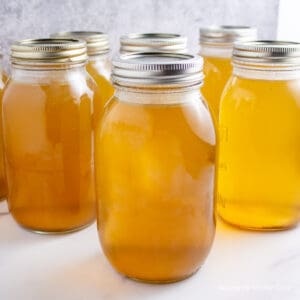
Canning your chicken stock means your stock is able to be stored at room temperature and is ready to use anytime you need it. It does take a bit of time to can the stock, but once done it's so easy to just grab a jar at dinner time and add it to a recipe.
This method also works with homemade turkey broth.
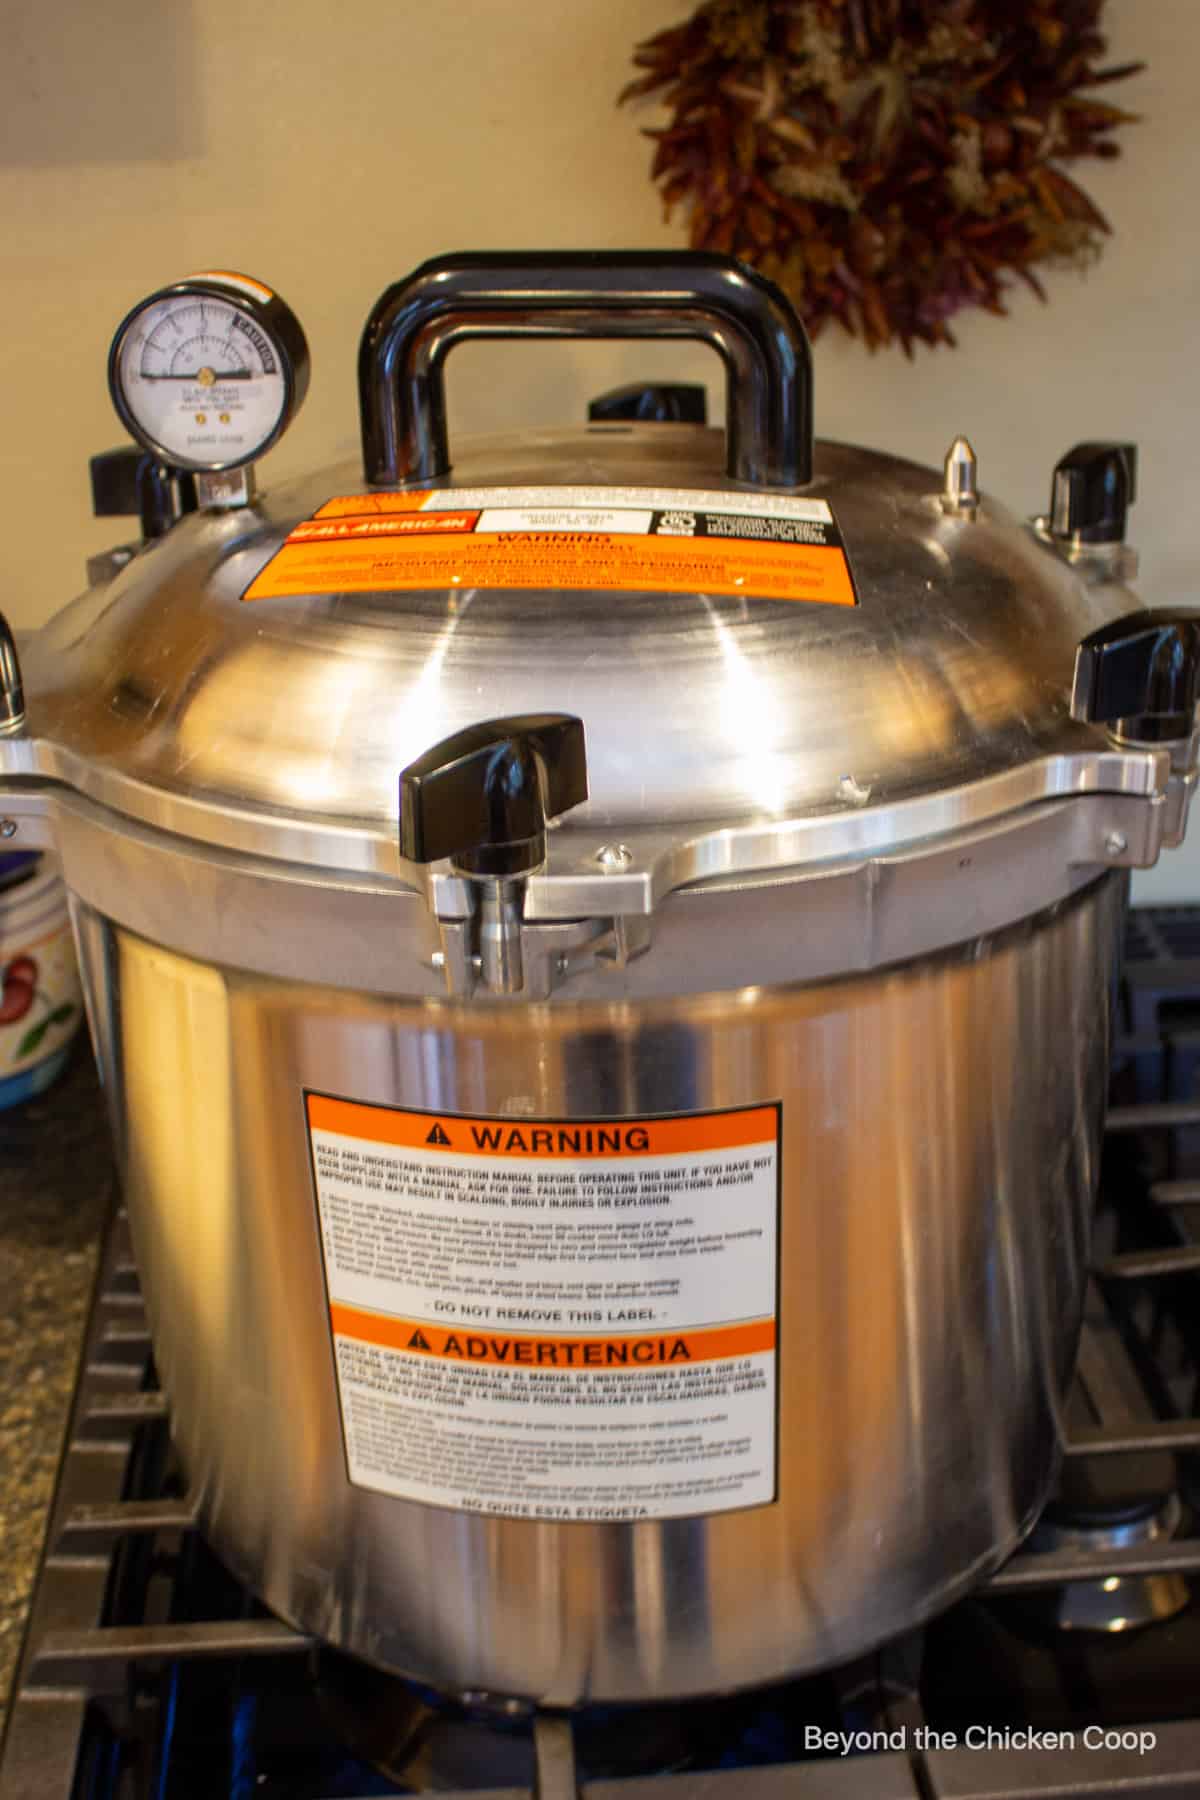
If you haven't used a pressure canner before, you'll want to read How to Use a Pressure Canner.
Stock vs broth
Is it stock or is it broth? I use the two terms interchangeably but there is actually a difference. Stock is made primarily from bones and broth is made from using the bones and meat.
Both are a liquid full of delicious flavor and many times my stock or broth is a combination of both. I always use vegetables and there are always bones and sometimes I use meat too.
For the purpose of canning, chicken stock and chicken broth are treated the same way. So whether you've made stock or broth, the canning method is exactly the same.
How to can chicken broth
Set up your canning area
- Prepare your stock and have simmering hot on the stove.
- Wash and rinse your jars. The jars need to be hot when you fill them in order to avoid possibly shattering of the jars. You can pull them straight from the dishwasher or pour hot water into the jars.
- Wash your canning lids with hot soapy water and rinse well. Lids do not need to be boiled prior to using (this is an old practice that is no longer necessary.)
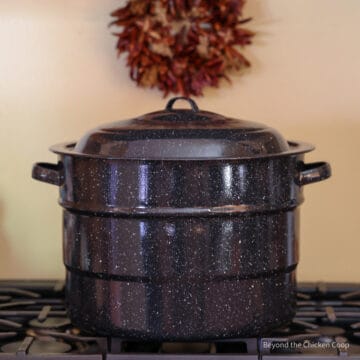
- Set your pressure canner on the stove with 2 inches of water. Heat water until water is simmering.
- Place rack or spacer in the bottom of pressure canner
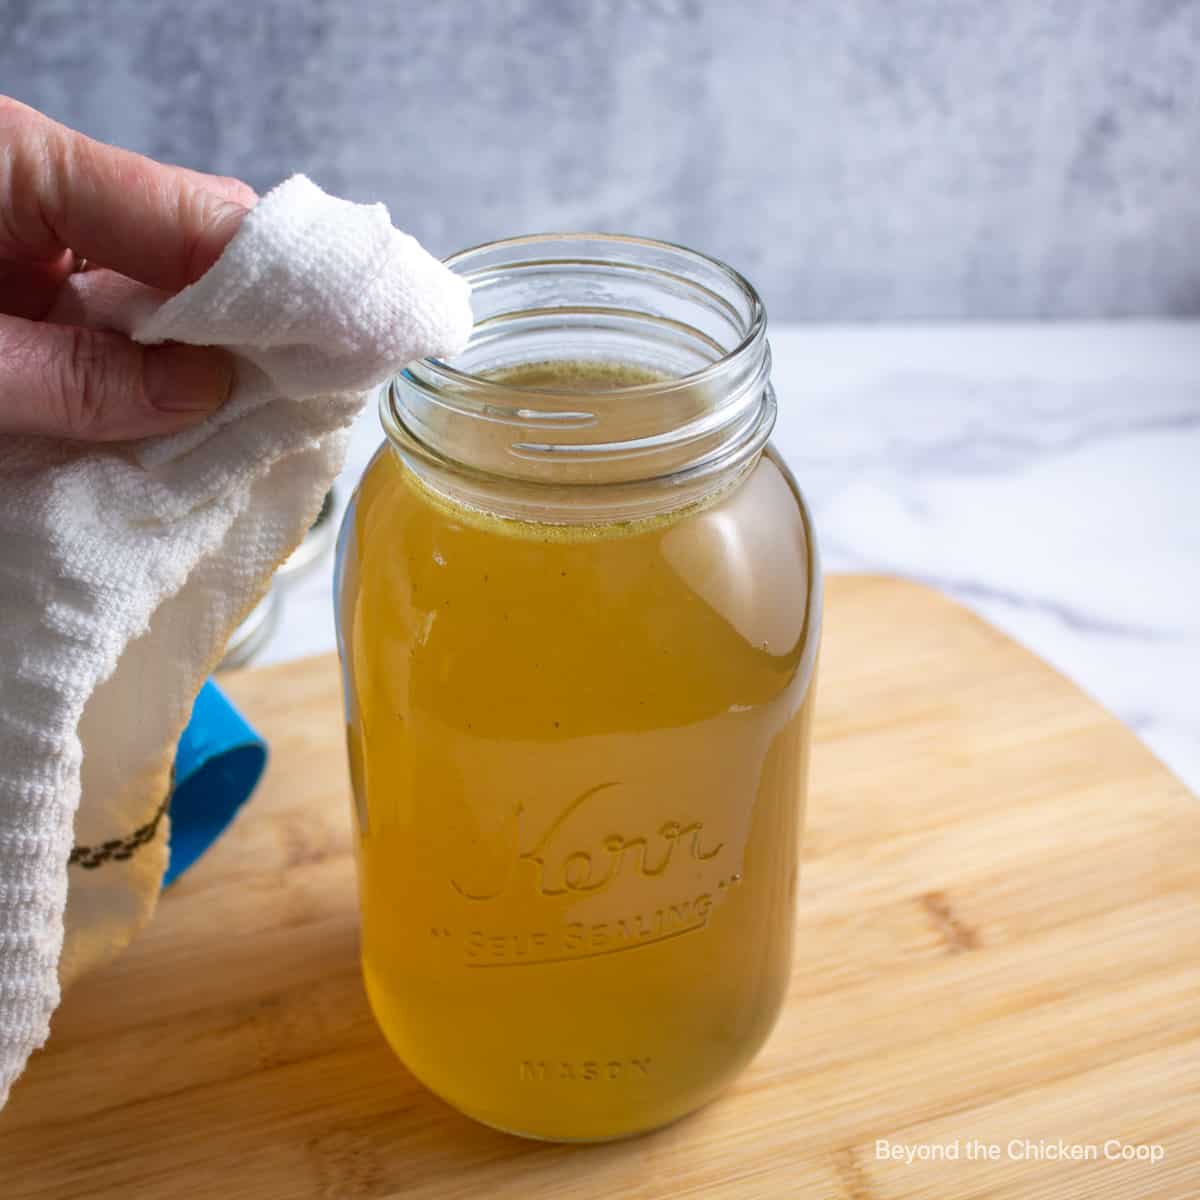
- Have a clean, damp cloth ready to wipe rims of jars
- Set out the funnel and have jar lifter ready
Filling the jars
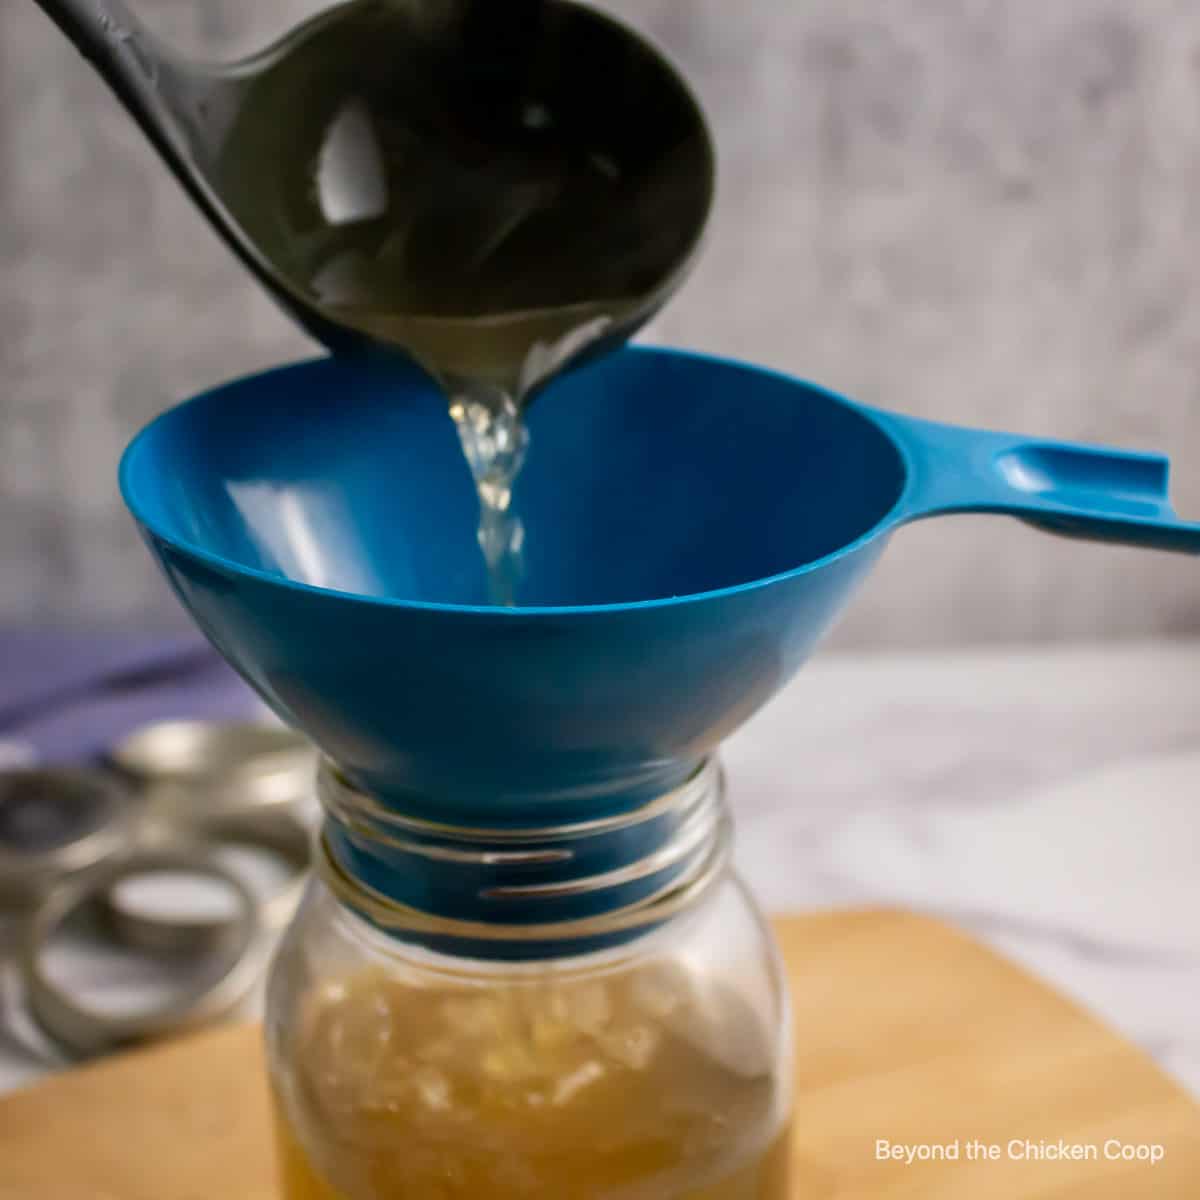
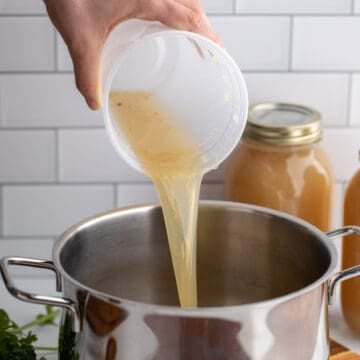
- Fill each jar with hot chicken stock
- Leave 1 inch of head space from the top of the jar to the top of the liquid
- Wipe rim of jars
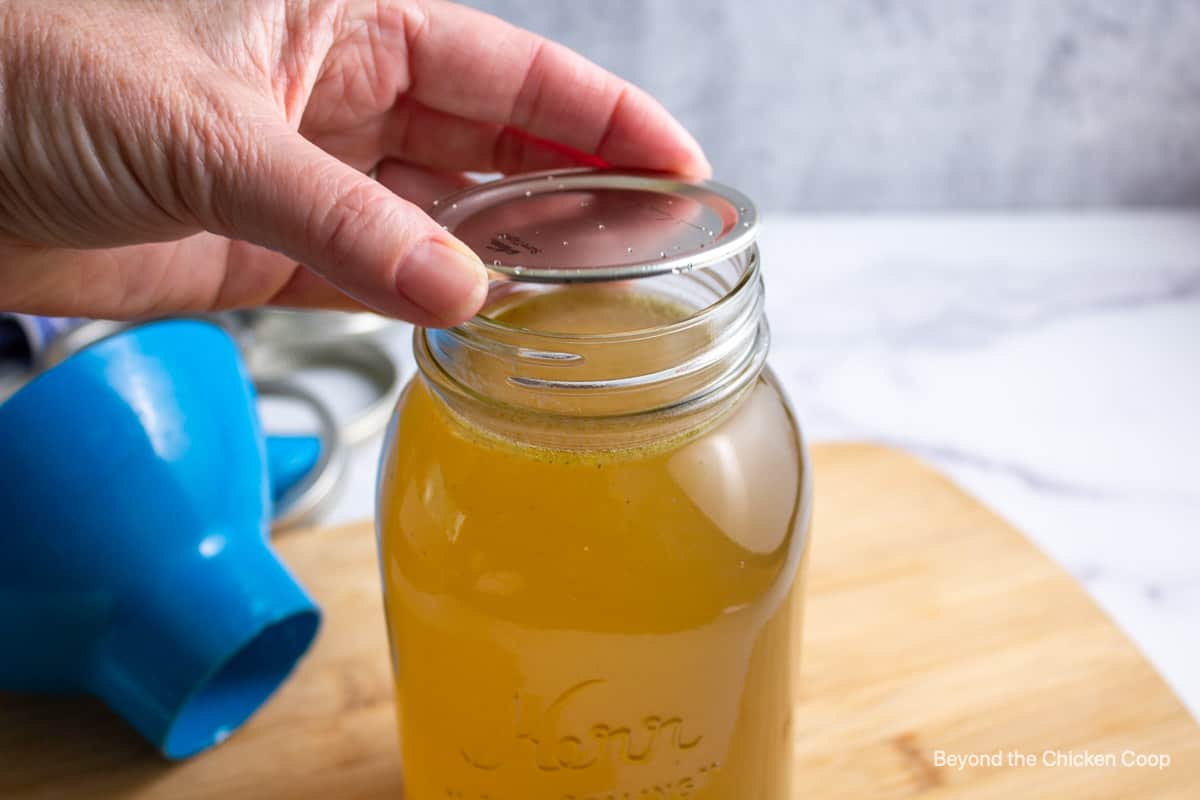
- Place lid and then screwband
- Tighten rim, but don't over-tighten. Just hand-tighten until it's snug.
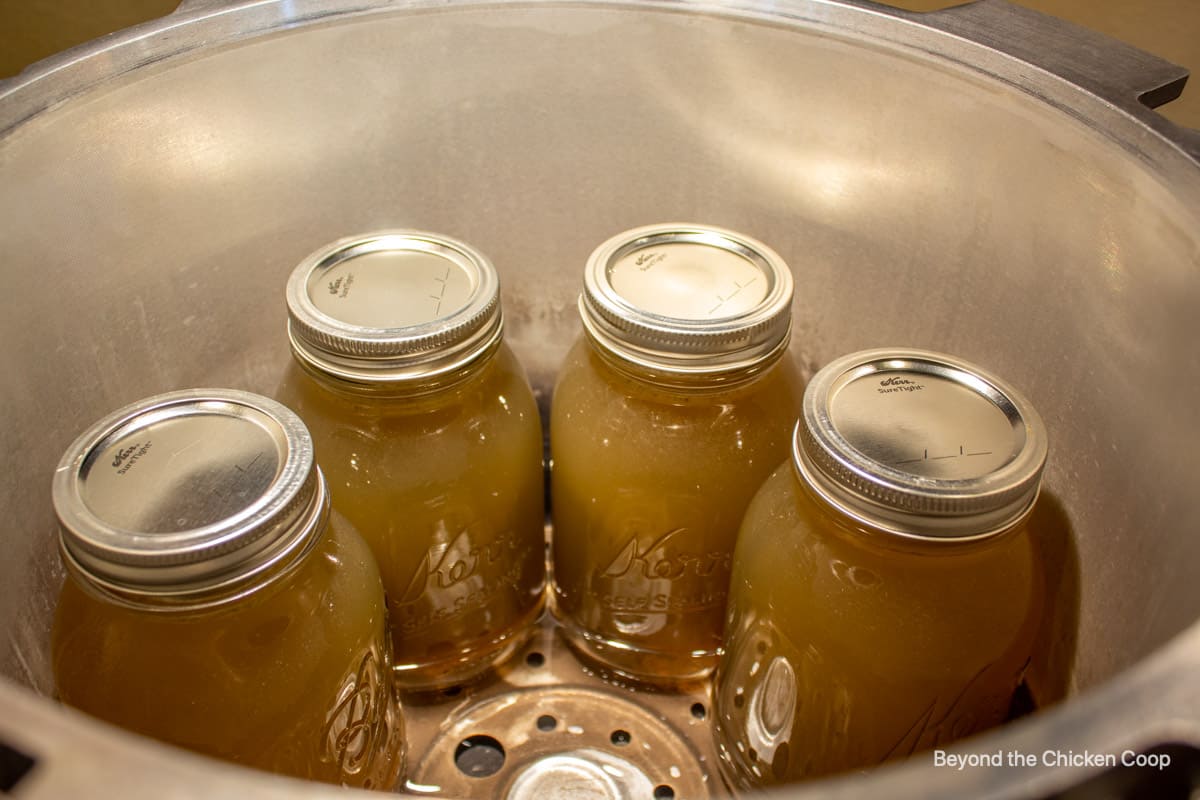
- Place jar in canner
- Continue filling jars until all jars are filled
Using the pressure canner
- Place lid on pressure canner and close and lock into place
- Make certain the steam release valve is uncovered
- Turn heat to medium-high and wait for steam to begin venting
- Once you have a steady stream of steam, set the timer for 10 minutes. Allow the steam to fully vent for 10 minutes.
- Place vent cover on steam release valve
- Begin watching pressure gage. Pressure needs to reach at least 10 pounds of pressure (a higher pressure is needed for different elevations, see chart below.)
- Adjust heat as the pressure gets close to the desired pressure
- Once the pressure is at 10 pounds (or above for higher elevations) set timer for 20 minutes for pints and 25 minutes for quarts
- Monitor pressure canner to make certain it maintains the correct pressure. Adjust the temperature of the stove as needed.
When time is up
- As soon as your timer goes off, turn off heat
- Do Not Release steam cover or lid!
- Wait until pressure fully drops to zero and then wait at least 5 minutes
- Carefully remove steam valve. Steam may still stream when you pull off valve. This is okay. Wait 5 additional minutes.
- Unlock and carefully remove lid. The contents will still be very hot. Use oven mitts and open lid away from you to avoid any steam that may remain.
- Let jars sit in the opened kettle for 10 minutes. This helps prevent siphoning of liquid.
- Use jar lifter tongs and lift out one jar at a time. Place jars on a wire rack and space jars at least 1 inch apart.
- Do not tighten or remove bands and do not touch lids.
Let jars sit for 12 hours before moving. The jars will continue to bubble for a few hours.
Preparing the jars for storage
- After at least 12 hours, remove bands from jars
- Check seals. If any aren't fully sealed, place in refrigerator and use within 3 days.
- Wash outside of jars to remove any residue that may have seeped out of jars
- Label and date jars
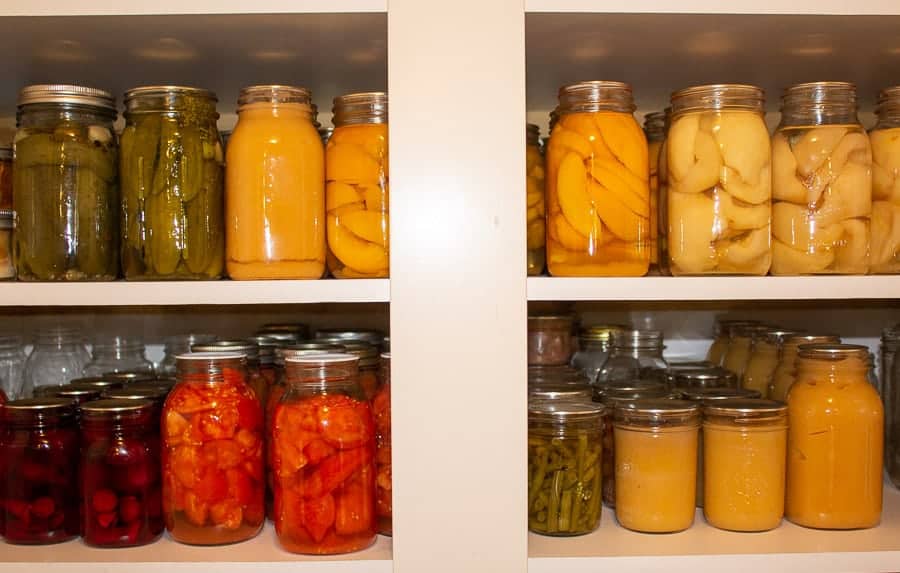
- Place in a cool, dry, dark place for up to one year
Canning tips
- Follow safe canning practices. Read and reread steps, especially venting times, processing times and pressure settings.
- Use pint or quart-sized jars
- Yield will depend on how many jars your pressure canner will hold
- Use your favorite chicken stock or broth for canning
- This recipe also works with beef broth or stock
Frequently asked questions
For quality purposes, home canned food is best used within 2 years. Food will last for years longer, but the quality may begin to deteriorate.
Always inspect your home canned jars before consuming them.
First, do a visual inspection. Ensure that the jar is still sealed. Look for discoloration and bubbling or frothiness. If the jar is swollen or bulging, throw it out.
Once the jar is opened if the contents are bubbling or foaming or it spurts contents, throw it out. If the contents are moldy, discolored or smell bad, throw it out.
If in doubt, throw it out!
Altitude adjustment
| Altitude Feet | Pounds of Pressure |
|---|---|
| 1,001- 2,000 2,001- 3,000 3,001- 6,000 6,001 - 8,000 8,001-10,000 | 11 pounds 12 pounds 13 pounds 14 pounds 15 pounds |
Pressure canning safety
- Read your manual for your pressure canner before using
- If you have an older model, inspect the rubber gasket. If dry or crumbly, it will need to be replaced.
- Make certain lid is fully locked into place
- Keep an eye on your pressure to make certain it doesn't go below the desired temperature and that it doesn't go too high
- If you have a glass-topped stove, please check with the manufacturer before using a pressure canner. The high heat may not work with your stovetop.
- Always double-check that you have enough water in the pressure canner. Most canning recipes call for 2 -4 inches, depending on the length of time the item will be under pressure. You do not need to cover the jars with water.
Equipment
Pressure canning does require special equipment. This is what I use:
- Pressure Canner - There are a variety of models and sizes available. You need to have a pressure canner that has a pressure gauge or a weighted gauge in order to determine the pressure. An electric pressure cooker or instant pot is not suitable for canning.
- Jar Lifter - There are several canning starter kits available with some useful tools. The most important ones are the jar lifter and the funnel. Those are the two I use. You can purchase a kit or buy pieces separately.
- Canning Jars - Use quart jars or pint jars. Make certain the jars you use are specifically designed for canning.
- Canning Lids - If you purchase a new set of jars, they will come with lids and bands. Otherwise, when reusing canning jars, you need to use new lids every time.
A Note on Home Canned Food
Improperly home canned food can carry the risk of causing botulism. If eaten, this can cause a serious form of food poisoning that can lead to paralysis or death. Please follow safety procedures and inspect your food before consuming.
- Always inspect your home canned food before eating
- If in doubt, throw it out!!! The FDA recommends throwing out the food and the jar.
- Do not taste if in doubt!
- Throw it out if -
- the can is bulging, leaking or swollen
- the container looks damaged or abnormal
- the container spurts liquid or foam when opened
- the food is moldy, discolored or smells bad
- the seal is no longer intact when you examine the food
Uses for chicken stock
- Chicken broccoli and rice
- Ham tetrazzini
- Creamy chicken noodle soup
- Baked chicken and rice
- Homemade chicken pot pie
If you make this recipe, I’d love to hear about it! Leave a comment below and snap a picture and tag me on Instagram @beyondthechickencoop
Be certain to check out all my canning recipes.
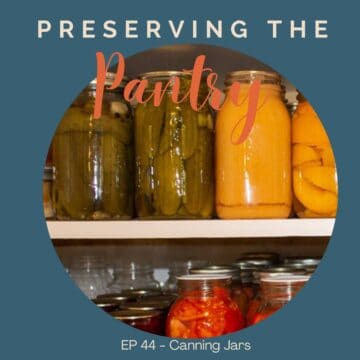
Listen to the recipe
You can listen to all the steps on how to can tomatoes on the podcast Preserving the Pantry! Just click on the play button below to listen now!
Canning Chicken Stock
Ingredients
- 7 quarts chicken stock
Instructions
- Ladle chicken stock into clean hot canning jars, leaving a 1 inch headspace.
- Wipe rim of jars with a clean cloth.
- Place lid on jar and then screw band. Hand tightened band.
- Place jar in a pressure canner with 2 inches of simmering water.
- Repeat with remaining jars.
- Secure and lock lid on pressure canner and turn heat to medium high. Do not cover steam vent cover.
- Once steam begins to vent in a consistent stream, set time for 10 minutes.
- Carefully place steam vent cover on lid and bring pressure to 10 pounds of pressure (or higher depending on your elevation. See chart below)
- Process pint jars for 20 minutes and quart jars for 25 minutes.
- Turn off heat and keep lid and steam vent cover in place until pressure returns to zero.
- Carefully remove vent cover and wait 5 minutes, then remove lid.
- Allow jars to sit for another 10 minutes in pressure cooker to help prevent siphoning.
- Use a jar lifter to remove jars and place on a cooling rack with at least 1 inch of space between jars. Do not tighten or remove bands. Do not touch lids.
- After 12 hours, remove bands and check seals. Wash jars then label with contents and date.
Notes
- 1000-2000 feet - 11 pounds of pressure
- 2001-3000 feet - 12 pounds of pressure
- 3001-6000 feet - 13 pounds of pressure
- 6001- 8000 feet - 14 pounds of pressure
- 8001-10000 feet - 15 pounds of pressure
- Follow safe canning practices. Read and reread steps, especially venting times, processing times and pressure settings.
- Use pint or quart-sized jars
- Yield will depend on how many jars your pressure canner will hold
- Use your favorite chicken stock or broth for canning
- This recipe also works with beef broth or stock
- Read your manual for your pressure canner before using
- If you have an older model, inspect the rubber gasket. If dry or crumbly, it will need to be replaced.
- Make certain lid is fully locked into place
- Keep an eye on your pressure to make certain it doesn't go below the desired temperature and that it doesn't go too high
- If you have a glass-topped stove, please check with the manufacturer before using a pressure canner. The high heat may not work with your stovetop.
- Always double-check that you have enough water in the pressure canner. Most canning recipes call for 2 -4 inches, depending on the length of time the item will be under pressure. You do not need to cover the jars with water.
Nutritional Disclaimer:
Nutritional information is provided as a courtesy and should only be construed as an estimate rather than a guarantee. To obtain the most precise nutritional information in a provided recipe, you should calculate the nutritional information with the exact ingredients you are using when preparing the recipe using your preferred nutrition calculator.
Nutrition
Resources:
- National Center for Home Food Preservation
- Ball Blue Book
Michael McCarty says
My pressure cooker only has a 6 lb weight. Will it safety can broth? Do I need to pressure it longer to be safe?
Kathy says
Hi Michael,
6 pounds is not enough. You need at least 10 pounds of pressure or more depending on your elevation. Cooking it longer does not make it safe.
I'm wondering if your pressure cooker is designed for cooking, and not for canning.
Kathy
Mallory says
What are your tips for having such clear stock? I always end up cloudy.
Kathy says
Hi Mallory,
When making the stock, try simmering your stock, and not boiling it. Also skim off any foam as it rises to the top. Finally pour everything through a fine mesh strainer and don't squeeze out or press the solids to remove excess liquid.
Kathy
Toni Hoy says
Is it really 2 inches of water in the canner, or do you mean 2 inches of water above the jars?
Kathy says
Hi Toni,
In a pressure canner, you do not need the water over the jars. Most pressure canning recipes need between 2 and 4 inches of water in the pressure canner. This recipe, due to the time of canning needs just 2 inches in the canner.
Thanks for your question,
Kathy 🙂
David @ Spiced says
Interesting notes about broth vs. stock, Kathy! I've always used the two terms interchangeably, too. We actually made a huge batch of stock last weekend using leftover bones from several rotisserie chickens. We didn't can it, though. Instead it went into a giant pot of soup that we've been working on for lunches. I really should get into canning. I keep saying I'm going to... Either way, great post!!
Kathy says
Thanks, David! When I don't have the time to can it, I will freeze it. Either way works great, but freezing does take up space and you have to wait for it to thaw!
Enjoy your soup!
Kathy 🙂