There are a lot of methods for juicing fruits and vegetables. A steam juicer might be one many aren't familiar with. This post explains how to use a steam juicer.
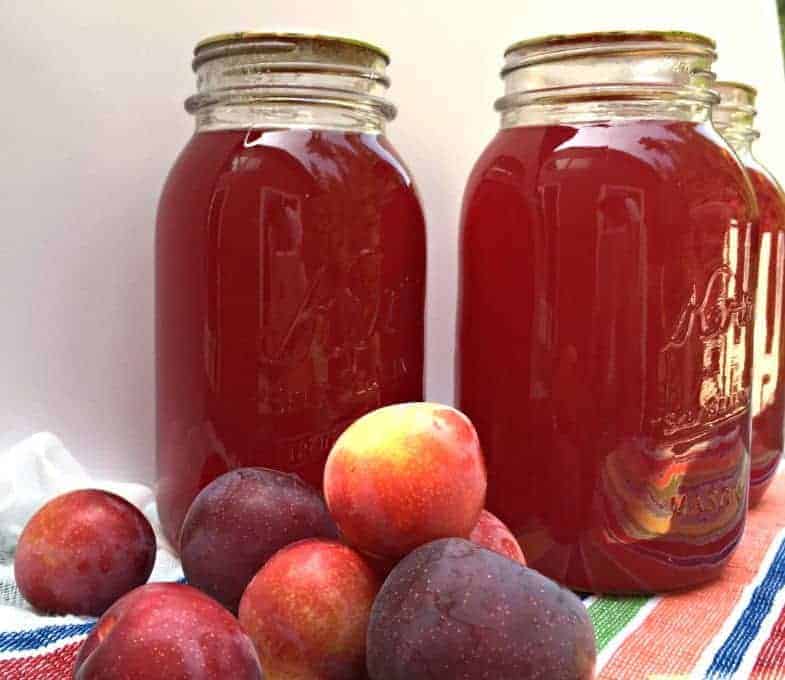
For this recipe, I used a really juicy red plum. The juice is just dripping from the plums when we pick them.
If you have Italian plums which are purplish and oblong shape. They are a drier meatier plum that are perfect for making dried plums or prunes. Those plums aren't the best for juicing.
Advantages of Using a Steam Juicer
- You only get juice, no pulp.
- The juice is crystal clear...well with color.
- You can do a large patch of fruit at a time.
- Very little prep. Just add clean fruit. No need to peel or pit first.
- Takes less time than traditional juicing methods.
Disadvantages of Using a Steam Juicer
- The pot is large and takes up a lot of storage space.
As long as you have enough storage space, this steamer is ideal! I use Mehu - Liisa 11 Liter Stainless Juicer.
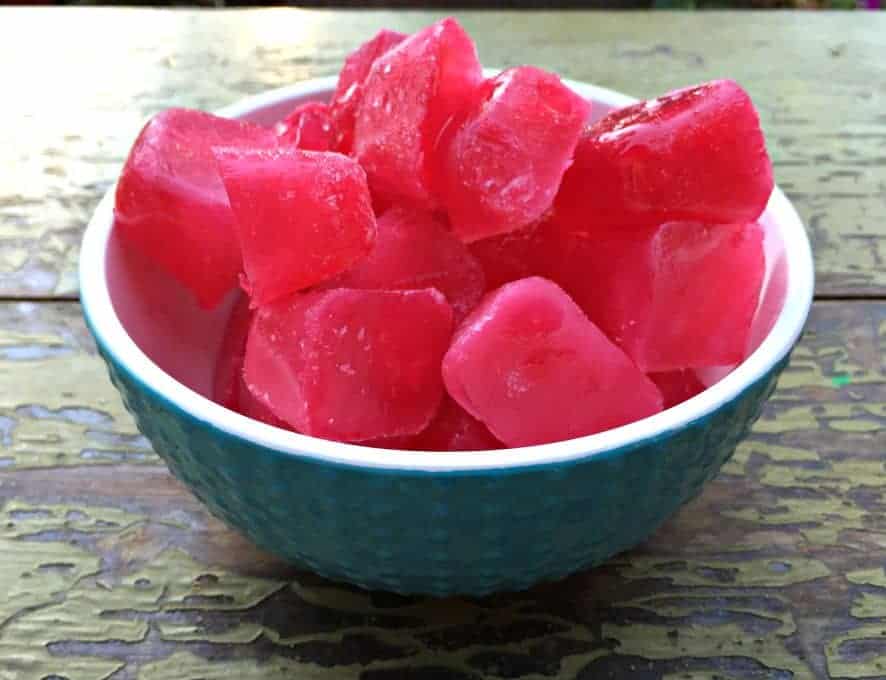
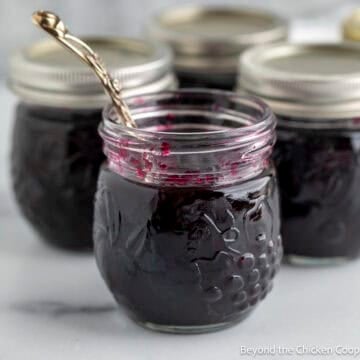
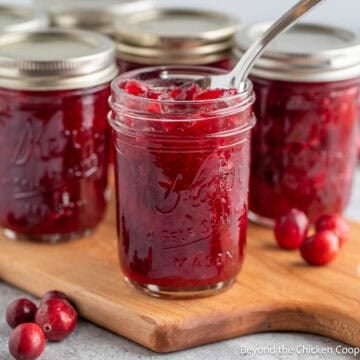
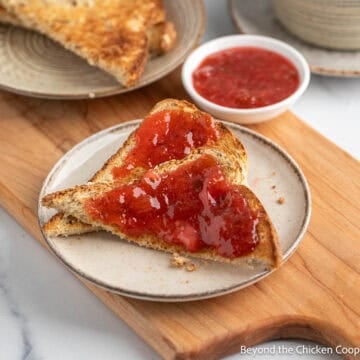
This year I have made over 4 gallons of plum juice! That is an insane amount of plum juice. What do I do with all this juice? I make plum jelly, jalapeno plum jelly, plum sorbet, plum Popsicles, and I freeze the plum juice into ice cubes.
I throw one or two frozen cubes into a smoothie. It just adds a bit of flavor and extra nutrition. I also canned a lot to save for later. It's so beautiful sitting in my pantry! I think with all this juice, I need to make some plum wine! Just need to figure out how to make wine...
How to use a steam juicer:
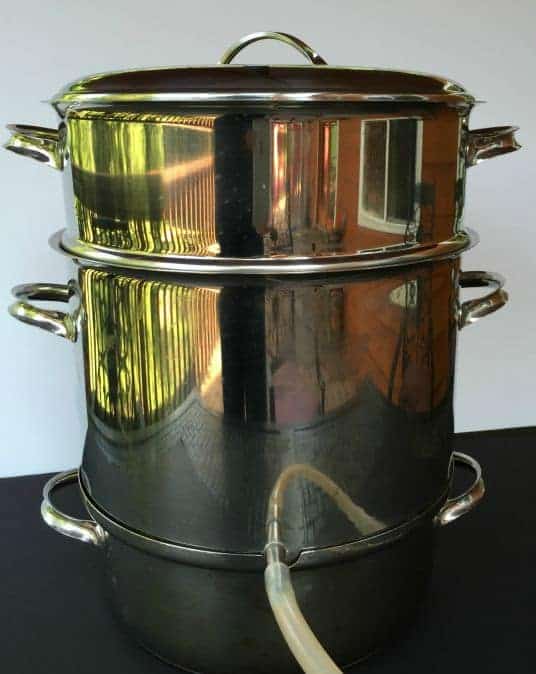
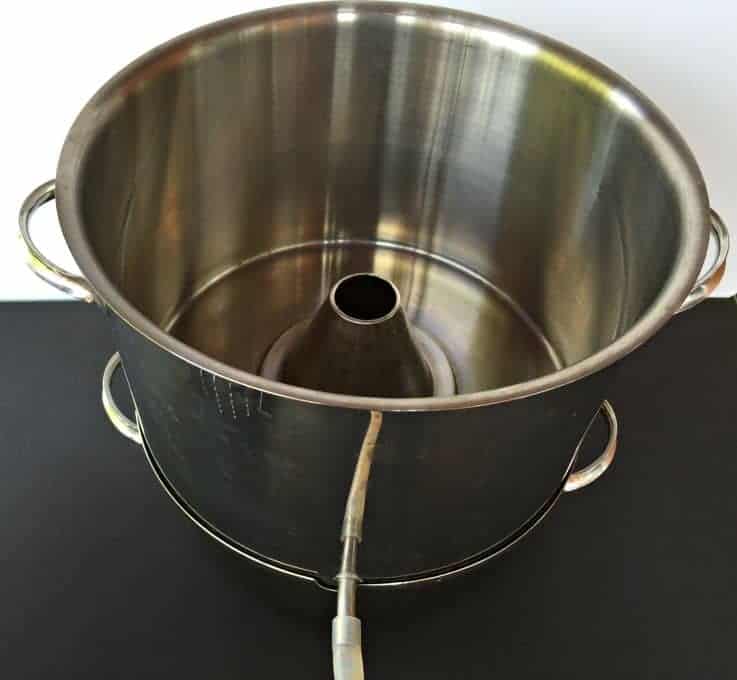
The steamer consists of three separate pots. The bottom one holds the water that creates the steam. The middle one collects the juice. It also has a large funnel that connects the steam from the bottom to the top. The top layer is where all the fruit is placed.

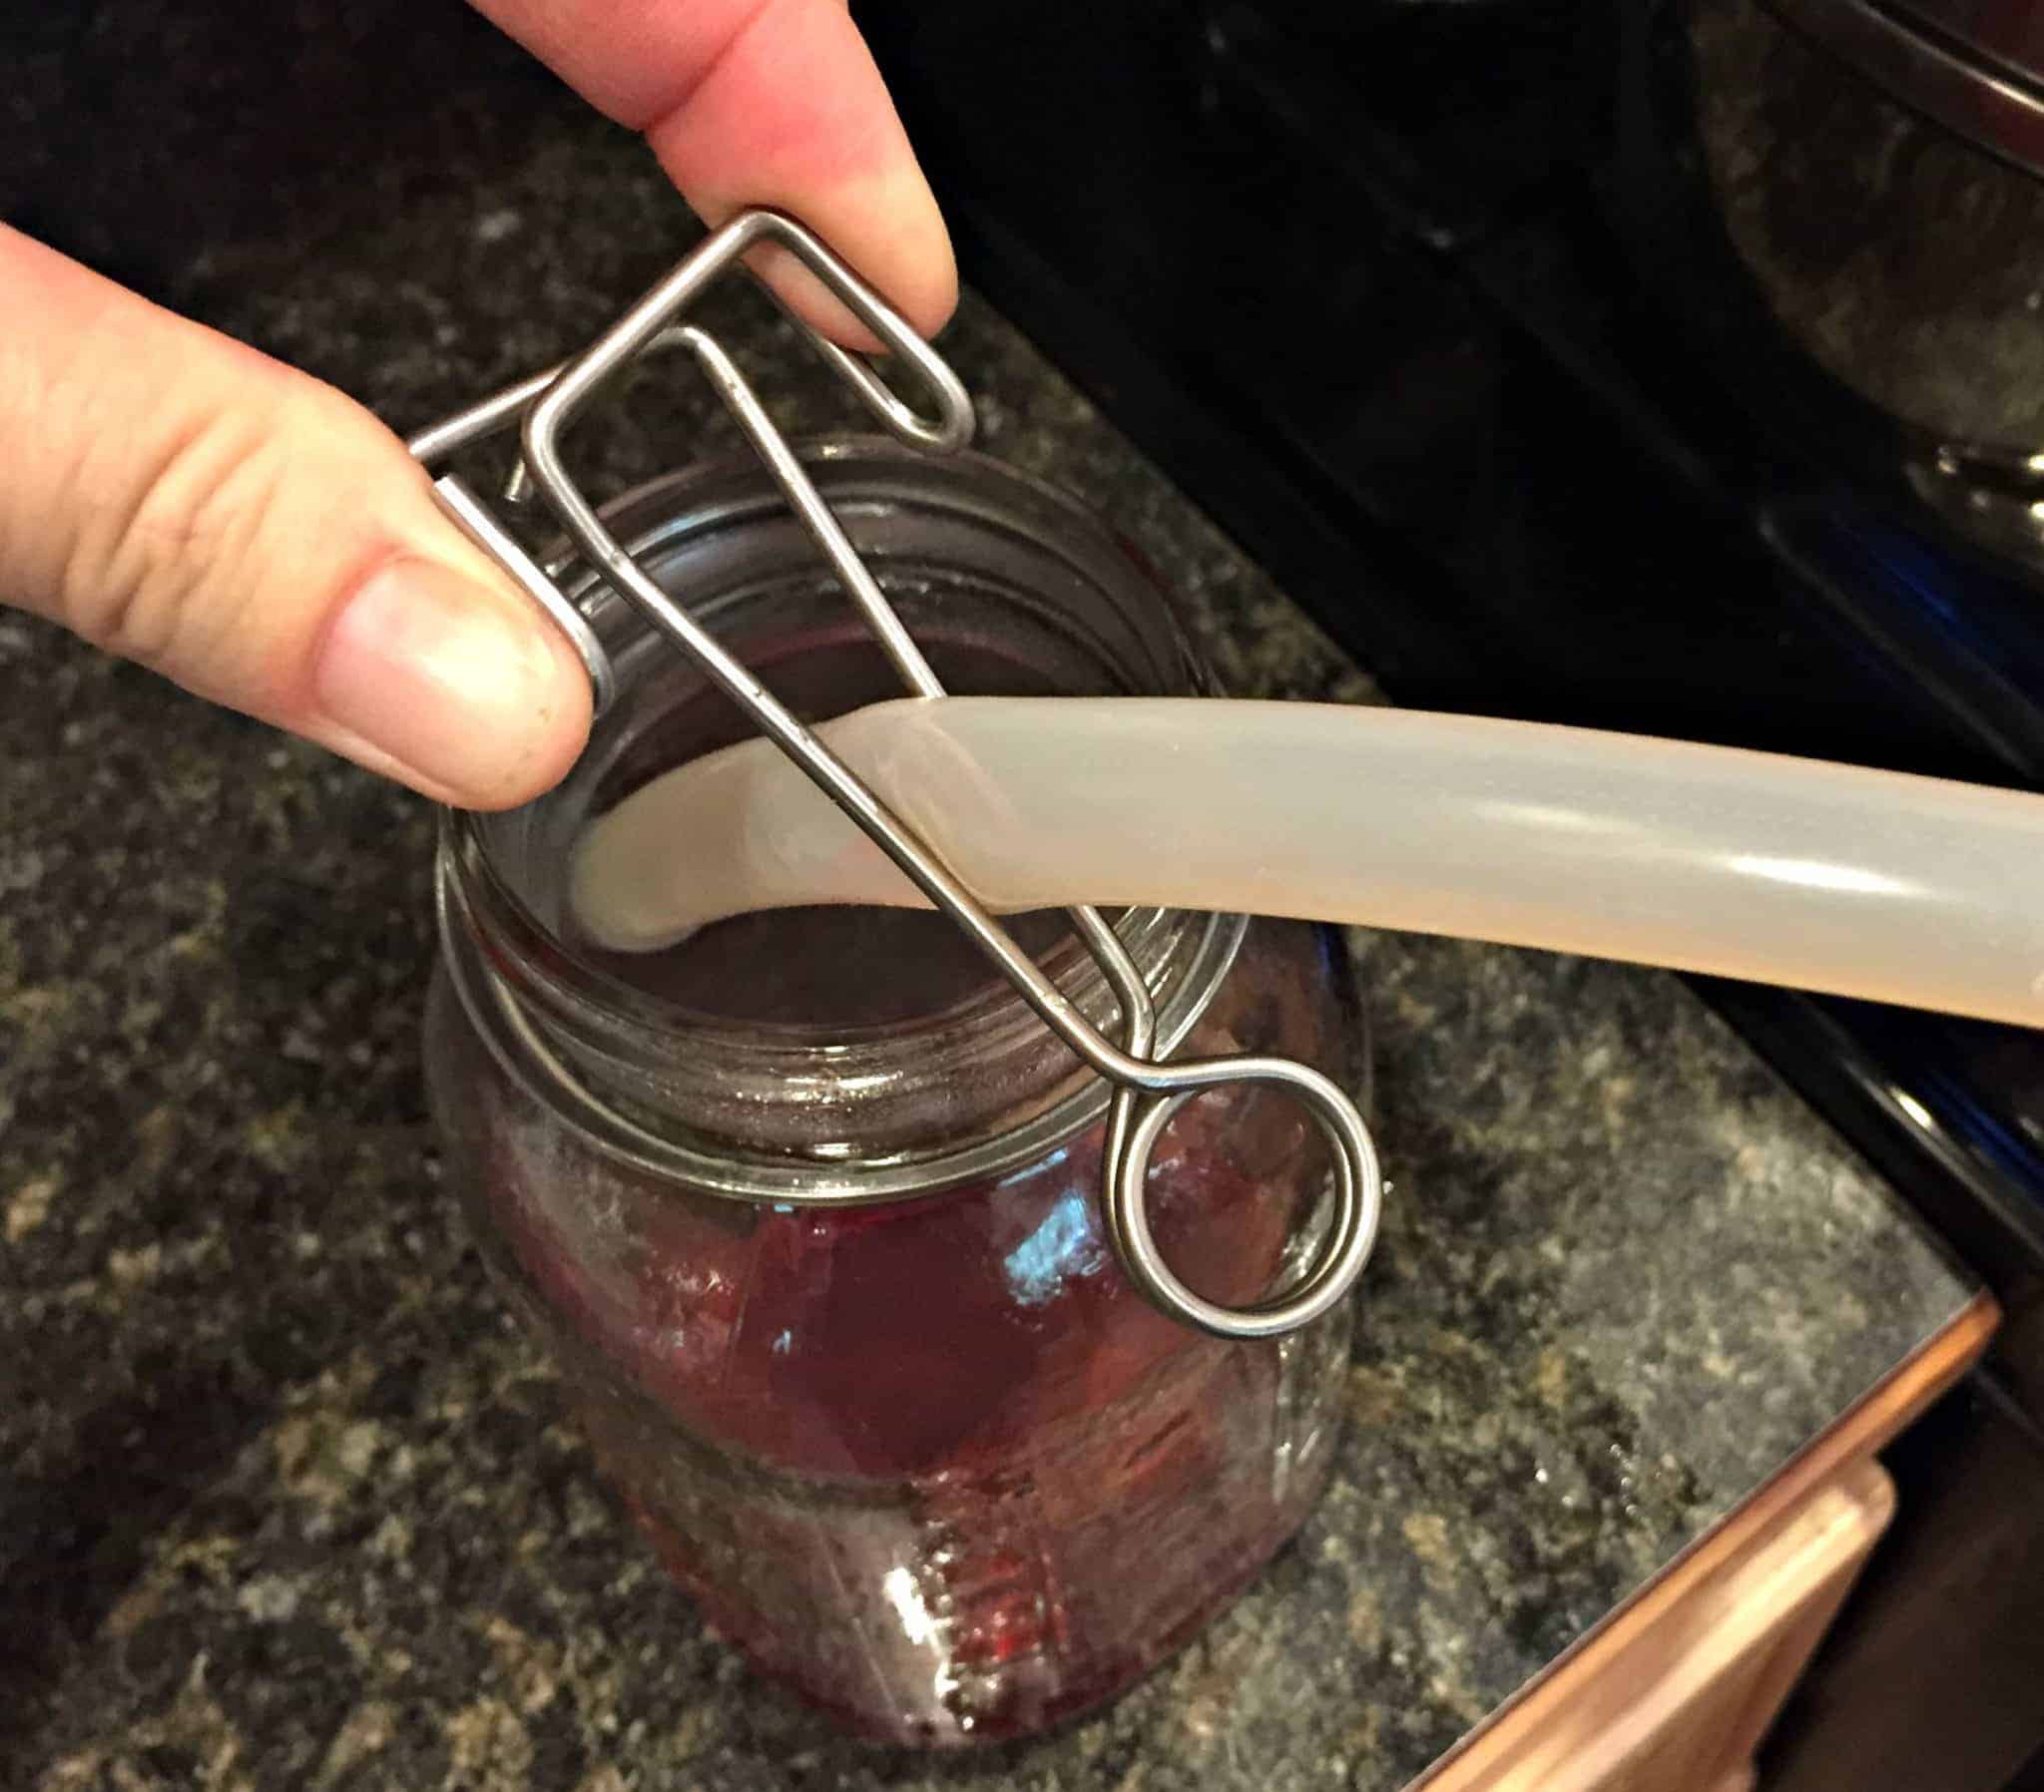
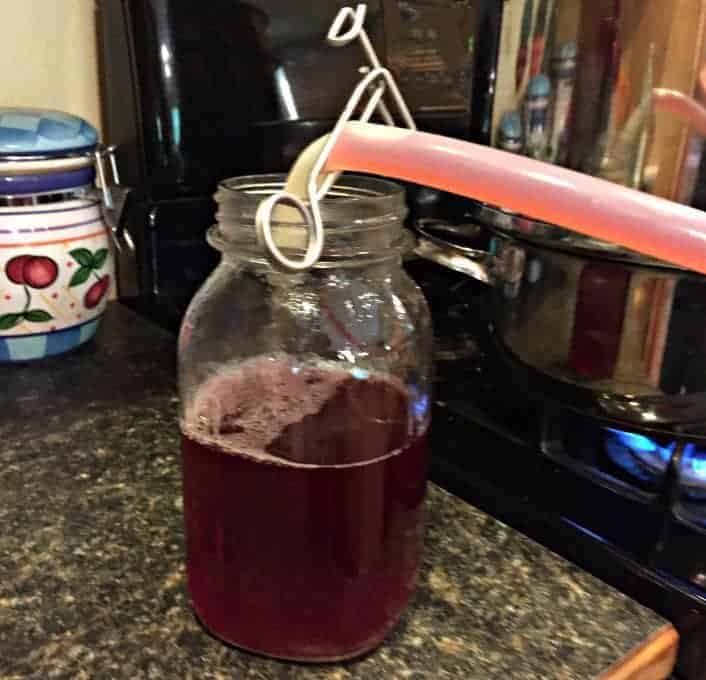
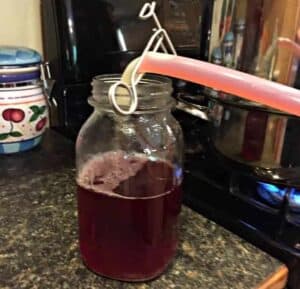
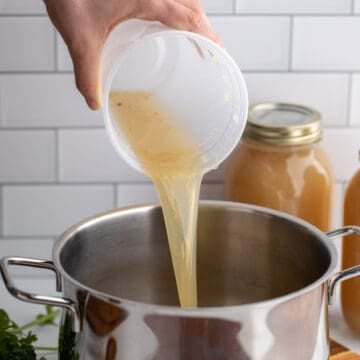
As the steam starts to cook the fruit, the juice will drip down into the middle layer. There is a tube attached to the middle layer. Once juice starts to form, you simply open the clasp and let the juice flow. I always place the tube into a bowl or a canning jar. Even with the clasp closed, I have had leakage.
Oh what a mess! Luckily we've caught it before too much juice seeped out. The key is placing the tube in the center of the clasp, not just at the end.
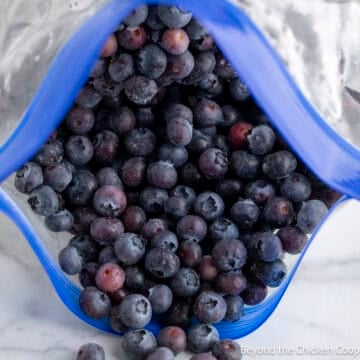
Just about any type of fruit would work with a steam juicer; grapes, currents, apricots, blueberries, cranberries. I'm just getting started with ideas! The list is endless.
If you make this recipe, I’d love to hear about it! Leave a comment below and snap a picture and tag me on Instagram @beyondthechickencoop
How to Make Plum Juice
Equipment
Ingredients
- Fresh Plums
Instructions
- Wash plums
- Place whole plums into to steam basket (top pot) of a steam juicer
- Bring steamer to a boil
- Once juice begins to form, drain into clean containers.
- Continue until juice has been extracted from plums, approx. 1 hours
- Makes approx. 6 quarts. Yield depends on type of fruit.
Notes
Nutritional Disclaimer:
Nutritional information is provided as a courtesy and should only be construed as an estimate rather than a guarantee. To obtain the most precise nutritional information in a provided recipe, you should calculate the nutritional information with the exact ingredients you are using when preparing the recipe using your preferred nutrition calculator.
katie says
For your jalapeno plum jelly, do you also juice or jalapeno? If not do you think that would be an option (adding vinegar of coarse)?
Kathy says
Hi Katie,
I don't have a published recipe for jalapeno plum jelly. It's a recipe I've used in the past adapting a recipe from a cookbook. We used finely chopped jalapenos, not the jalapeno juice. Juicing a jalapeno would be very hard to be in the same room as the juicer. I think the steam coming off would be very potent. I'll need to do a bit of research to see if I can find the recipe.
Kathy
Buffy says
Do you dilute the juice for drinking? Mine is pretty strong.
Kathy says
Hi Buffy,
Feel free to dilute the juice with as much as you need to your liking.
Kathy
Asa says
I think another disadvantage to steam juicers, and probably the biggest disadvantage of all, is how the juice loses most all of the living nutrients when heated this way. You can juice a ton of fruit quickly but it won’t have nearly the nutritional benefit of fresh juice. This is how most juices in stores are processed, leaving them void of most beneficial nutrients. If you have a bunch of fruit going bad soon that you can’t juice or eat quickly, this is a last resort option in my opinion. This isn’t the best way to go about juicing fresh produce though if you’re hoping for a nutritional and healthy product.
Kathy says
Thank you for your information.
Maggie says
Does this need lemon juice or citric acid added to preserve? And how long do you normally process the jars? Thanks!
Kathy says
Hi Maggie,
You do not need to add any lemon juice or citric acid. Plums range in acidity level from 2.8-4.3 for pH which makes them safe for water bath canning without adding any additional acid. The range depends on the type of plum. Blue plums have a higher acidity level. To can the juice, fill pint or quart sized jars leaving a 1/4 inch headspace. Process in a water bath canner for 15 minutes (add additional time for your elevation.)
Enjoy!
Kathy 🙂
Maggie says
Thank you!
Hiran says
I juiced around 100 plums and filled 5 canned jars with juice. I found out today nearly 40 hours later they did not seal properly and the seal came right off. It took more than an hour for the juice to come out so the fruit was cooked at high temperature. I would like to know how long the juice could be left out without refrigeration. I live in northern California and the temperature inside my house is high 70s. I appreciate your time.
Kathy says
Hi Hiran,
There's nothing more frustrating than a canning lid not sealing! The juice should still be good. When juice goes bad it will begin to turn sour, form mold on the top or will begin to ferment. I don't believe it's been long enough for that to happen.
Kathy