
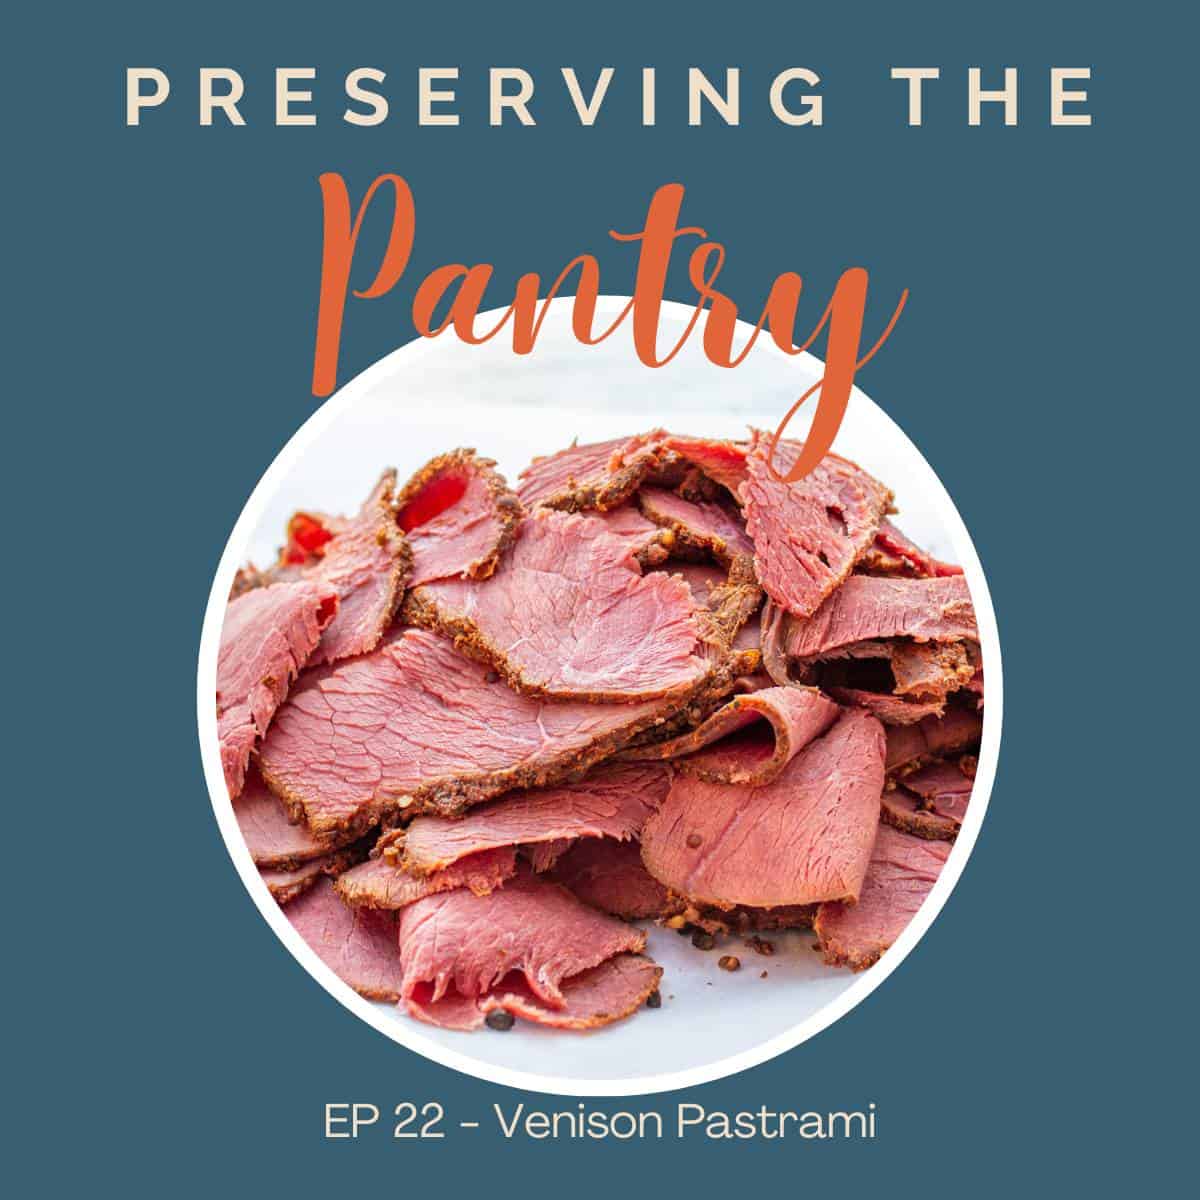
In Episode 22, Kathy shares how to make Venison Pastrami.
Play the episode
Recipes
Find the complete recipe for Venison Pastrami
Recipes mentioned in this podcast:
In this episode you'll learn:
- What type of meat you can cure for pastrami
- The four steps to making pastrami
- The difference between Prague Powder #1 and Prague Powder #2
- Ways to use pastrami
Where to listen to the podcast
Listen to this episode on iTunes, Spotify, Amazon Podcast, or your favorite podcast player. Or scroll down to read a full transcript.
If you love this podcast, I’d love to hear about it! Leave a comment below and hop over and leave a comment on Instagram @preservingthepantry!
Transcript
Hello everyone and welcome back to the Pantry. Today we are going to be making venison pastrami. Now this venison pastrami is really delicious. It's perfect for making sandwiches, or we like to serve it with just sliced thinly with cheese and crackers. It's perfect for just when you want that little snack of something.
You can make this venison pastrami with venison, of course, but we've done it with elk meat. You could also use other wild game like moose or bison, and of course you can use the traditional beef if you'd prefer. There are several steps to making venison pastrami, and I'm going to walk you through each of these steps.
When you go to make the venison pastrami, you are going to want to refer back to the recipe so you can follow all of these steps. I'll include a link directly in the show notes of this page.
There are four main steps when making pastrami. The first is brining the meat. Then you're going to place a rub on the meat. You'll smoke the meat, and the final step is steaming the meat.
For the brine, you are going to use pickling spice, kosher salt, or you could also use canning salt. You'll be adding pink curing salt. That's also called Prague number one powder. Now be careful because there's also a Prague number two powder and they are different.
So Prague number one is used for short cures, things that will be eaten relatively quickly, and Prague number two is for meats that require a long cure, like hard salami.
You are going to be using the number one for this recipe. For the brine, you'll also use brown sugar and water. If you live in an area where you have very strong tasting water, or you're on city water, you might want to buy filtered water or make sure you use a filter. We're on well water and it's delicious, clean, clear water, so we just use that.
You'll be mixing up the brine in a very large container. I have a large five quart container that I mix the brine in, and you'll add everything in there and stir it, and you'll want to make certain that all the salts and the brown sugar have completely dissolved.
Sometimes this takes a little bit. , I'll stir it, come back, stir it, come back until it's completely dissolved. It settles on the bottom, so you'll be able to see it in that container.
Then you're going to add your roast. Now, we like to use smaller size roast. We use one to two pound venison roast, but you could use any size boneless roast that you have.
Just make certain that you have a large enough container for it to be brining, that it'll fit it in your smoker, and that it'll fit in your oven. That'd have to be a pretty large roast to not fit in your oven, but worth considering. Once your brine is ready, you'll place your meat in another container and then pour your brine over the top so that everything is completely submerged.
When you're making this, it doesn't matter if you make one roast or five roast, you'll still use the same amount of brine. You just want to make sure that you have a container to hold everything. You're going to cover your meat fully with the brine. Cover it, then with the lid and refrigerate. And you refrigerate it for five to seven days.
It's a long time. Partway through, you're going to get in and just rearrange that meat, making certain that all of the areas have been exposed to the brine.
The five to seven days gives you a little bit of flexibility, which is nice because sometimes all of a sudden on day five, you realize you don't have the time to do the next step.
So you can leave it in for a few more. After the five to seven days, you are going to remove the meat from the brine and you discard that brine. Then you're going to rinse your meat off in cool water to get all of that seasoning off from the brine and then you're going to put it back in water. A nice cool tub of water for two to three minutes.
That just helps get some rid of some of that excess salt off of your roasts. Two to three minutes in nice, cool water, then you'll discard that water and you'll place your meat on a baking sheet and you're going to pat the meat dry with a clean towel or paper towels, make certain that you get all the sides dry.
Then you create the rub. This is the second step. So the rub is a mixture of coriander seed, mustard seed, black peppercorns. And you put those all into a spice blender or a food processor, and you pulse it so that they're all kind of broken apart. And then you'll add smoked paprika and garlic powder.
This is the base for your rub. You rub it all over your roast and make sure that you get all the sides of it. And, then it is ready to then go into the smoker.
So with your smoker, you're going to place your meat on the grill and smoker and insert a thermometer, an instant read thermometer that can have an external cord.
You'll insert it in the largest piece of meat in the center of it so that you can get that in internal temperature reading. Set your smoker to 160 degrees Fahrenheit and we add one pan of wood chips. We typically use alder wood chips. You want something very mild flavored for this, but you can experiment with a bunch of different types as well.
After that pan has fully smoked, you'll add a second pan of wood chips. Then you leave your meat and your smoker until the internal temperature of the meat reaches 145 degrees Fahrenheit. This is going to vary depending on your smoker, depending on the size of your roast, depending on the temperature outside. If it's very cold outside and you have your smoker outside, it may take a little bit longer for that to reach temperature.
Sometimes it, for us, it takes between four and six hours. Again, that's going to depend on all of those different factors. Once your meat reaches 145 degrees, you remove your, the meat from the smoker and you place it on a baking rack, like a cooling rack. I use the ones that I make cookies with, and you put that on there.
And then you put the baking rack on top of a cookie sheet. So you have the cooking sheet, the baking rack, and the meat on top of that. You want a little bit of space between each of the roast. Cover the roast fully with foil and seal the foil around the edge of the baking baking sheet.
Leave one of the little edges open and you're going to pour hot tap water onto the baking sheet, filling it up about halfway full. So now it can get a little tricky. You're going to put this into the oven. You want to make sure you don't spill any of that. Your oven should be preheated to 275 degrees Fahrenheit, and this is the final step, the steaming step.
So you've got your water on the pan, you've got the rack on top, the meat on top, the foil. Make sure you seal all those sides. It's in a 275 degree Fahrenheit. You're going to bake it for one hour and then remove it from the oven and let it rest for 10 to 15 minutes. After those minutes, carefully remove the foil.
That steam is going to be hot, and then let your meat cool. Once it's cooled, you can slice it and eat it, and that is it. So a long process, a lot of steps, but in the end you have this delicious pastrami. It's just perfect for nibbling eating. We like to do several roast at one time and then we free, we slice it up and freeze the excess that we have so we can use it at any time.
This takes a while to do so. You might as well go ahead and get as many done as you can at one time.
If you enjoyed this episode, I'd really appreciate if you leave me a rating and review on your favorite podcast player. That helps other people just like you find this podcast. And if you haven't done so already, be sure to subscribe so you won't miss a single episode.
I'll see you next week in the pantry. Bye. Thanks for listen. And be sure to tune in again next week for more episodes of Preserving the Pantry.

Judy G says
What a interesting podcast. Excellent
Kathy says
Thank you!