
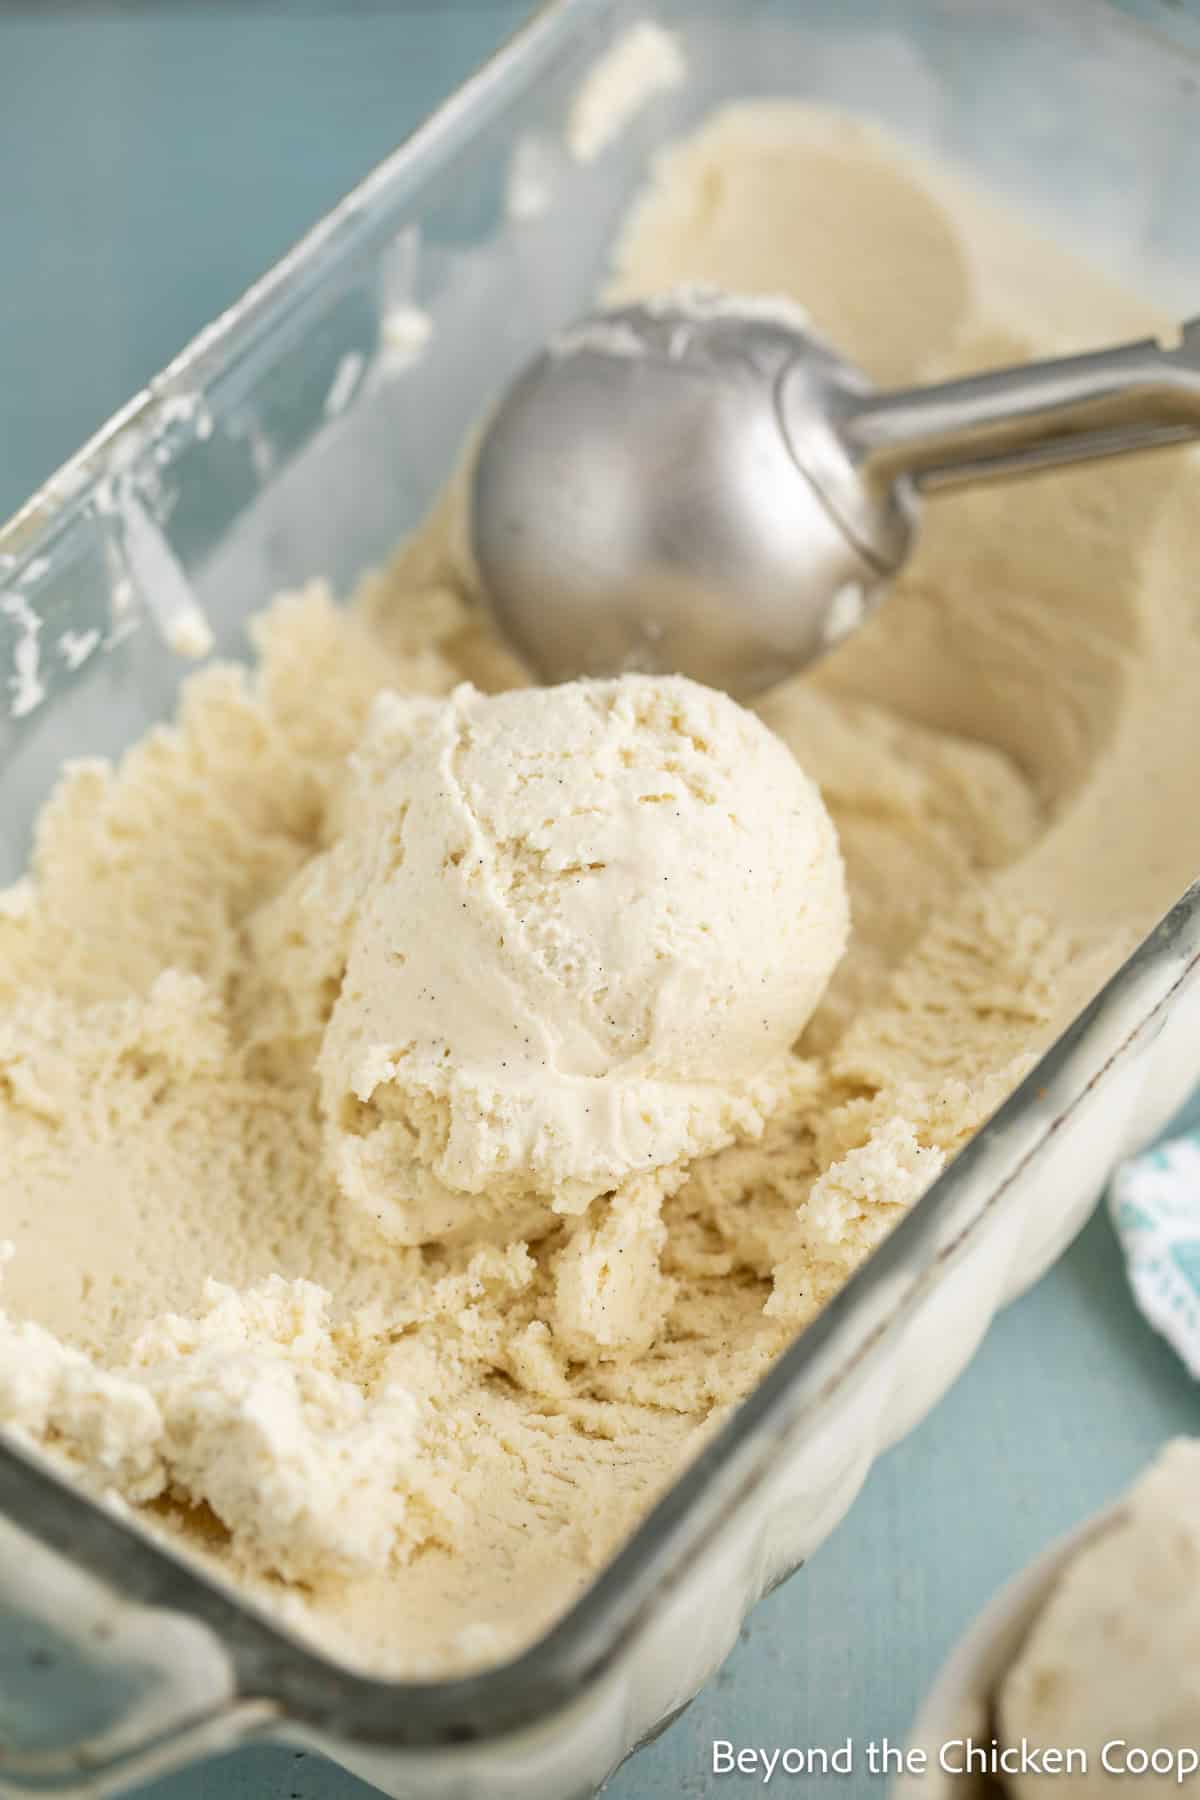
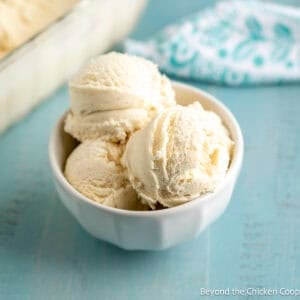
Homemade Vanilla Ice Cream is one of those simple pleasures that never goes out of style. This version starts with a classic custard base, giving it a rich, creamy texture that churns up smooth and delicious.
At a Glance: Churned custard with plenty of vanilla flavor • Makes about one quart • Perfect by itself or served with your favorite fruit dessert.
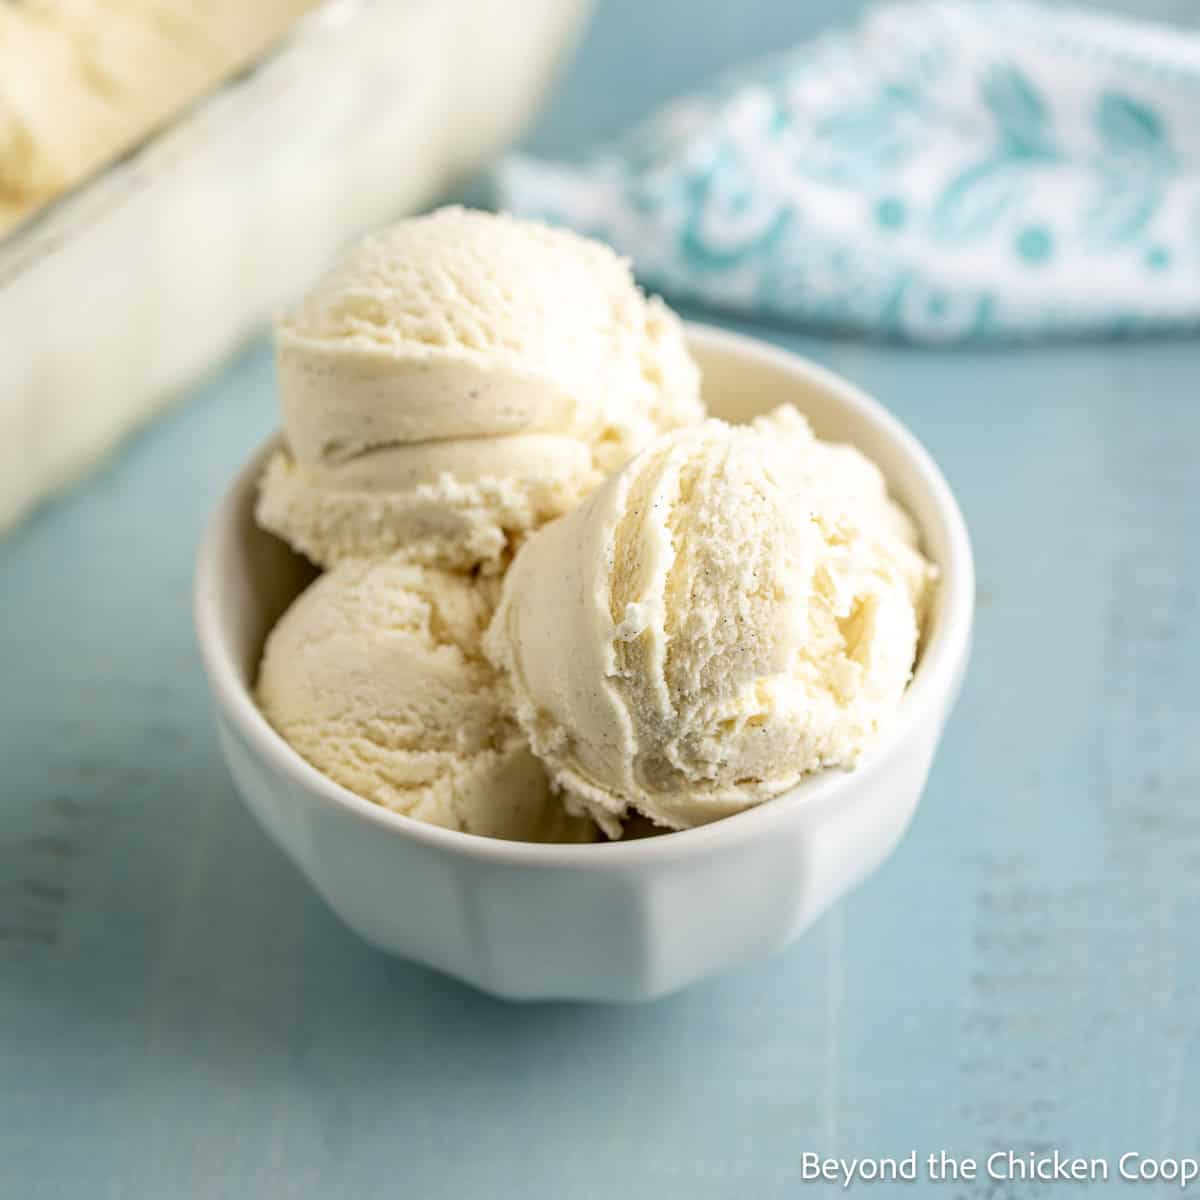
Vanilla Bean Ice Cream
I've always thought of vanilla ice cream as something to serve alongside a dessert or drizzled with a favorite sauce. It was rarely the main even in my bowl.
That changed with this recipe. It's incredibly rich and packed with real vanilla flavor, thanks to the custard base and vanilla bean paste. It's the kind of ice cream that stands on its own.
Back in college, my roommate's favorite flavor was always vanilla, and I never quite understood why. Now I do with this homemade version.
Key ingredients
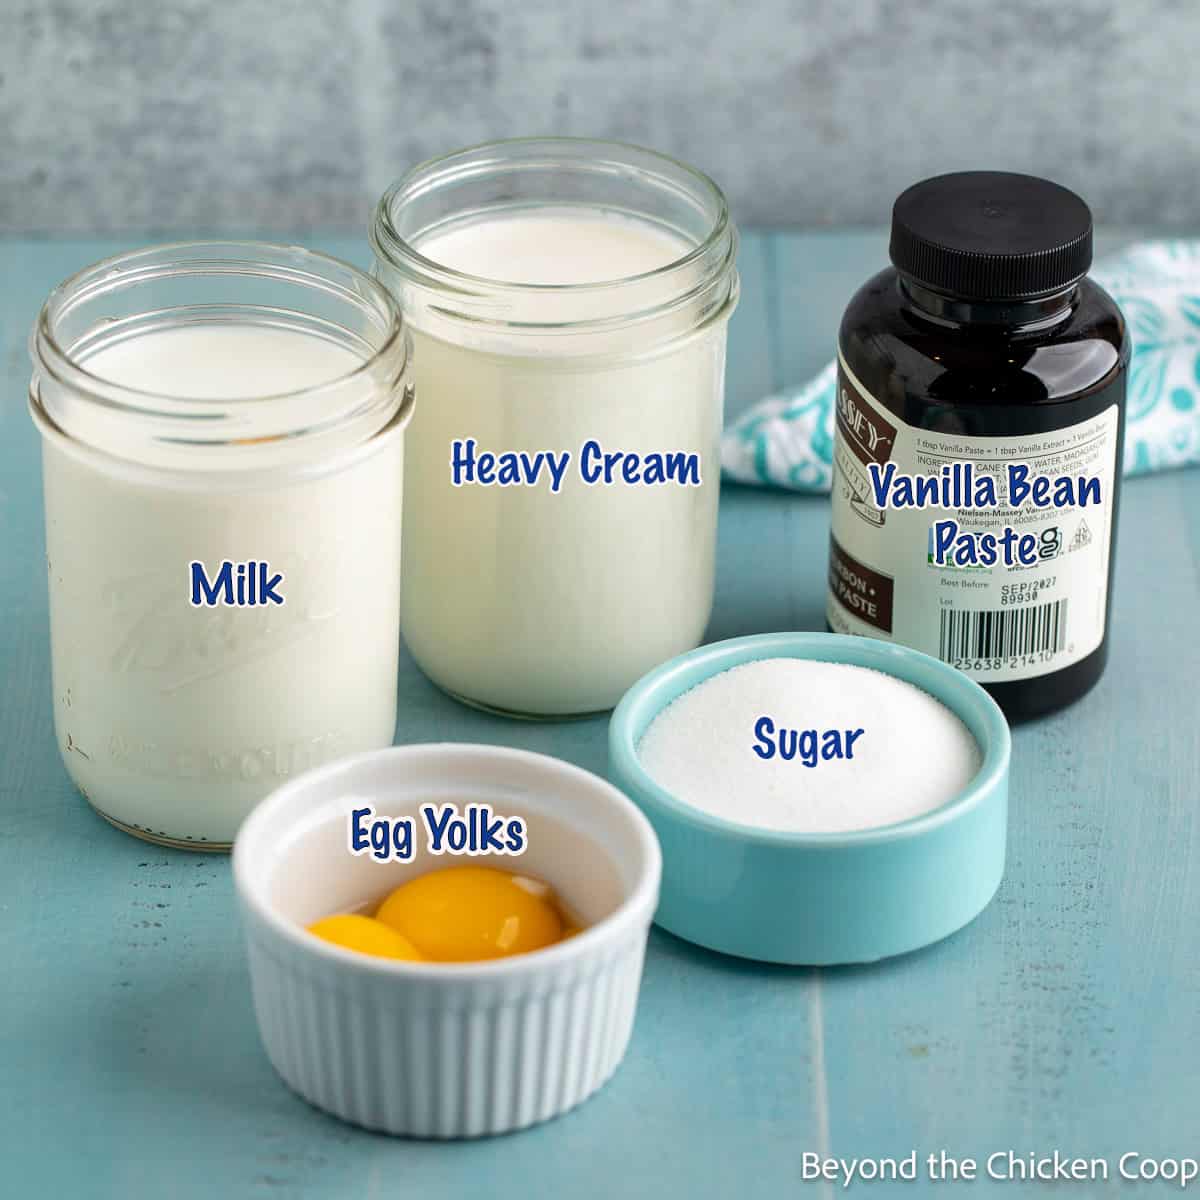
- Heavy Cream - Adds richness and creates a smooth, creamy texture.
- Whole Milk - Balances the cream and helps create a lighter, scoopable ice cream.
- Sugar - Sweetens the ice cream.
- Egg Yolks - Create the custard base and the rich flavor and velvety texture.
- Vanilla Bean Paste - A thick, syrupy vanilla that's packed with plenty of flavor and bits of vanilla bean. You can find it in the baking section of most grocery stores, and I often find it at Costco for a great price.
Making homemade vanilla ice cream
- Combine the cream and milk in a heavy-bottom pot. Heat over medium-low heat until warm and just beginning to simmer.
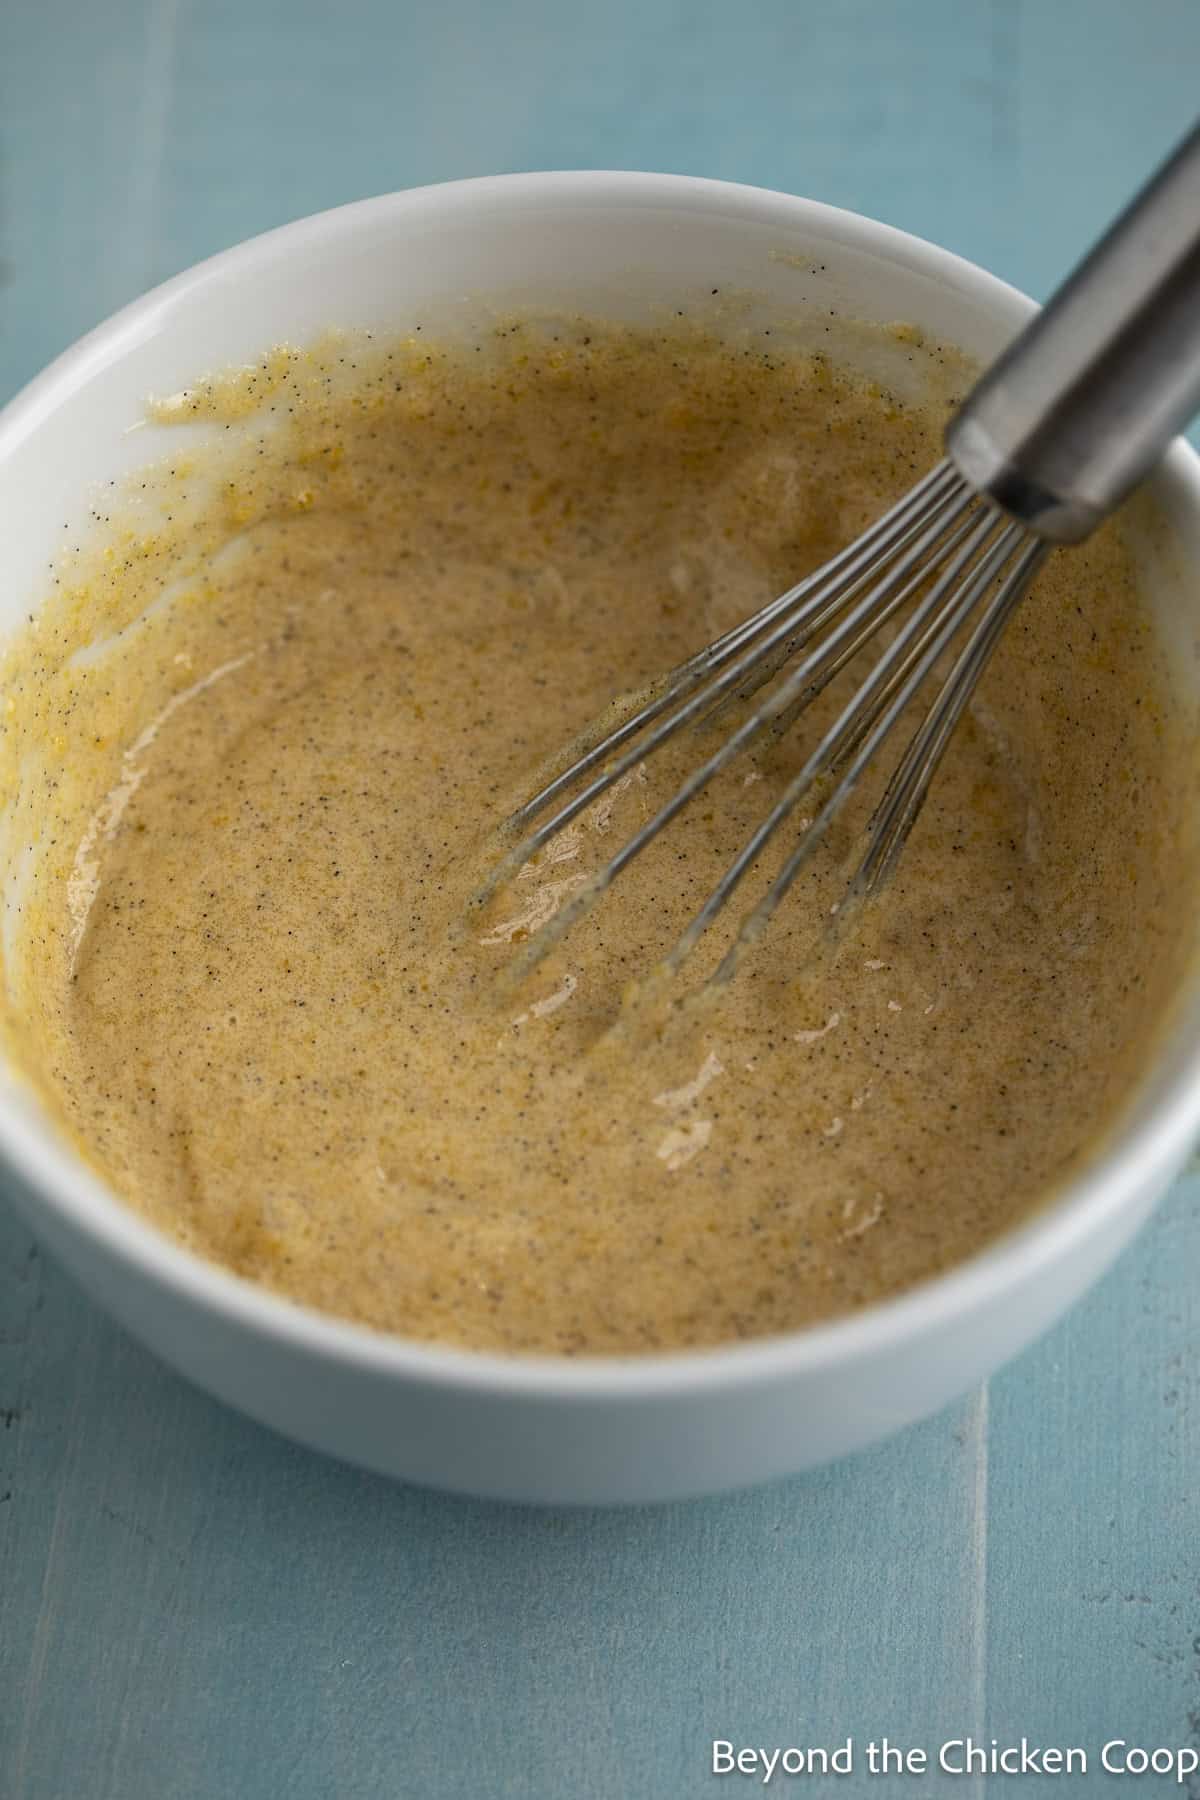
- In a bowl, combine egg yolks, sugar, and vanilla bean paste. Whisk until smooth.
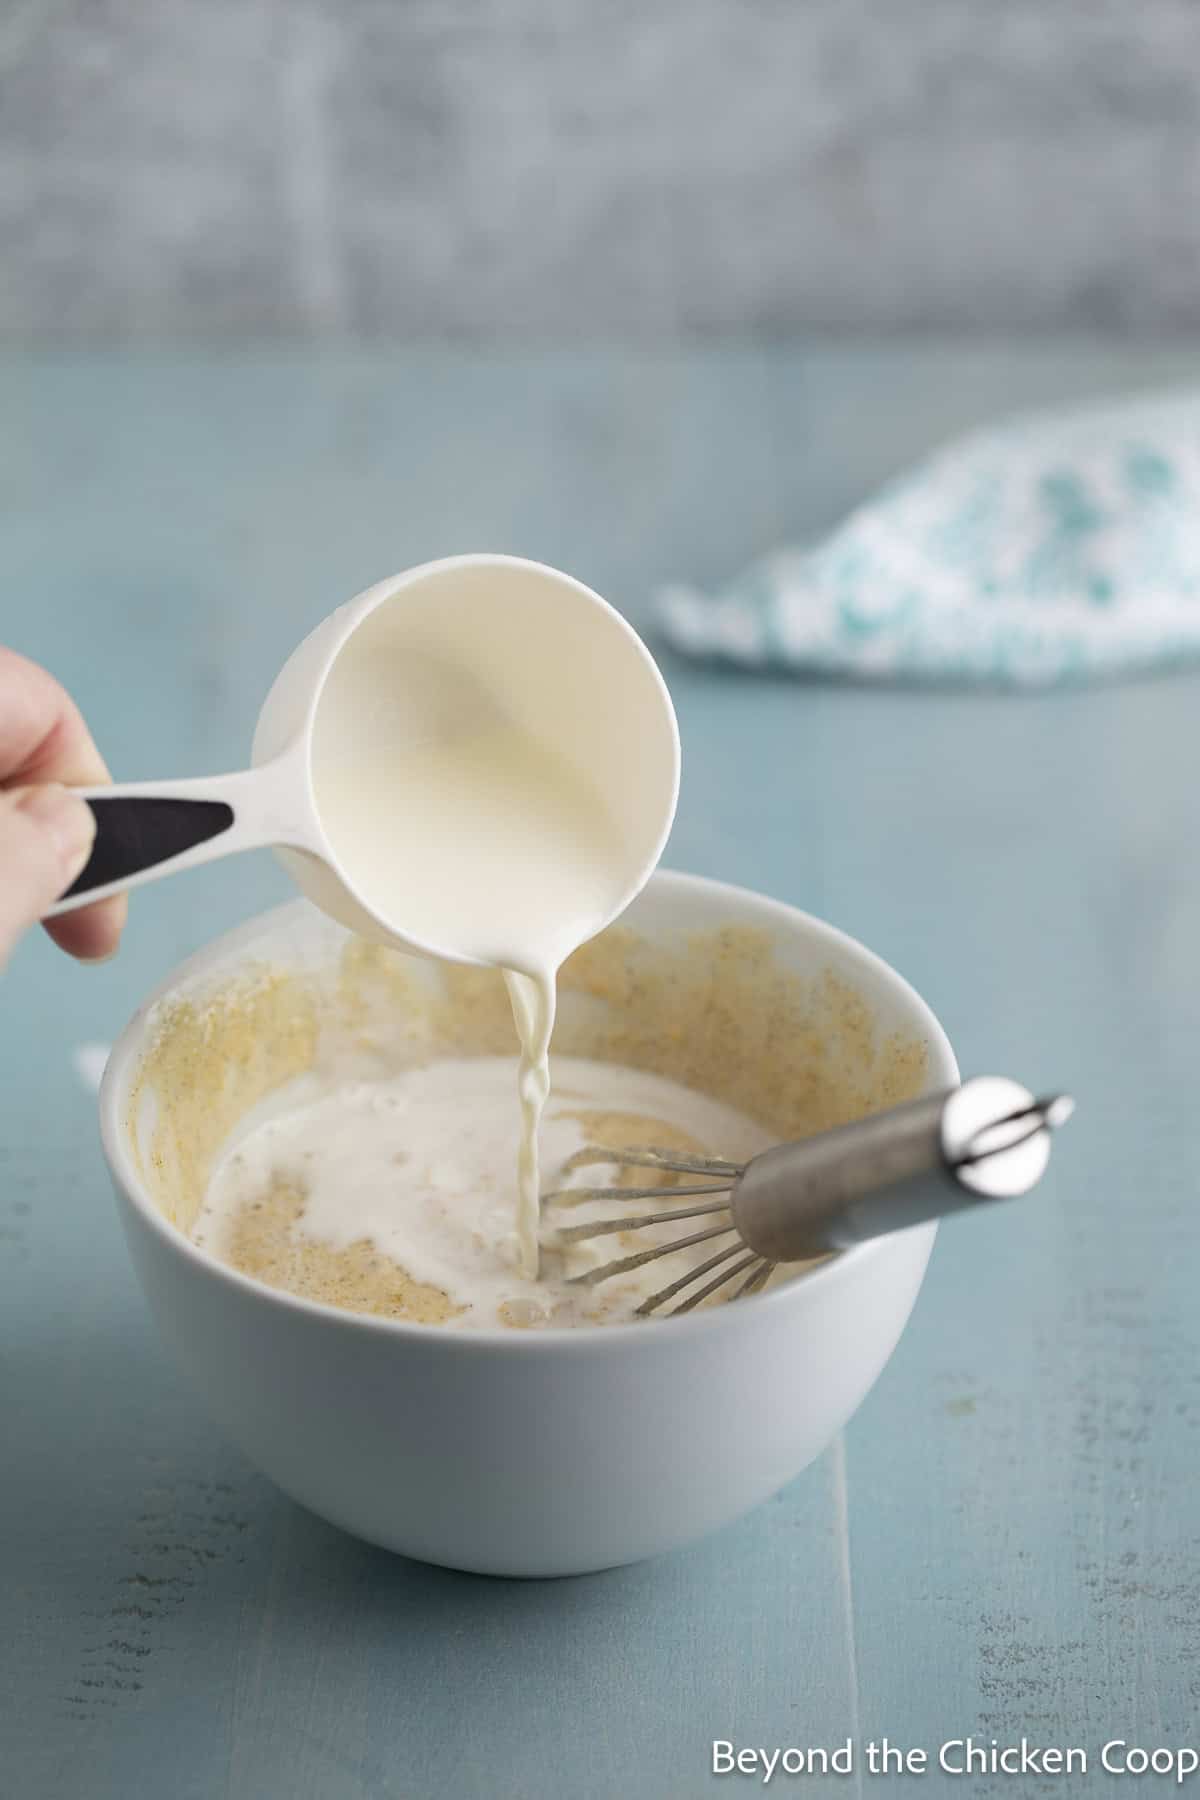
- Slowly whisk in ¼ cup of the hot milk mixture into the egg mixture. This tempers the eggs and helps prevent them from scrambling when added to the hot mixture.
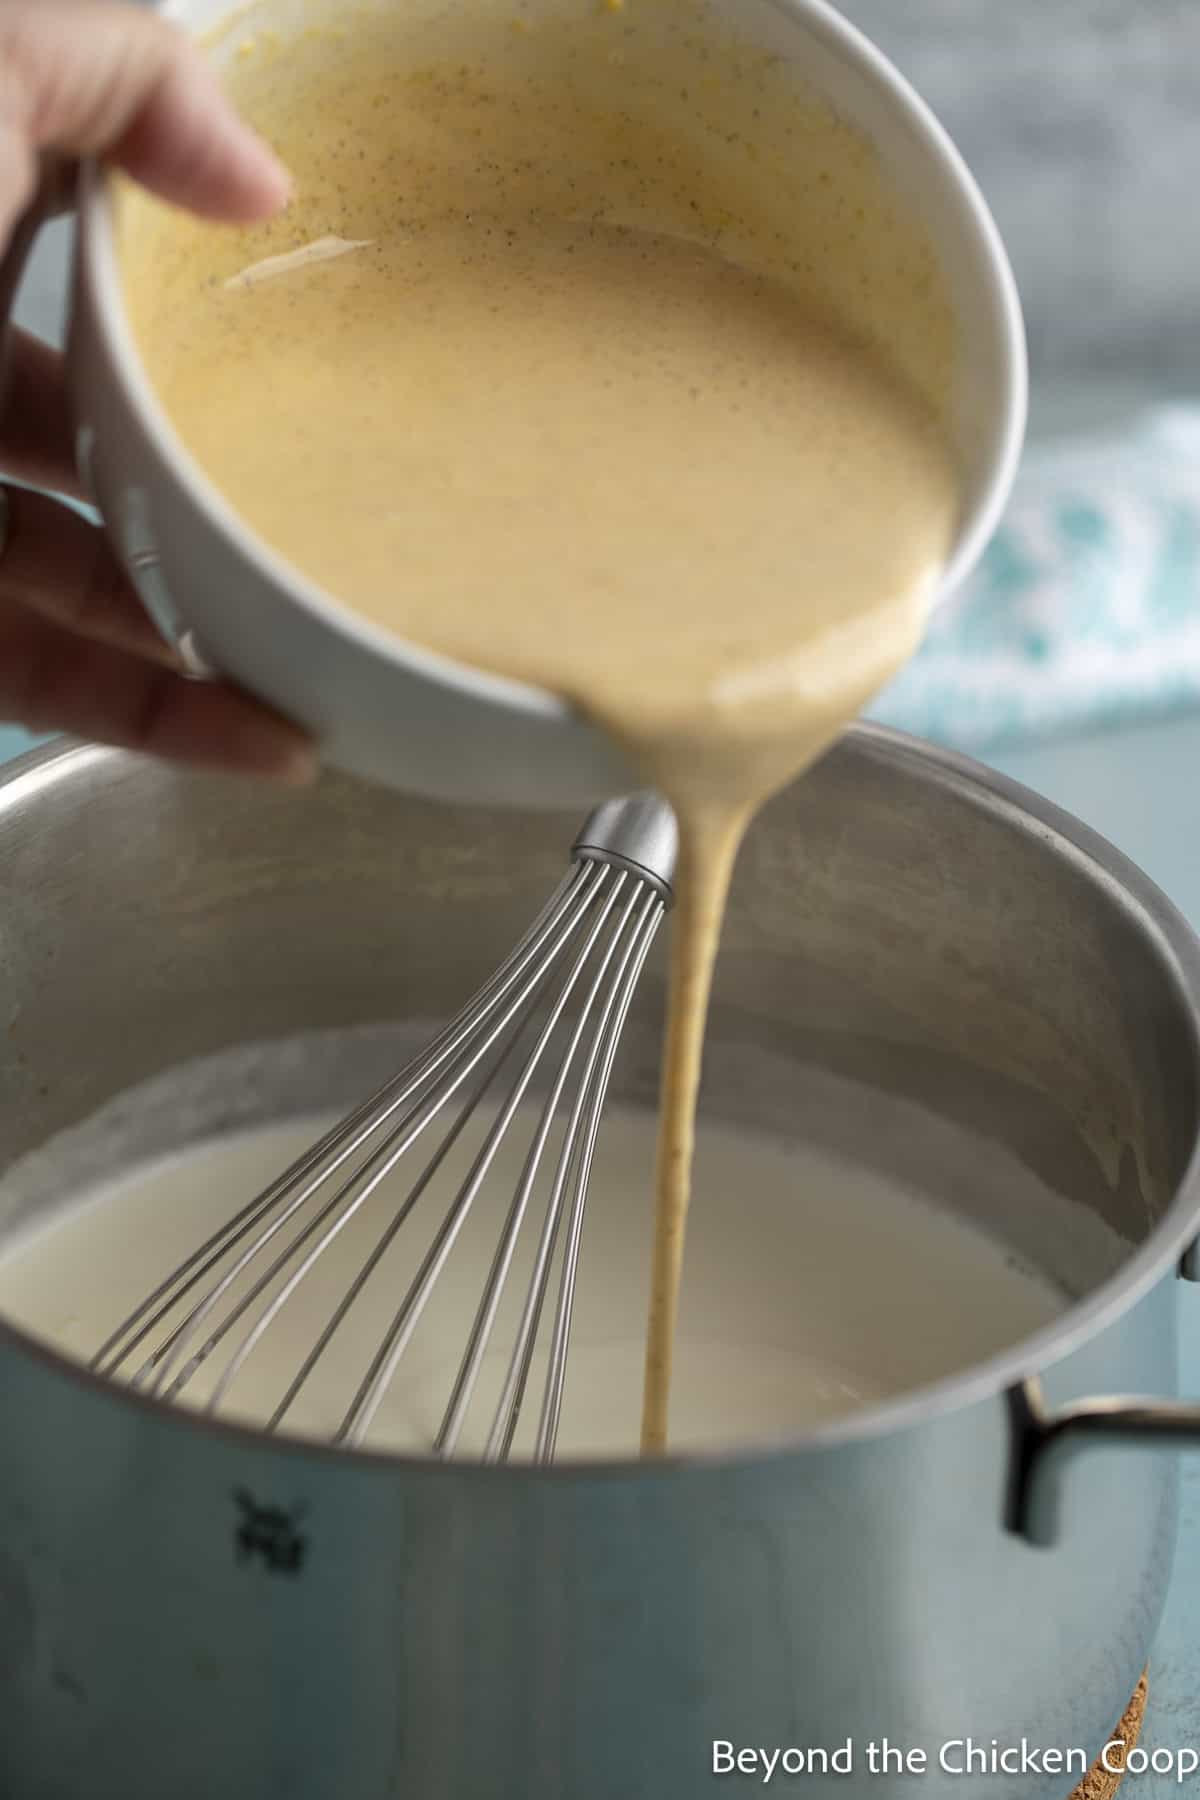
- Then whisk the tempered egg mixture into the pot of hot milk.

- Cook over medium-low heat until the mixture begins to thicken into a custard and coats the back of a spoon. The mixture should reach a temperature between 170-180°F.
- Strain through a fine-meshed sieve to remove any bits of egg.
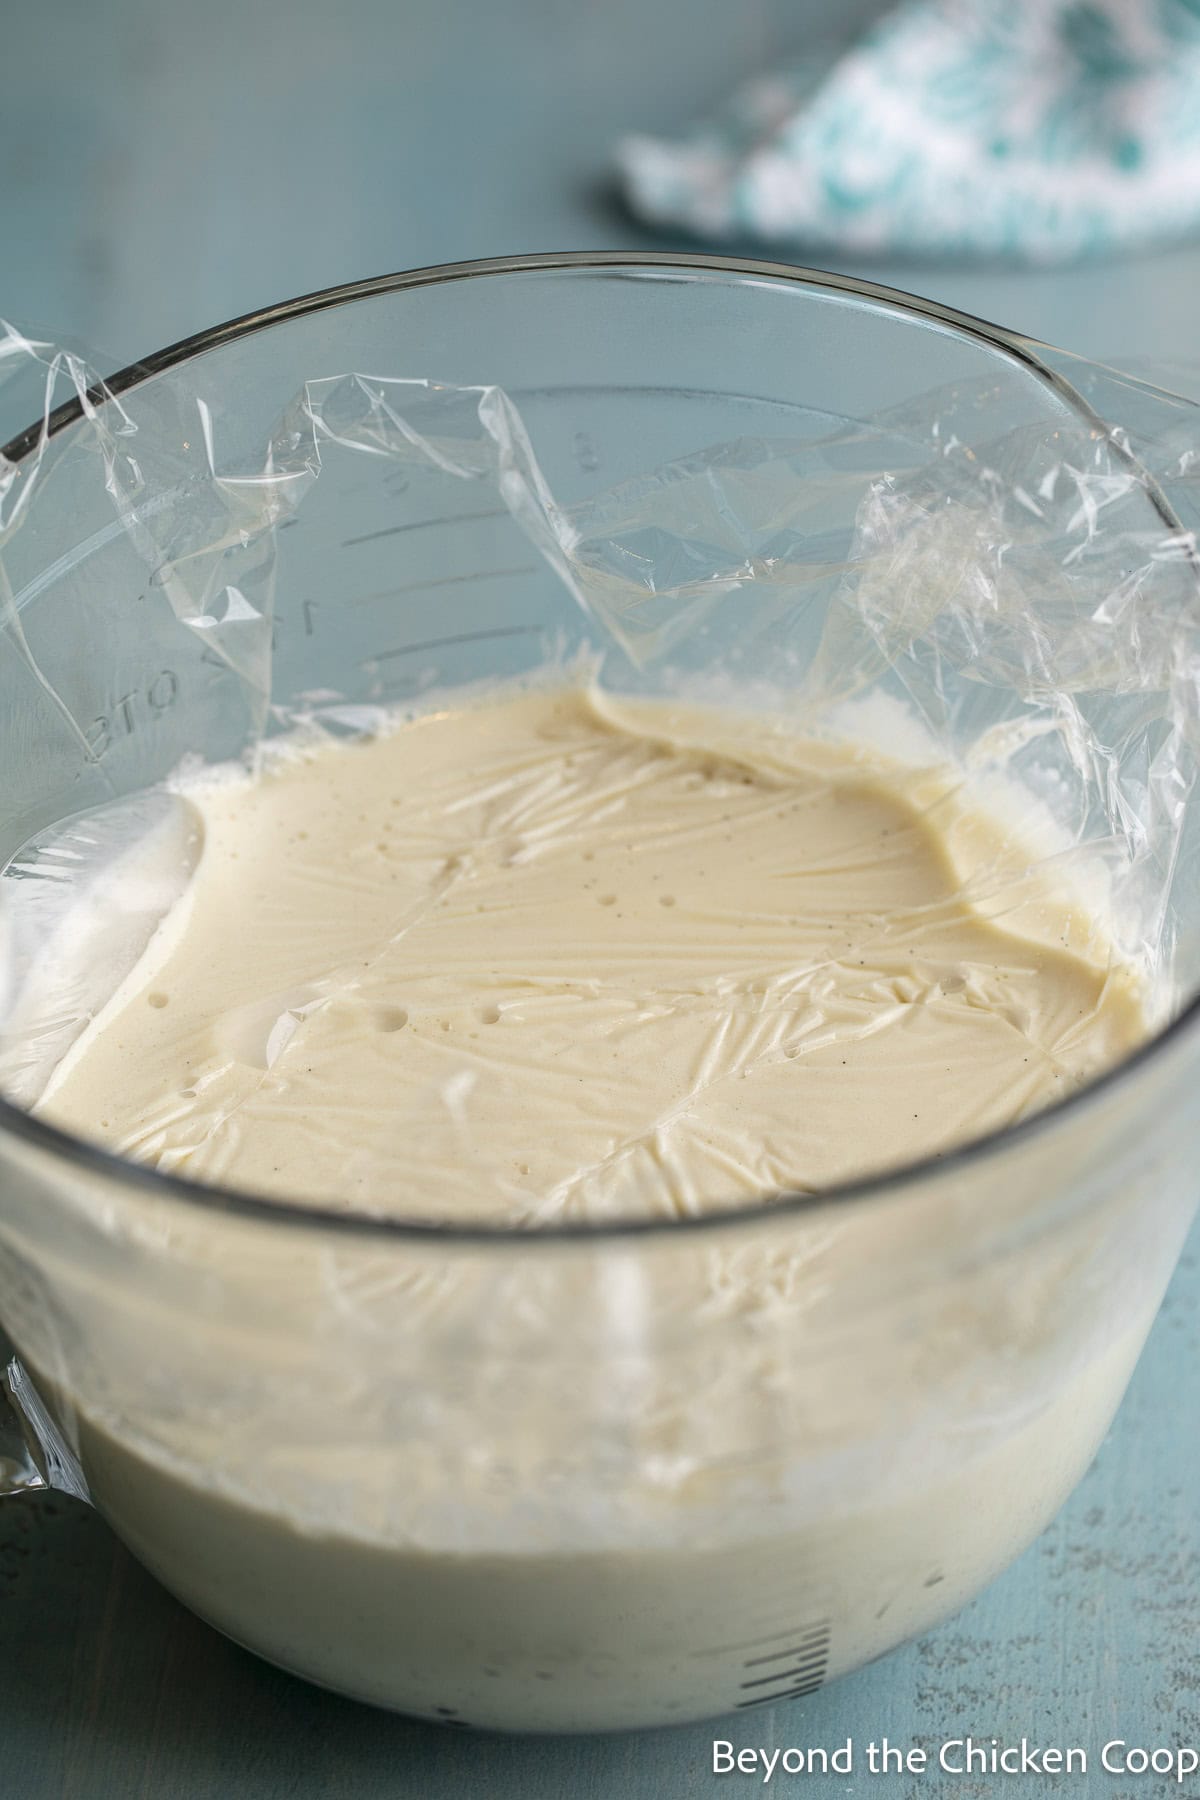
- Cover with plastic wrap, with the wrap in direct contact with the custard.
- Refrigerate for at least 4 hours until fully chilled.
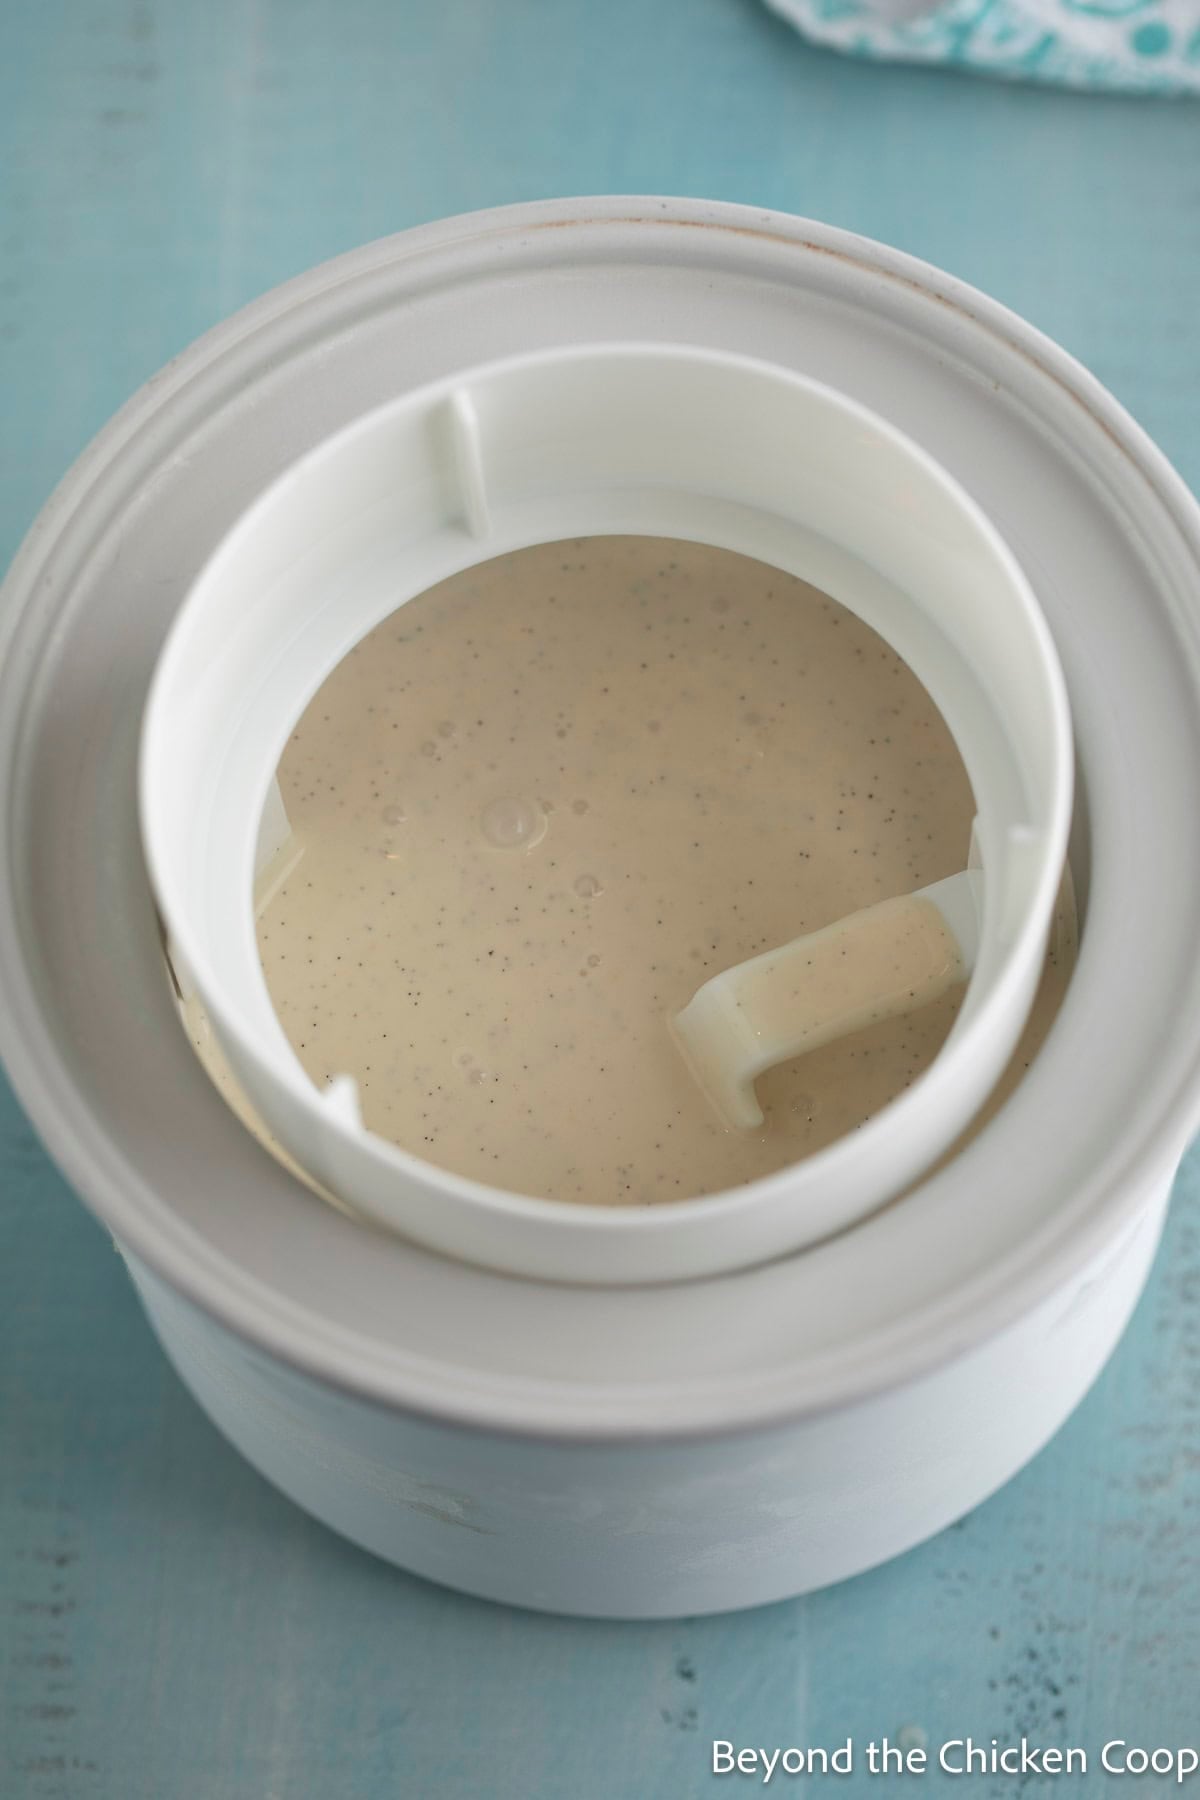
- Churn in an automatic ice cream maker until the mixture begins to thicken. My machine takes 20-25 minutes.
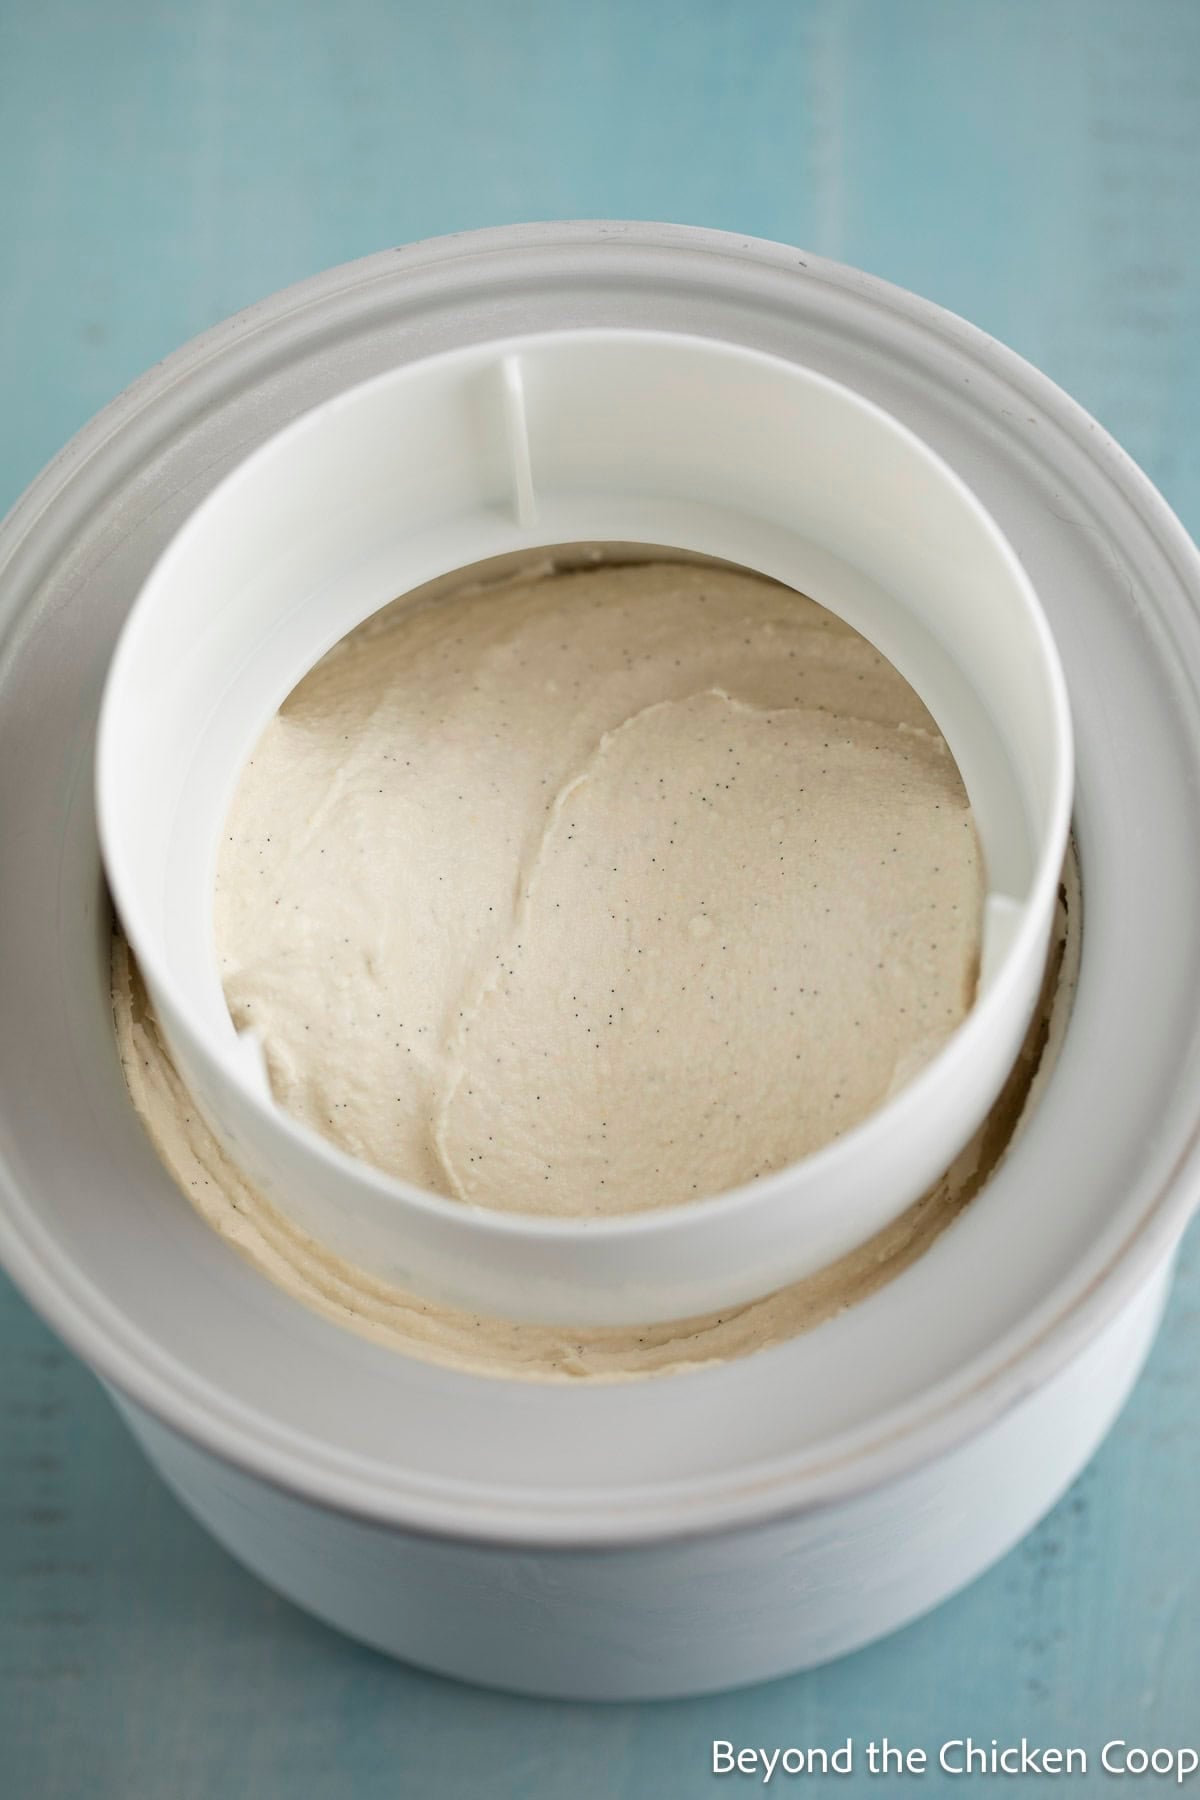
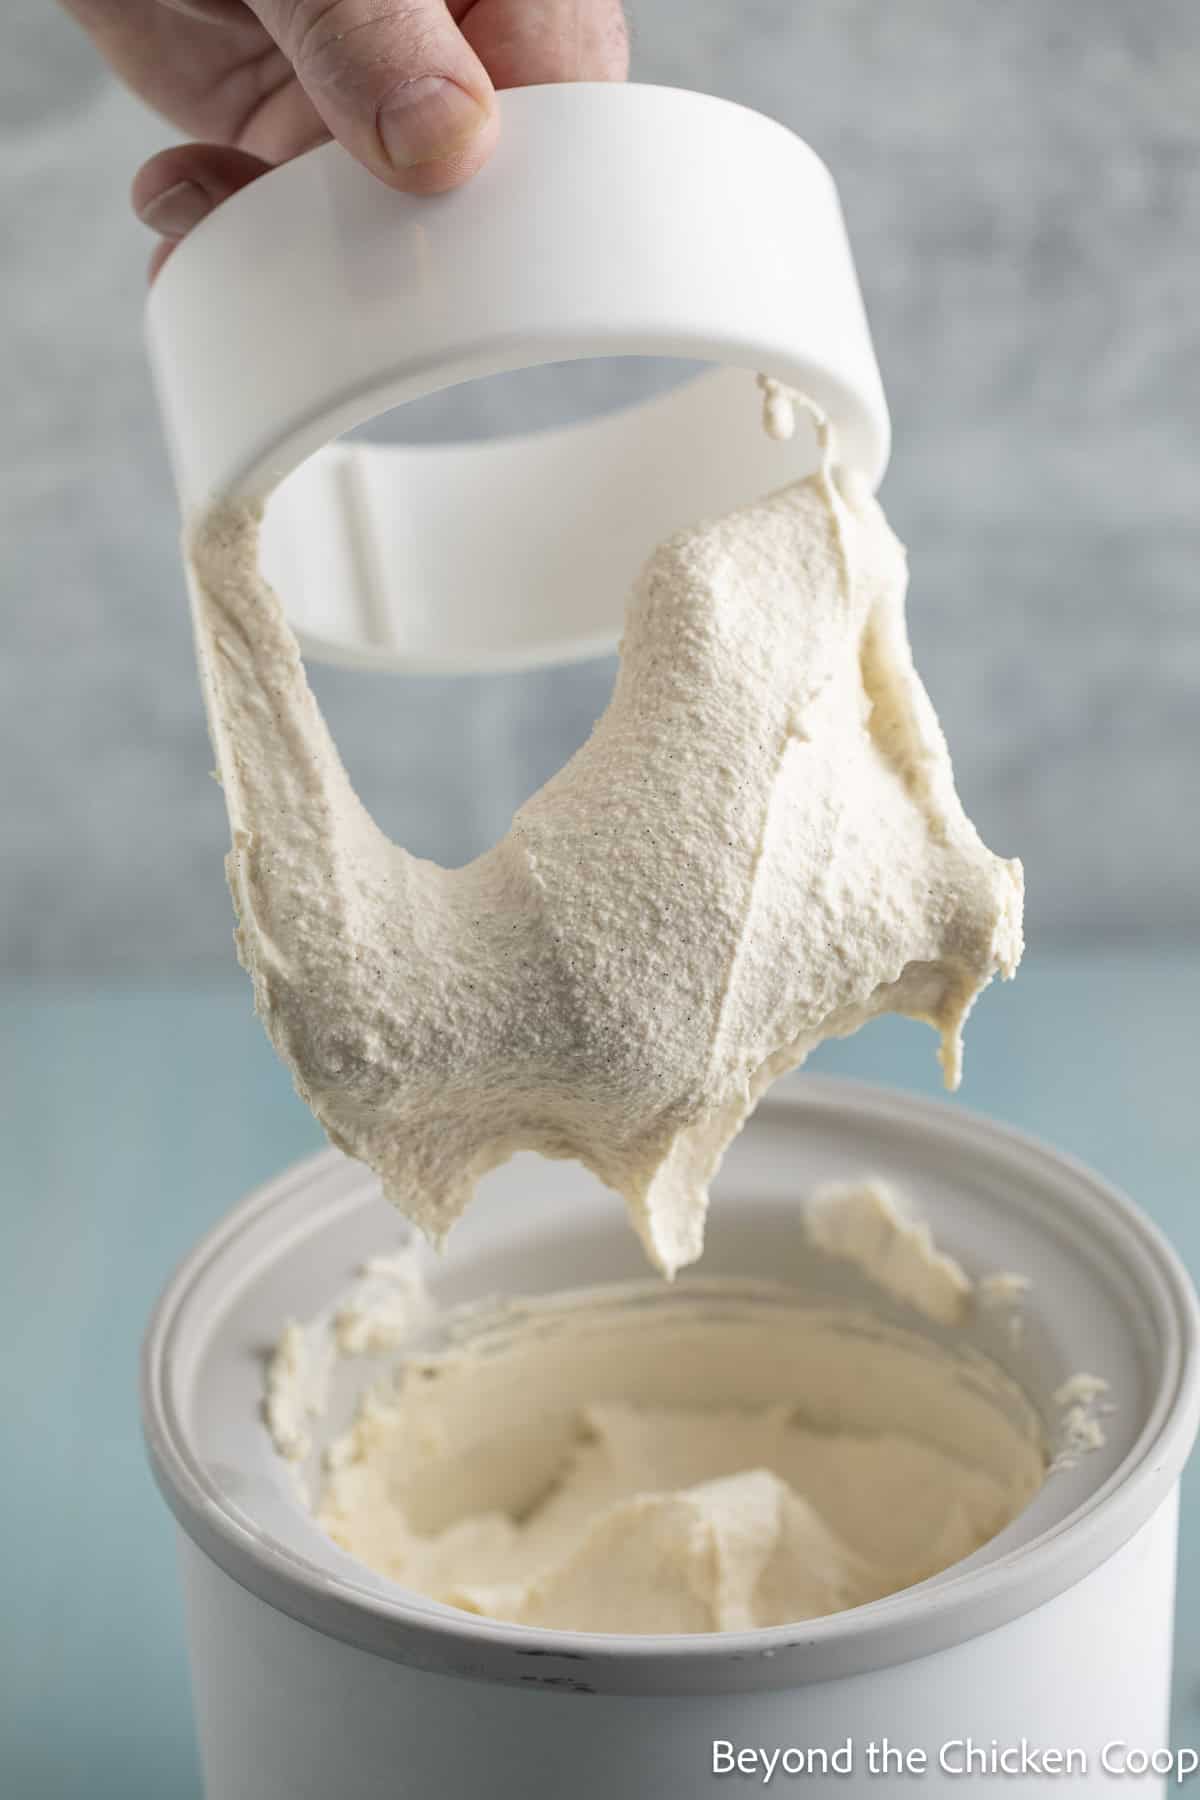
- Place churned ice cream in a container and place it in the freezer for at least 2 hours.
Hardening ice cream
After churning, ice cream is soft and has a texture similar to soft serve. Hardening, or curing, is the step where the ice cream is placed in the freezer to fully firm up. This allows the ice crystals to set and gives the ice cream that classic scoopable texture.
Homemade ice cream tips
- Strain your custard before chilling it. Even when you carefully temper the eggs, you can still end up with small bits of egg. Straining it helps ensure your ice cream is perfectly smooth.
- Make certain your custard is fully chilled (at least 4 hours) before churning.
- Your churning bowl should be completely frozen before churning (at least 12 hours).
- Harden ice cream in the freezer after churning for at least 2 hours.
- If ice cream becomes too hard, just let it sit at room temperature for 10 minutes before scooping.
- Not sure how to separate eggs? Check out this post on how to separate eggs.
Frequently asked questions
Yes, you can use equal amounts of extract in this recipe. However, the flavor won't be as rich as with the paste, and there won't be any small specks of vanilla.
This usually happens if the custard wasn’t fully chilled or the ice cream maker bowl wasn’t frozen solid before churning.
Serving suggestions
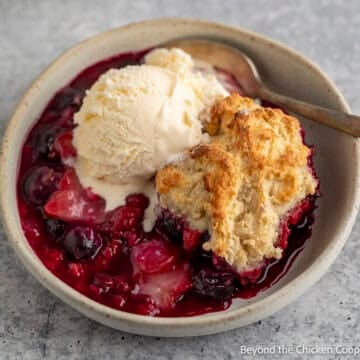
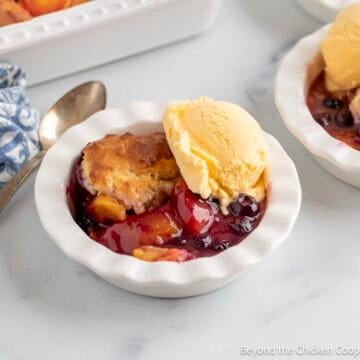
Serve scoops of ice cream with your favorite sauce.
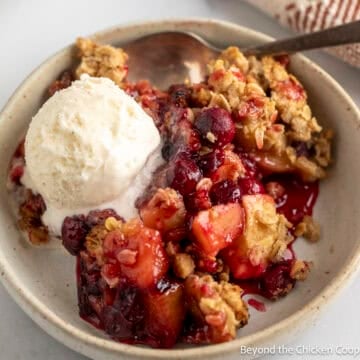
Vanilla ice cream is a perfect finish to homemade desserts.
More delicious homemade ice cream recipes
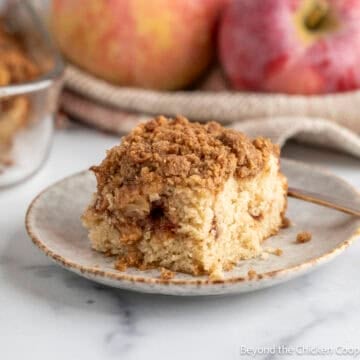
- Old Fashioned Peach Ice Cream
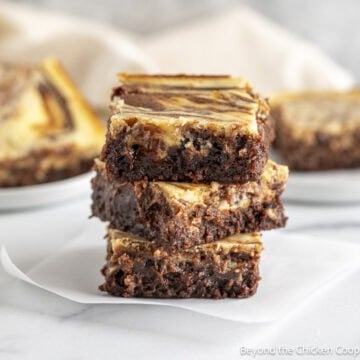
- Chocolate Brownie Ice Cream
- Strawberry Ice Cream
- Mint Chocolate Chip Ice Cream
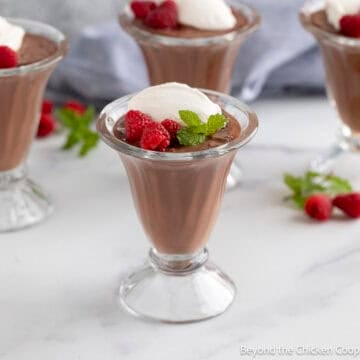
- Raspberry Swirl Ice Cream
If you make this recipe, I’d love to hear about it! Leave a comment below and snap a picture and tag me on Instagram @beyondthechickencoop
Check out all my delicious dessert recipes.
Homemade Vanilla Ice Cream
Equipment
Ingredients
- 2 cups heavy cream
- 2 cups whole milk
- 3 egg yolks
- ½ cup sugar
- 2 tablespoons vanilla bean paste
- 1 pinch salt (about ⅛ teaspoon)
Instructions
- Place heavy cream and milk in a heavy bottomed sauce pan over medium-low heat until it barely comes to a simmer. Look for steam and a few small bubbles.2 cups heavy cream, 2 cups whole milk
- While the milk is heating, whisk the egg yolks, sugar, and vanilla bean paste together until smooth.3 egg yolks, ½ cup sugar, 2 tablespoons vanilla bean paste
- Slowly whisk in ¼ cup of the hot milk mixture into the egg mixture. This tempers the eggs and helps prevent them from scrambling when added to the hot mixture. Then whisk the tempered egg mixture into the pot of hot milk.
- Stir in a pinch of salt.1 pinch salt
- Cook over medium-low heat until the mixture begins to thicken into a custard and coats the back of a spoon. The mixture should reach a temperature between 170-180°F.
- Pour custard through a fine mesh sieve into a bowl.
- Place plastic wrap directly on the surface of the custard and refrigerate for at least 4 hours until fully chilled.
- Churn in an automatic ice cream maker until the mixture begins to thicken. My machine takes 20-25 minutes.
- Place churned ice cream in a container and place in the freezer for at least 2 hours.
Notes
- Strain your custard before chilling it. Even when you carefully temper the eggs, you can still end up with small bits of egg. Straining it helps ensure your ice cream is perfectly smooth.
- Make certain your custard is fully chilled (at least 4 hours) before churning.
- Your churning bowl should be completely frozen before churning (at least 12 hours).
- Harden ice cream in freezer after churning for at least 2 hours.
- If ice cream becomes too hard, just let sit at room temperature for 10 minutes before scooping.
- Not sure how to separate eggs? Check out this post on how to separate eggs.
Nutritional Disclaimer:
Nutritional information is provided as a courtesy and should only be construed as an estimate rather than a guarantee. To obtain the most precise nutritional information in a provided recipe, you should calculate the nutritional information with the exact ingredients you are using when preparing the recipe using your preferred nutrition calculator.
Leave a Reply