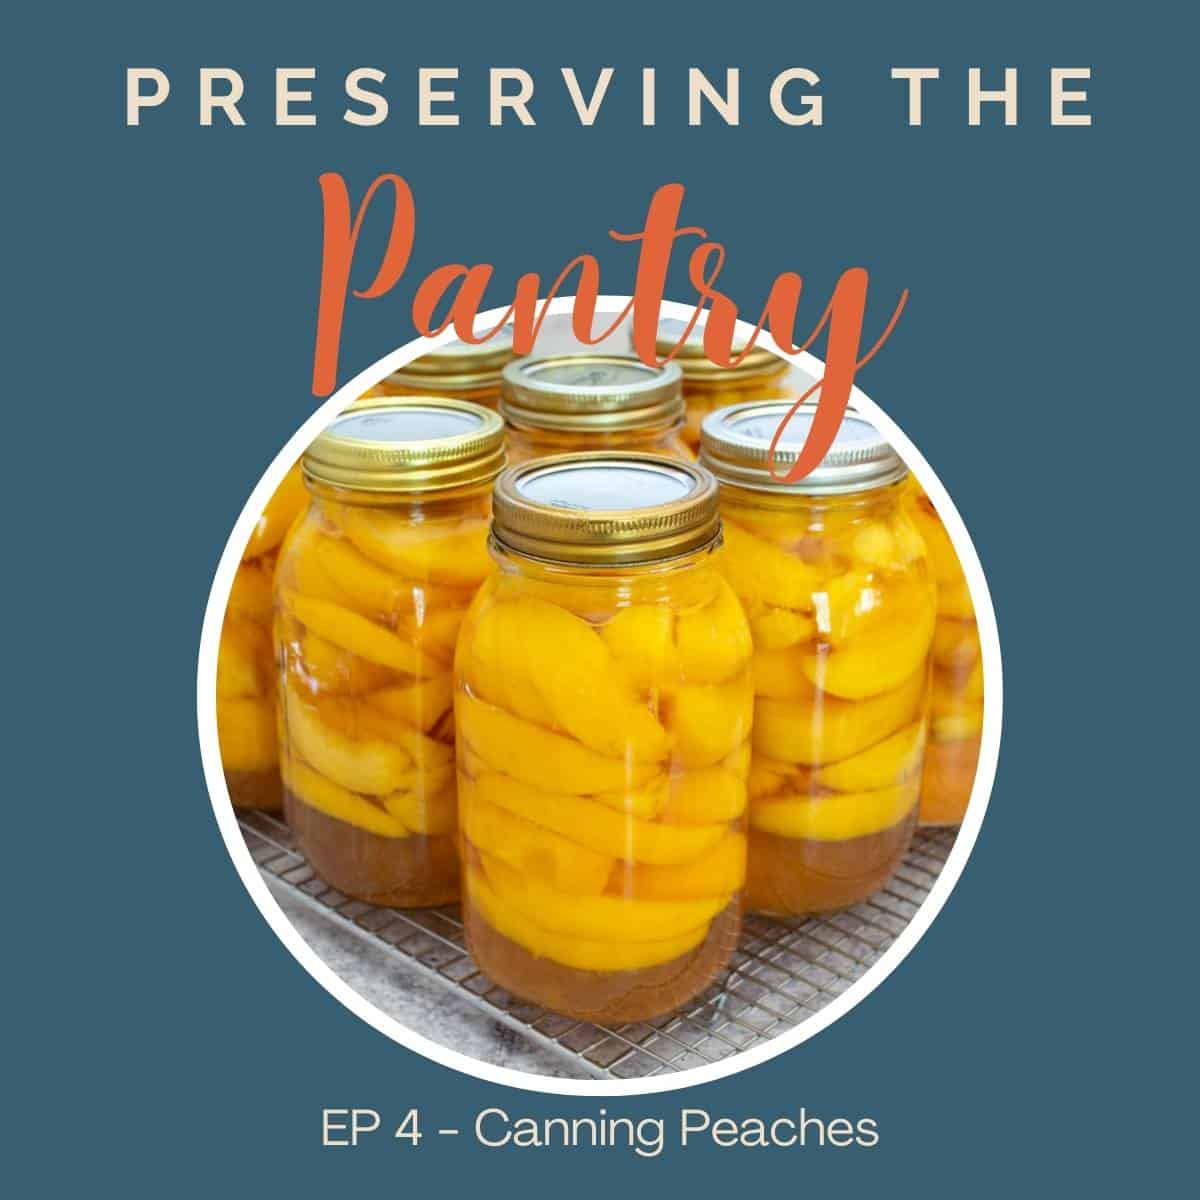
In episode four, Kathy talks about her method for canning peaches.
Play the episode
Find the complete recipe for Canning Peaches!
Recipes mentioned in this podcast:
In this episode you'll learn:
- How to prepare peaches for canning
- Ratio for making a very light syrup
- Processing time for peaches
- How to prevent syphoning
- Why not to can white peaches
Where to listen to the podcast
Listen to this episode on iTunes, Spotify, Amazon Podcast, or your favorite podcast player. Or scroll down to read a full transcript.
Resources
- Canning jars
- Jar lifter and canning tools
- Canning pot
- National Center for Home Preservation of Food
If you love this podcast, I’d love to hear about it! Leave a comment below and hop over and leave a comment on Instagram @preservingthepantry!
Transcript
Hi and welcome back! Today we are continuing our conversation on how to preserve fresh peaches. In our last episode, we discussed how to freeze peaches. And today we're going to talk about how to can peaches. I use both methods every year. I love the ease of freezing peaches, but I also like that canned peaches are shelf stable and ready to eat.
I used canned peaches in my baking as well. My peach muffin recipe uses canned peaches. I simply chop up the peaches, add it to the batter along with a little bit of the peach juice. It adds just an extra special touch.
Some equipment you are going to need for canning peaches. As you will need either pint or quart size jars lids rings a jar lifter, a debubbler, a canning pot and a cooling rack.
This recipe is for raw packing, yellow freestone peaches. I like to use freestone peaches because the pit is so easy to remove from the peach itself. First, you're going to start by making a sugary syrup. I like to make a very, very light sugar syrup, but you can decide how sweet you would like to make your syrup.
You could also just use plain water if you'd prefer. I like the very light sugar syrup, because I think it enhances the peach flavor. My ratio for the sugar syrup is about 10 to one, about 10 parts of water to one part of sugar. I have a whole chart that outlines the different types of sugar syrup in my blog post on how to can peaches.
First, you're going to start by blanching your peaches. Drop a couple of peaches in boiling water at a time for 30 seconds to one minute. Remove them and place them in a bowl full of ice water. The peels should just slip off.
Cut your peaches in half and then into wedges. Place the wedges in a bowl full of cool water with fresh lemon juice, the lemon juice will help prevent the peaches from turning dark.
Once you have cut up all of your peaches, put them into your jars leaving a half inch head space from the top of the jar. Pour your hot sugar syrup over the top of the peaches. Again, leaving a half inch head space. Remove the bubbles by gently tapping the jar on the counter and using your de bubbler around the inside of the jar.
Wipe down the rim. Add your lid and your rings, and then place your jars into the canner. The canner should be half full of simmering water. Once all of your jars are into the canner make certain that you have at least one inch of water over the top of the jars, add additional water if needed. Place the lid on the canner and turn that heat all the way up.
Once the water comes to a full boil, start your time. Quart jars will need 25 minutes of processing time. Remember, you'll need to add additional time depending on your elevation. I am at about 2000 feet and I need to add an additional five minutes for processing time. I have a complete chart outlining the additional processing time, depending on your elevation. Make certain you refer to that chart.
Once your processing time is up. Turn the heat off, but leave the lid on for five minutes, then remove the lid and wait another five to 10 minutes before removing the jars. This helps prevent siphoning. Siphoning is when you take that hot jar out of the hot water bath into a cooler temperature sometimes.
You'll lose some of the liquid that's just forced right out of the jar by leaving the lid on for five minutes and then leaving the jars in the water for another five to 10 minutes before removing the jars, you will help prevent or minimize the siphoning. Use a jar lifter to take the jars out of the pot and place on a cooling rack.
The jars need to fully cool for 12 to 24 hours before you touch them, don't tighten the rings. Don't touch the top. Just let the jars cool. After they are fully cooled, then you're going to test to see if they have sealed. Simply touch your finger on the top of the jar. If the lid does not go up and down, the jar should be sealed, remove the rings and further check the seal.
Then you want to wash the jars off because sometimes you do get the residue or you will have minimal siphoning and you want to remove all that sticky residue from the outside of the jar.
Label each jar with the contents and the date, and then store in your pantry.
One note, the national center for home food preservation advises not to use this method for canning white peaches.
This recipe is just for yellow peaches. They say that white peaches have a lower acidity level and it's not safe for water bath canning.
This recipe and all the details can be found on my website, beyond the chicken coop. I will also provide a direct link in the show notes to this page. If you enjoy listening to preserving the pantry, I would love it if you'd subscribe.
So you don't miss a single episode. We'll see you again next time. Thanks for listening.
Thanks for listening and be sure to tune in again next week for more episodes of Preserving the Pantry.
Leave a Reply