

 by
by 
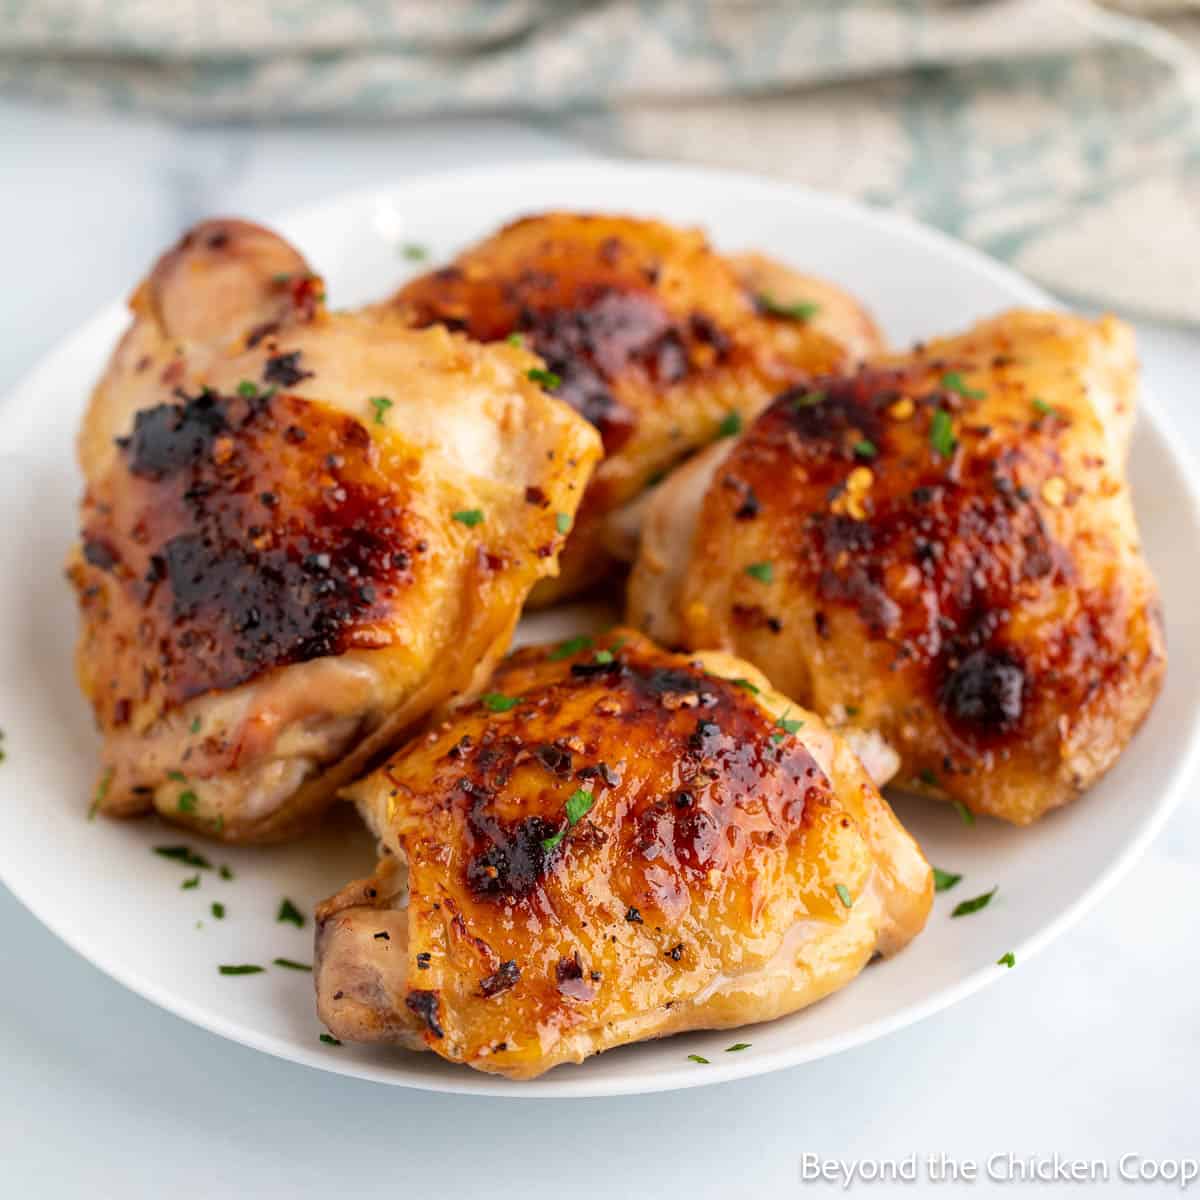
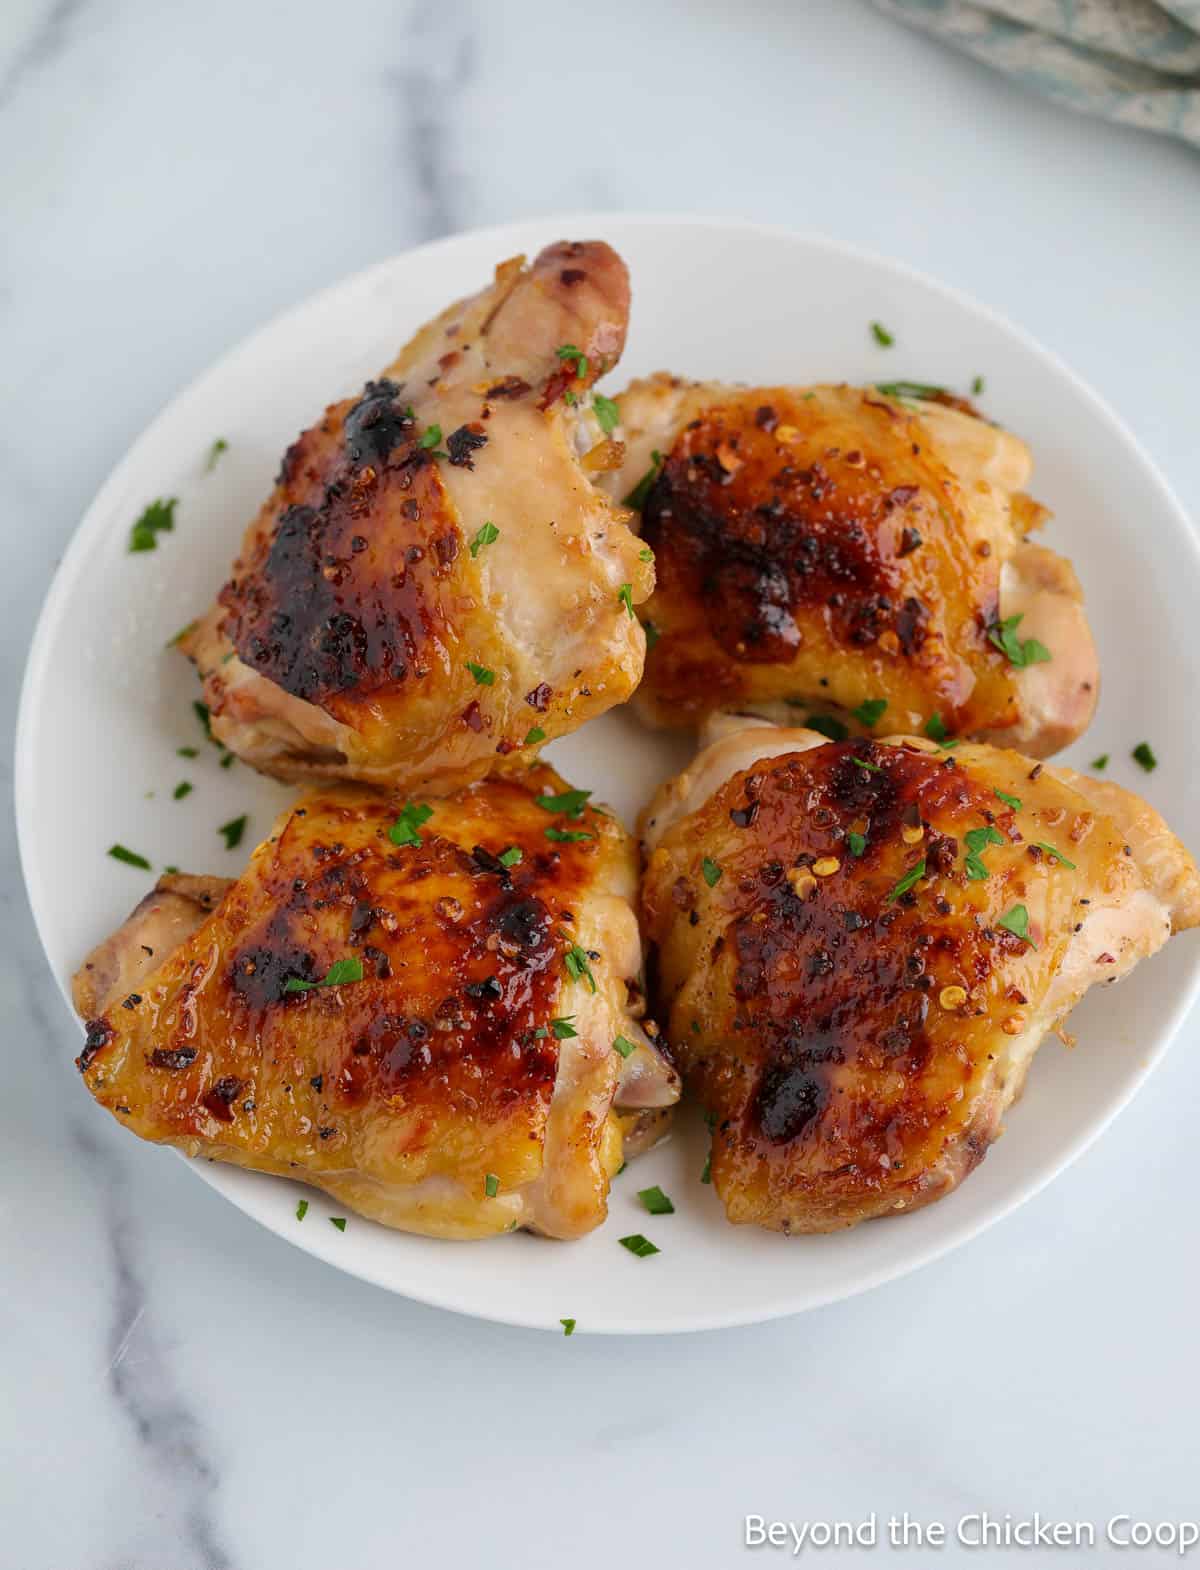
These Baked Honey Chicken Thighs are an easy-to-make recipe full of flavor. The chicken is basted in a tasty honey glaze that adds just a touch of sweetness!
Honey garlic chicken
Baked honey chicken couldn't be easier or more delicious! It's a tasty dish that's easy to make.
The sauce is made with honey, soy sauce, garlic, and a bit of apple cider vinegar. The chicken is baked with the sauce, which creates a lovely glaze and amazing taste.
These chicken thighs just need about 5 minutes of prep to get everything together, and then you just pop them into the oven and bake until they are cooked through!
Easy peasy and delicious!
Key ingredients for honey chicken
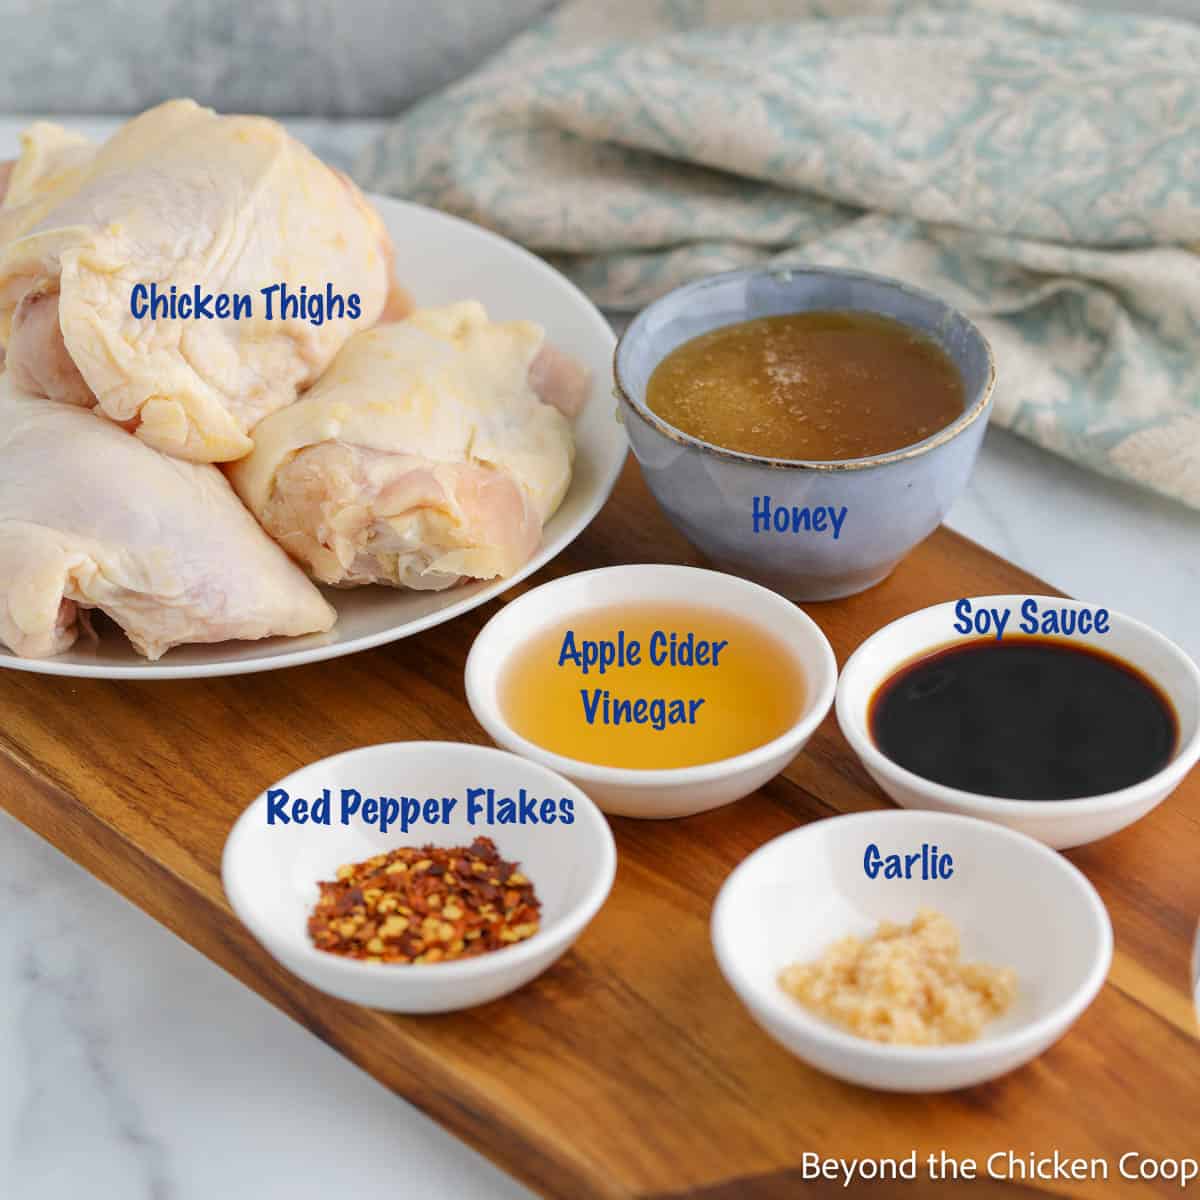
This section reviews the best ingredients and substitutions for this recipe. For an exact list of ingredients and quantities, check the recipe card below.
- Chicken - I used bone-in, skin-on chicken thighs. The thighs are juicy and full of flavor.
- Honey - Use your favorite!
- Soy Sauce - I prefer to use a low-sodium soy sauce. Otherwise, the sauce tends to become too salty once it reduces in the oven.
- Apple Cider Vinegar - Adds the perfect balance of acidity. You could also use rice wine vinegar or white wine vinegar.
- Sesame Oil - Adds a deep nutty flavor. If you don't have any on hand, you can omit.
- Garlic - Fresh, chopped garlic adds a ton of flavor.
- Red Pepper Flakes - Add as much or as little as you prefer.
Making baked honey chicken
In this section, I share step-by-step photos, cooking methods, techniques, and a general overview. For detailed instructions, temperatures, and timing, check the printable recipe card below.
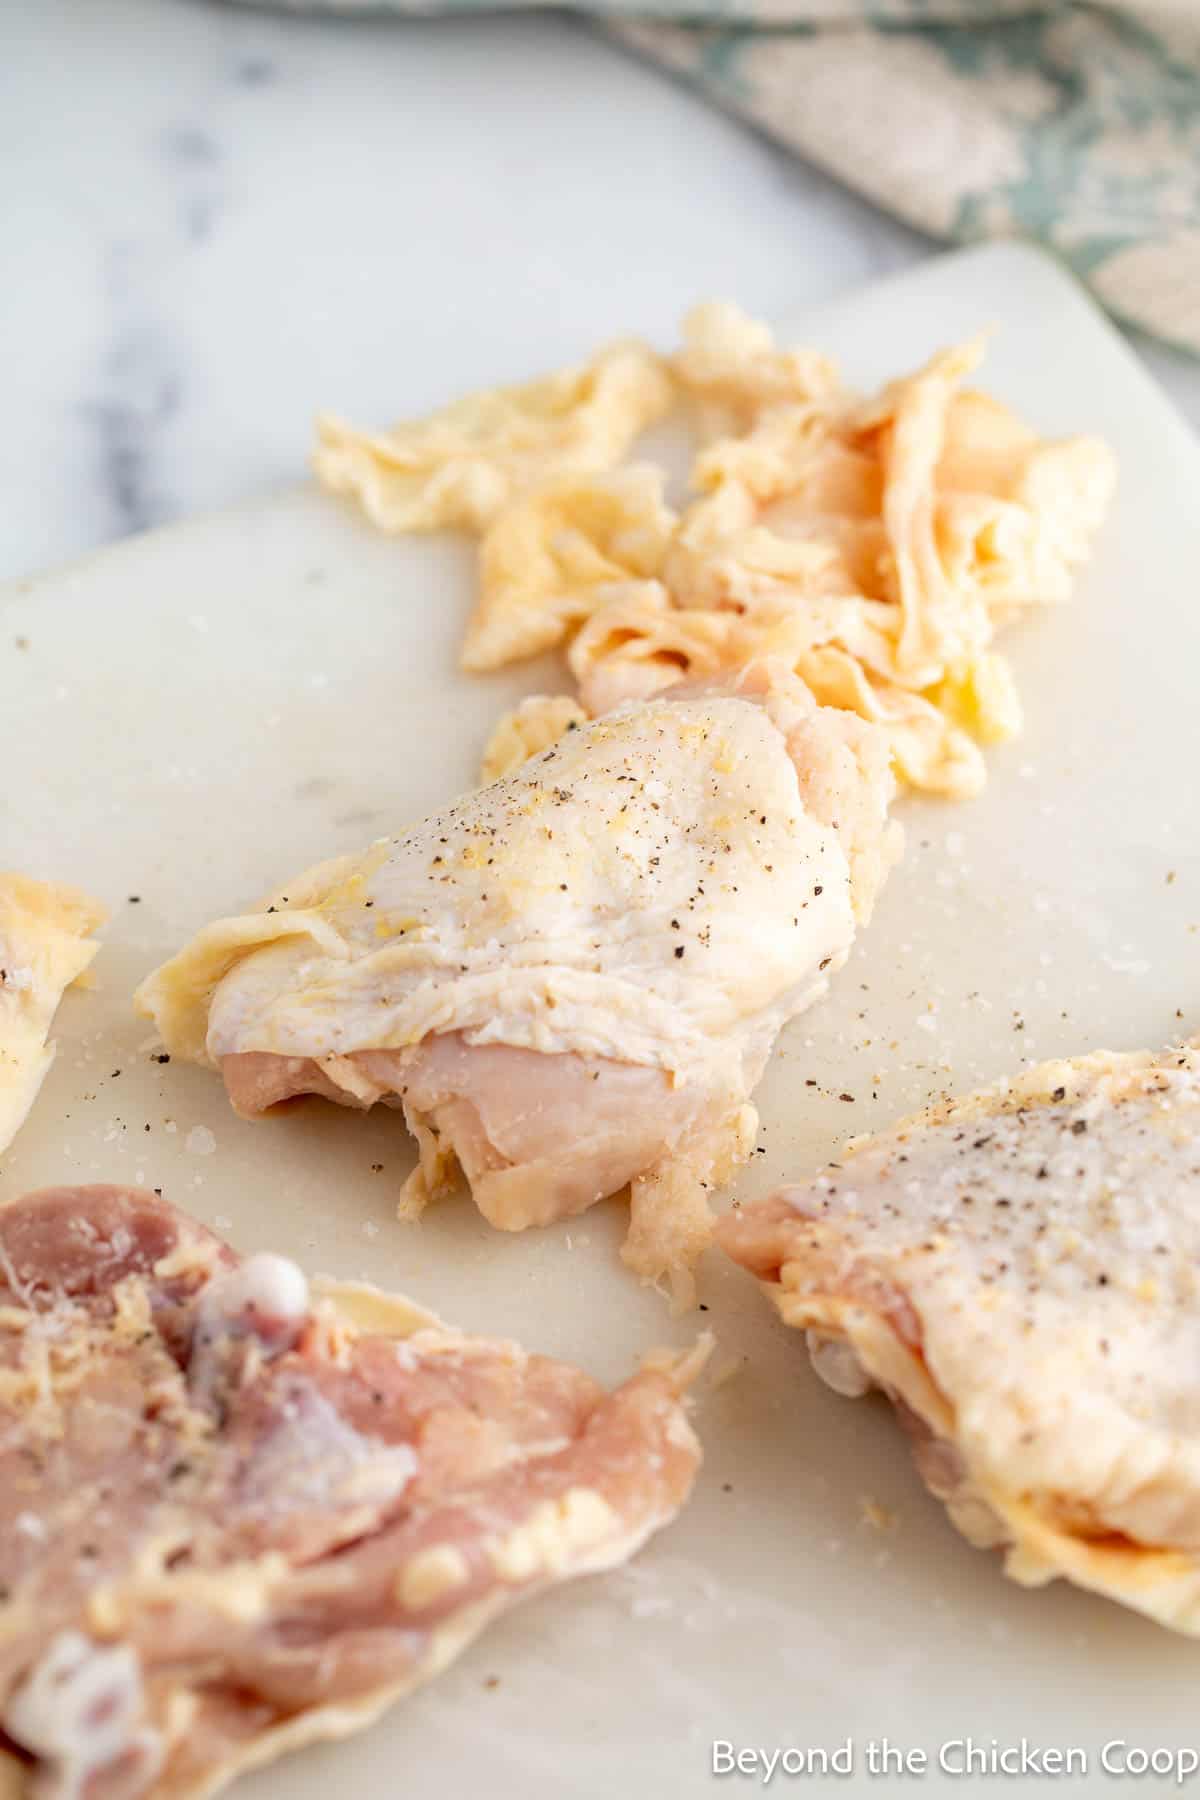
- Trim your chicken. Remove any excess skin from the bottom of the chicken and remove any excess fat. Any skin that ends up on the bottom of the chicken will just become rubbery.
- Sprinkle salt and pepper all over the chicken
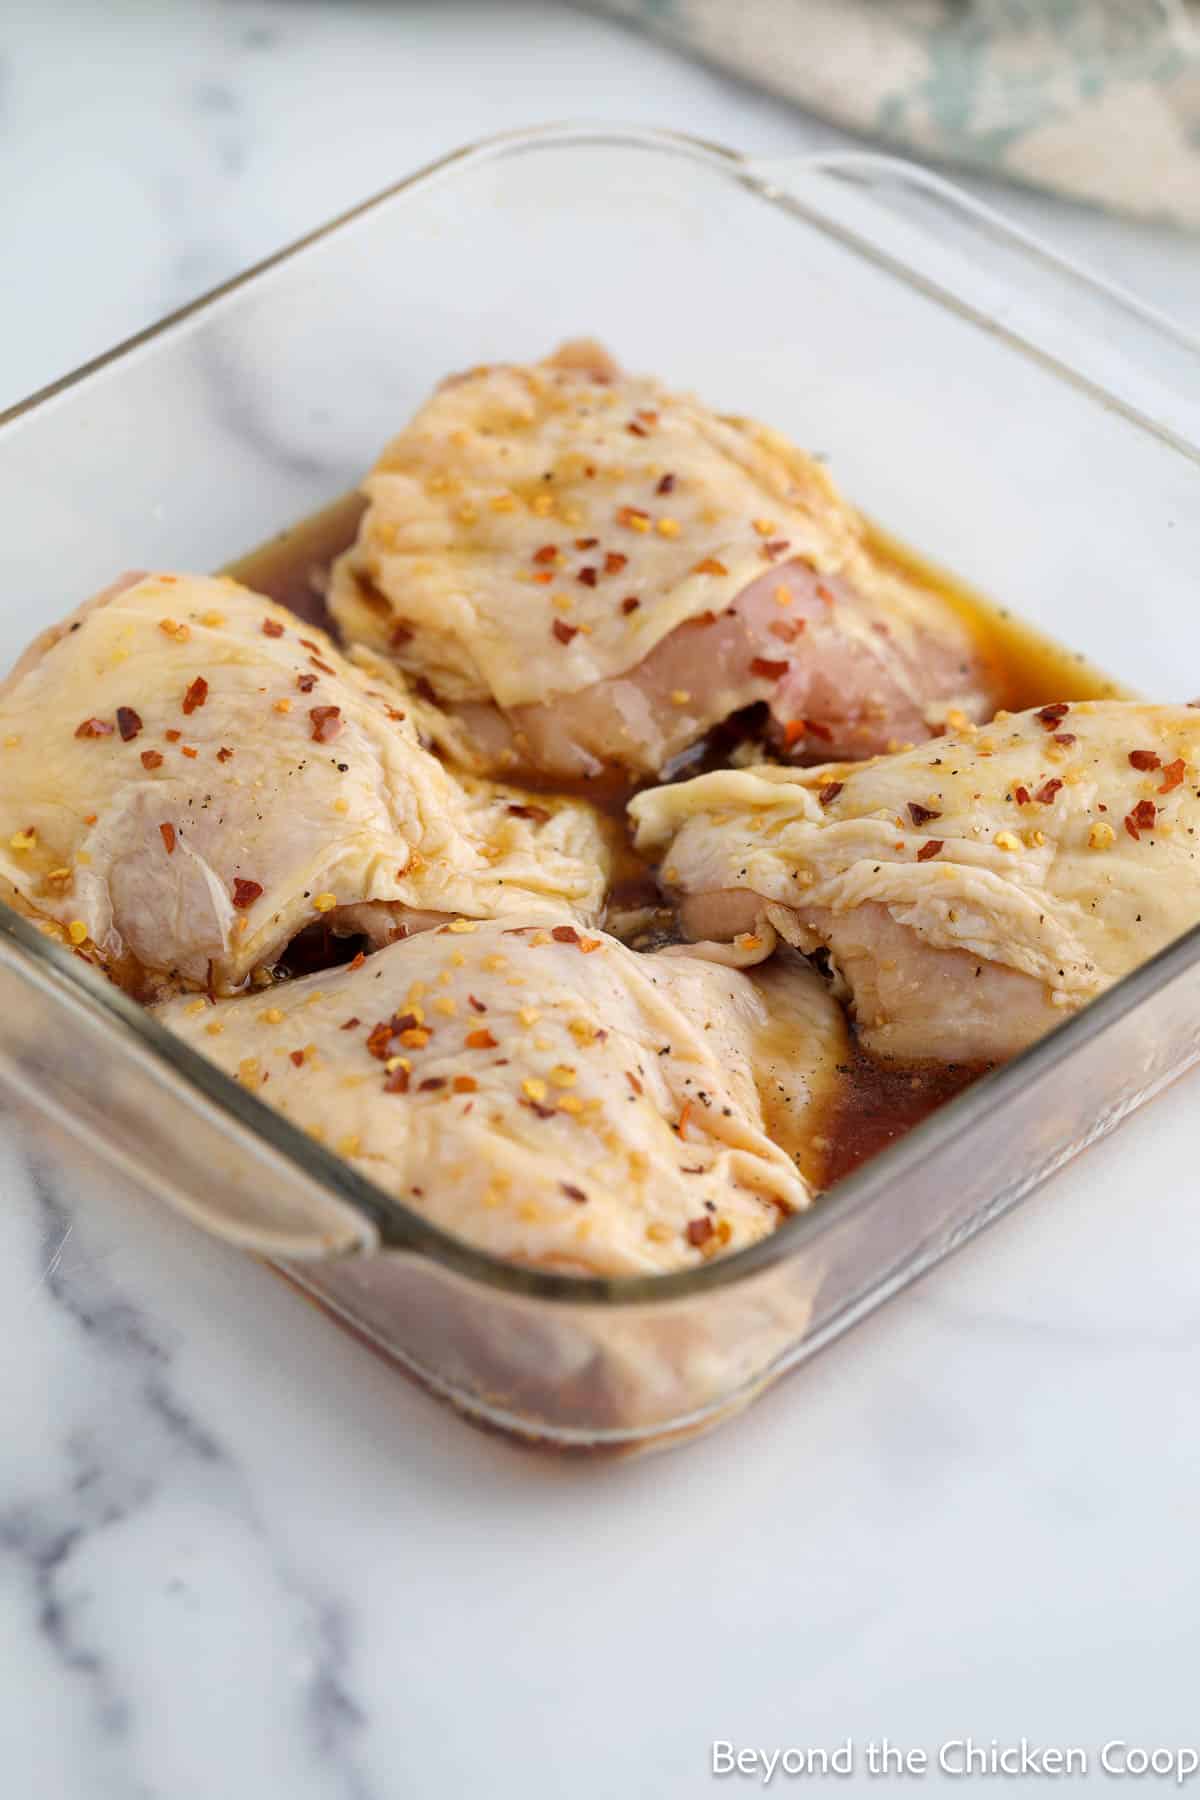
- Place chicken in a lightly greased baking dish.
- Combine the honey, soy sauce, vinegar, garlic, and sesame oil together. Stir until the honey is dissolved.
- Spoon sauce over chicken thighs and sprinkle red pepper flakes over chicken.
- Place chicken uncovered in a preheated 400°F oven and bake for 20 minutes. Baste chicken with glaze from the bottom of the pan.
- Cook for about 10 more minutes until the chicken reaches 185°F.
- Place chicken under the broiler for 2-3 minutes until crispy. Keep a close eye on your chicken because it can burn in no time at all.
- Remove from the oven and allow chicken to rest for 5 minutes.
- Serve hot.
Recipe tips
- Be certain to trim off any excess skin.
- Use a meat thermometer to determine if your chicken is cooked through. Once it reaches an internal temperature of 185°F, it is done. Chicken is safe once it reaches 165°F, but thighs benefit from a longer cook time because the extra time and heat help break down the connective tissue, making the meat more tender and juicy.
- This recipe can easily be doubled. Just be certain to use a larger dish to cook it in.
- Store leftovers in a covered container in the refrigerator for 3-4 days.
Frequently asked questions
Yes, you can remove the skin. However, the skin does add some protection to the chicken and helps keep it from drying out. If you remove the skin, plan on basting 2-3 times during the cooking process in order to help keep the chicken moist.
Yes, you can use chicken breasts. You will need to baste the chicken 2-3 times and adjust the cooking time. The chicken is done when the internal temperature reaches 165°F.
Serving suggestions
Serve with any of your favorite side dishes. Some of our favorites include
- Green Beans
- Roasted Broccoli
- Mashed Potatoes
- Homemade Rice-a-Roni
- Farro Salad
- Deviled Egg Pasta Salad
More delicious chicken recipes
- Salsa Verde Chicken
- Oven Baked Chicken Legs
- Baked Greek Chicken
- Chicken Fajita Casserole
- Crock Pot Teriyaki Chicken
- Turkey Sloppy Joes
- Baked Chicken Wings
If you make this recipe, I’d love to hear about it! Leave a comment below and snap a picture and tag me on Instagram @beyondthechickencoop
Check out all my delicious main dishes!





Baked Honey Chicken Thighs
Equipment
- Measuring Spoons
Ingredients
- 4 chicken thighs (bone-in and skin-on)
- salt
- pepper
- 3 tablespoons honey
- 1 tablespoon soy sauce (low sodium)
- 1 tablespoon apple cider vinegar
- 1 teaspoon garlic (minced)
- ½ teaspoon sesame oil
- ⅛ teaspoon red pepper flakes (use the amount to your liking)
Instructions
- Preheat oven to 400°F
- Trim your chicken. Remove any excess skin from the sides of the chicken and remove any excess fat.4 chicken thighs
- Sprinkle salt and pepper all over the chickensalt, pepper
- Place chicken in a lightly greased 8x8 inch baking dish.
- Combine the honey, soy sauce, vinegar, garlic and sesame oil together. Stir until the honey is dissolved.3 tablespoons honey, 1 tablespoon soy sauce, 1 tablespoon apple cider vinegar, 1 teaspoon garlic, ½ teaspoon sesame oil
- Spoon sauce over chicken thighs and sprinkle red pepper flakes over chicken.⅛ teaspoon red pepper flakes
- Place chicken uncovered in a preheated 400°F oven and bake for 20 minutes. Baste chicken with glaze from the bottom of the pan.
- Cook for about 10 more minutes until the chicken reaches 185°F.
- Place chicken under the broiler for 2-3 minutes until crispy. Keep a close eye on your chicken because it can burn in no time at all.
- Remove from the oven and allow chicken to rest for 5 minutes.
- Serve hot.
Notes
-
- Be certain to trim off any excess skin.
- If the honey isn't combining with the other sauce ingredients easily, just pop everything into the microwave for 20-30 seconds and then stir again.
-
- Use a meat thermometer to measure the internal temperature of the chicken. Chicken thighs are best cooked to 185 - 190°F. The extra time and heat help break down the connective tissue, making the meat more tender and juicy.
-
- This recipe can easily be doubled. Just be certain to use a larger dish to cook it in.
-
- Store leftovers in a covered container in the refrigerator for 3-4 days.
Nutritional Disclaimer:
Nutritional information is provided as a courtesy and should only be construed as an estimate rather than a guarantee. To obtain the most precise nutritional information in a provided recipe, you should calculate the nutritional information with the exact ingredients you are using when preparing the recipe using your preferred nutrition calculator.



Sam says
So delicious and easy to put together, thank you! SO happy to hear I didnt have to sear the chicken first. thanks!
Kathy says
Thanks so much! I'm so glad you enjoyed it and thank you for taking the time to leave a comment! I really appreciate it!
Kathy 🙂
Christenna Weimann says
I can't have garlic or onions. 😭Will it make a huge difference. Is there something I can use instead?
Kathy says
Hi Christenna,
If you can't have them, I'd just leave them out. They add extra flavor to the dish, but it's not a flavor that you're going to miss. Let me know how it turns out.
Kathy
Corey says
I can’t wait to try these, they look so good!
Kathy says
Thanks so much! Let me know what you think! 🙂