
Discover how to dry sage with three simple and effective methods. Whether you use a dehydrator, dry it in the oven, or air dry it, you'll have beautifully preserved sage ready to use in your favorite recipes. Pick the method that works for you and learn everything you need to know.
Drying sage leaves
During the summer, I love having fresh herbs from my garden. Our growing season isn't long here and I try to preserve what we grow so I can use it later. If I grow an herb, I'll dry it and stock my pantry.
Last year was the first year I grew sage. Sage is a perennial and will come back year after year. Drying it just makes good sense. You can dry the leaves and then use them in any recipe calling for sage.
Sage
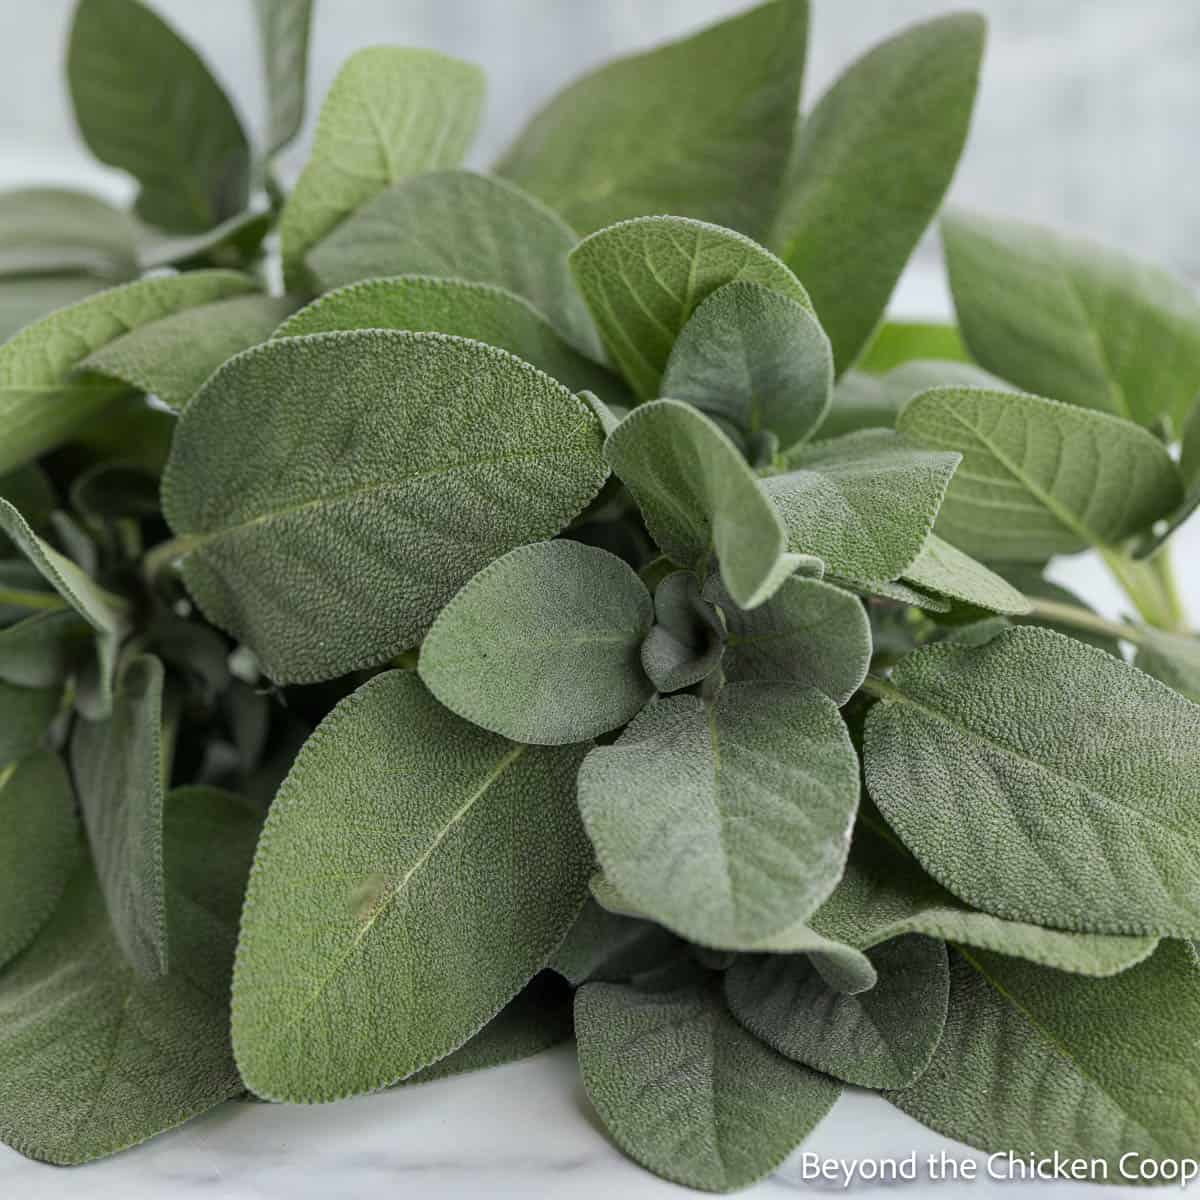
- Fresh Sage - The sage I grow in my garden is Salvia officinalis 'Berggarten'. Any type of sage will work as long as it's labeled a culinary sage.
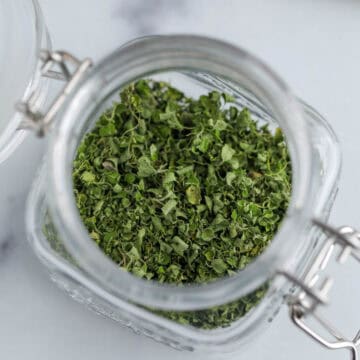
How to dry sage using the dehydrator
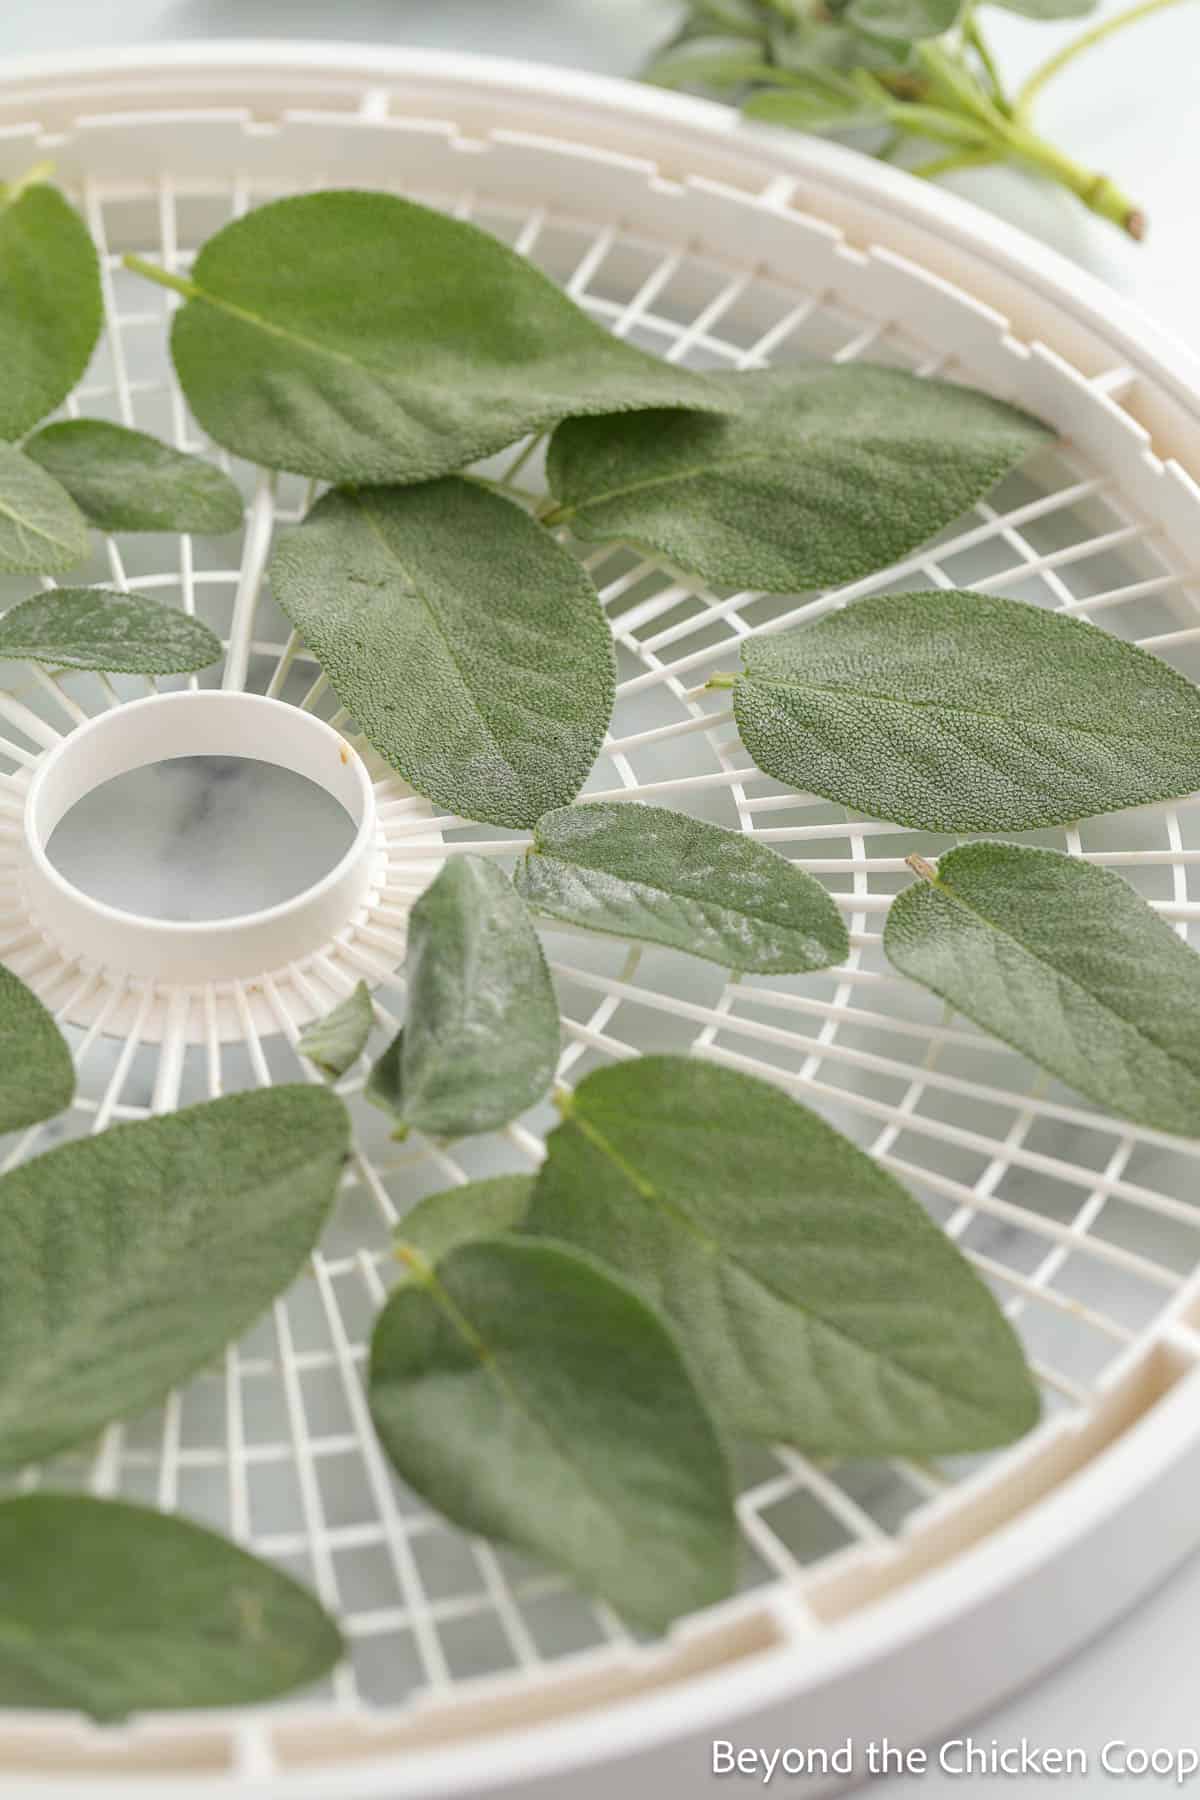
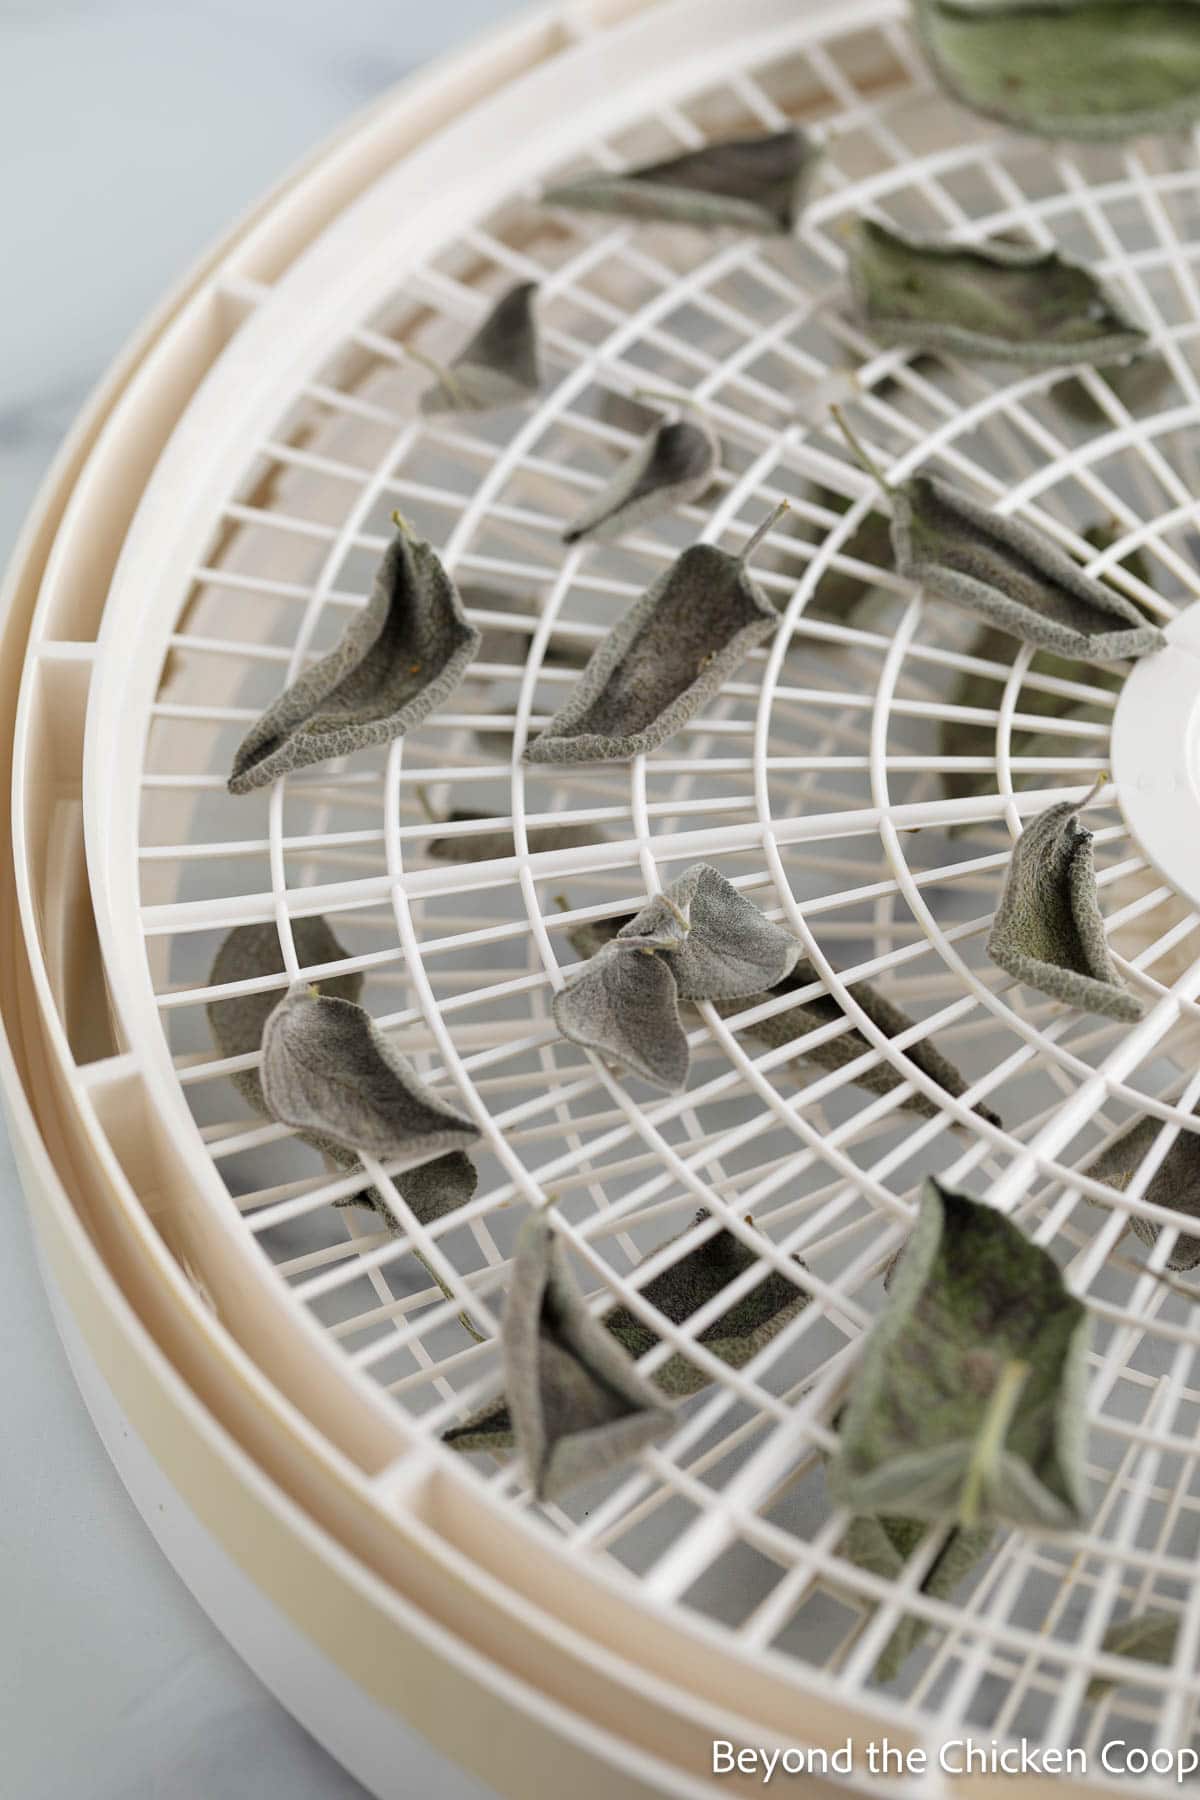
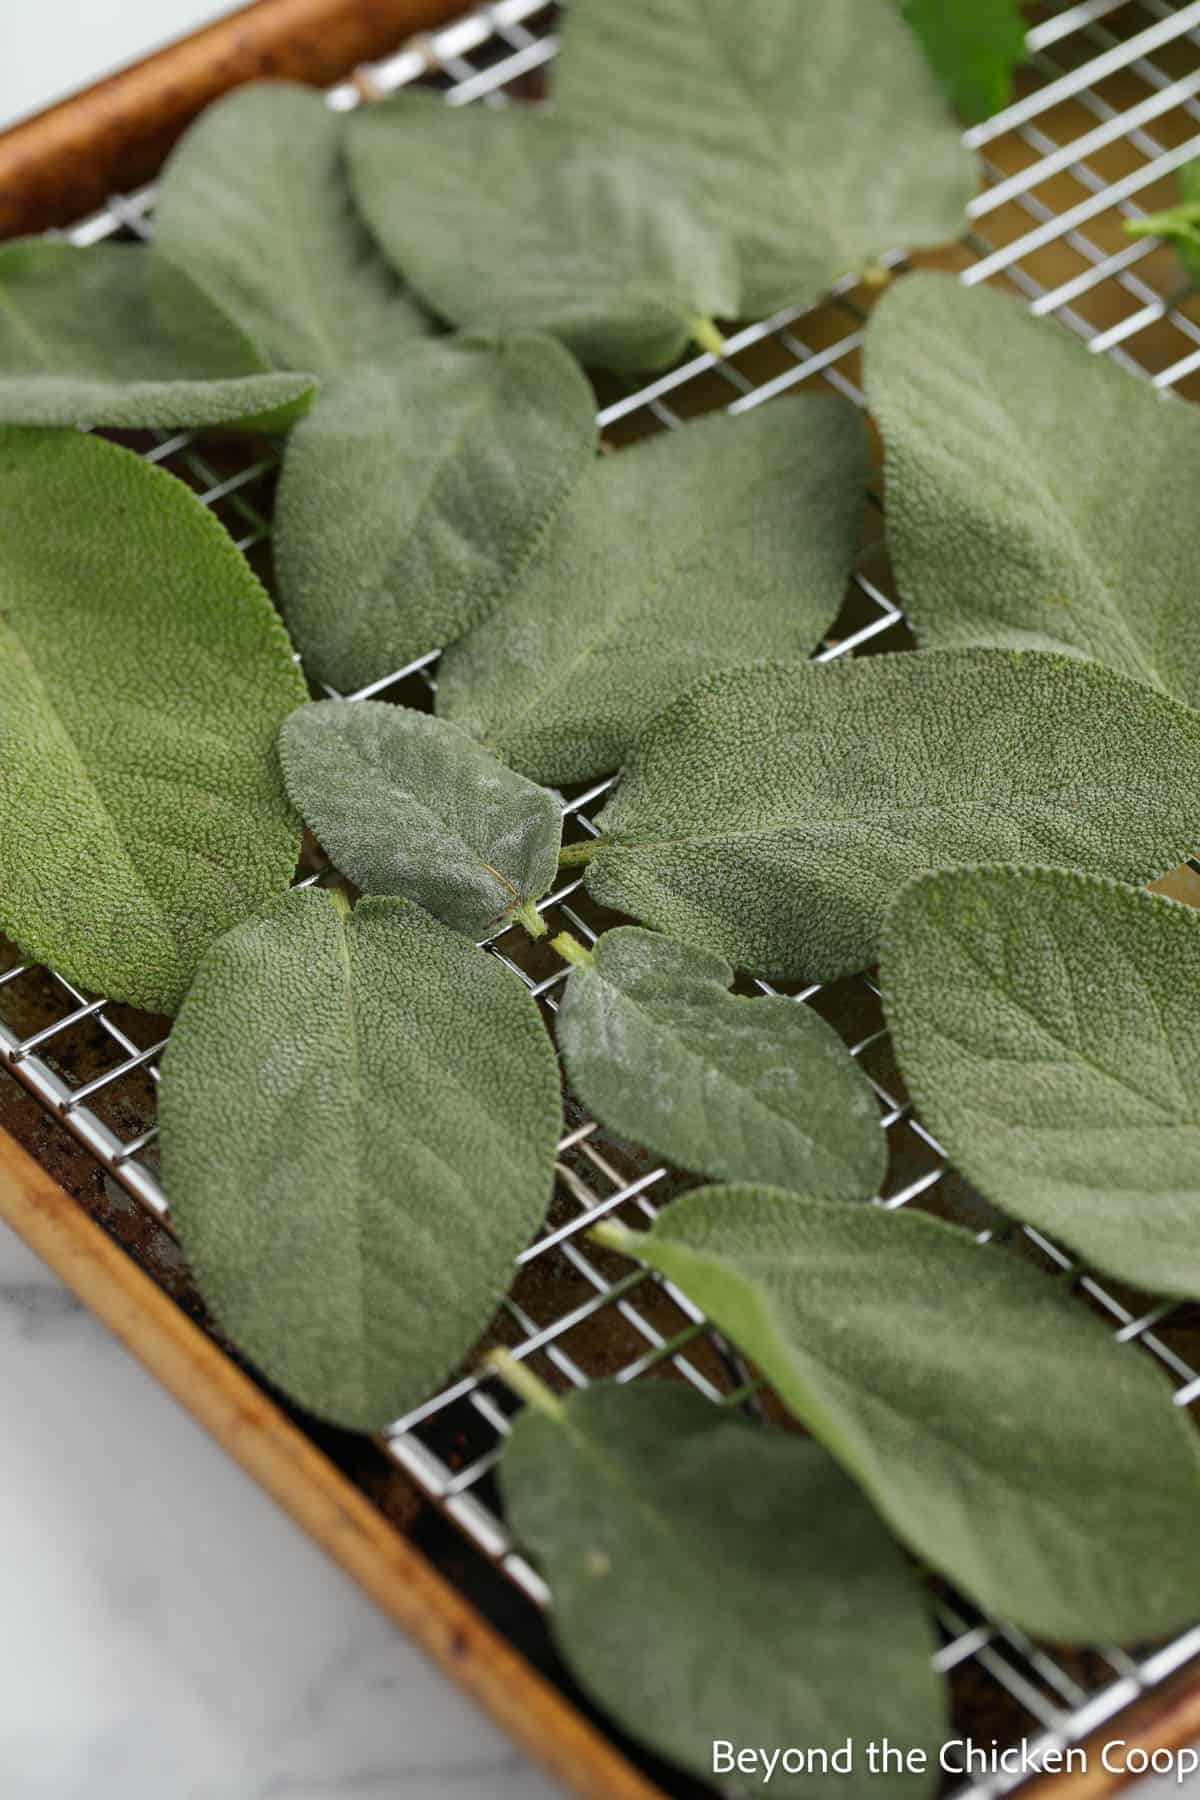
- Pick fresh sage and remove leaves from stems.
- Rinse leaves and dry with a clean towel or a salad spinner. Try to remove as much water as possible.
- Lay leaves in a single layer on a food dehydrator tray.
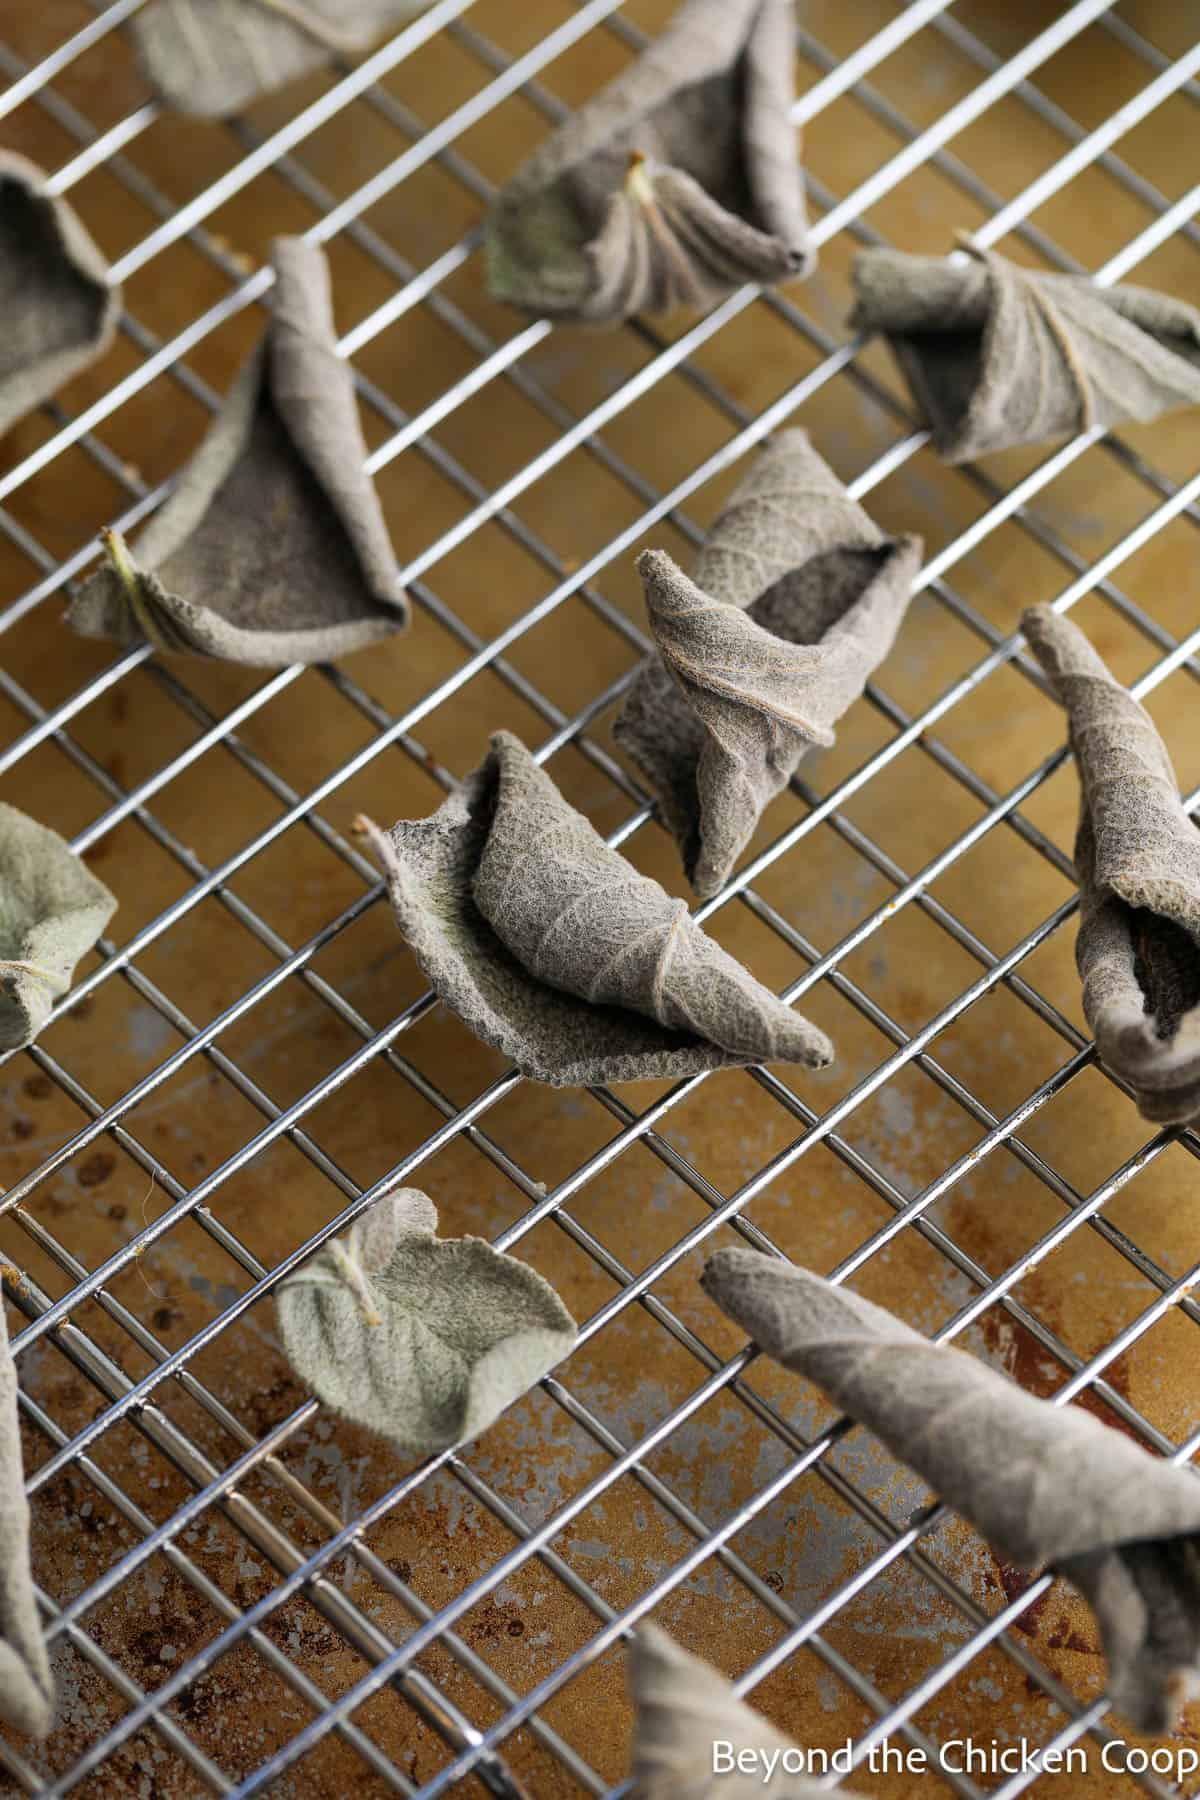
- Set the temperature on dehydrator to 95°F - 115°F.
- Dry until leaves are fully dried and brittle. Drying time will take between 2-4 hours. This will vary depending on your dehydrator, the number of leaves you are drying, and the humidity in your area.
How to dry sage in the oven
- Pick fresh sage and remove leaves from stems.
- Rinse leaves and dry with a clean towel or a salad spinner. Try to remove as much water as possible.
- Place leaves in a single layer on a baking sheet lined with a baking rack. The rack allows air to circulate under the leaves.
- Place in a very low-temperature oven, around 170°F for about 30 minutes. If your oven doesn't go any lower than 200°F, heat the oven to that temperature and then turn your oven off before placing sage leaves in the oven to dry.
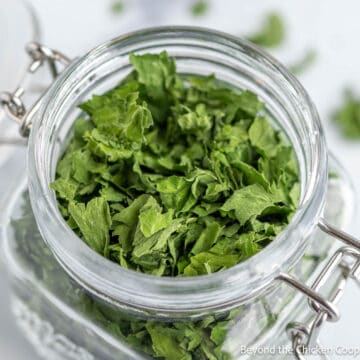
Air drying sage
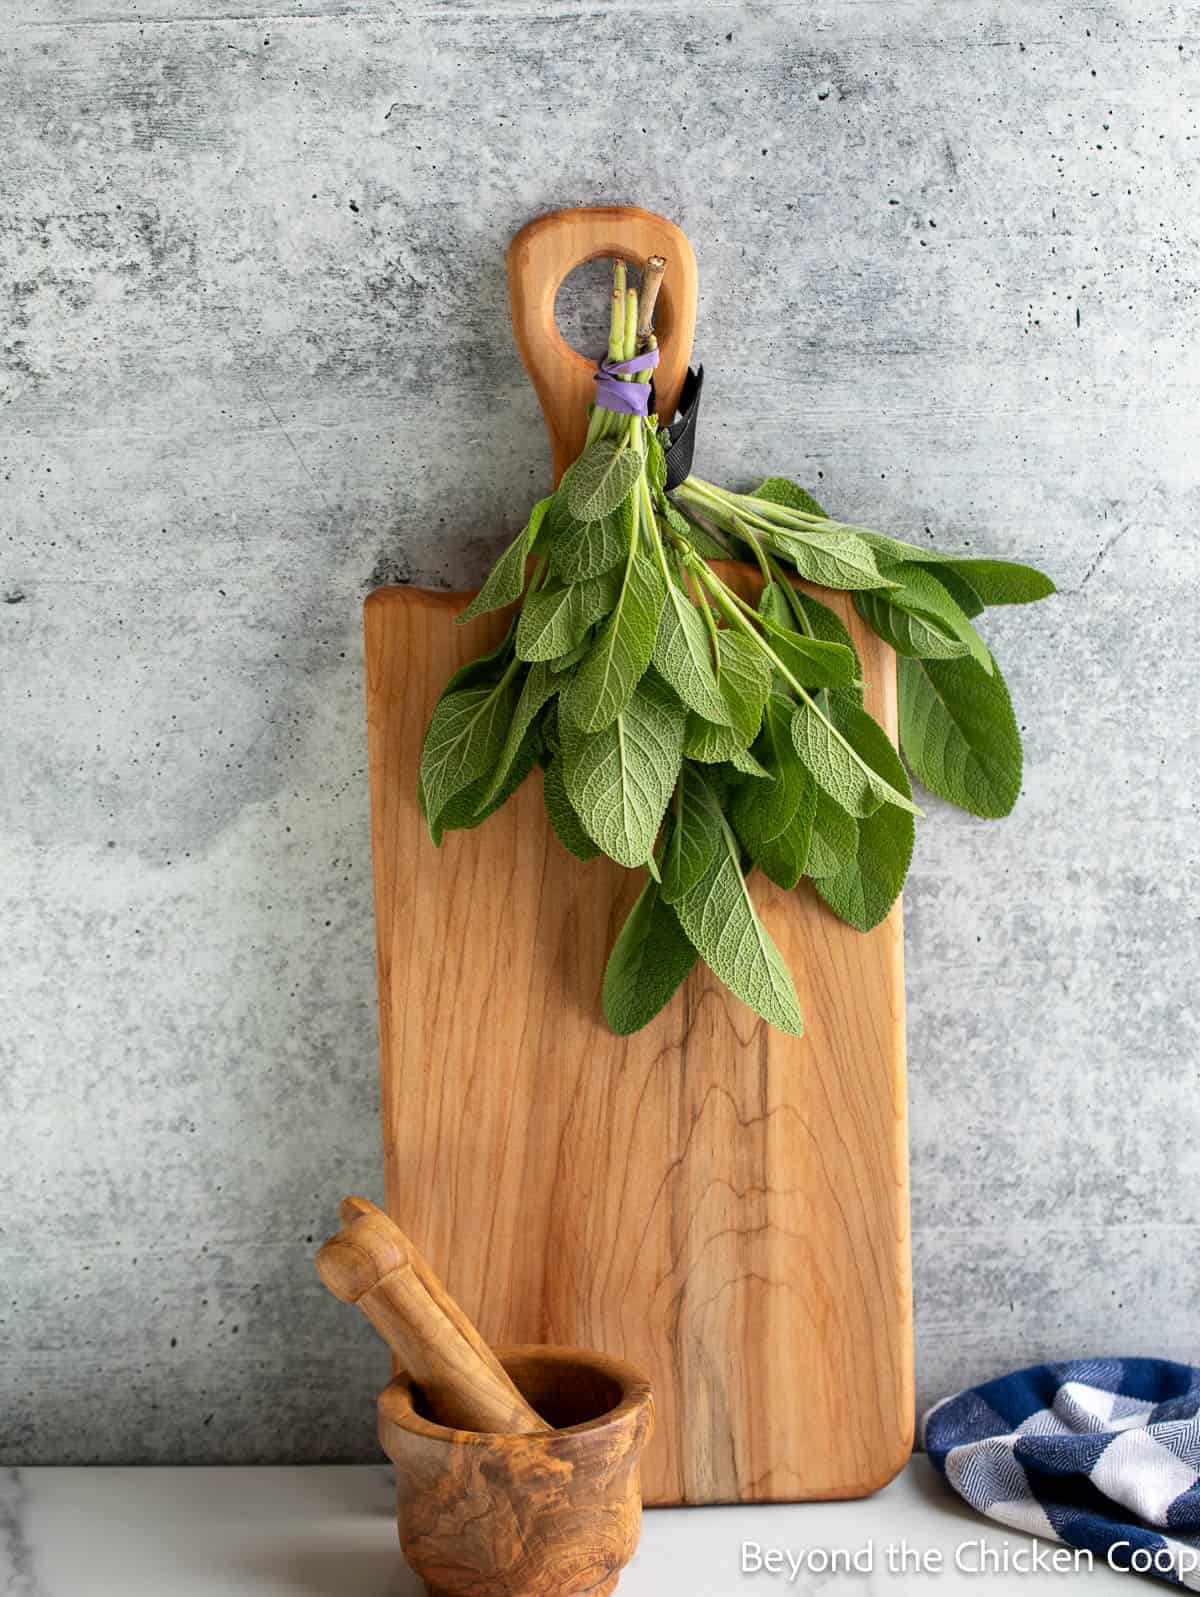
- Pick fresh sage but do not remove leaves from stems.
- Rinse leaves and dry with a clean towel. Try to remove as much water as possible.
- Bundle the stems together with a rubber band and hang upside down in an area that has some airflow.
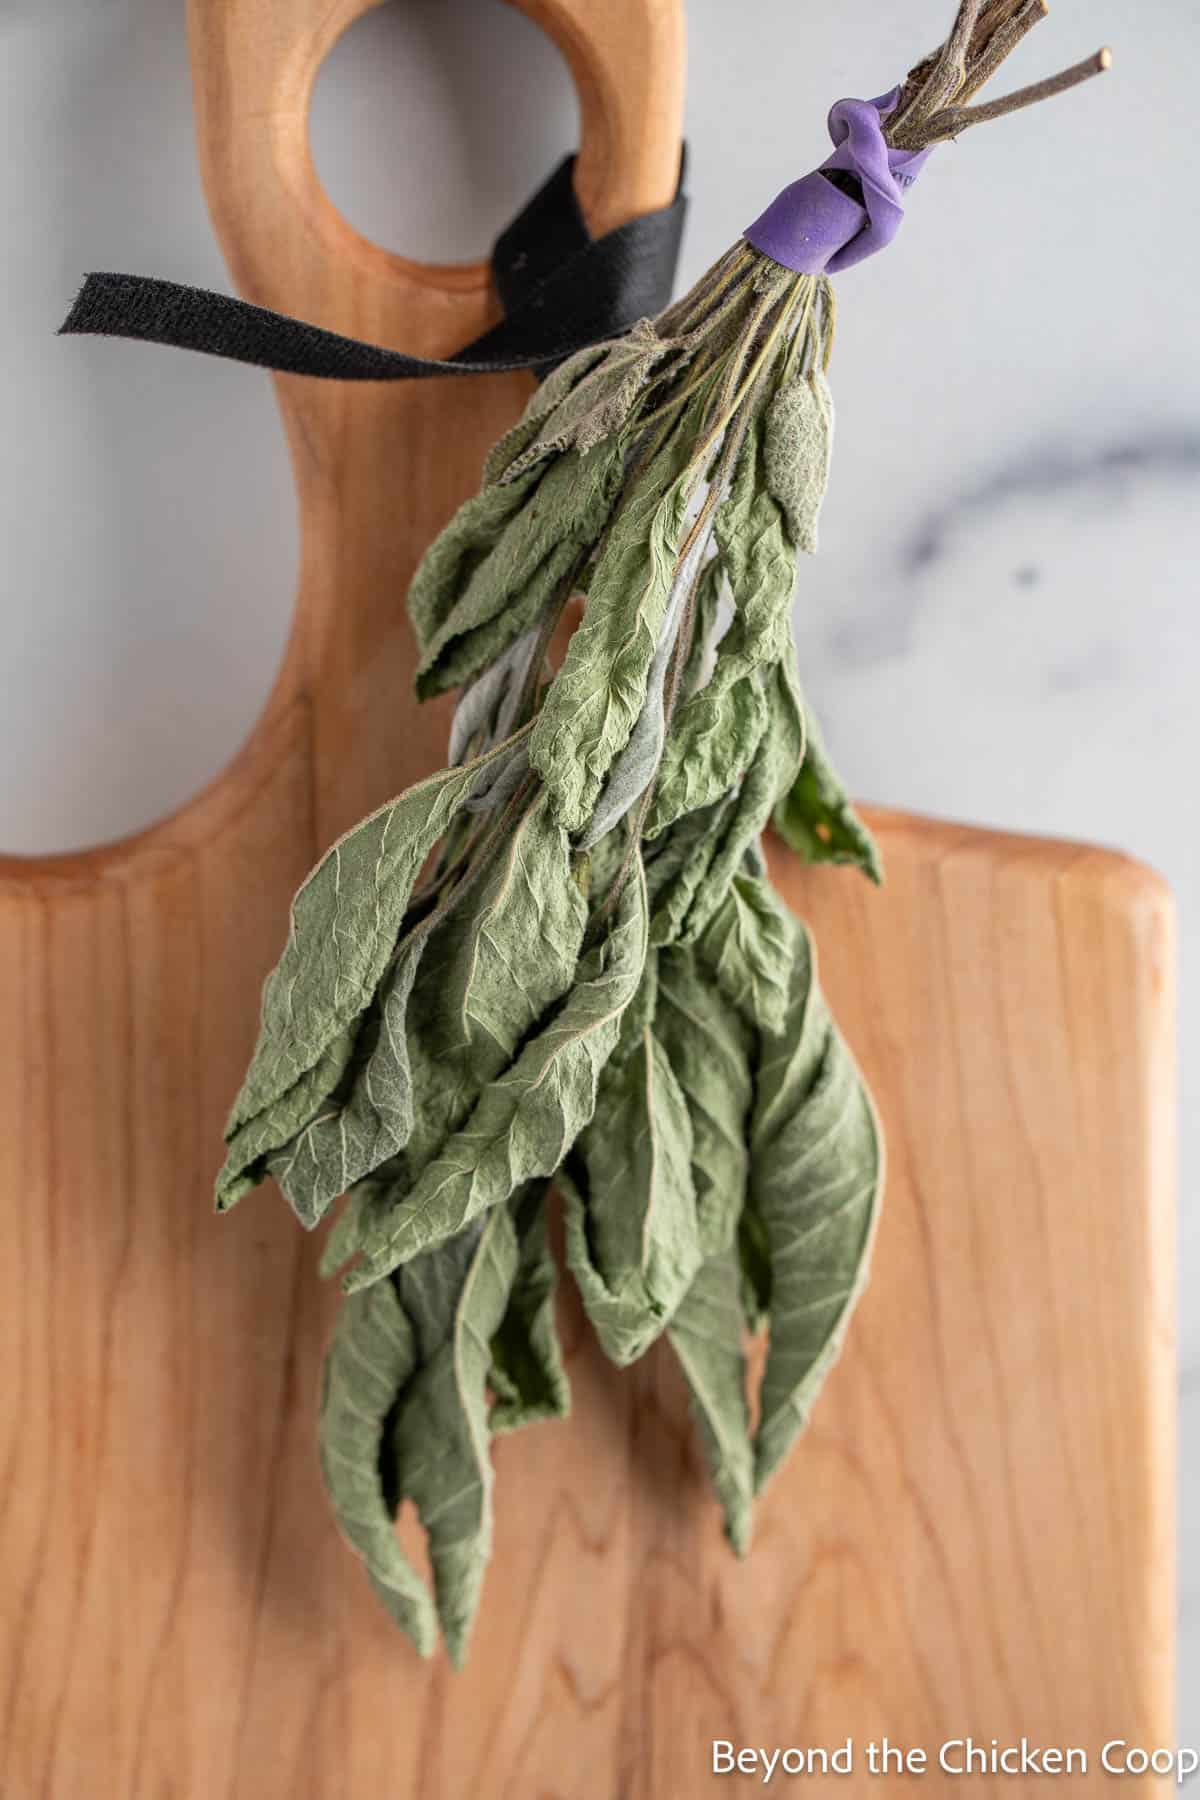
- Hang until the leaves are fully dried.
- Drying time will vary depending on the size of your bunch and the humidity in your area. In high-humidity areas, you'll need to monitor your sage to make certain it is drying. If the sage begins to mold, discard it and try a different method for drying.
- The sage can be left hanging until you're ready to use it. To use simply rub the leaves together between your hands.
Tip
- Using a rubberband rather than a string helps keep the sage together once it's dried. As the stems dry, they will become slightly smaller and may become too loose if wrapped with a string.
What's the best method for drying sage?
The best method is the one that works for you. I often will air dry the sage, because once I bundle and hang it, I can forget about it. Dried herbs can remain hanging until you're ready to use them.
Drying tips
- Dry any amount of sage leaves that you'd like. The more you dry, the longer the drying time may be, depending on your method of drying.
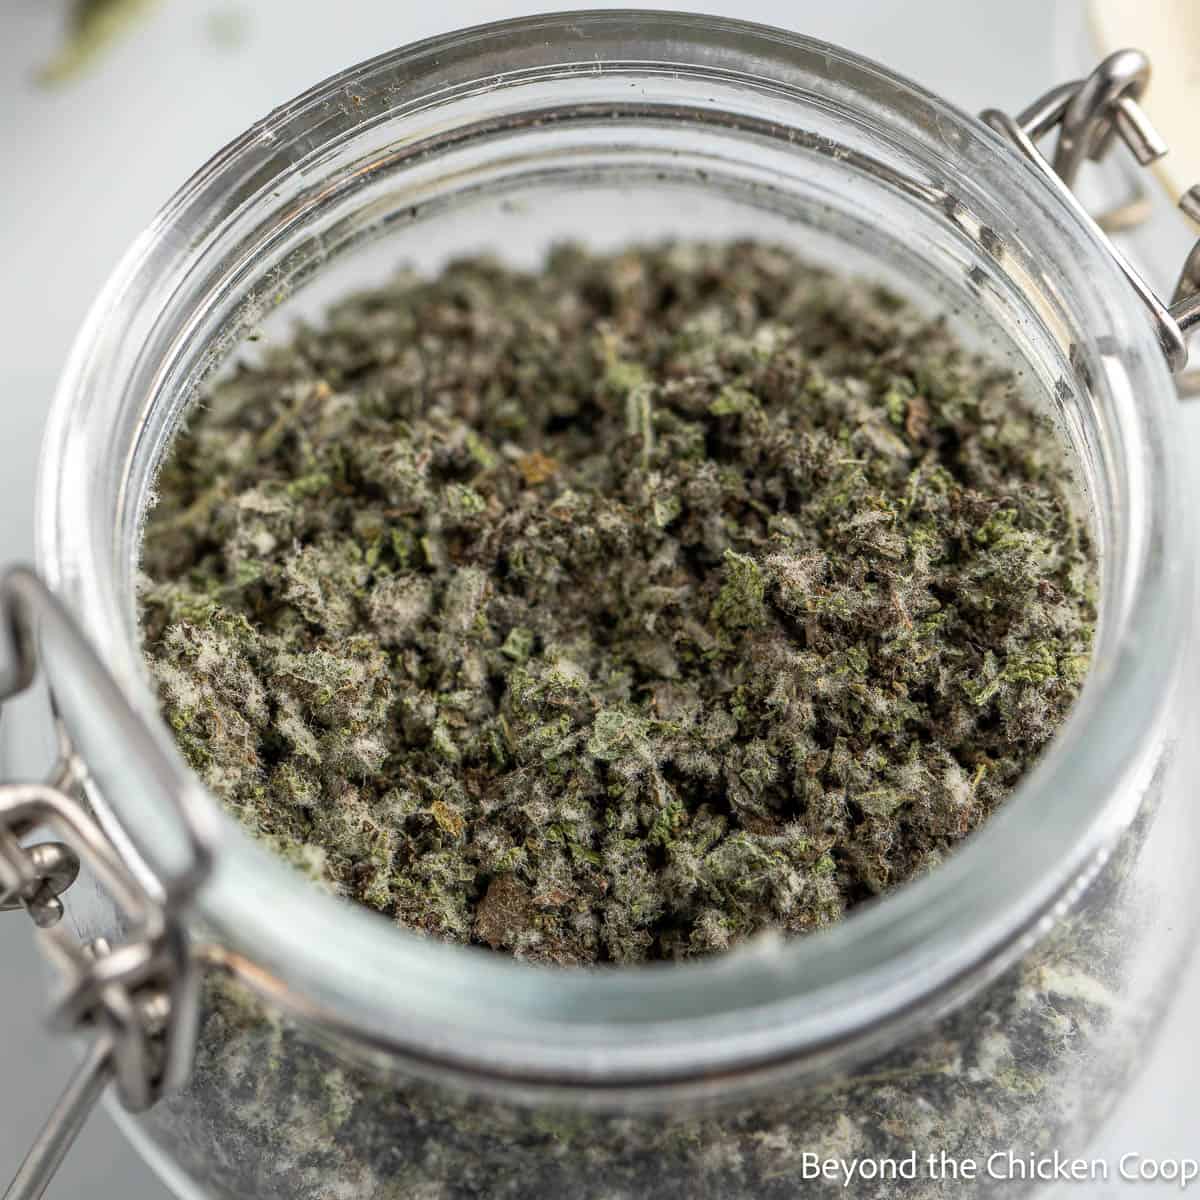
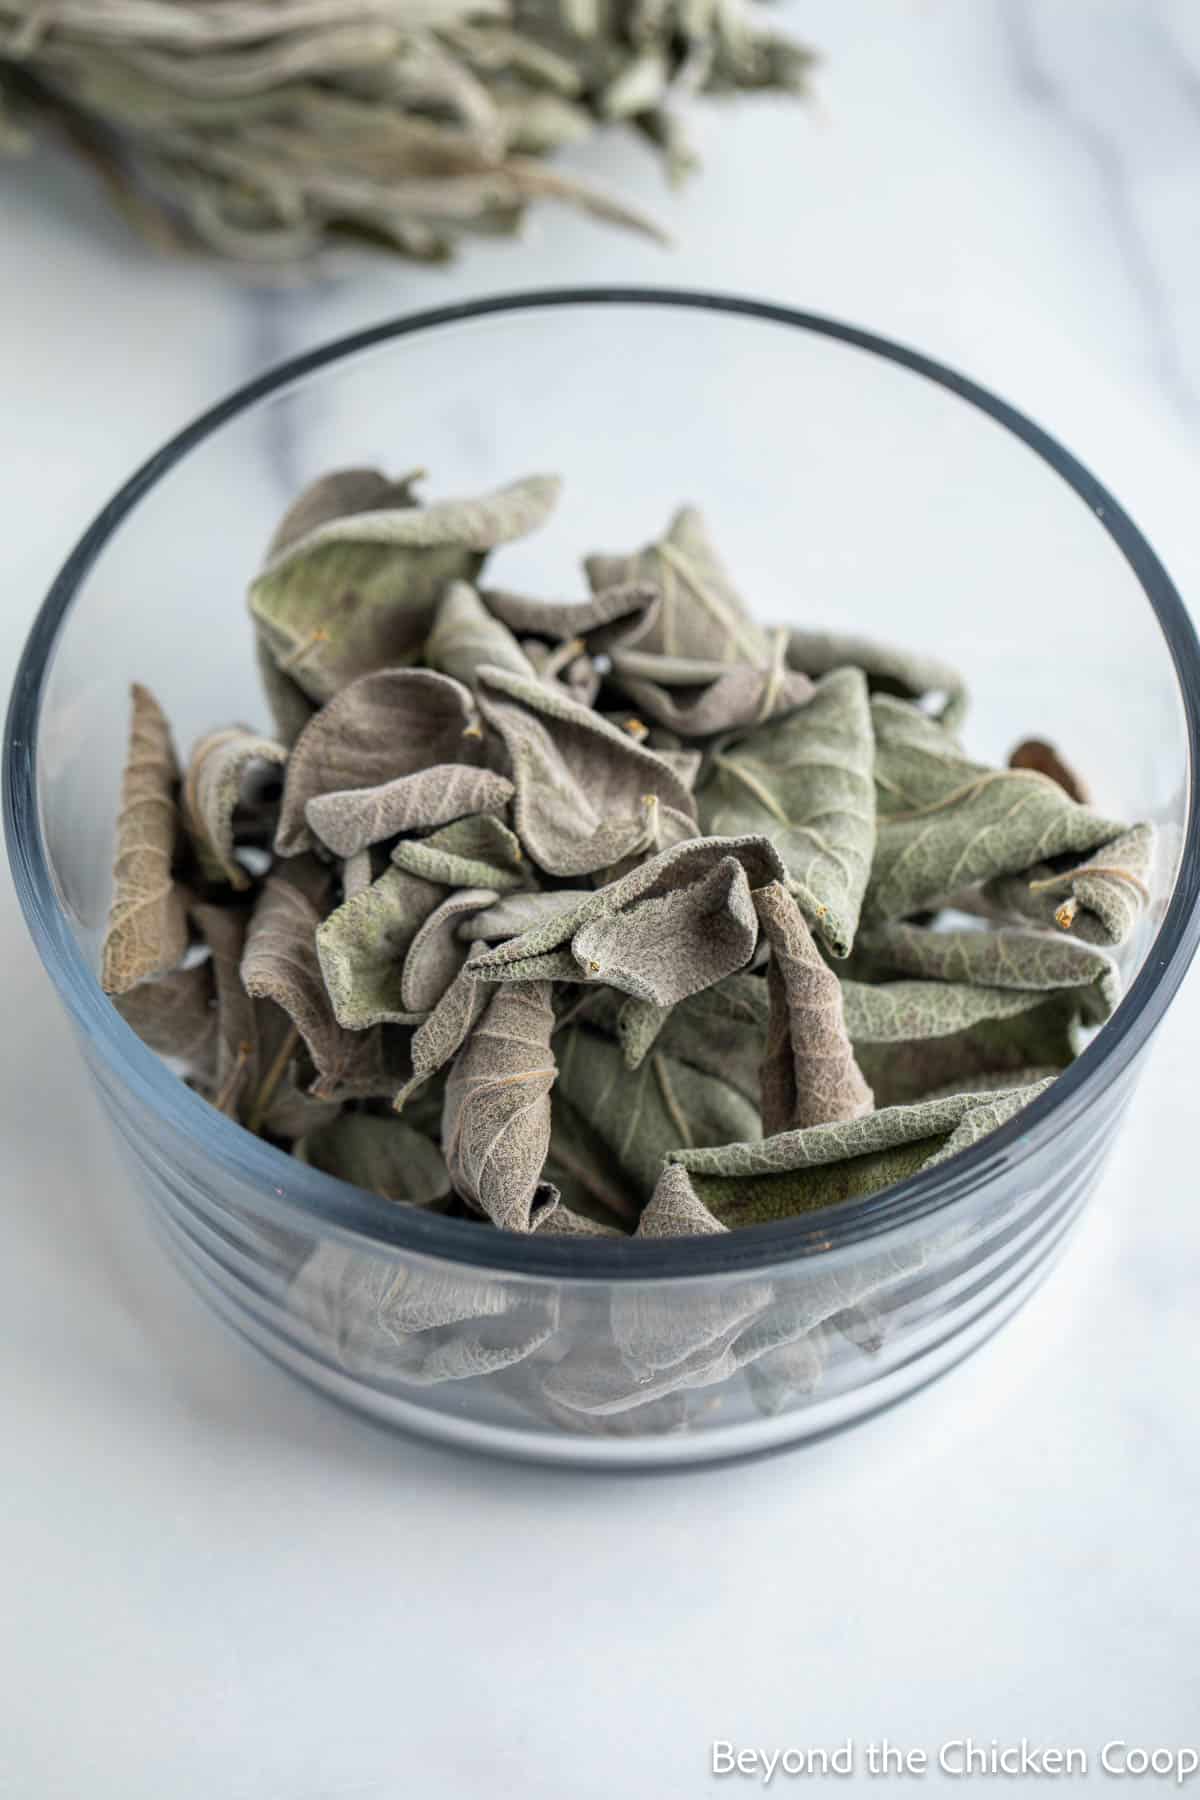
- Leave the leaves whole or crumble or puree them for easier storage.
- Dried herbs won't go bad unless they aren't fully dried and become moldy. If they become moldy, discard them.
- Dried herbs are best used within one year. After that, they may start to lose some of their flavor.
- Label your herbs. If you dry a variety of herbs, it is sometimes hard to identify them once they are dried.
Is it necessary to rinse my sage before drying?
It is generally recommended to rinse freshly picked herbs before dehydrating them to ensure they are free from dirt, insects, and other contaminants. Rinsing helps to remove any residues that may have accumulated on the leaves. However, the ultimate decision is your own, and many people choose not to rinse their leaves.
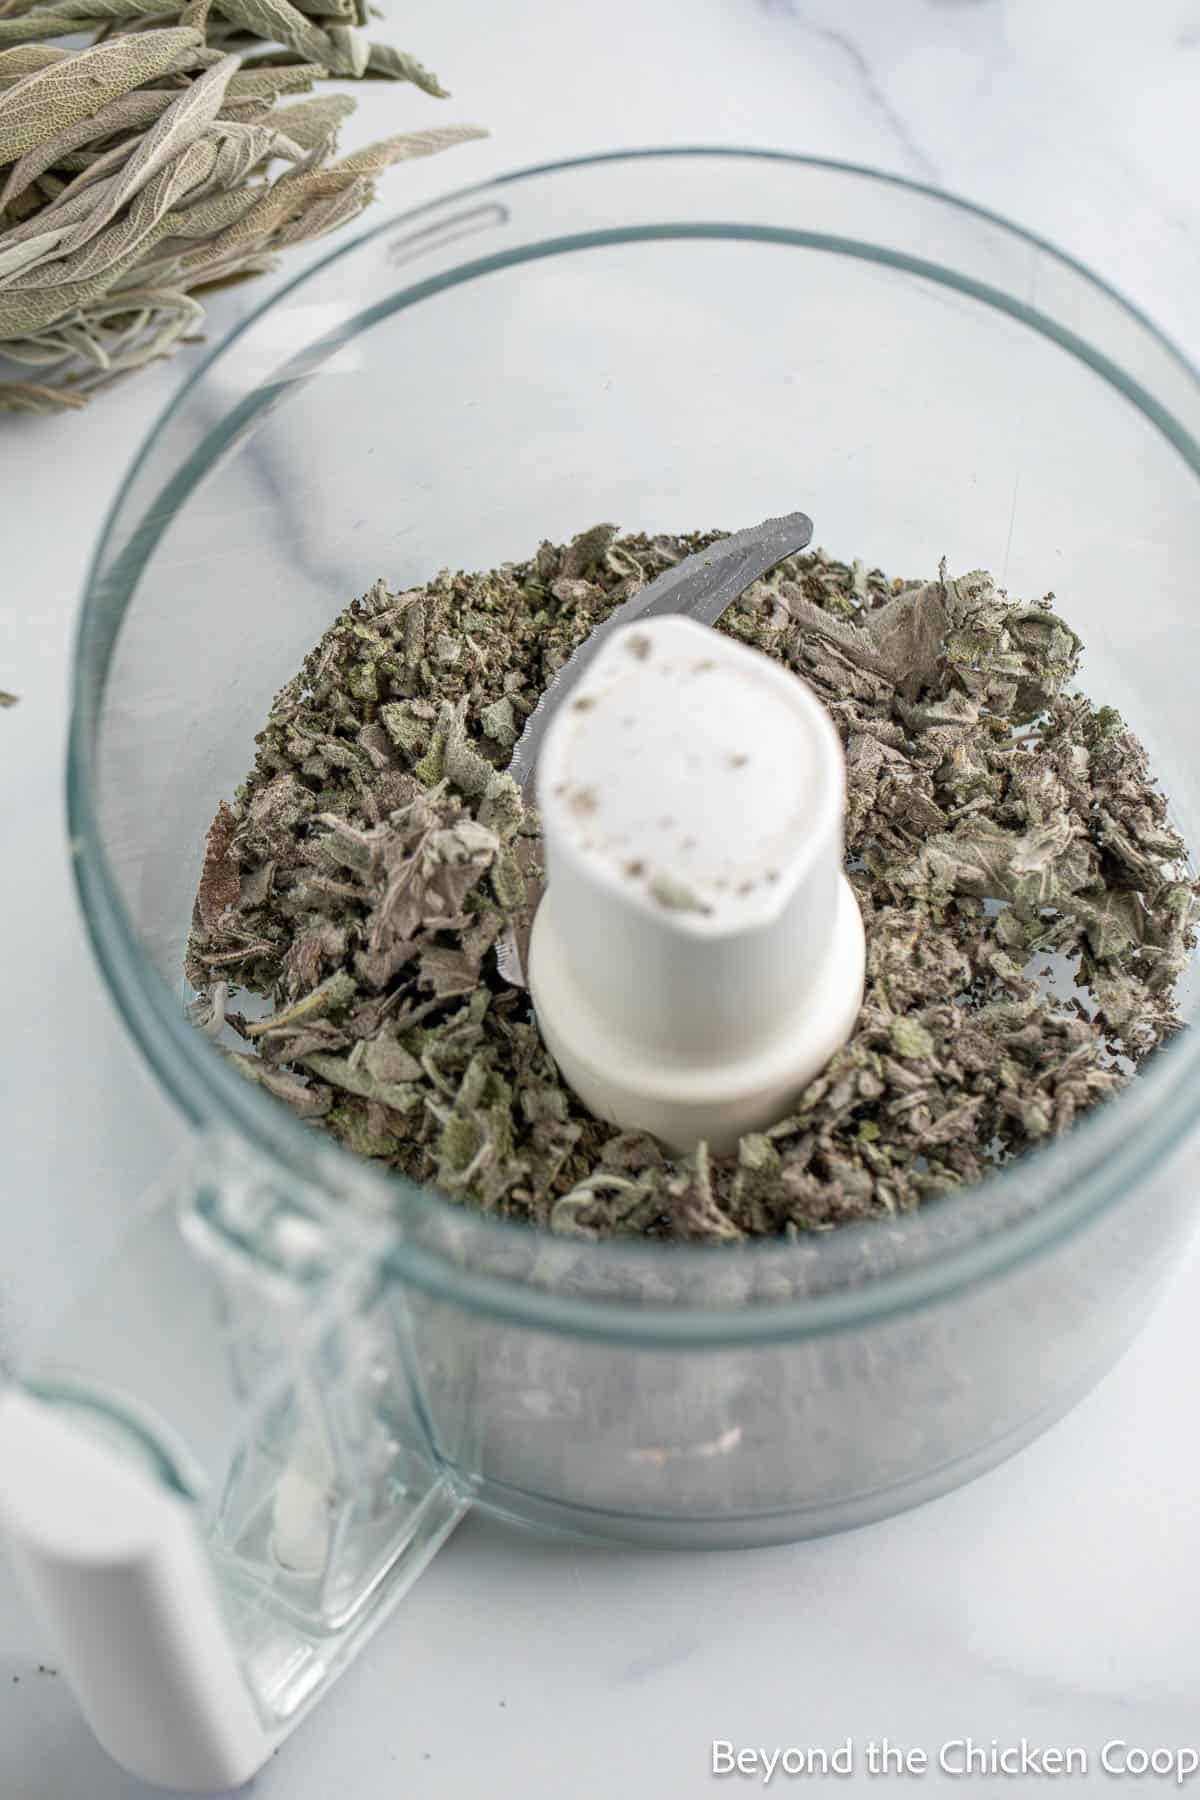
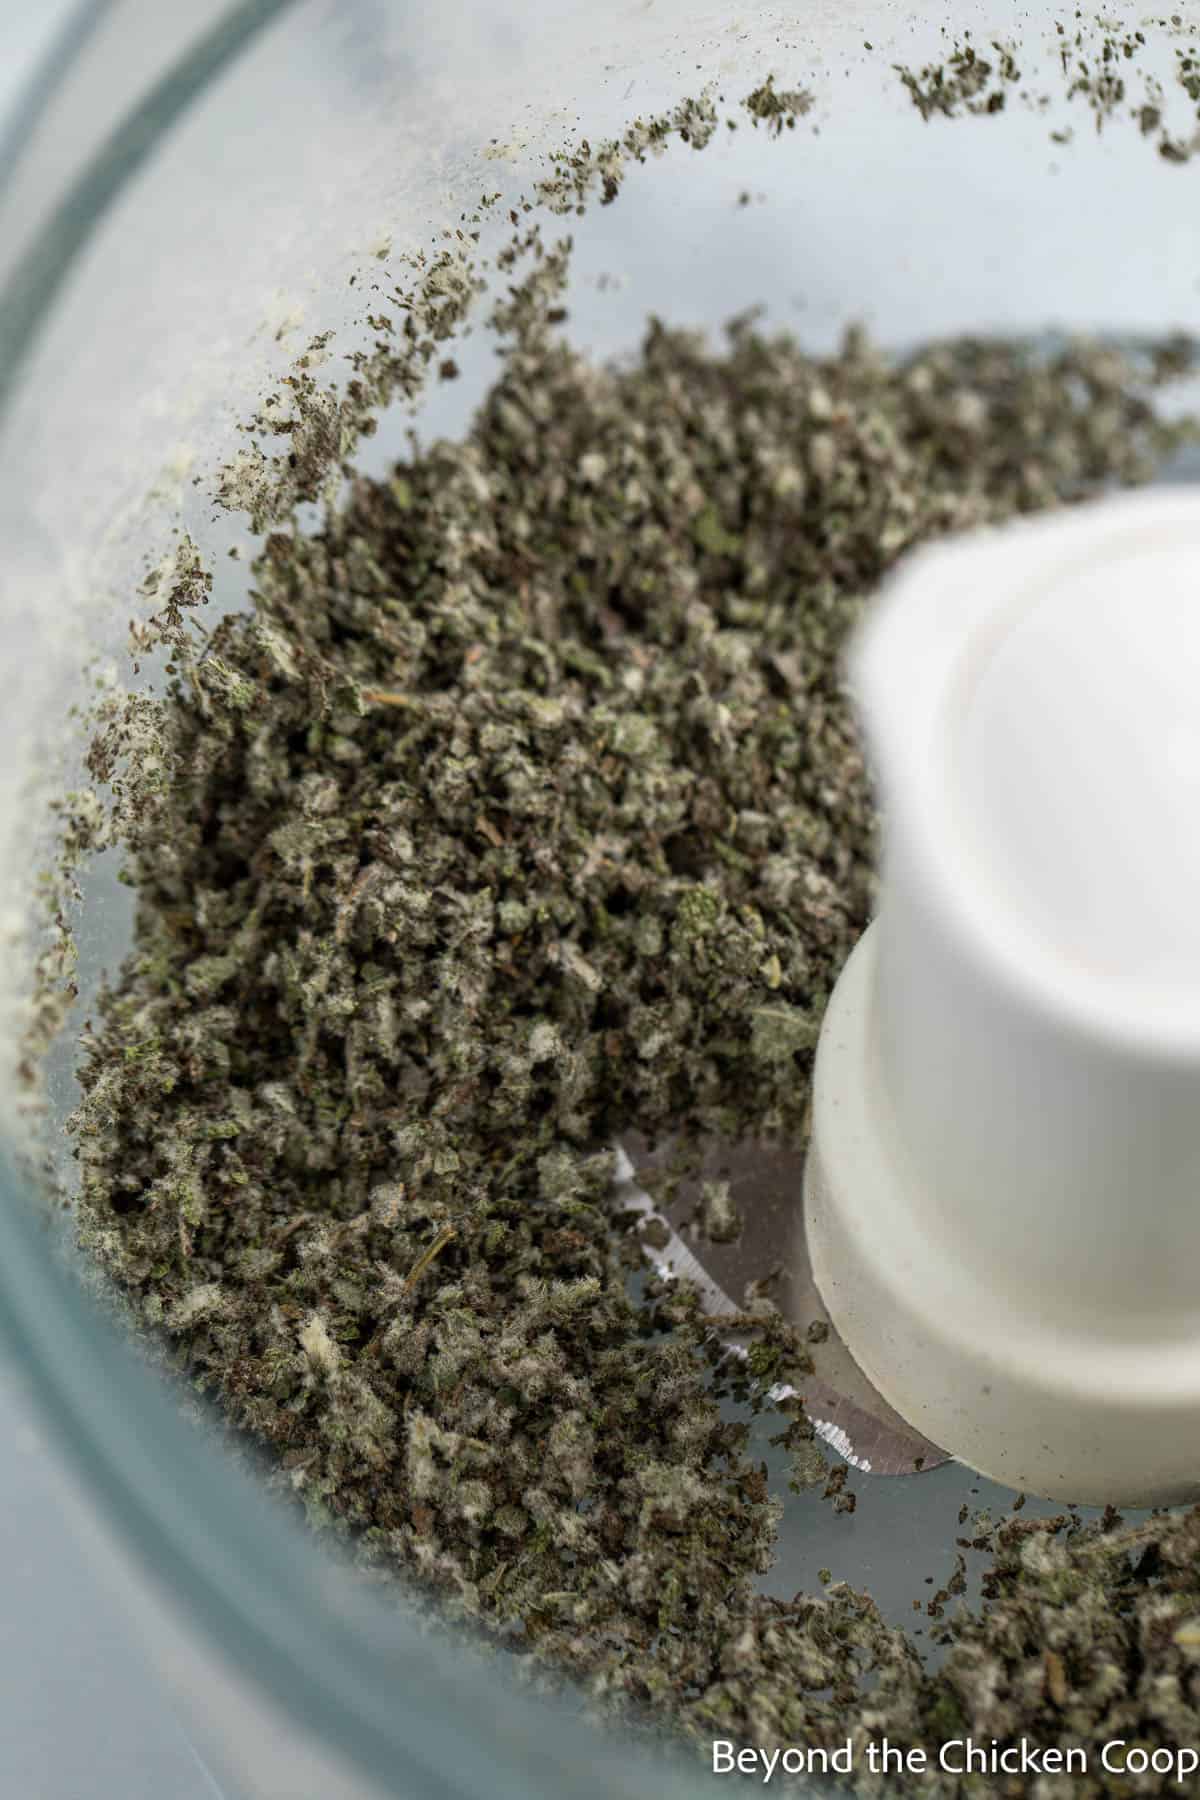
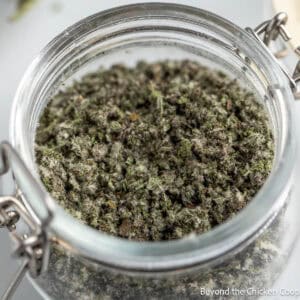
How to make ground sage
Frequently asked questions
Dried sage is best used within one year. It doesn't go bad, but it will lose some of its freshness and flavor.
Plan on using ½ teaspoon of dried sage for a tablespoon of fresh sage.
Drying herbs intensifies the flavors so they have a stronger taste.
Recipes using ground sage
More herbs you can dry
If you make this recipe, I’d love to hear about it! Leave a comment below and snap a picture and tag me on Instagram @beyondthechickencoop
Check out all my preserving food recipes!

Drying Sage Leaves
Equipment
Ingredients
- 1 bunch sage leaves
Instructions
- Pick fresh sage and remove leaves from stems.
- Rinse leaves and dry with a clean towel or a salad spinner. Try to remove as much water as possible.
- Lay leaves in a single layer on a food dehydrator tray.
- Set the temperature on dehydrator to 95°F - 115°F.
- Dry until leaves are fully dried and brittle. Drying time will take between 2-4 hours. This will vary depending on your dehydrator, the number of leaves you are drying and the humidity in your area.
In the Oven
- Pick fresh sage and remove leaves from stems.
- Rinse leaves and dry with a clean towel or a salad spinner. Try to remove as much water as possible.
- Place leaves in a single layer on a baking sheet lined with a baking rack. The rack allows air to circulate under the leaves.
- Place in a very low-temperature oven, around 170°F for about 30 minutes. If your oven doesn't go any lower than 200°F, heat the oven to that temperature and then turn your oven off before placing sage leaves in the oven to dry.
Air Drying
- Pick fresh sage but do not remove leaves from stems.
- Rinse leaves and dry with a clean towel. Try to remove as much water as possible.
- Bundle the stems together with a rubber band and hang upside down in an area that has some airflow. Hang until the leaves are fully dried. Drying time will vary depending on the size of your bunch and the humidity in your area. In high-humidity areas, you'll need to monitor your sage to make certain it is drying. If the sage begins to mold, discard it and try a different method for drying.
Notes
-
- Dry any amount of sage leaves that you'd like. The more you dry, the longer the drying time may be, depending on your method of drying.
-
- Leave the leaves whole or crumble for easier storage.
-
- Dried herbs won't go bad unless they aren't fully dried and become moldy. If they become moldy, discard them.
-
- Dried herbs are best used within one year. After that, they may start to lose some of their flavor.
Nutritional Disclaimer:
Nutritional information is provided as a courtesy and should only be construed as an estimate rather than a guarantee. To obtain the most precise nutritional information in a provided recipe, you should calculate the nutritional information with the exact ingredients you are using when preparing the recipe using your preferred nutrition calculator.


Leave a Reply