Homemade Pita Bread is perfect for filling or wrapping. This delicious whole wheat pita bread is deliciously soft and tasty.
These homemade pitas were really fun to make! I love making bread of almost any kind. There's just something about working with the dough, watching it rise and then there's that amazing smell while it's baking! What's not to love?
Another flatbread that I make is this grilled flatbread. It's slightly different than pita bread and doesn't form a pocket.
What is pita bread?
Pita bread is a round, flat, yeast bread that is common in the Mediterranean and the Middle East. Pitas often form a pocket inside when they are baking.
What is white wheat flour?
This pita recipe is made with whole wheat and regular white flour. When I use whole wheat flour, I usually use a white whole wheat flour. White whole wheat flour is different than traditional whole wheat flour. It is made from a different type of wheat.
It's milled from a white spring wheat rather than the traditional red spring wheat. It has a lighter flavor. You can use either type of whole wheat flour.
I like to use the white whole wheat in my baking since it has such a mild flavor.
How do I make pita bread?
-
In a large mixing bowl for a stand mixer, add water, yeast and honey. Let sit until bubbly.
-
Add olive oil, salt and 2 cups of flour. Mix on low speed.
-
Continue adding flour one cup at a time until all flour is incorporated.
-
Knead in stand mixer for 5 -10 minutes.
-
Shape dough into a round and place in a bowl greased with olive oil. Rotate the dough so all sides get coated with the oil. Cover bowl with plastic wrap or a clean dish towel. Let set for 1 hour or until dough has doubled in size.
-
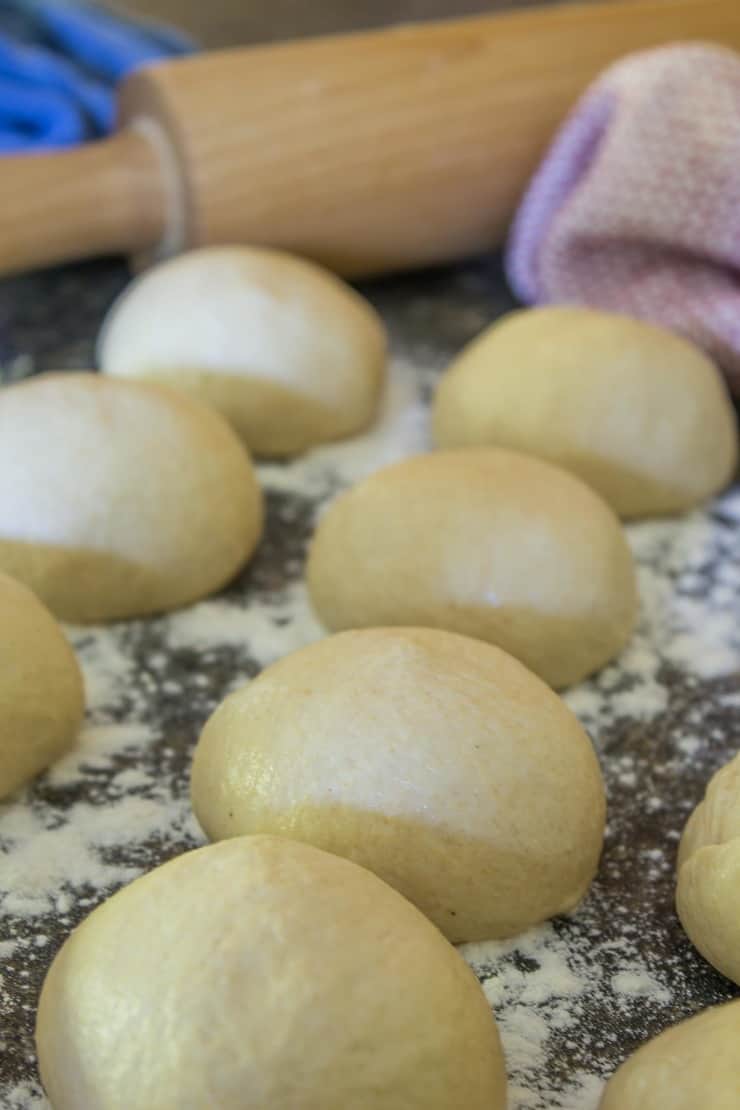
Gently deflate the dough. Place dough on a lightly floured surface. Divide dough into fourths. Divide each fourth into three equal parts. You want 12 equally divided pieces of dough.
-
Shape each piece into a smooth ball. Place one piece of dough on the counter. Cup your hand over the dough. Rotate the dough in a circular motion with your hand until it becomes a smooth ball. Set aside and cover with a clean towel. Repeat with remaining pieces.

-
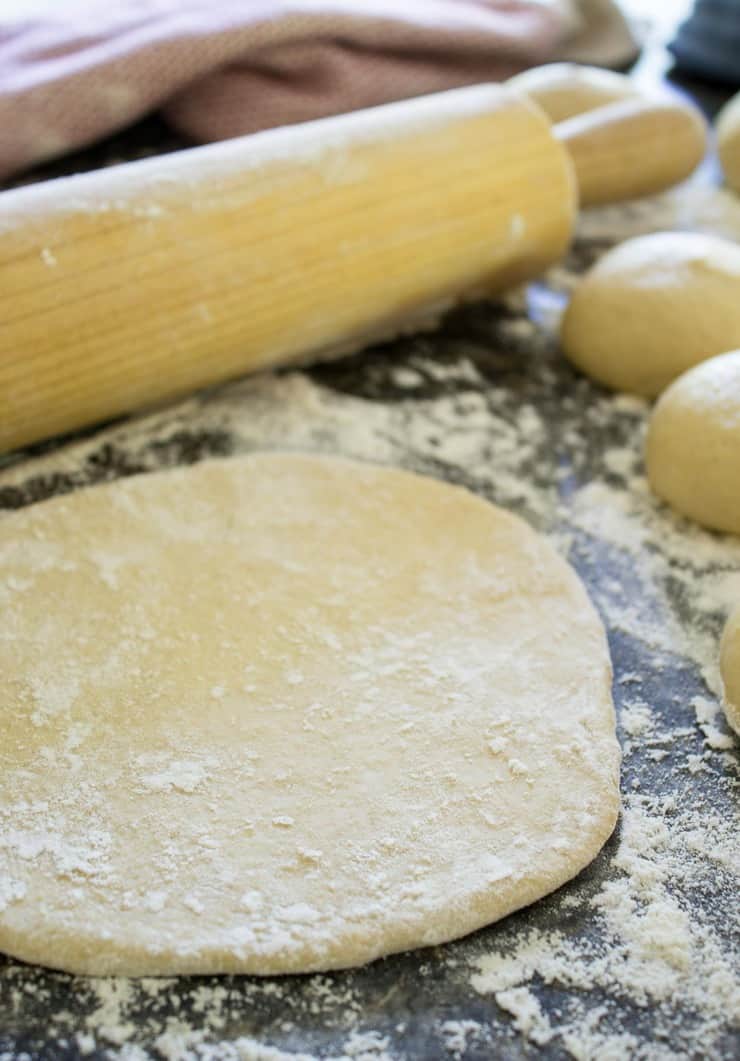
Roll out each piece of dough on a lightly floured surface to approximately 6 inches. Place each round on a lightly floured surface. Cover with a clean towel. Repeat with remaining dough.

-
Let dough rest for one hour. The dough will not rise very much during this time.
-
Preheat oven to 500 degrees Fahrenheit. Place a baking sheet on the bottom rack of the oven. This sheet will not be used for baking but helps create a barrier for the bottom of the bread so it doesn't become too brown.
-
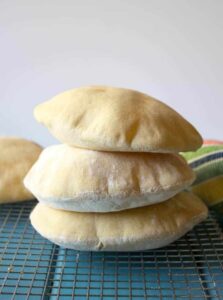
Place four rounds of dough onto an ungreased baking sheet. Do not overlap dough. Bake for 5-6 minutes until lightly browned. Remove pitas to a baking rack and repeat with remaining dough.
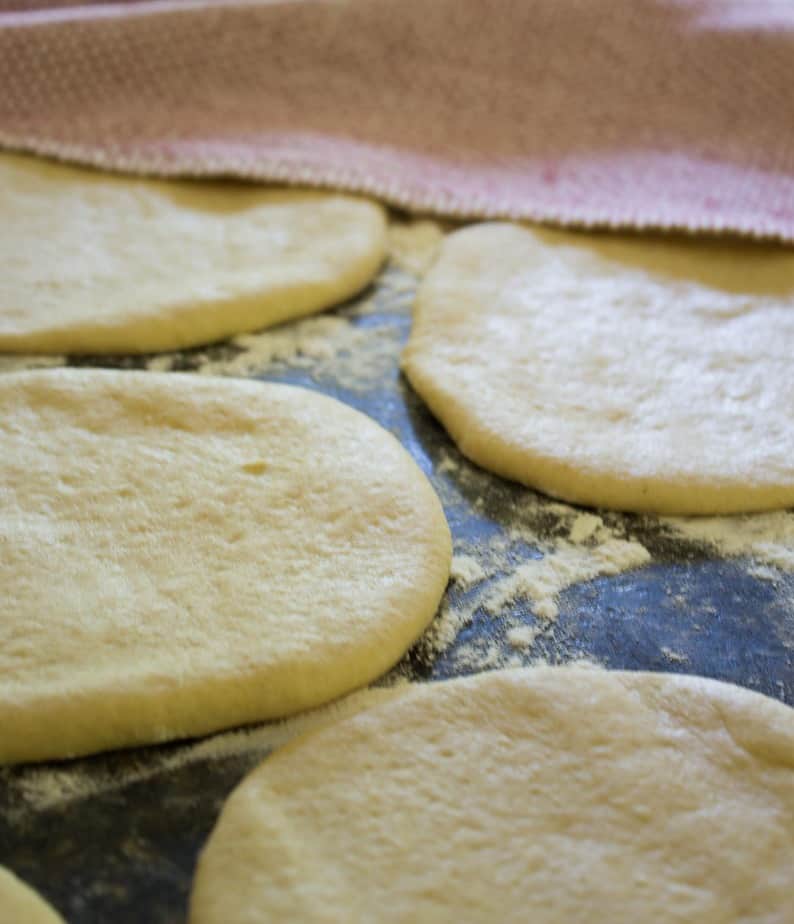
You do need a bit of counter space when making these pitas. The space is for all the rolled out pitas. Once you roll them out, they need a place to rise. Plan for 12, six inch rounds all on the counter.
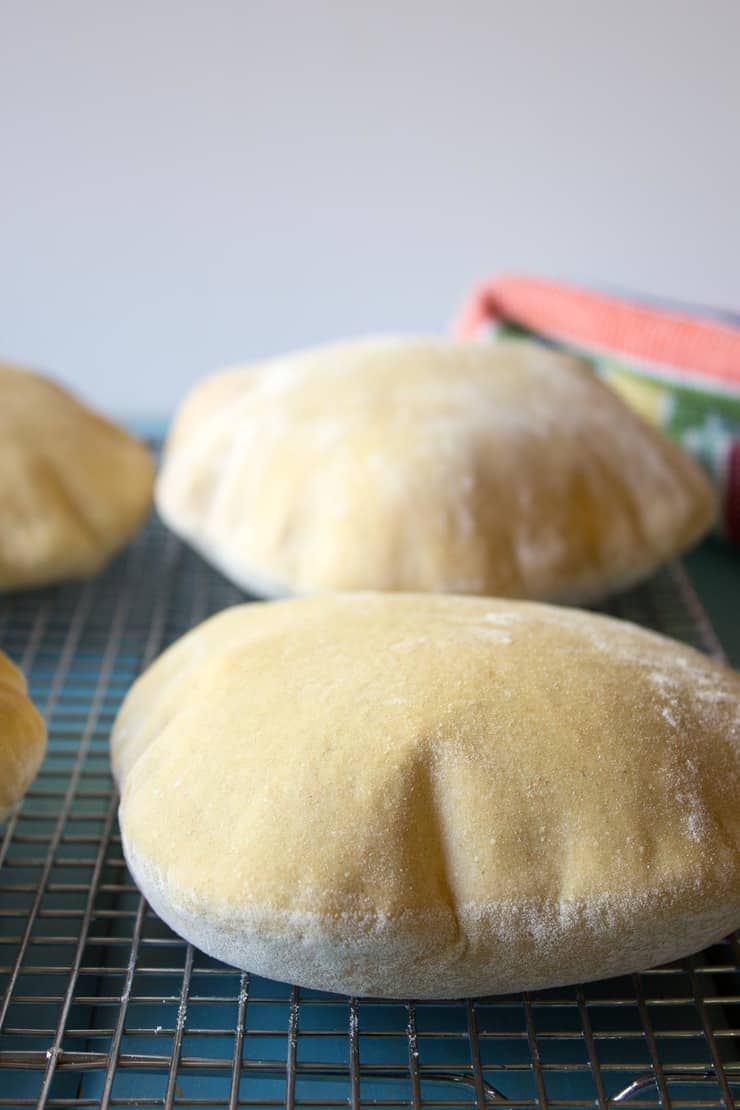
These pitas puff up when they bake, creating a pocket. I have to be totally honest, not all my pitas created a pocket. I actually had four that decided to stay flat! They were still great to eat. There just wasn't a pocket inside.
I adapted this recipe from Fine Cooking. In the article, the author also states not all the pitas create a pocket. That made me feel a bit better!
How to make certain your pitas form a pocket
- Allow the rounds enough time to rest.
- Handle the rounds as gently as possible when moving to a baking sheet.
- Don't overcrowd the baking sheet.

What is the difference between Pita Bread and Naan Bread?
Pita bread and naan bread have some similarities. They are both a round flatbread. Naan is usually made with additional ingredients including yogurt, milk, eggs, and butter.
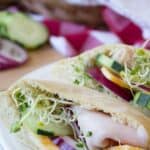
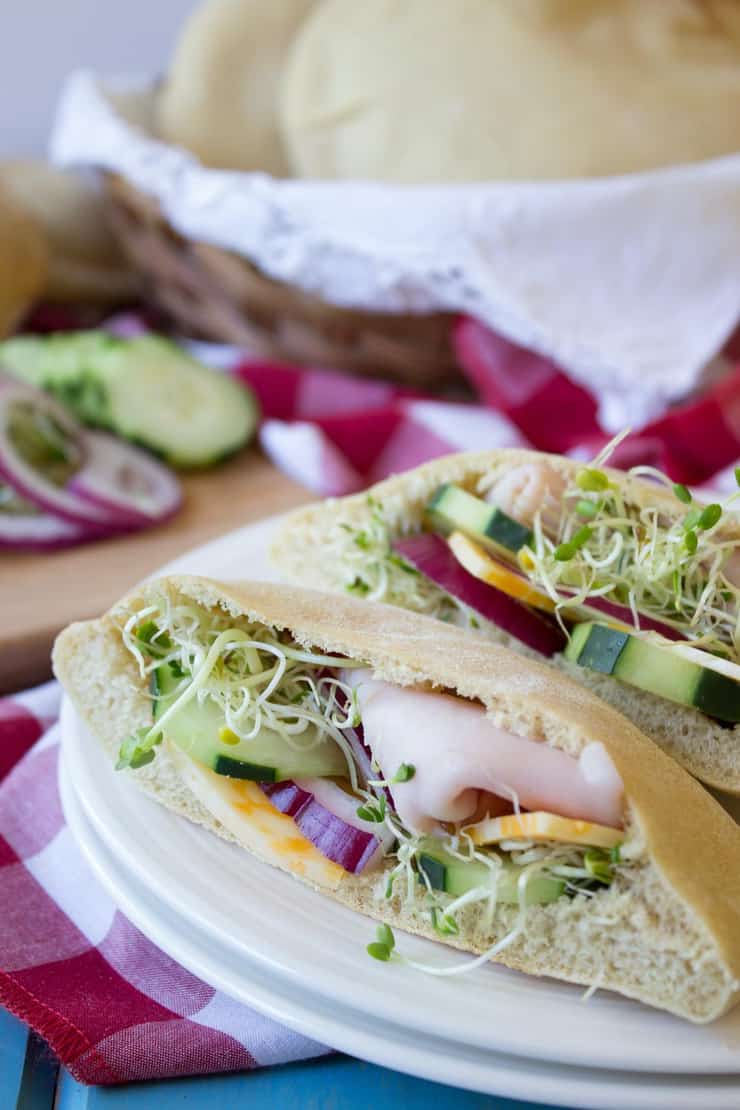
Once the pitas have cooled, slice in half and fill with your favorite lunch fixings or slice the pitas and dip into your favorite hummus. I love to fill my pita pockets with sliced turkey, cheese, onions, sprouts and sliced cucumbers. You can add any of your favorite sandwich fixing and make your own delicious filled pita pocket sandwich.

You can use these pitas to make Baked Pita Chips.
If you enjoy making your own bread, you might also enjoy these recipes:
If you make this recipe, I’d love to hear about it! Leave a comment below and snap a picture and tag me on Instagram @beyondthechickencoop
Check out all my homemade bread recipes!
Homemade Pita Bread
Equipment
- Cookie Sheet
Ingredients
- 2 Cups Warm Water
- 2 ¼ teaspoons Yeast
- 1 Tablespoon Honey
- ¼ Cup Olive Oil
- 1 teaspoon salt
- 3 Cups All-Purpose Flour
- 2 ½ Cups White Whole Wheat Flour
Instructions
- In a large mixing bowl for a stand mixer, add water, yeast and honey. Let sit until bubbly.
- Add olive oil, salt and 2 cups of flour. Mix on low speed.
- Continue adding flour one cup at a time until all flour is incorporated.
- Knead in stand mixer for 5 -10 minutes.
- Shape dough into a round and place in a bowl greased with olive oil. Rotate the dough so all sides get coated with the oil. Cover bowl with plastic wrap or a clean dish towel. Let set for 1 hour or until dough has doubled in size.
- Gently deflate the dough. Place dough on a lightly floured surface. Divide dough into fourths. Divide each fourth into three equal parts. You want 12 equally divided pieces of dough.
- Shape each piece into a smooth ball. Place one piece of dough on the counter. Cup your hand over the dough. Rotate the dough in a circular motion with your hand until it becomes a smooth ball. Set aside and cover with a clean towel. Repeat with remaining pieces.
- Roll out each piece of dough on a lightly floured surface to approximately 6 inches. Place each round on a lightly floured surface. Cover with a clean towel. Repeat with remaining dough.
- Let dough rest for one hour. The dough will not rise very much during this time.
- Preheat oven to 500 degrees Fahrenheit. Place a baking sheet on the bottom rack of the oven. This sheet will not be used for baking but helps create a barrier for the bottom of the bread so it doesn't become too brown.
- Place four rounds of dough onto an ungreased baking sheet. Do not overlap dough. Bake for 5-6 minutes until lightly browned. Remove pitas to a baking rack and repeat with remaining dough.
Notes
- Can use all purpose flour instead of white wheat flour.
- Not all pitas will create a pocket. Handle rolled out rounds carefully when moving to baking sheet.
- Regular whole wheat flour can be used in place of the white whole wheat flour.
- 2 ¼ teaspoons of yeast equals one packet of yeast.
Nutritional Disclaimer:
Nutritional information is provided as a courtesy and should only be construed as an estimate rather than a guarantee. To obtain the most precise nutritional information in a provided recipe, you should calculate the nutritional information with the exact ingredients you are using when preparing the recipe using your preferred nutrition calculator.
Nutrition
Update: This recipe was originally posted in July 2017. The recipe and post have been updated.
Valentina says
Pita bread is so fun. I love the endless possibilities of what to fill it with. Interesting about the differences in the wheat flours. Learn something new every day! 🙂 ~Valentina
Kathy says
The possibilities are endless!
Ramona says
These pita bread look absolutely perfect. I have made a few times pita bread at home and I know that no market bought ones can ever be compared. It is amazing how easy to make these are too. Lovely recipe indeed.
April says
This such a great pita bread. I've seen a few similar recipes today but this one is truly one-of-a-kind. Delicious!
Kathy says
Thanks, April!
Byron Thomas says
I had no idea that there wasn't any special technique applied to making sure those pitas formed a pocket. I thought it was some kind of witchcraft! Ha! These turned out perfectly and tasted so fresh. I don't think store-bought pitas will be something we buy again. Thanks for the recipe!
Kathy says
Thanks, Byron!
Alexandra @ It's Not Complicated Recipes says
I have never made homemade pita bread before - but oh do I love pita bread!! I cannot wait to try this soon, Kathy 🙂 Delicious!
Melissa says
Ooooh this sounds surprisingly like something I could make, ha, never imagined I'd be making my own pitas! They would be perfect for some Donair mmm
Leslie says
I have never made pita bread before. I think this is a recipe that the whole family would love to join in on! Thanks for sharing!
Kathy says
They would have fun helping!
Mary Ann | The Beach House Kitchen says
You always inspire me to get bread baking in the the kitchen Kathy! These look so fluffy and delicious! Perfect for stuffing.
Kathy says
Thanks, Mary Ann! I do love baking and baking bread is my favorite!
Kathy says
They are great for sandwiches!
Thao @ In Good Flavor says
The pita bread looks perfect!! I go through phases where I would bake lots of bread and then there would be a stretch where I won't bake them at all. This pita bread recipe is going on my to try list when I'm in a bread baking mood again!
Ashley@CookNourishBliss says
I'm with you - I love baking bread of any kind! There's something so relaxing about it! I was just thinking the other day that I need to try my hand at homemade pita bread! You have perfect timing!
Kathy says
I must have been reading your mind! You've got to give these pitas a try!
Anu - My Ginger Garlic Kitchen says
Homemade bread is so much fun. I love pita bread, and yours look so perfectly crafted. Love how light, pillowy they are. And those stuffed pockets are so pretty. Have a wonderful week ahead. 🙂
Nicoletta @sugarlovespices says
Another one who loves to make bread over here! 😉 . I will try making this wonderful pita bread, for sure! They look just perfect. Love the pictures of the stuffed pita pockets! 🙂
Dora says
Greek food is one of my family's favourite, usually I buy ready-made pitas in the supermarket.
It looks really easy to make and so much fun for the kids! I hope they will love it! Thanks for sharing 🙂
stacey @ The Sugar Coated Cottage says
Wow, this homemade pita bread looks like perfection! Light, fluffy and pillowy! Great photos 🙂 . Take care.
Kathy says
They tasted wonderful too! 🙂
Dawn - Girl Heart Food says
I LOVE making bread too and you make it look too too easy, my friend! I have to give this a try! Pinned! Have a great week 🙂
Kathy says
Thanks, Dawn! Enjoy your week too!
David @ Spiced says
Fun recipe! Like you, I love baking bread...and I don't think I've ever made pita bread before. This one is definitely going on the list! Plus, a good pita stuffed with my favorite lunch toppings. (Love the sprouts in there!) Thanks for sharing this one, Kathy!
Kathy says
You'll really love making these! They are perfect for filling with all your favorite lunch toppings.
Cheryl says
This just reminded me I need to put yeast on the shopping list! Thanks for the recipe. I like pitas but it never really occurred to me to try making them. I have a feeling I'll have a bunch that won't rise and then I suppose I can pretend it's naan bread. However, when I think of the ones I buy, so many of them don't pocket out nicely either and I end up dealing with big tear in my pita.
Kathy says
You totally need to try making these! Let me know how they turn out!
Kate @ Framed Cooks says
Well, what FUN! Your pita looks absolutely perfect, Kathy! 🙂
Kathy says
Thanks, Kate!