
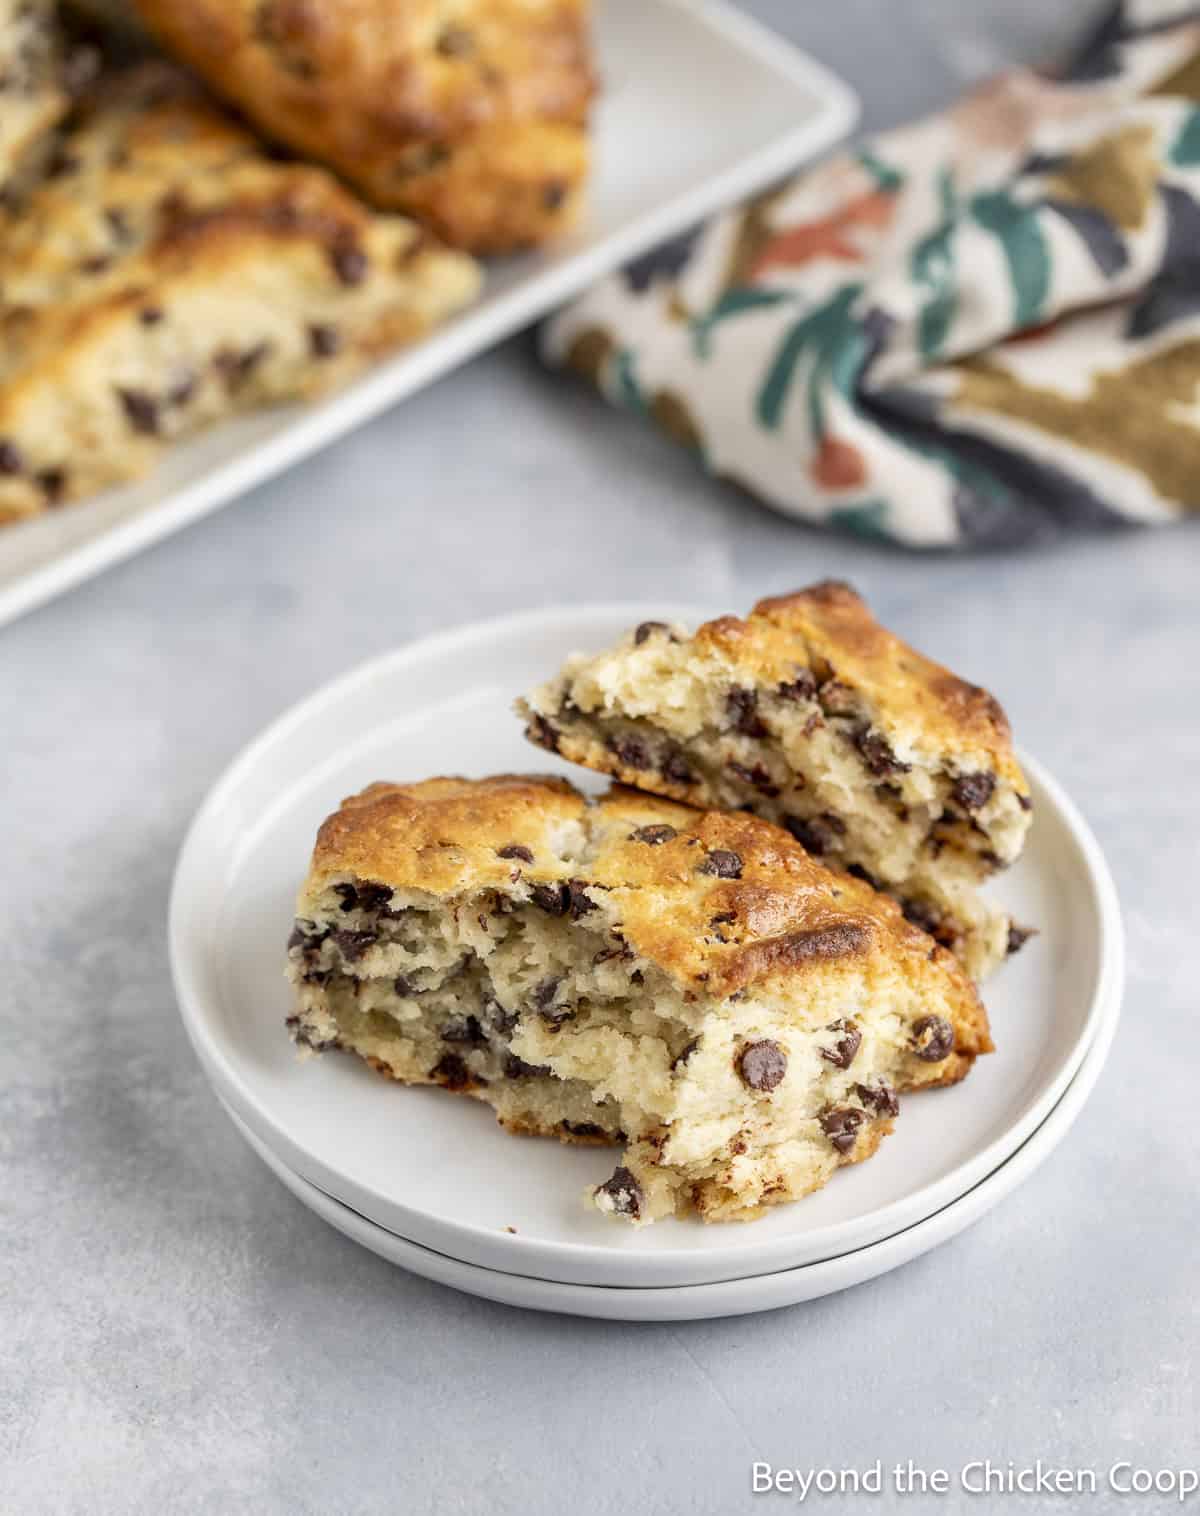
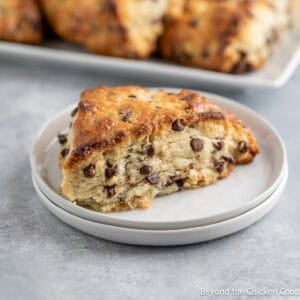
These Chocolate Chip Scones made with mini chocolate chips are perfect for serving as a sweet breakfast treat or an afternoon snack.
At a Glance: Mini chocolate chips are the star of these scones • Makes 6 scones • Perfect for weekend breakfast or brunch •
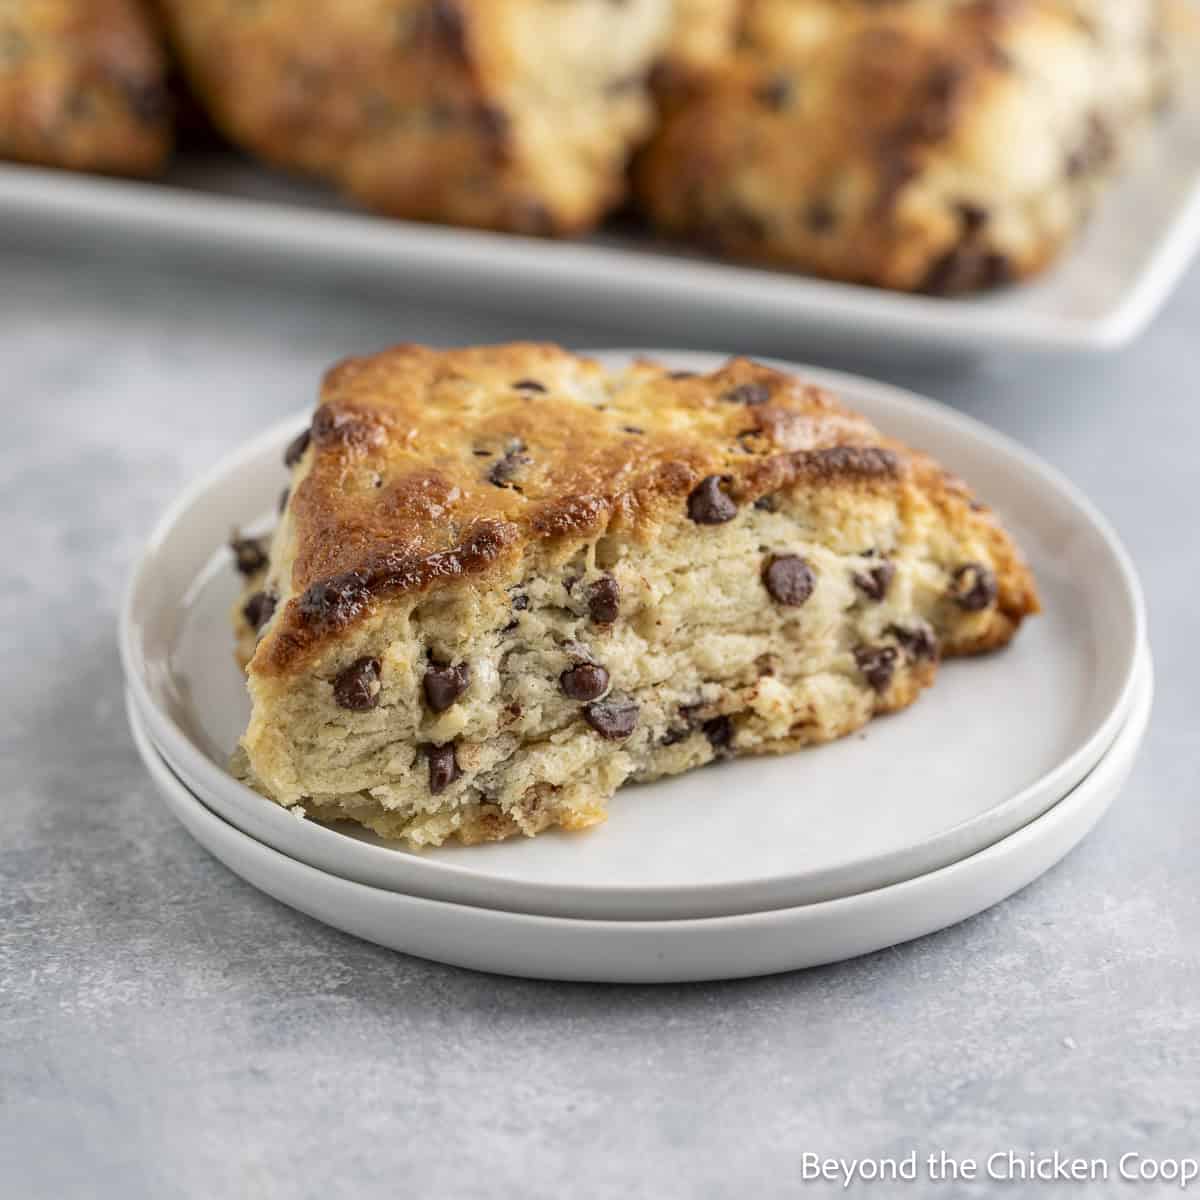
Scones with mini chocolate chips
These chocolate chip scones are a delicious treat. I like to make them in the morning and enjoy one with my cup of coffee.
One great thing about these scones is that they can be assembled ahead of time and stored in the freezer. When you're ready for a freshly baked scone, you simply pull them out of the freezer, throw them on a baking sheet, and bake them while they are still frozen. Scones for an early morning breakfast have never been easier!
Key ingredients
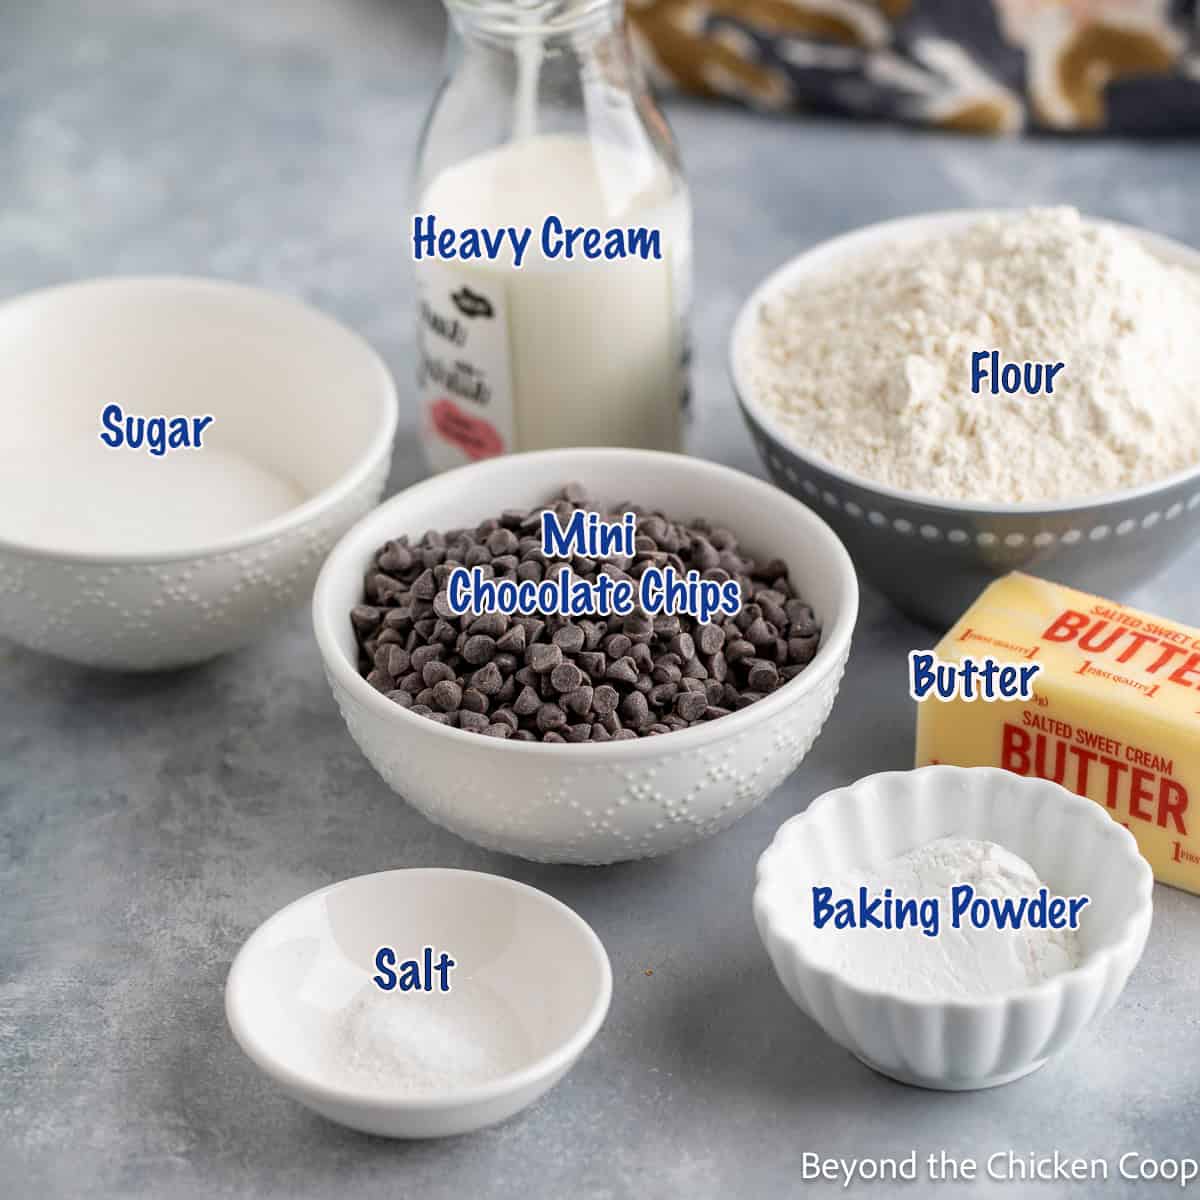
- Chocolate Chips - Use mini chocolate chips in this recipe. The small size is perfect for the scones.
- Butter - I use regular, salted butter.
- Cream - For best results, use heavy cream or half-and-half.
- Flour - Use all-purpose flour.
- Sugar - Granulated sugar is used to sweeten the scones.
- Baking Powder - Helps the scones rise while baking.
Making chocolate chip scones

- Combine flour, sugar, baking powder, and salt together in a bowl.
- Add small cubes of butter.
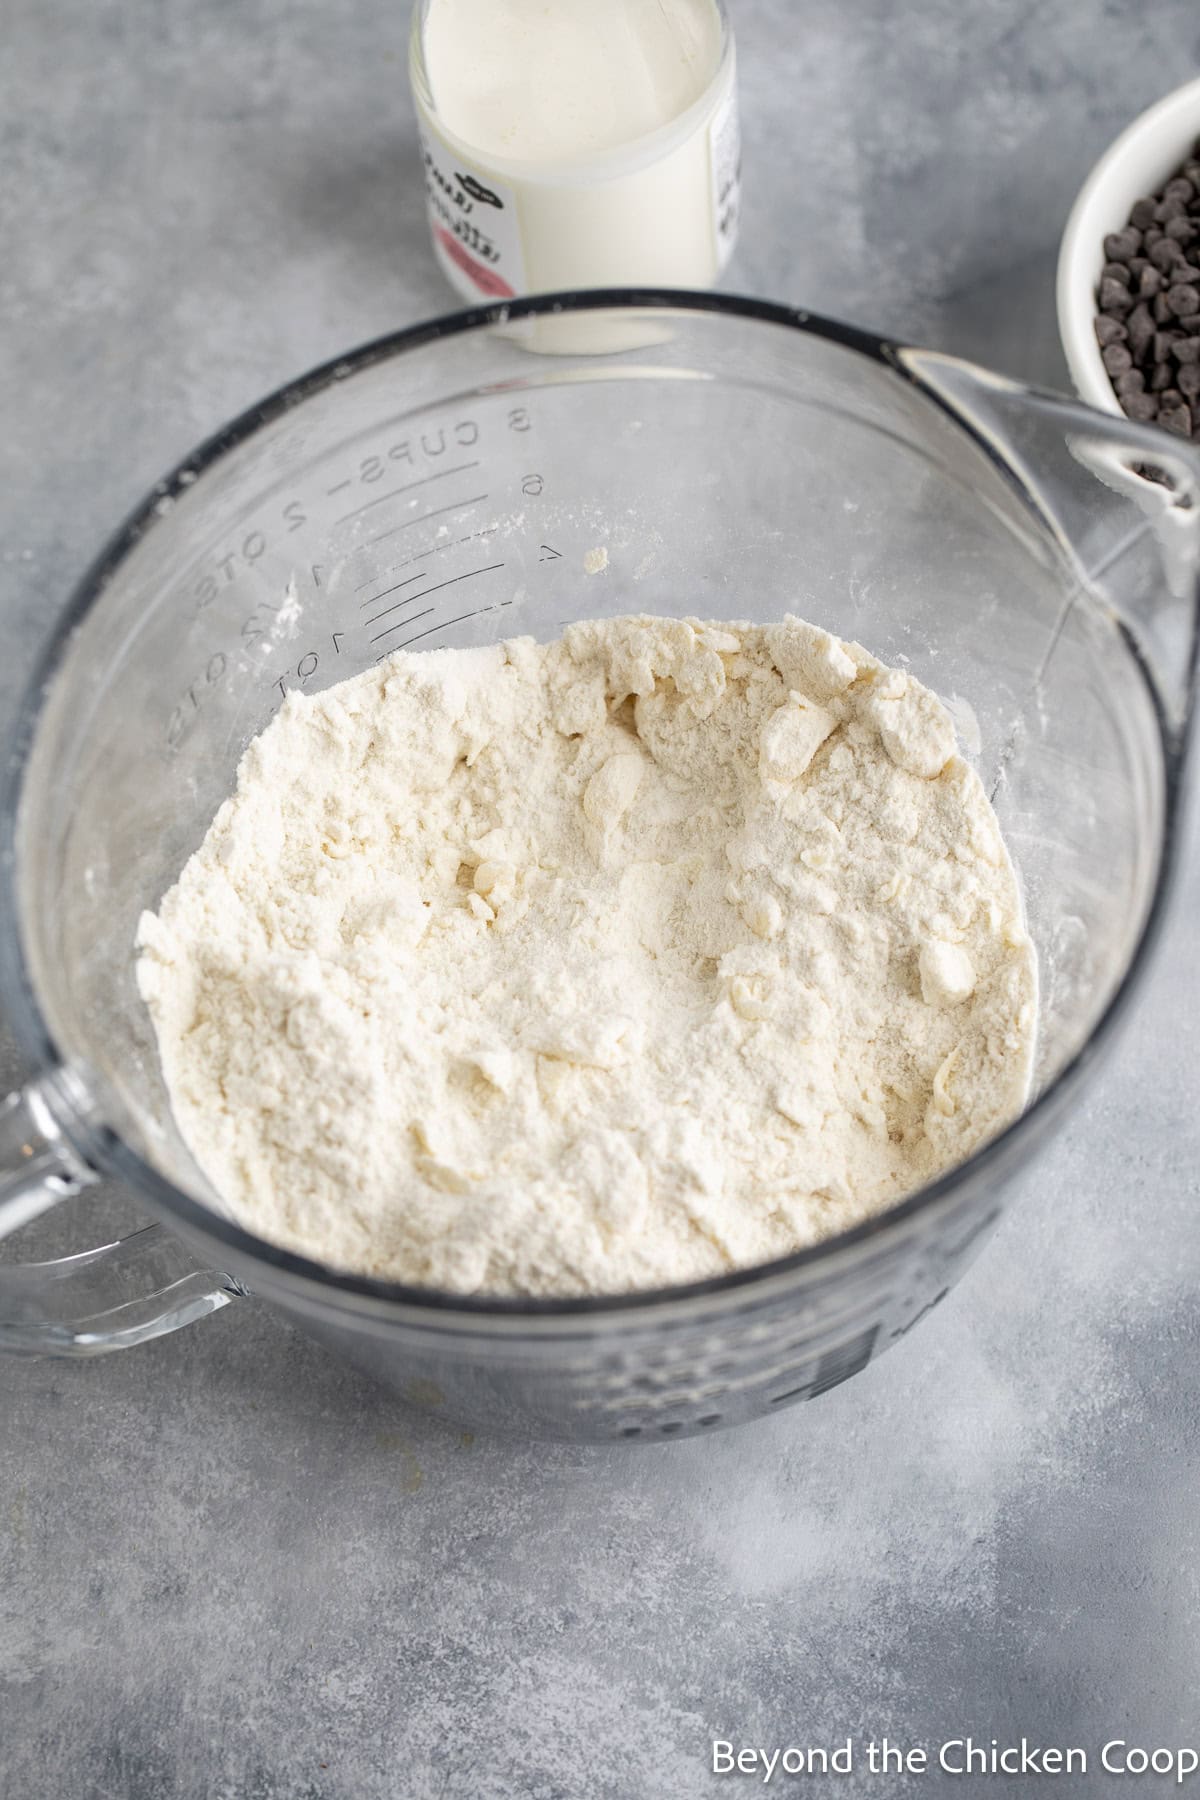
- Cut the butter into the flour by pressing pieces of butter between your fingers and thumbs along with the flour. Continue until the butter is broken into small pieces and the mixture looks crumbly.
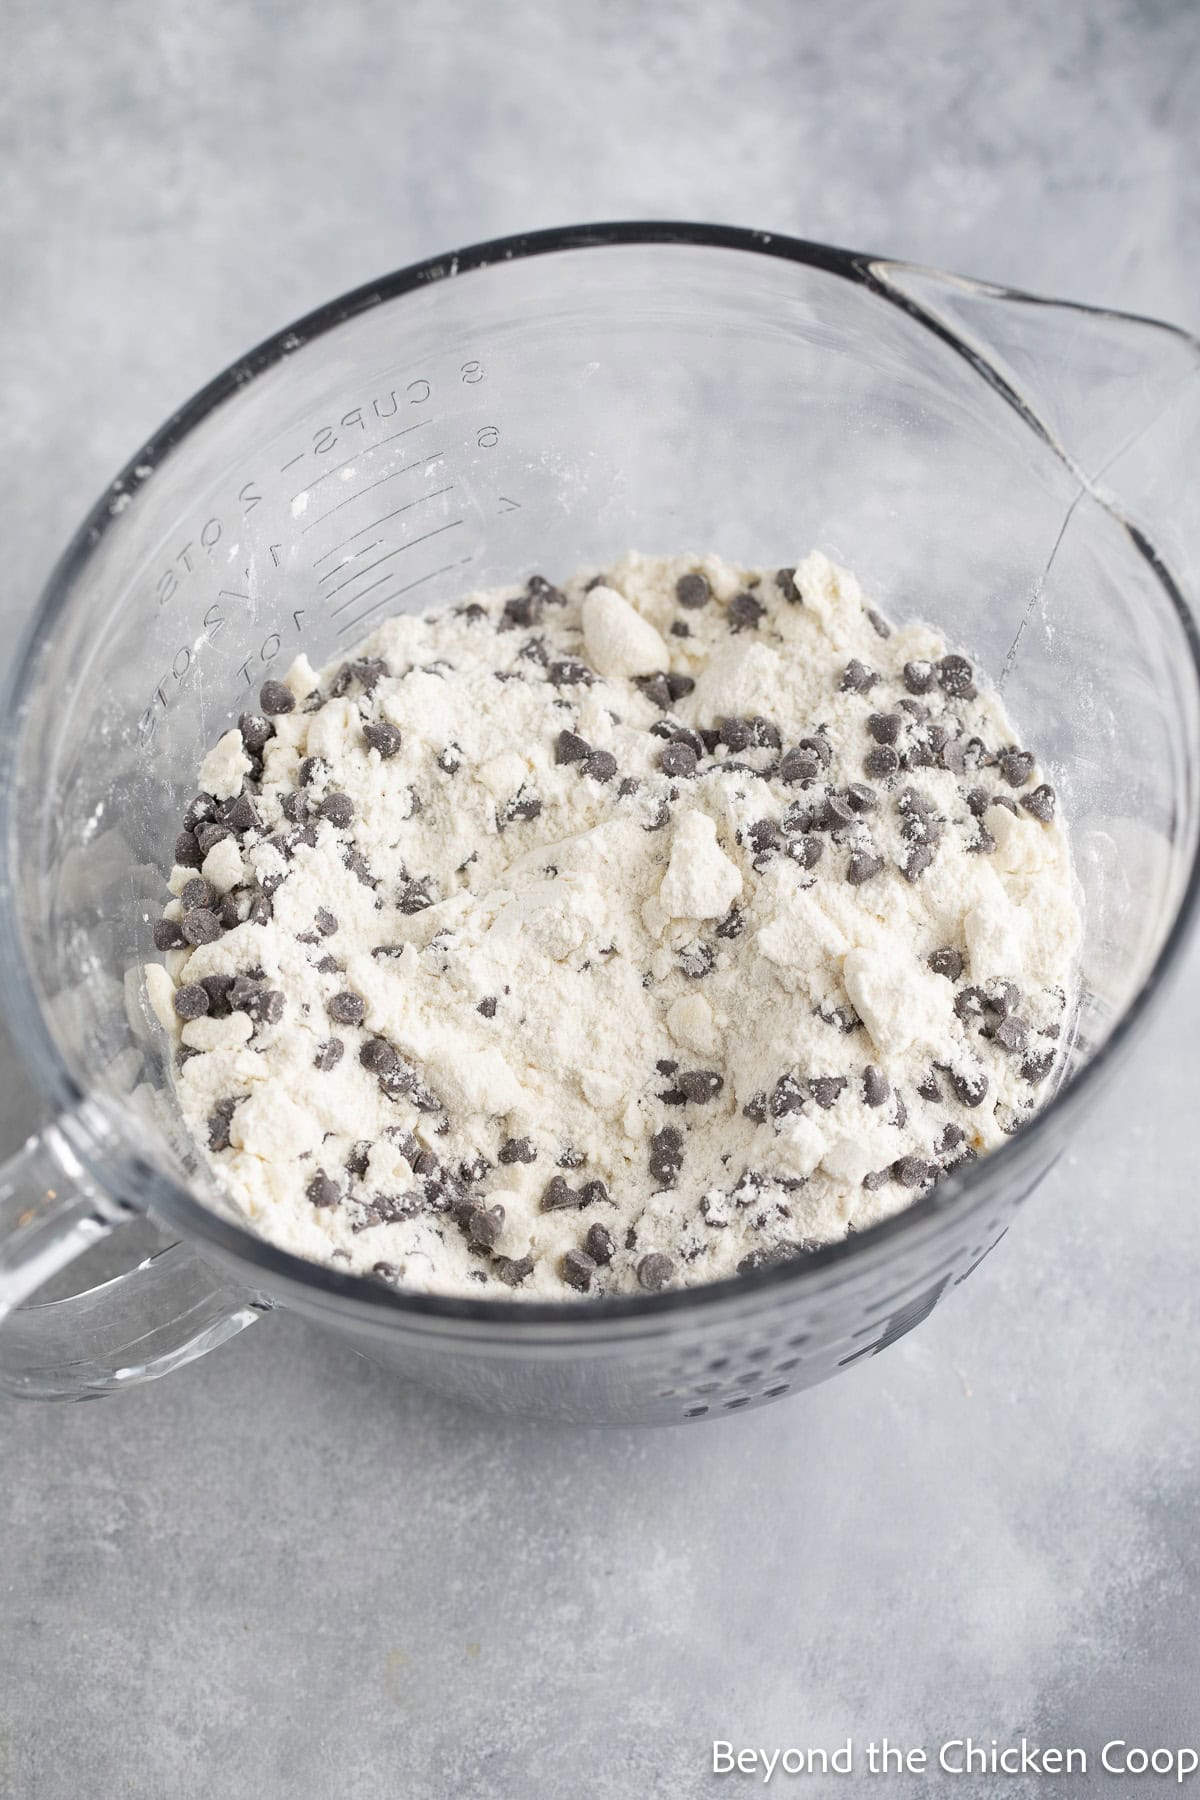
- Stir in the chocolate chips.
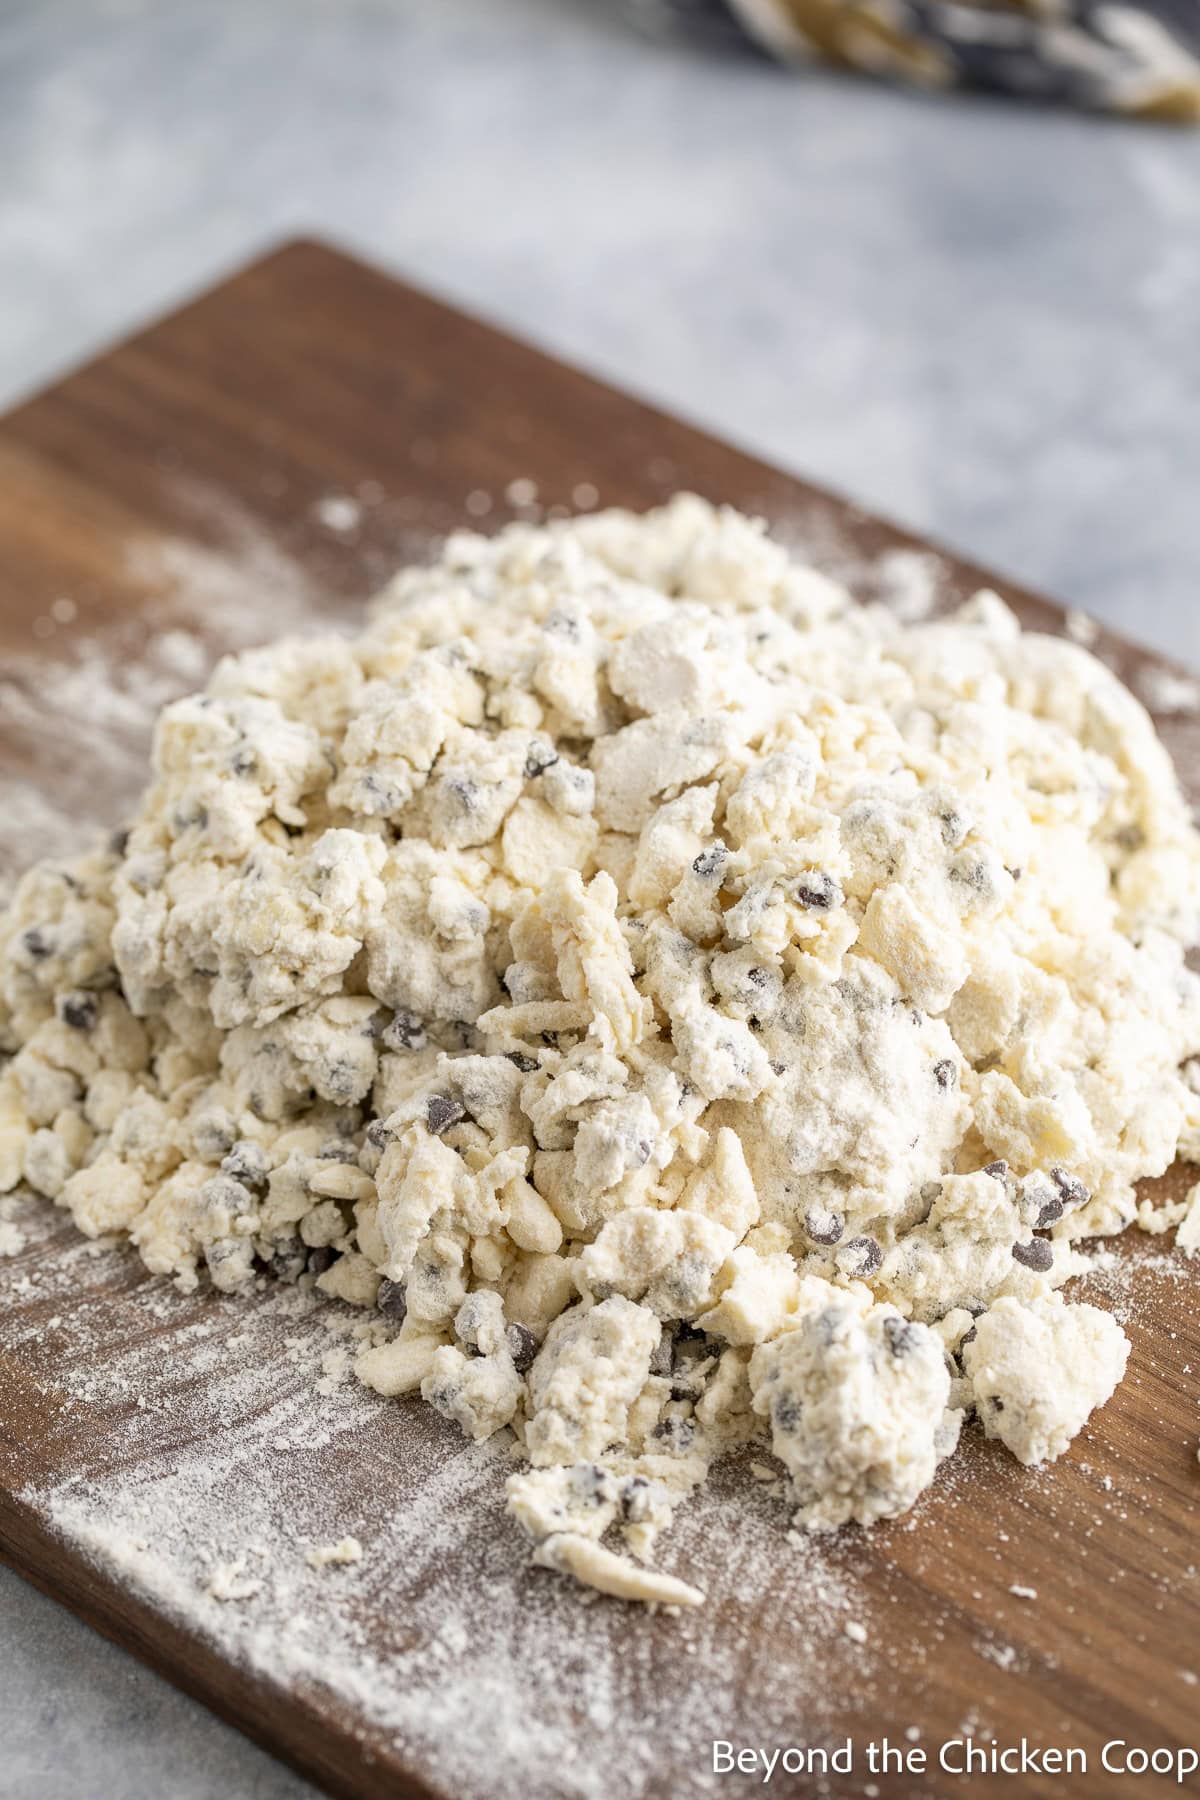
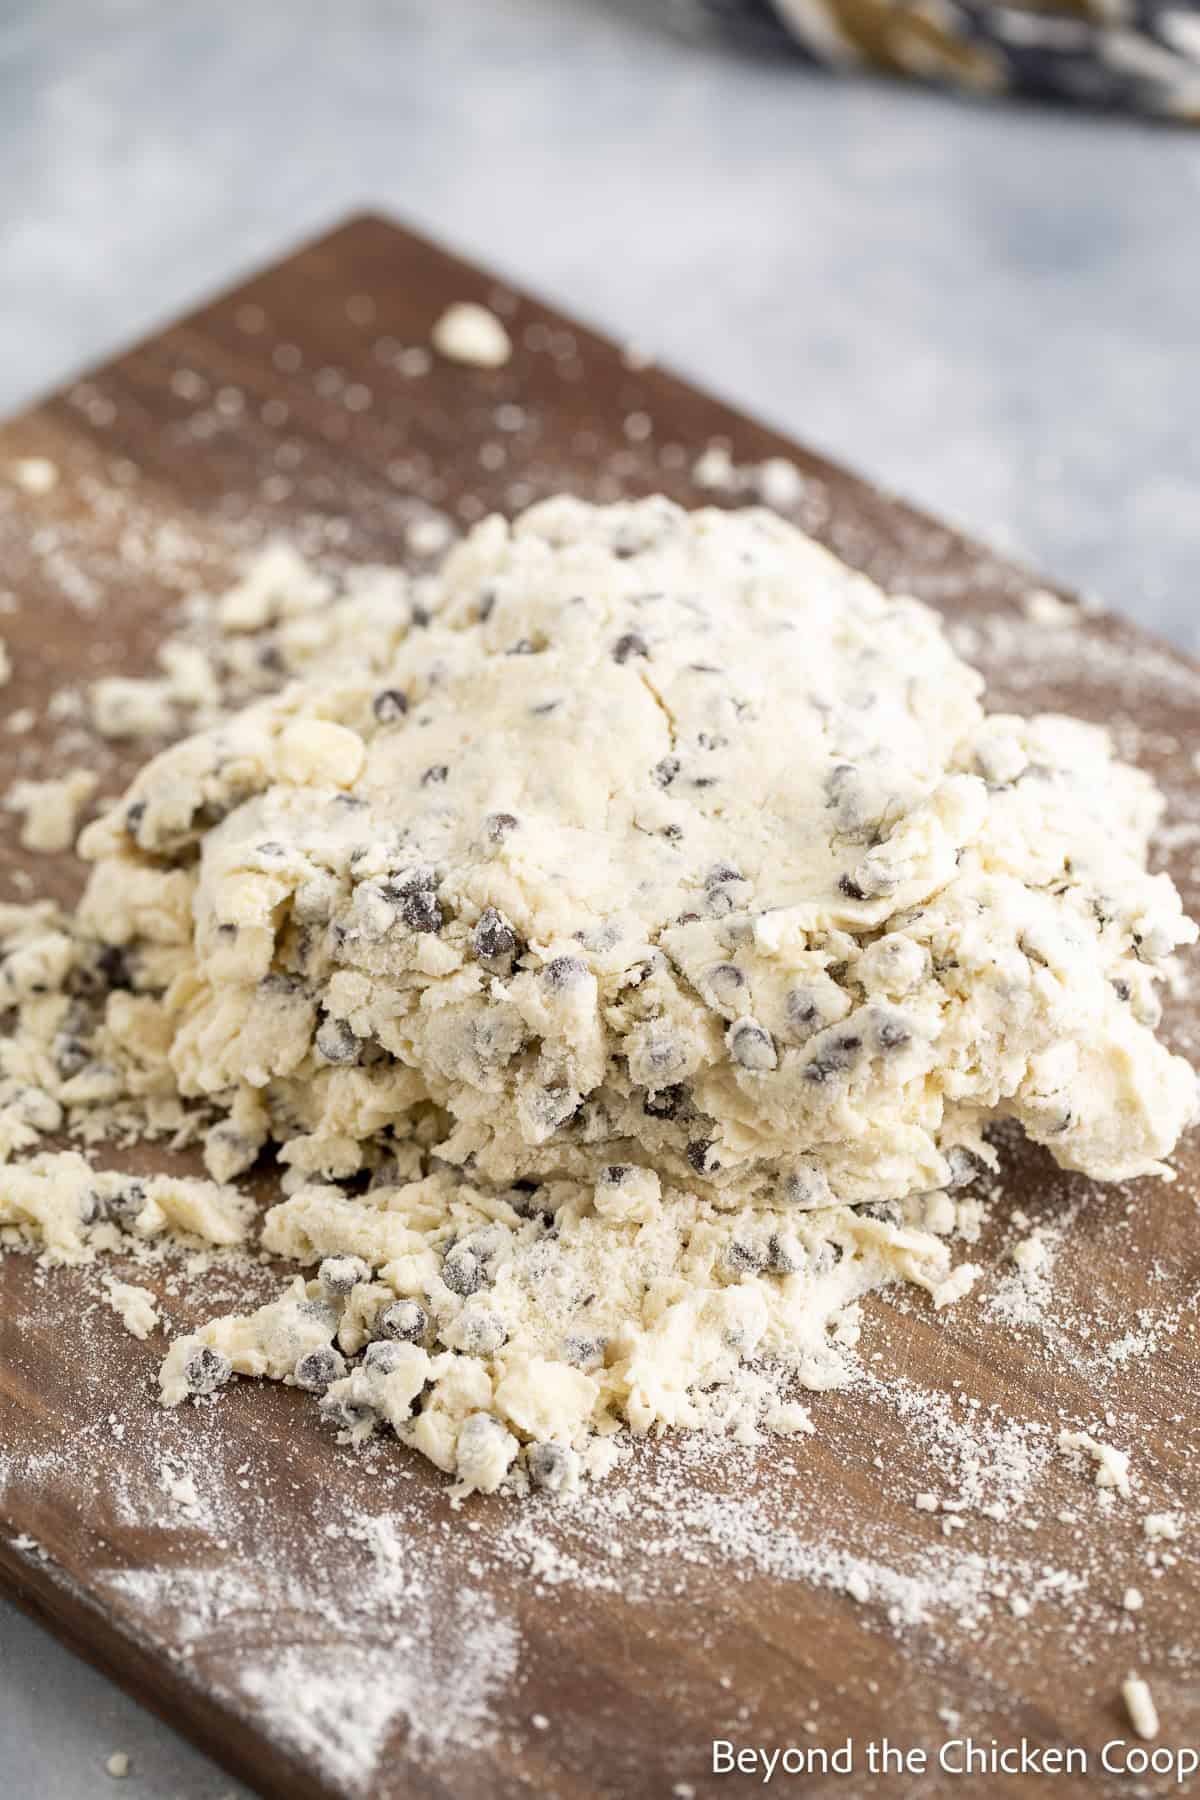
- Stir in the cream. The mixture is going to feel too dry. Dump it out onto a board or counter and begin pushing it together. Gently press the dough together until it forms a rough ball. Avoid overmixing. The dough should just hold together.
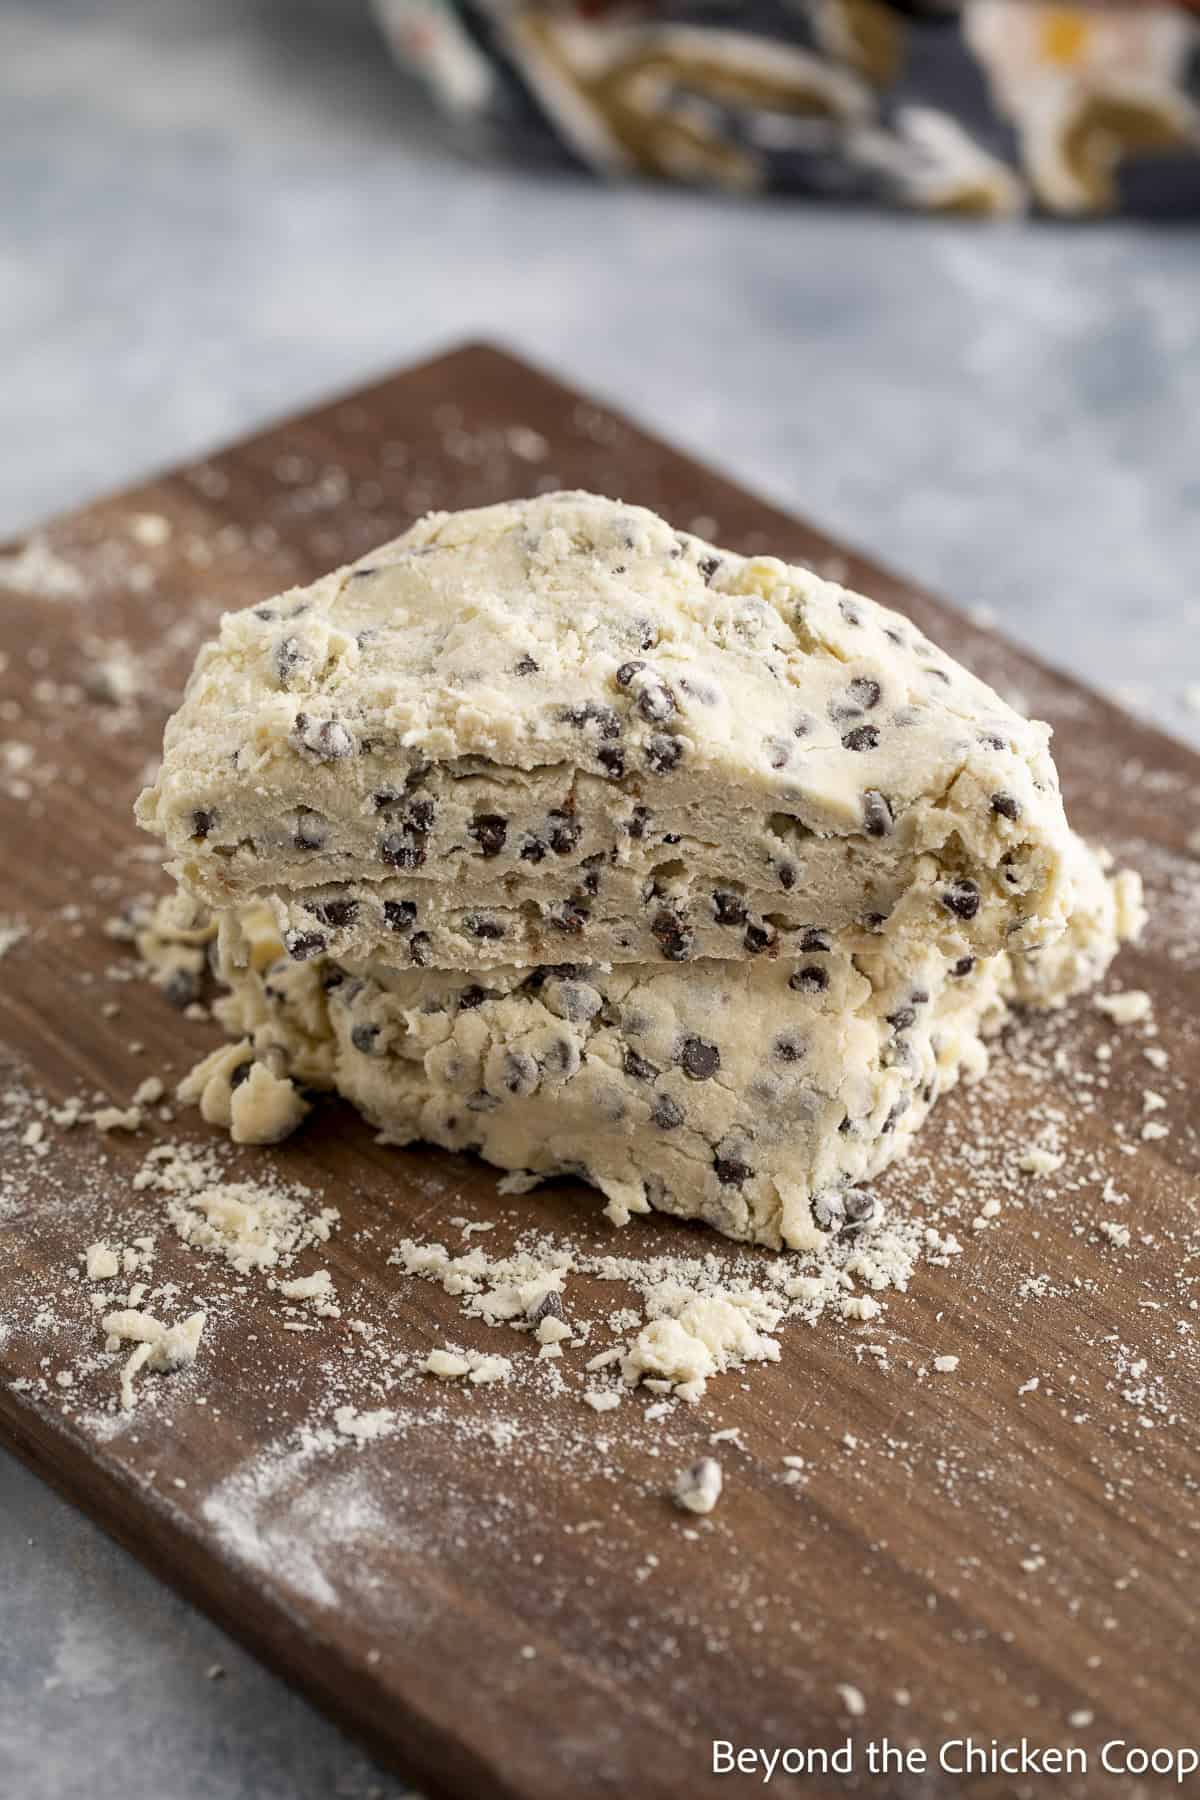
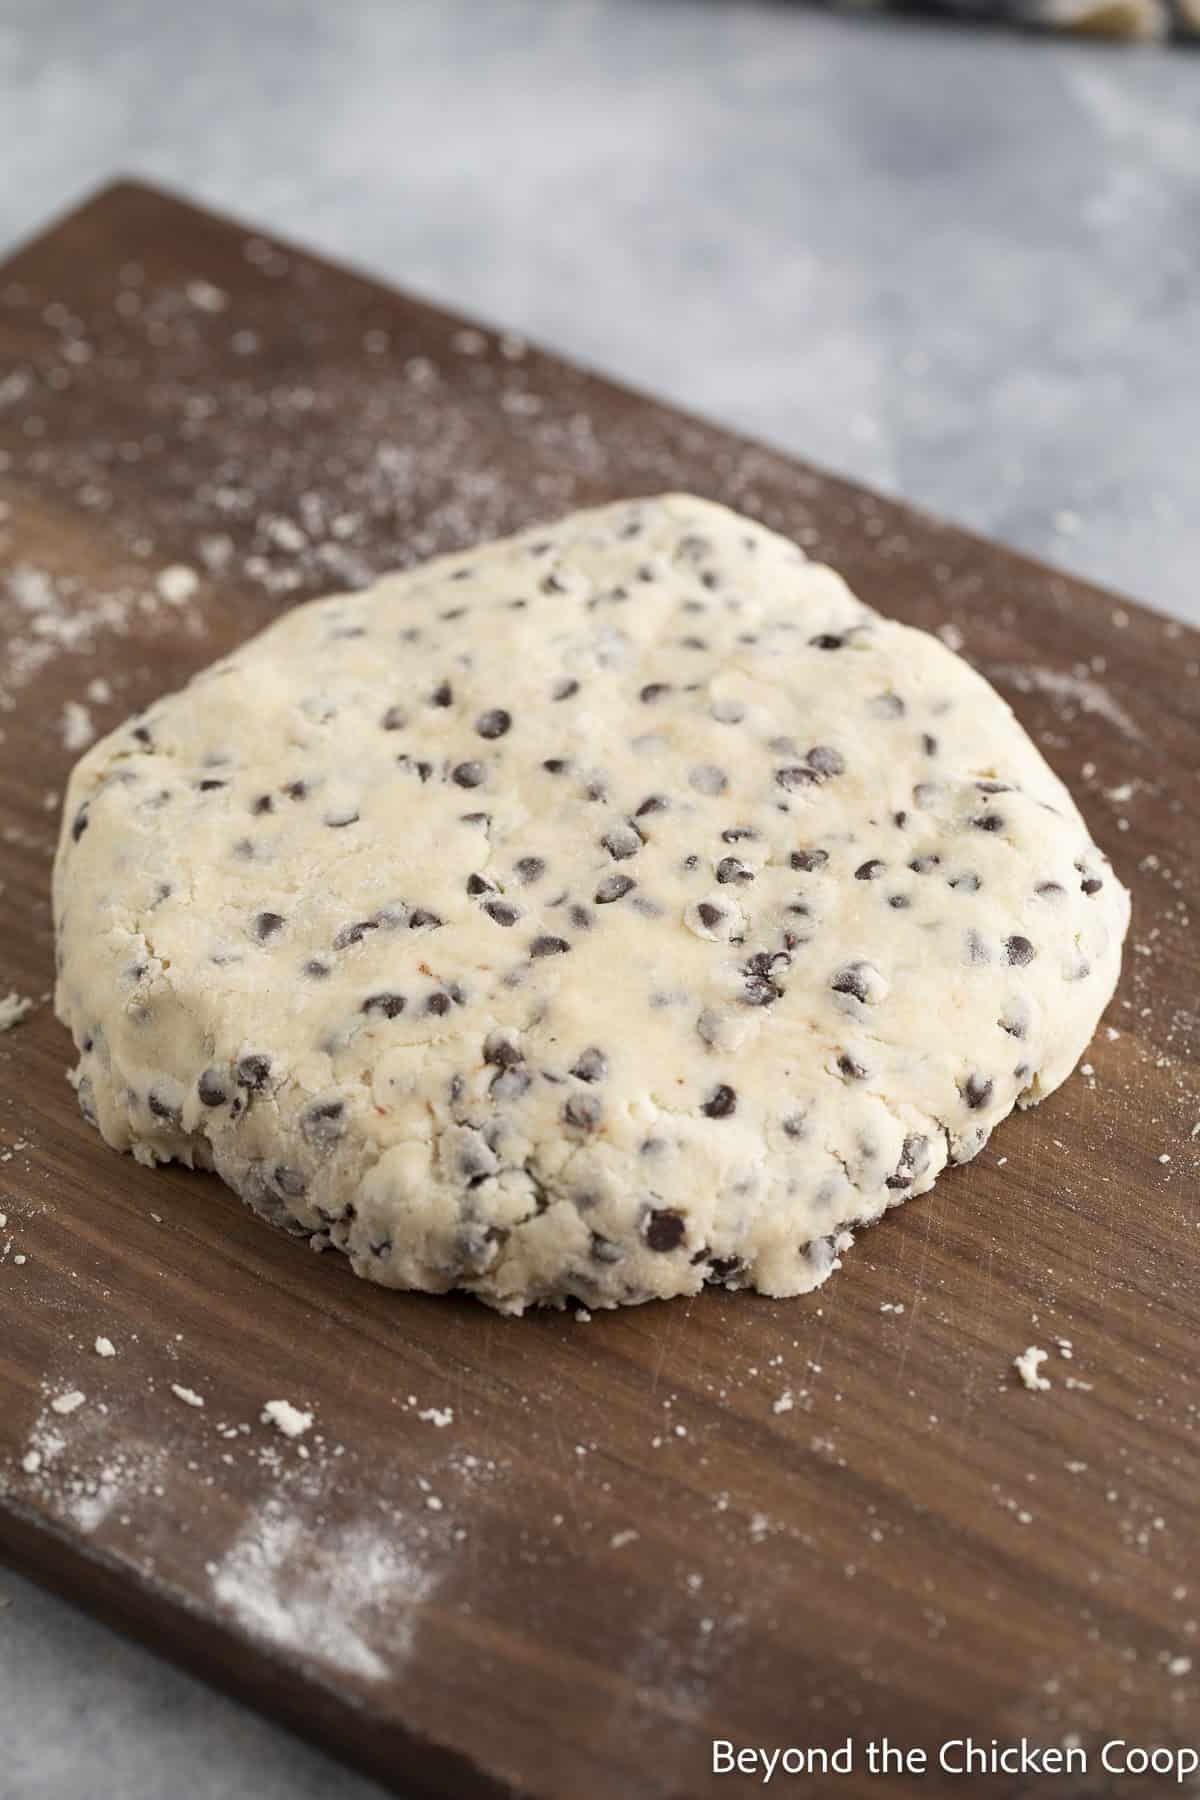
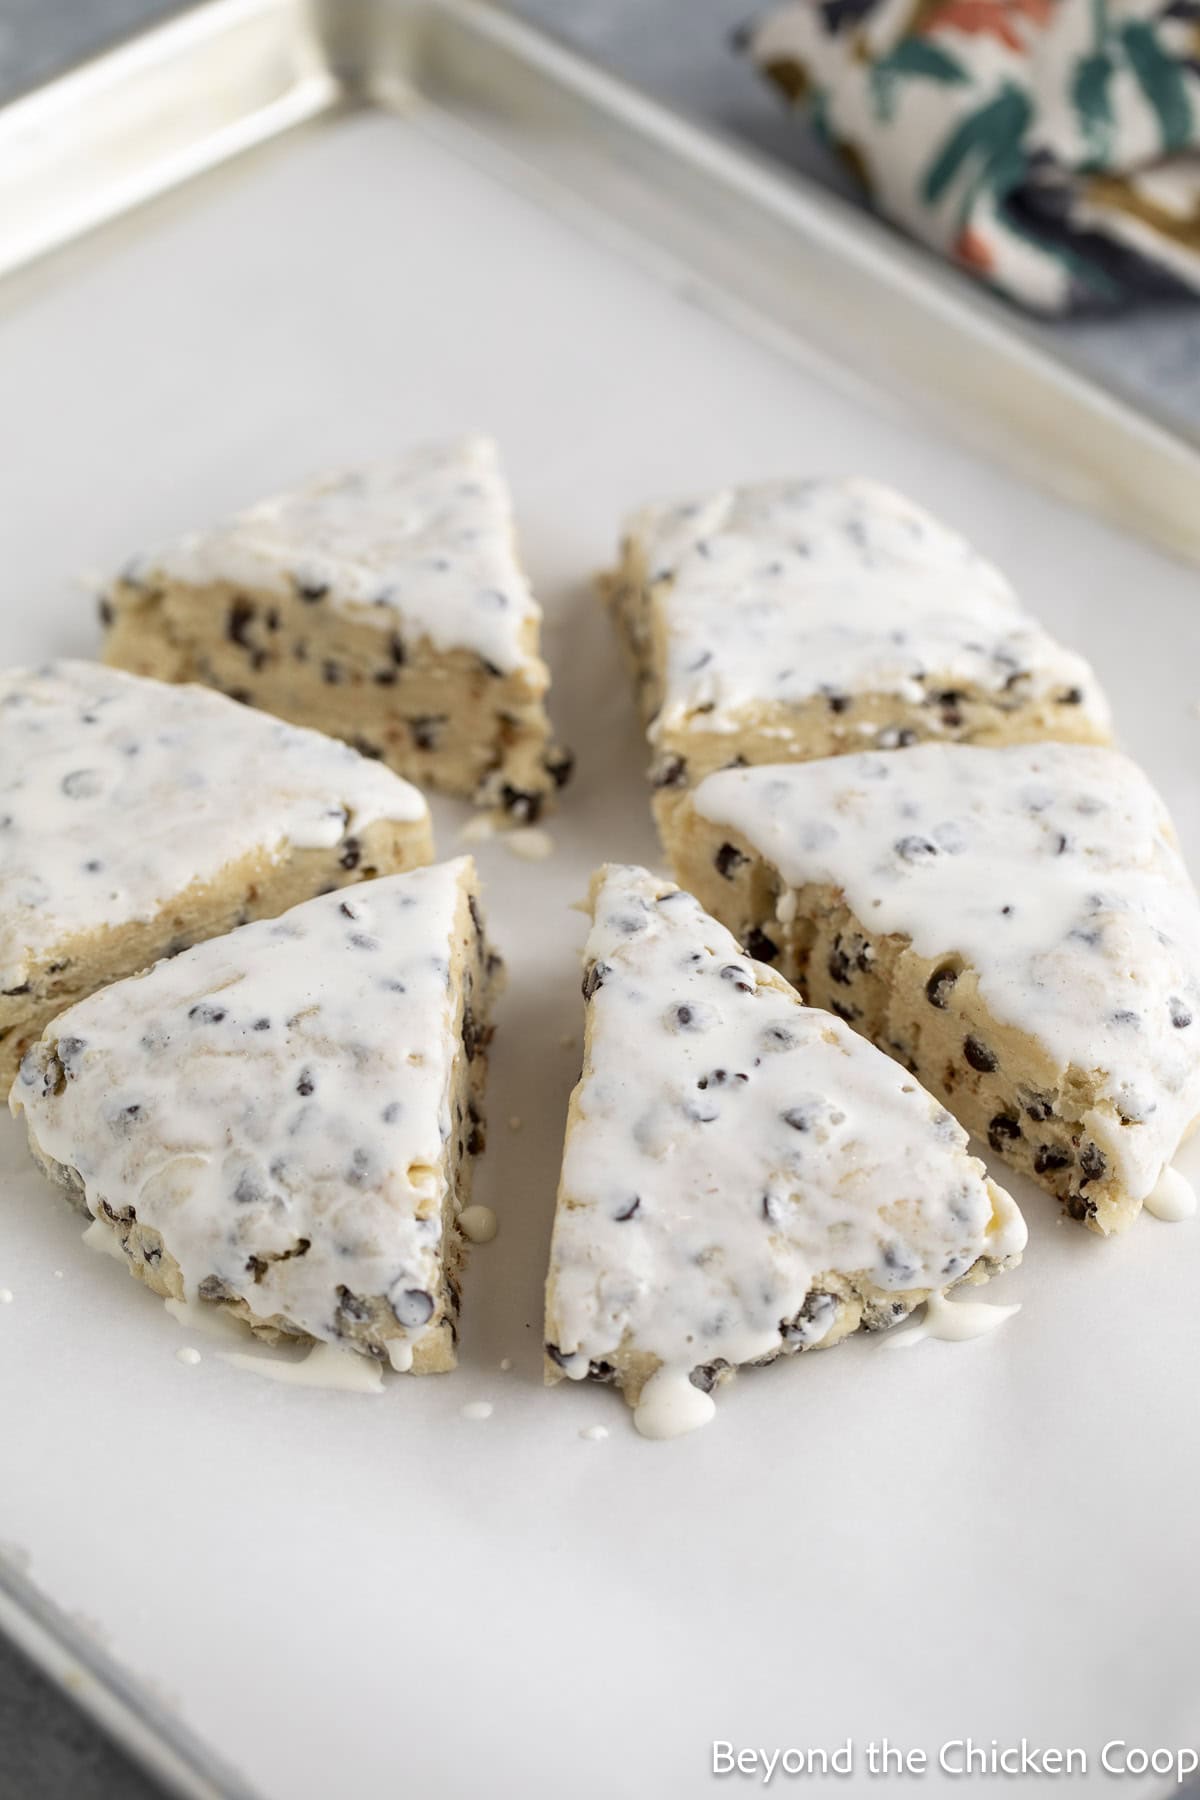
- Form into an 8-inch disc and cut into 6 wedges.
- Place wedges on a parchment-lined sheet and place in the freezer for 15 minutes.
- While scones are chilling in the freezer, preheat oven to 425°F.
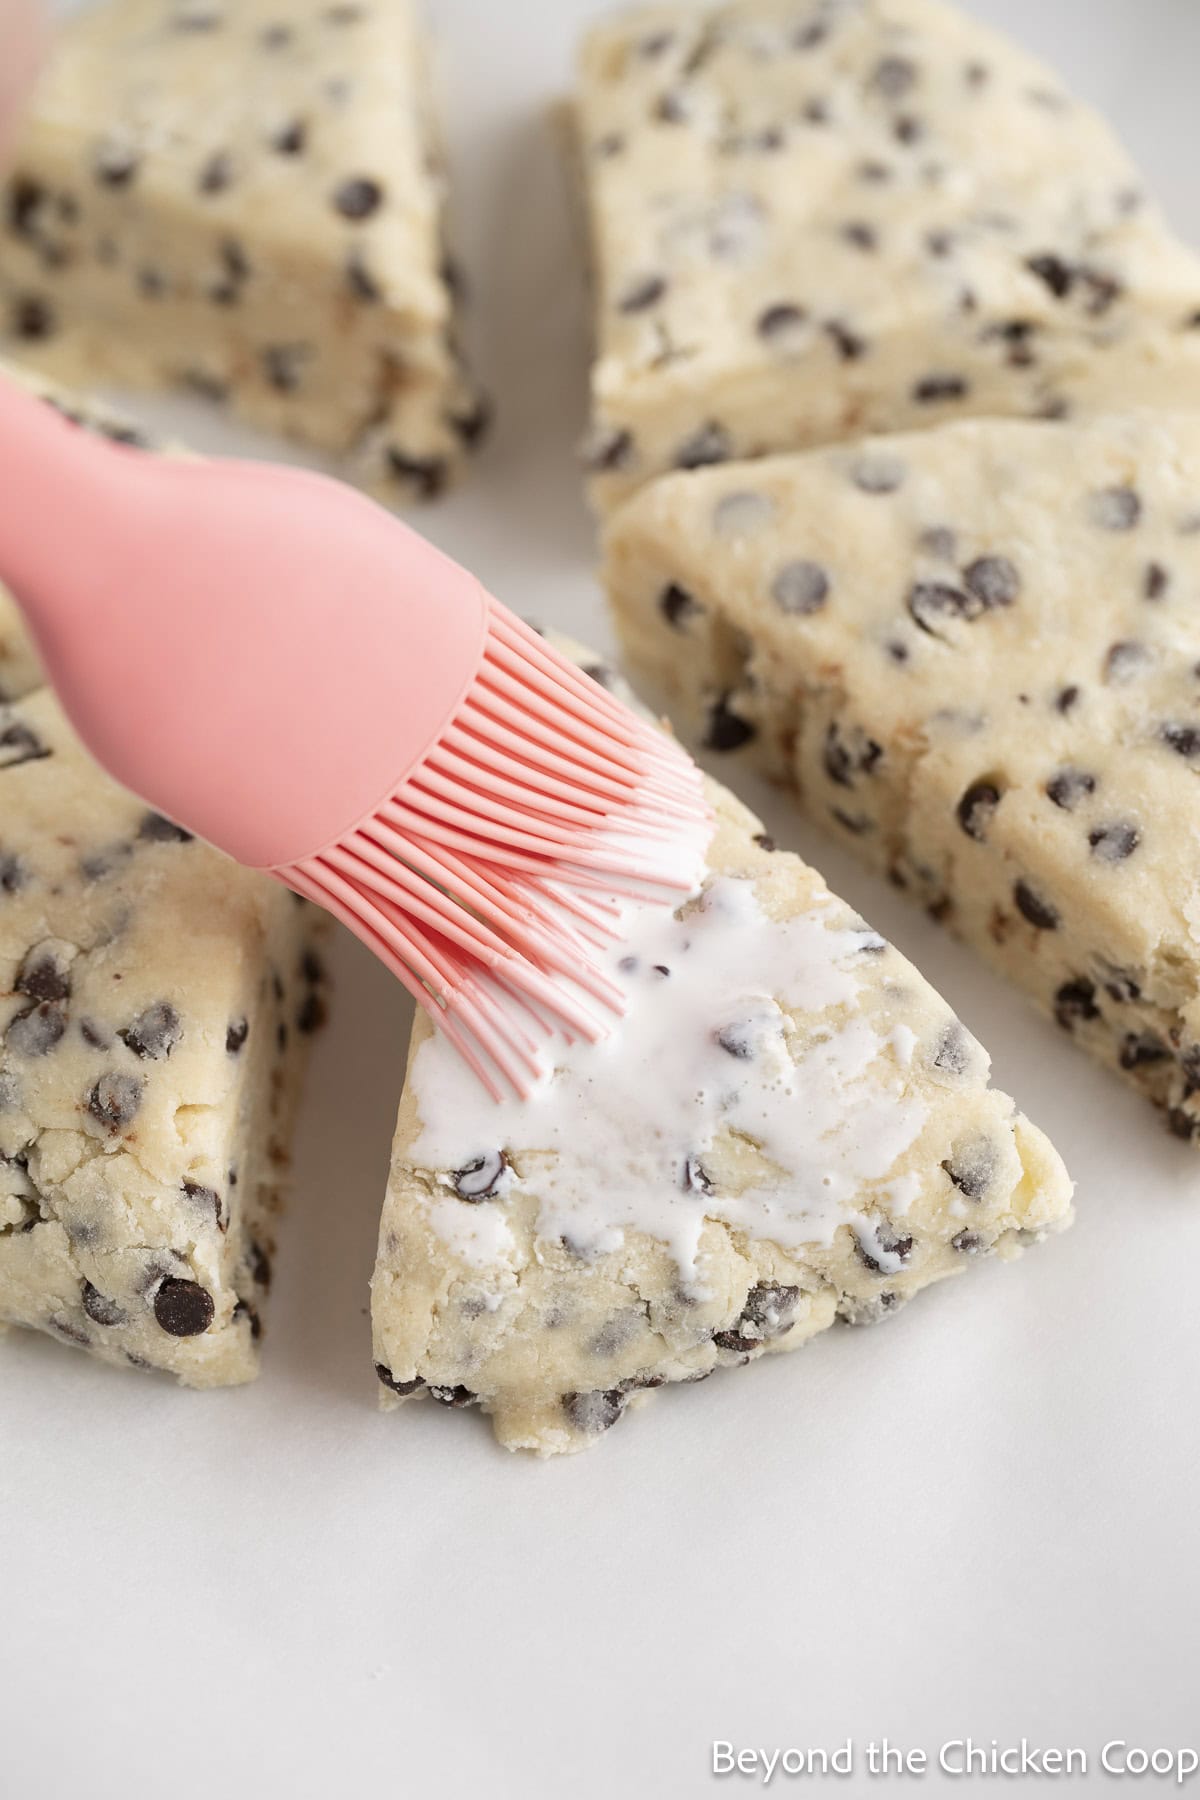
- Remove scones from the freezer and brush tops with cream.
- Bake for 15-18 minutes until the scones are golden and baked through.
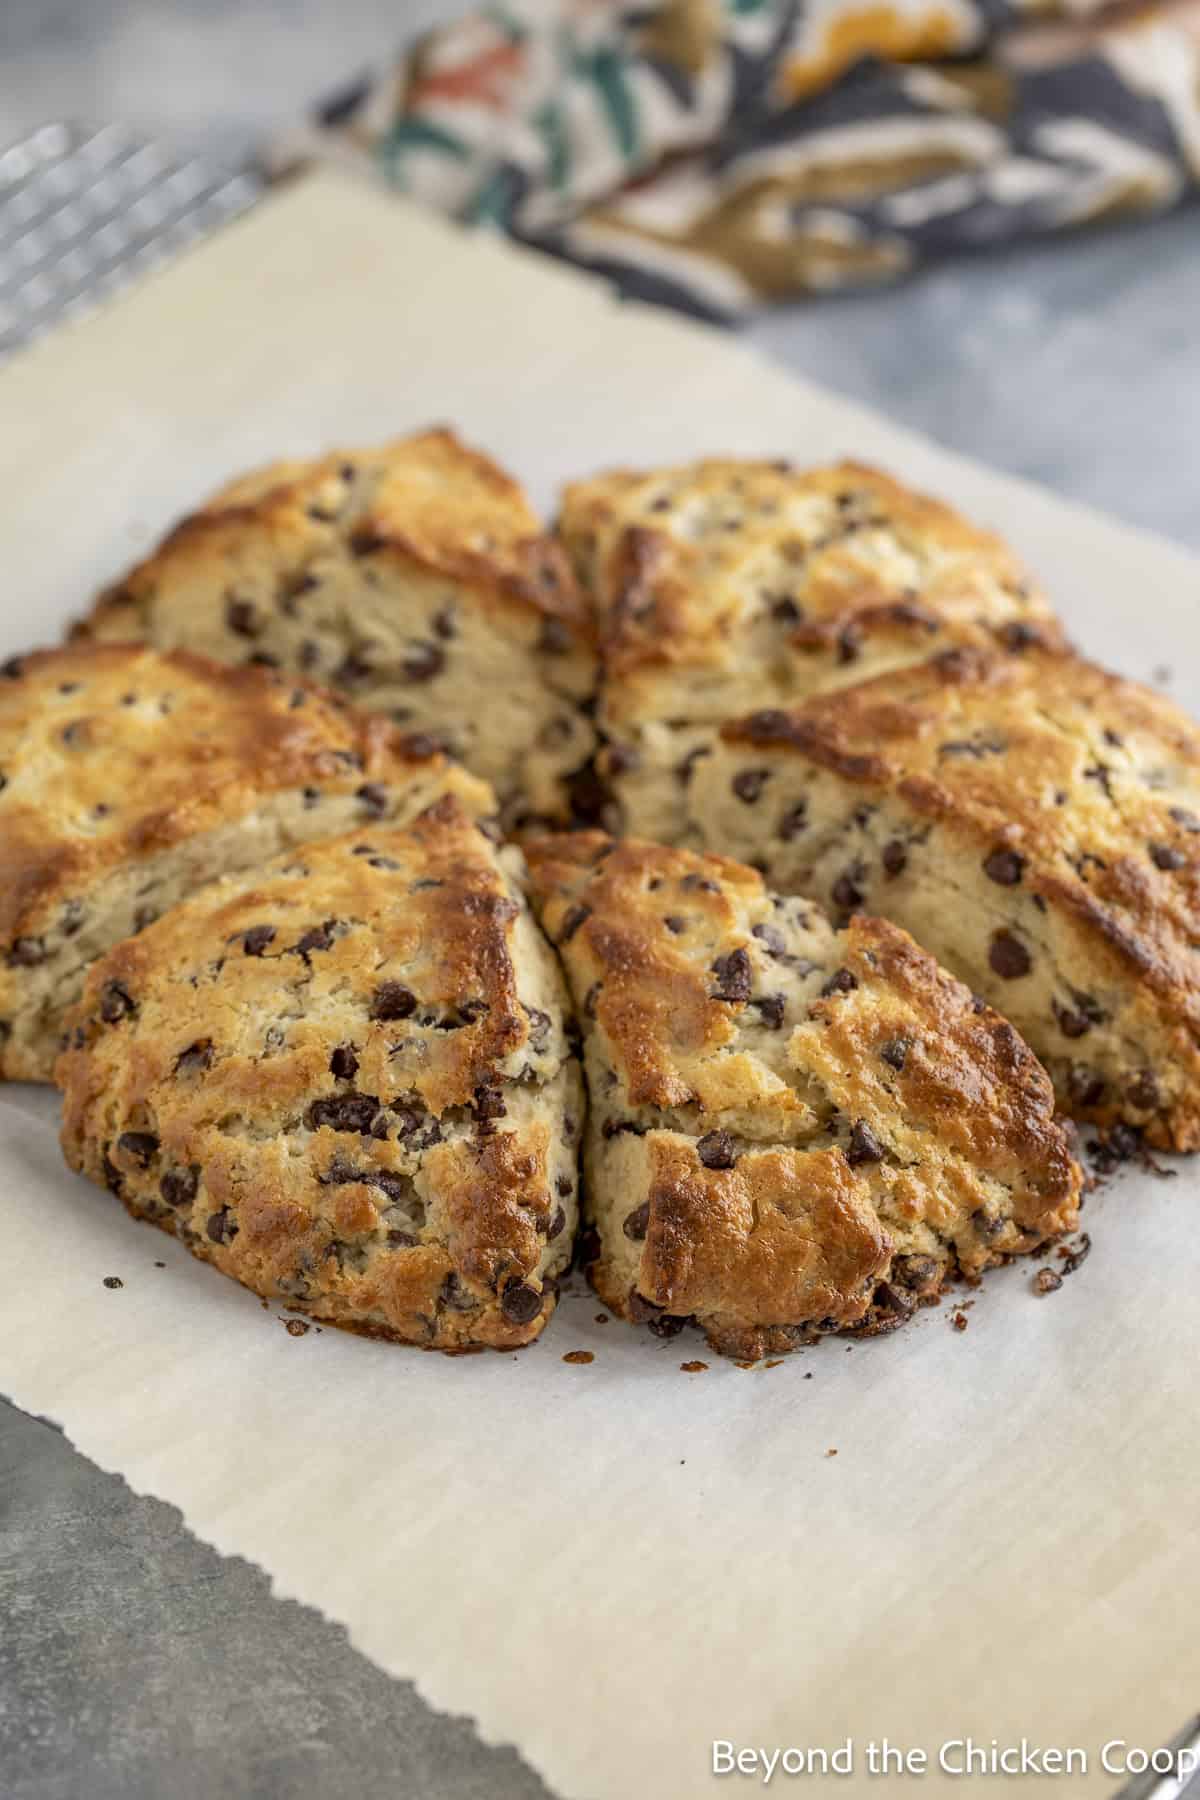
- Cool on a baking rack before serving.
Recipe tips
- Be certain to fluff, scoop, and level your flour when you're measuring. This helps prevent overcompacted flour, which adds too much flour to each cup and will create dry scones.
- The dough will appear to be very dry. Begin working with it, gently kneading and forming it together. The dough will come together, similar to a shortbread crust.
- If it's way too dry, sprinkle an additional tablespoon of cream and then mix in.
- You can bake the scones right away, but freezing the prepared scones for 15 minutes helps make a taller, lighter, and flakier scone.
To make ahead and freeze
These scones can be assembled and then fully frozen and baked later. You don't need the scones to thaw before baking.
- Make and shape scones.
- Place unbaked scones on a baking sheet lined with parchment paper.
- Place in the freezer for at least one hour.
- Once the scones are frozen, remove them from the baking sheet and place in a freezer-safe bag.
- Remove as much air as possible from the bag and store it in the freezer.
- To use, remove from the freezer and place on a baking sheet lined with parchment.
- Brush the tops with cream and bake while the scones are still frozen.
- You may need to increase the baking time by about 5 minutes.
More delicious scones to make
If you make this recipe, I’d love to hear about it! Leave a comment below and snap a picture and tag me on Instagram @beyondthechickencoop
Check out all my delicious, sweet breakfast treats.
Chocolate Chip Scones
Equipment
- Cookie Sheet
Ingredients
- 2 cups flour
- ⅓ cup sugar
- 1 tablespoon baking powder
- ½ teaspoon salt
- ½ cup butter (cut into small cubes)
- ¾ cup heavy cream
- 1 cup mini chocolate chips
- 2 tablespoons heavy cream (for brushing on top of scones)
Instructions
- Combine flour, sugar, baking powder, and salt together in a bowl.2 cups flour, ⅓ cup sugar, 1 tablespoon baking powder, ½ teaspoon salt
- Add small cubes of butter.½ cup butter
- Cut the butter into the flour with a pastry blender or by pressing pieces of butter between your fingers and thumbs along with the flour. Continue until the butter is broken into small pieces and the mixture looks crumbly.
- Stir in chocolate chips.1 cup mini chocolate chips
- Stir in the cream. The mixture is going to feel too dry. Dump it out onto a board or counter and begin gently kneading the dough and pushing it together. Gently press the dough together until it forms a rough ball. Avoid overmixing. The dough should just hold together.¾ cup heavy cream
- Form into an 8-inch disc and cut into 6 wedges. Place wedges on a parchment-lined sheet and place in the freezer for 15 minutes.
- While the scones are chilling in the freezer, preheat the oven to 425°F.
- Remove scones from the freezer and brush tops with cream.2 tablespoons heavy cream
- Bake in preheated 425°F oven for 15-18 minutes until the scones are golden brown and cooked through.
- Cool on a baking rack before serving.
Notes
- Be certain to fluff, scoop, and level your flour when you're measuring. This helps prevent overcompacted flour, which adds too much flour to each cup and will create dry scones.
- The dough will appear to be very dry. Begin working with it, gently kneading and forming it together. The dough will come together, similar to a shortbread crust.
- If it's way too dry, sprinkle an additional tablespoon of cream and then mix in.
- You can bake the scones right away, but freezing the prepared scones for 15 minutes helps make a taller, lighter, and flakier scone.
- Make and shape scones.
- Place unbaked scones on a baking sheet lined with parchment paper.
- Place in the freezer for at least one hour.
- Once the scones are frozen, remove them from the baking sheet and place in a freezer-safe bag.
- Remove as much air as possible from the bag and store it in the freezer.
- To use, remove from the freezer and place on a baking sheet lined with parchment.
- Brush the tops with cream and bake while the scones are still frozen.
- You may need to increase the baking time by about 5 minutes.
Nutritional Disclaimer:
Nutritional information is provided as a courtesy and should only be construed as an estimate rather than a guarantee. To obtain the most precise nutritional information in a provided recipe, you should calculate the nutritional information with the exact ingredients you are using when preparing the recipe using your preferred nutrition calculator.

Leave a Reply