
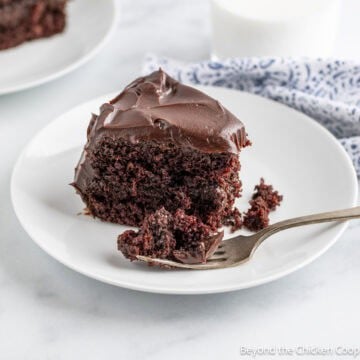
Homemade Chocolate Pudding is easy to make with just a handful of ingredients. This makes a rich, creamy pudding with old-fashioned chocolate flavor that will take you right back to your childhood.
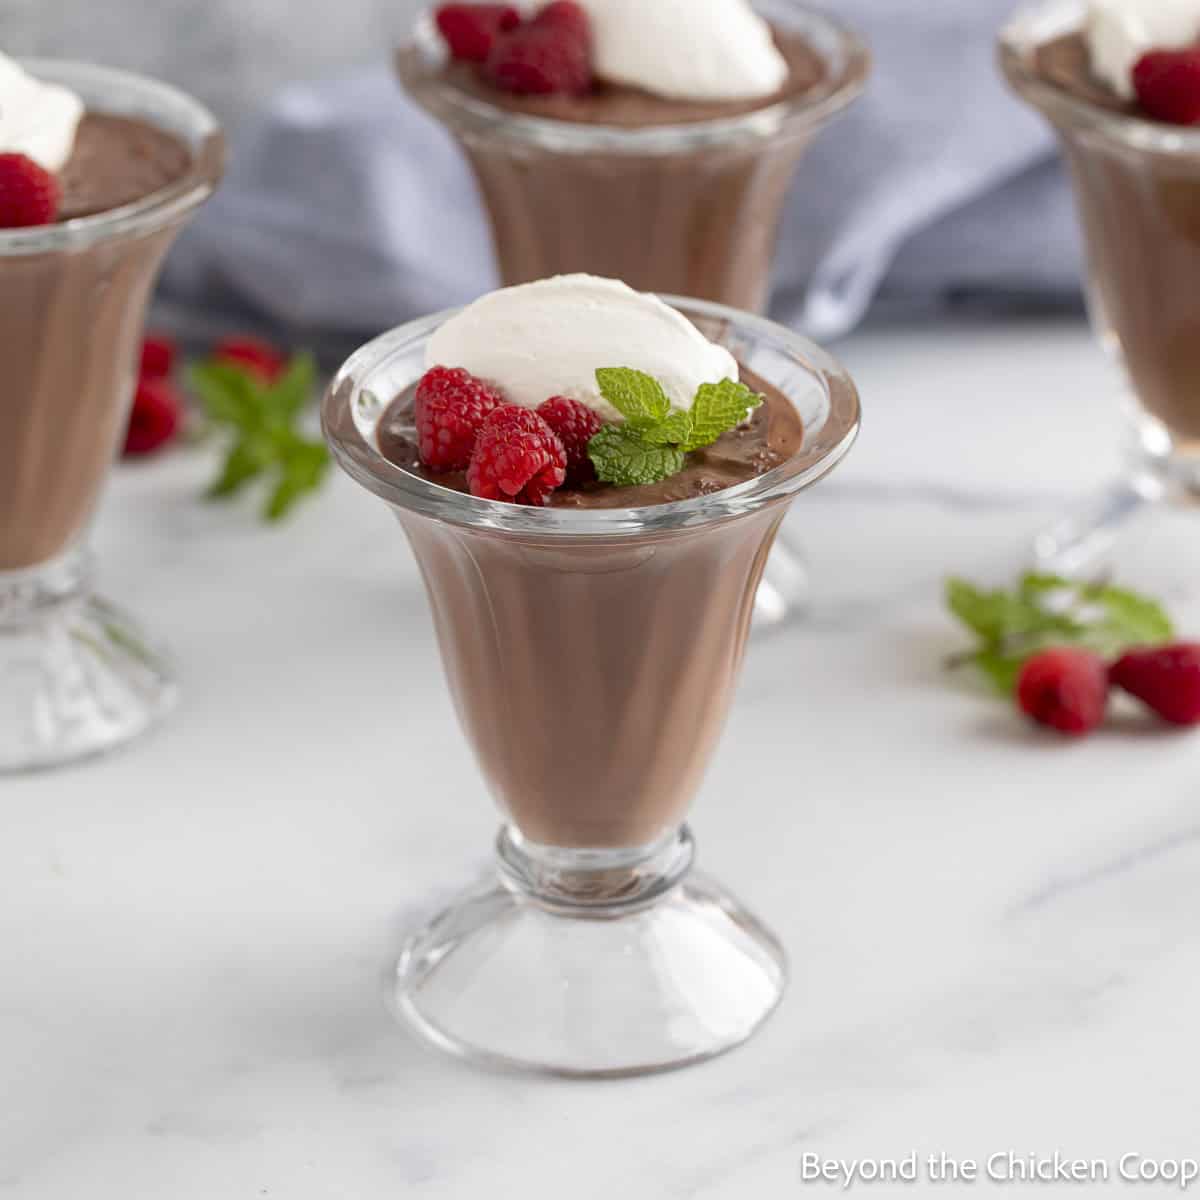
Creamy chocolate pudding
Growing up, we often had dessert every evening. Pudding was always a favorite. However, we didn't make it homemade; we usually made it from a box. This pudding reminds me of my childhood, but with a delicious homemade version.
It's been many years since I've had the boxed powdered version, but if my memory serves me correctly, I think this pudding has a richer chocolate flavor and a silkier texture.
This homemade pudding is easy to make, and once made, it's hard to resist sneaking a spoonful while it's still warm. Whether you enjoy this pudding warm or fully chilled, each bite is smooth, creamy, and so delicious.
Pudding ingredients
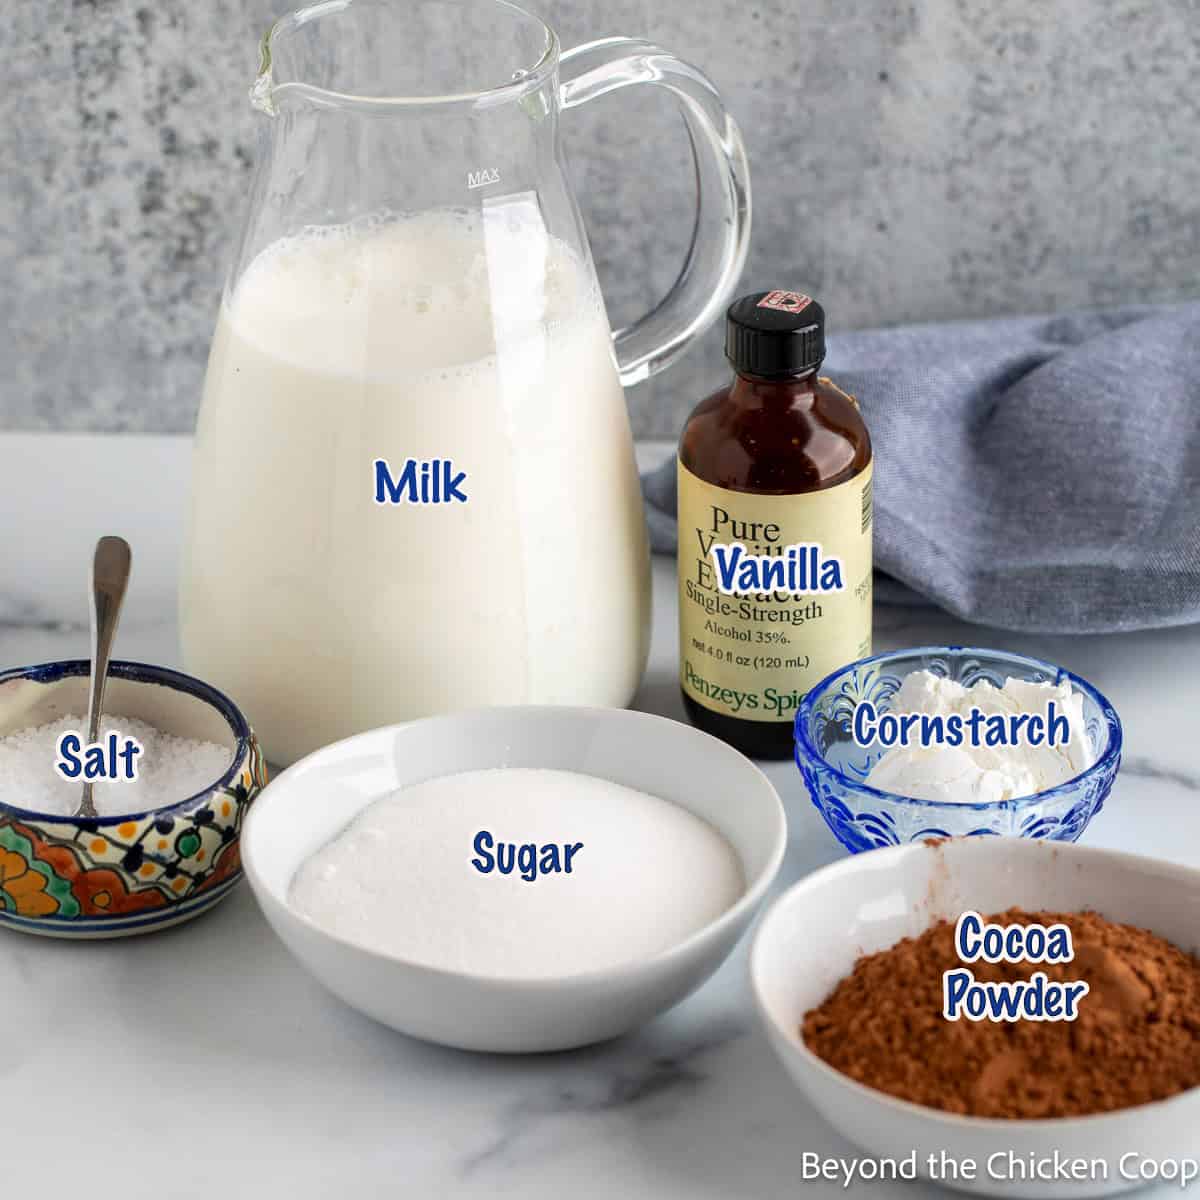
- Milk - Any type of milk works in this recipe. For the richest pudding, use whole milk.
- Cocoa - Use unsweetened cocoa powder.
- Sugar - Granulated sugar.
- Cornstarch - Used to thicken the pudding.
- Vanilla - Use pure vanilla extract.
Making chocolate pudding
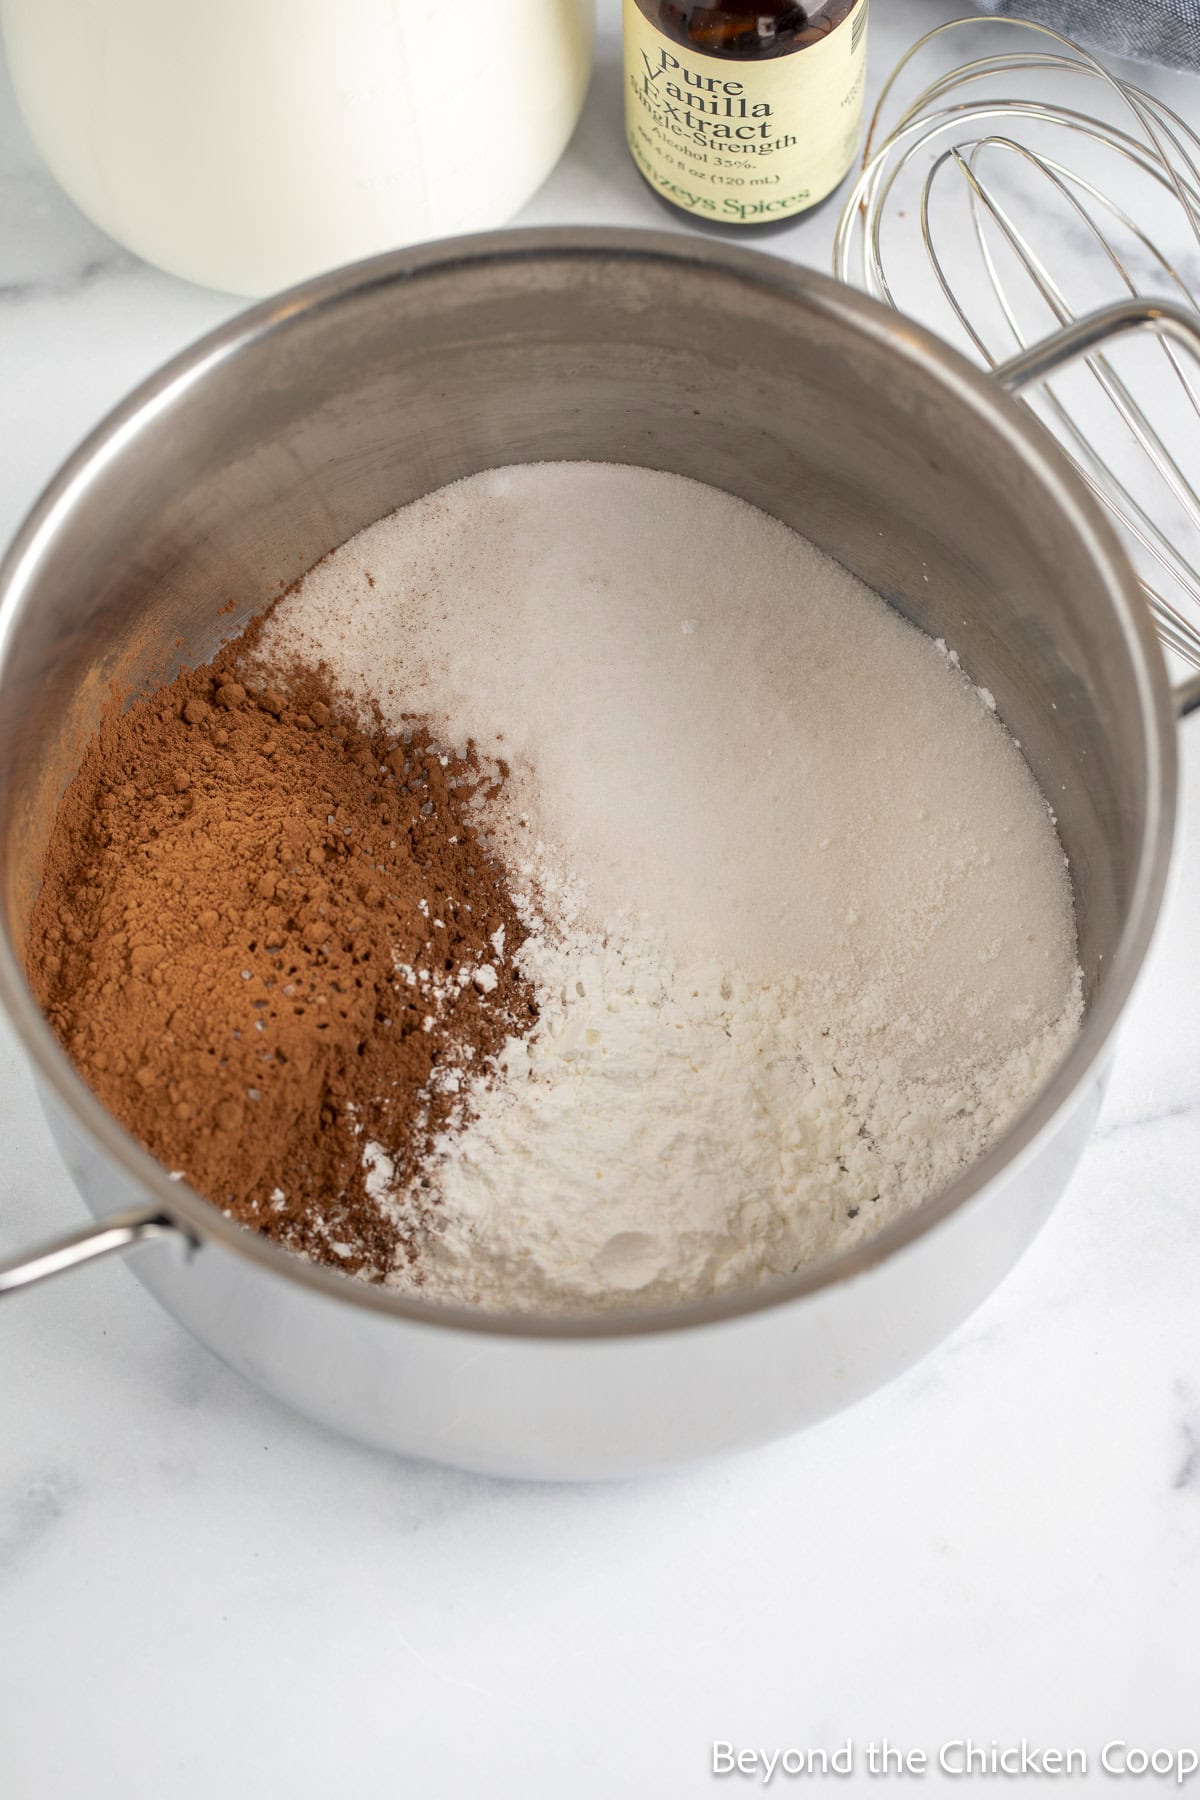
- Combine sugar, cocoa powder, cornstarch, and salt together in a heavy-bottomed saucepan.
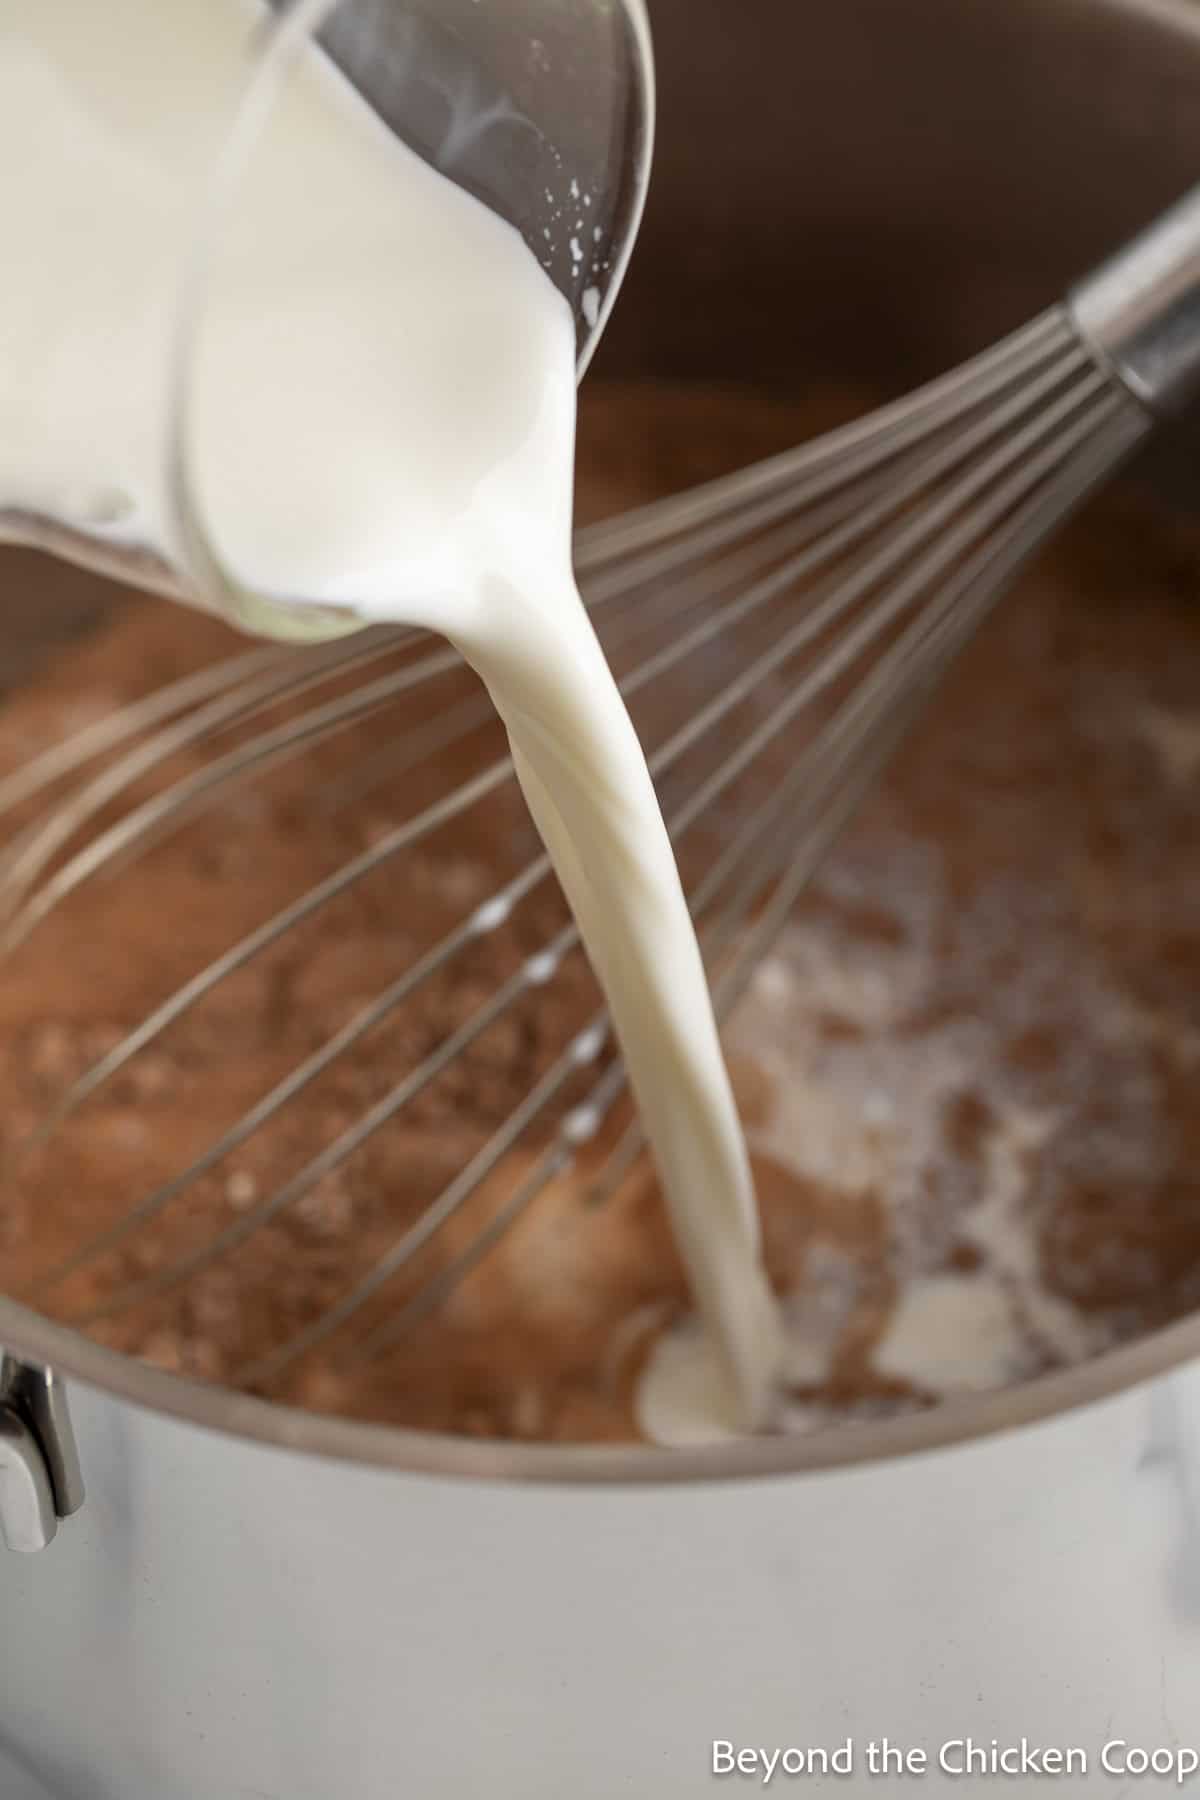
- Whisk in milk.
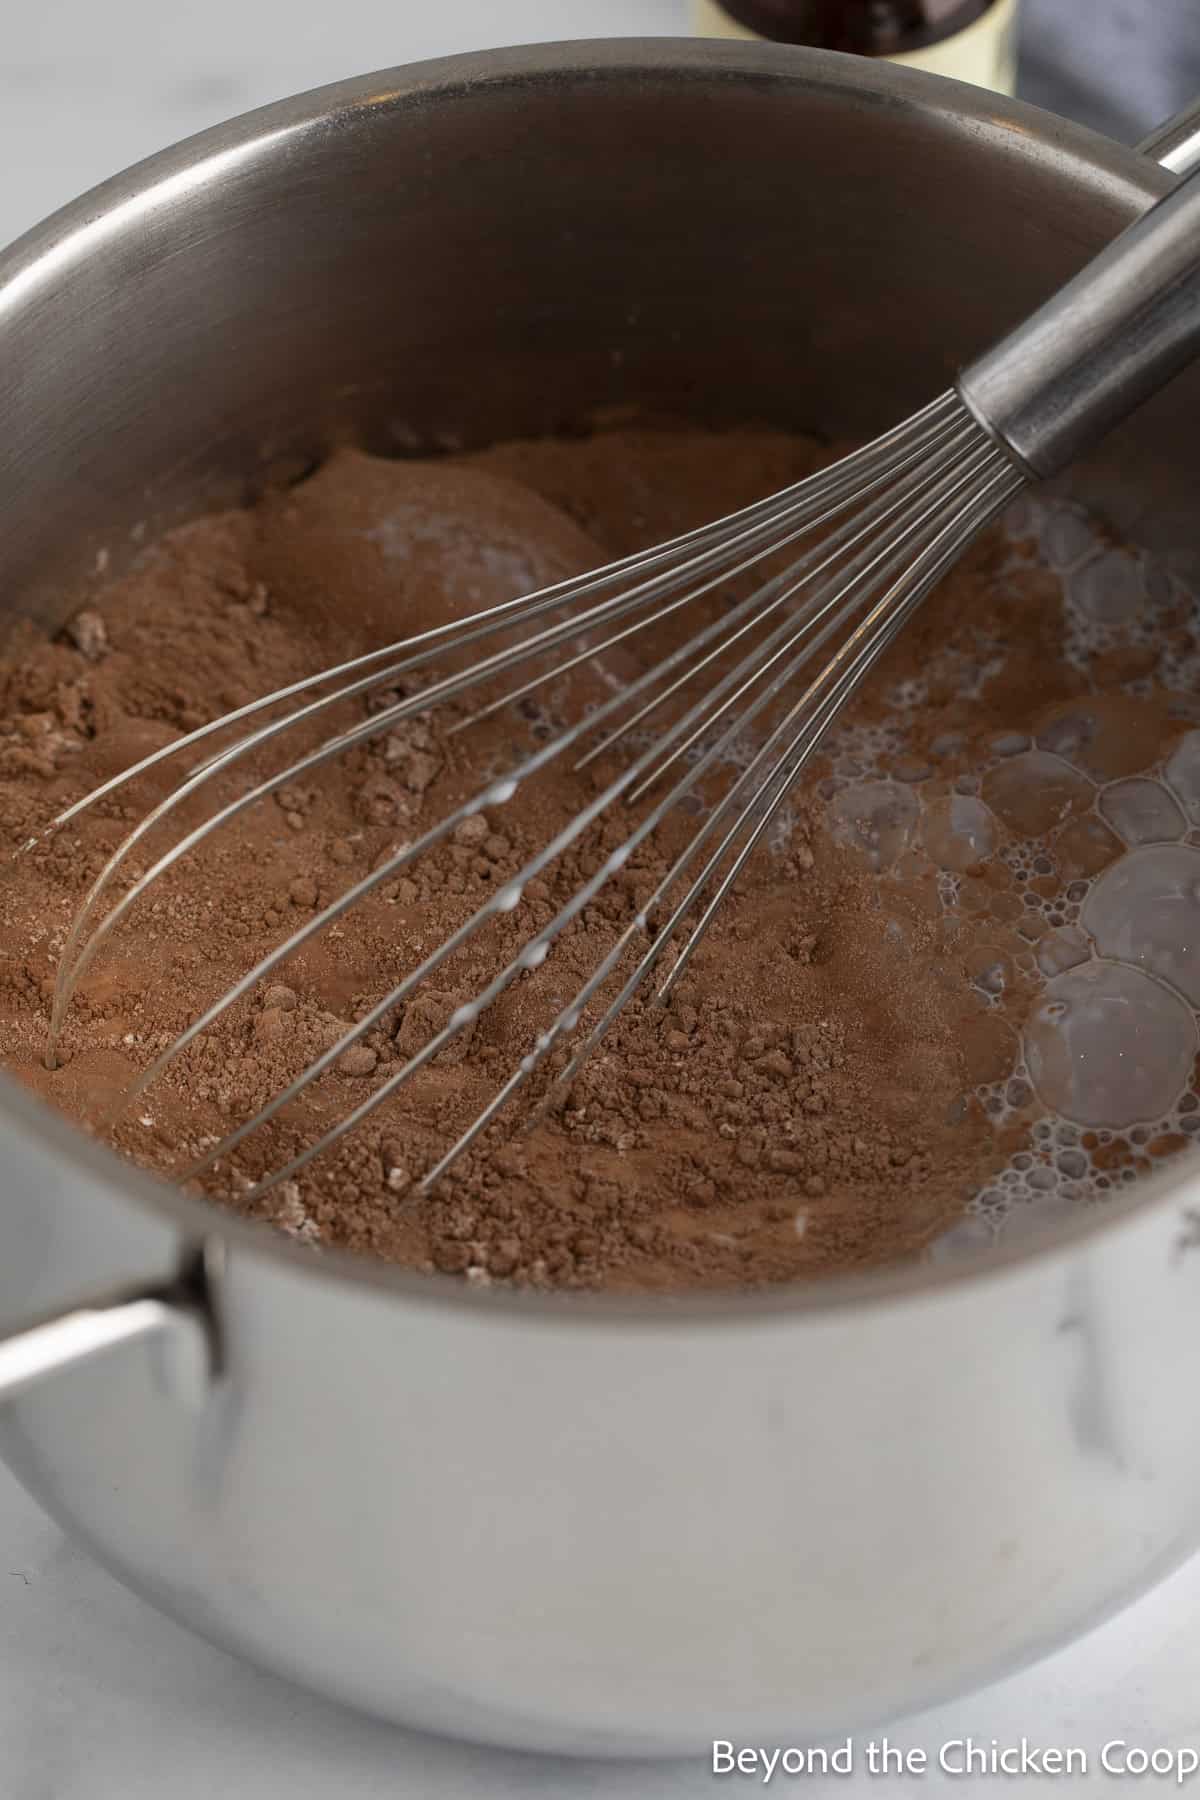
- Heat over medium-low heat. Stir often with the whisk or a spoon to avoid burning.
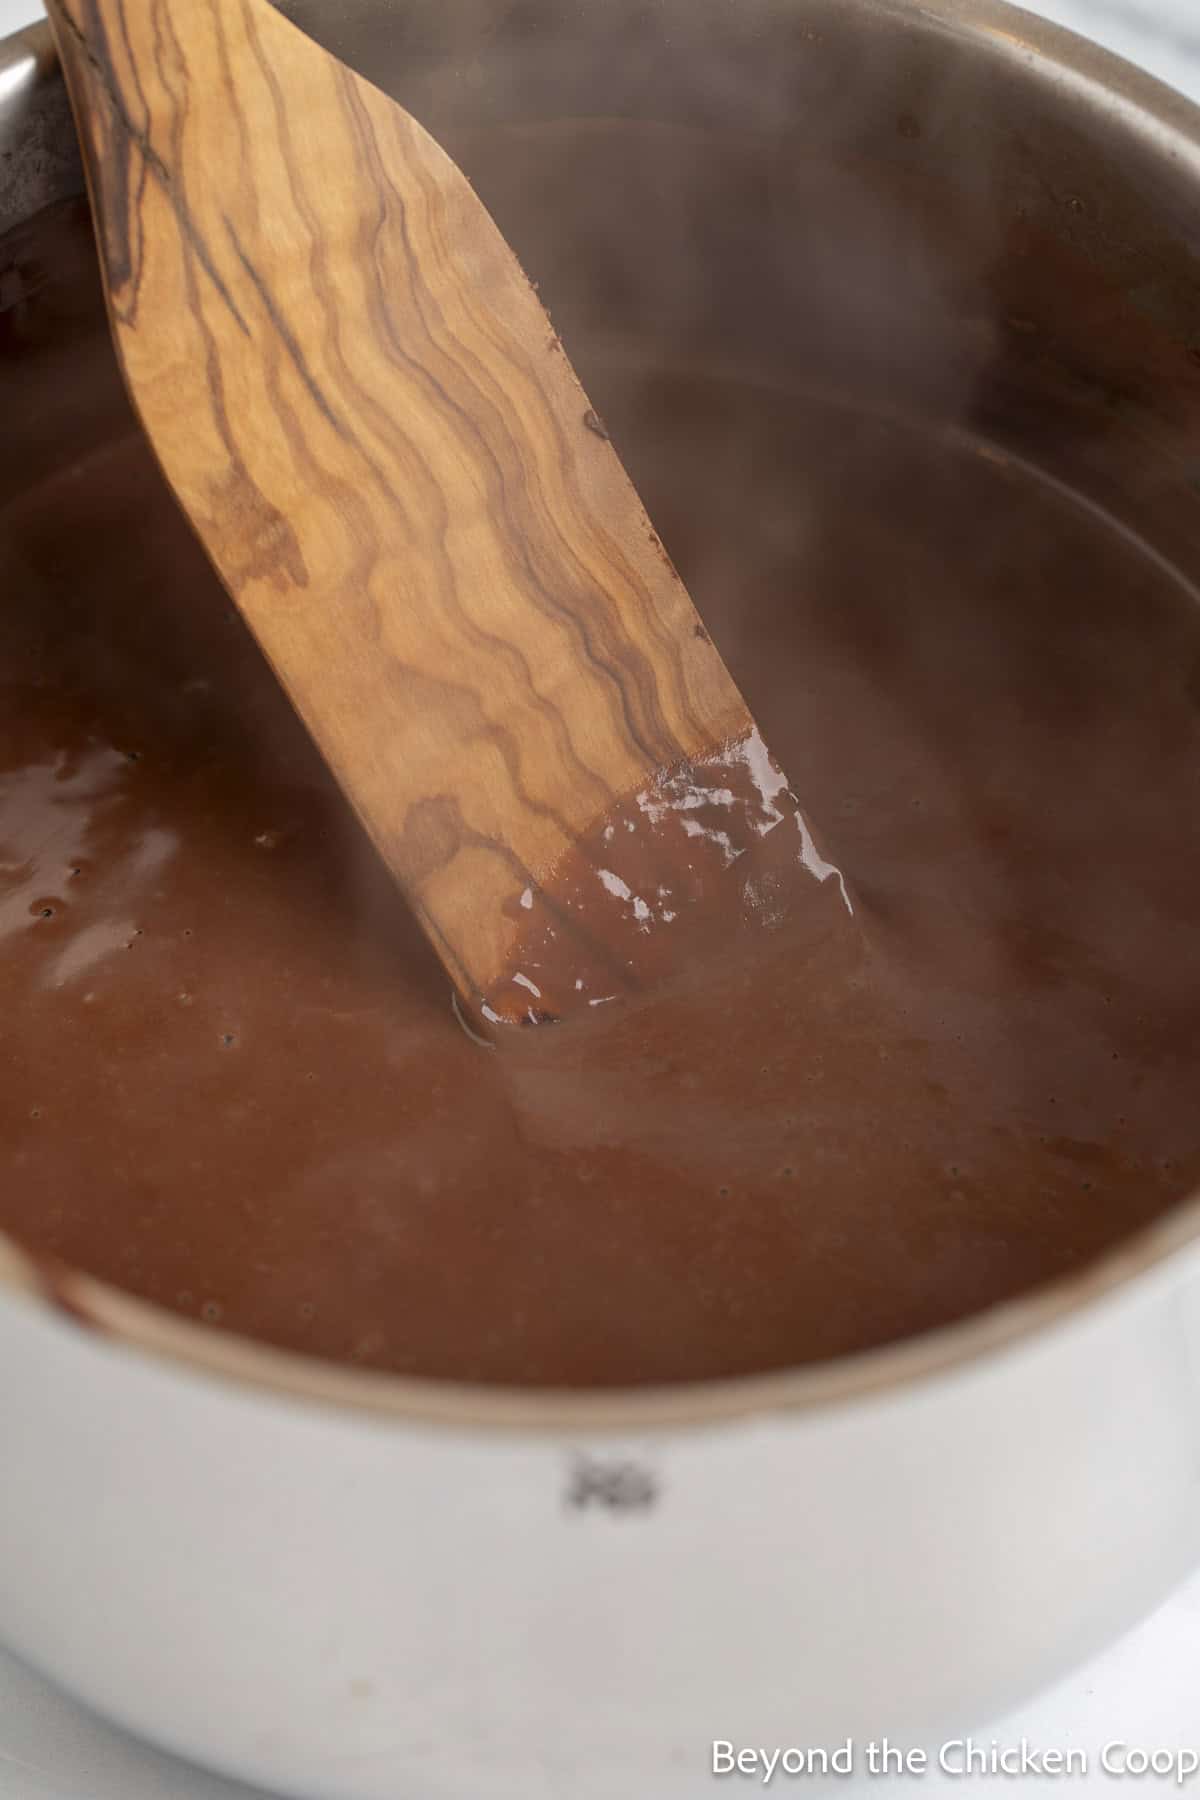
- Heat until the pudding simmers and thickens.
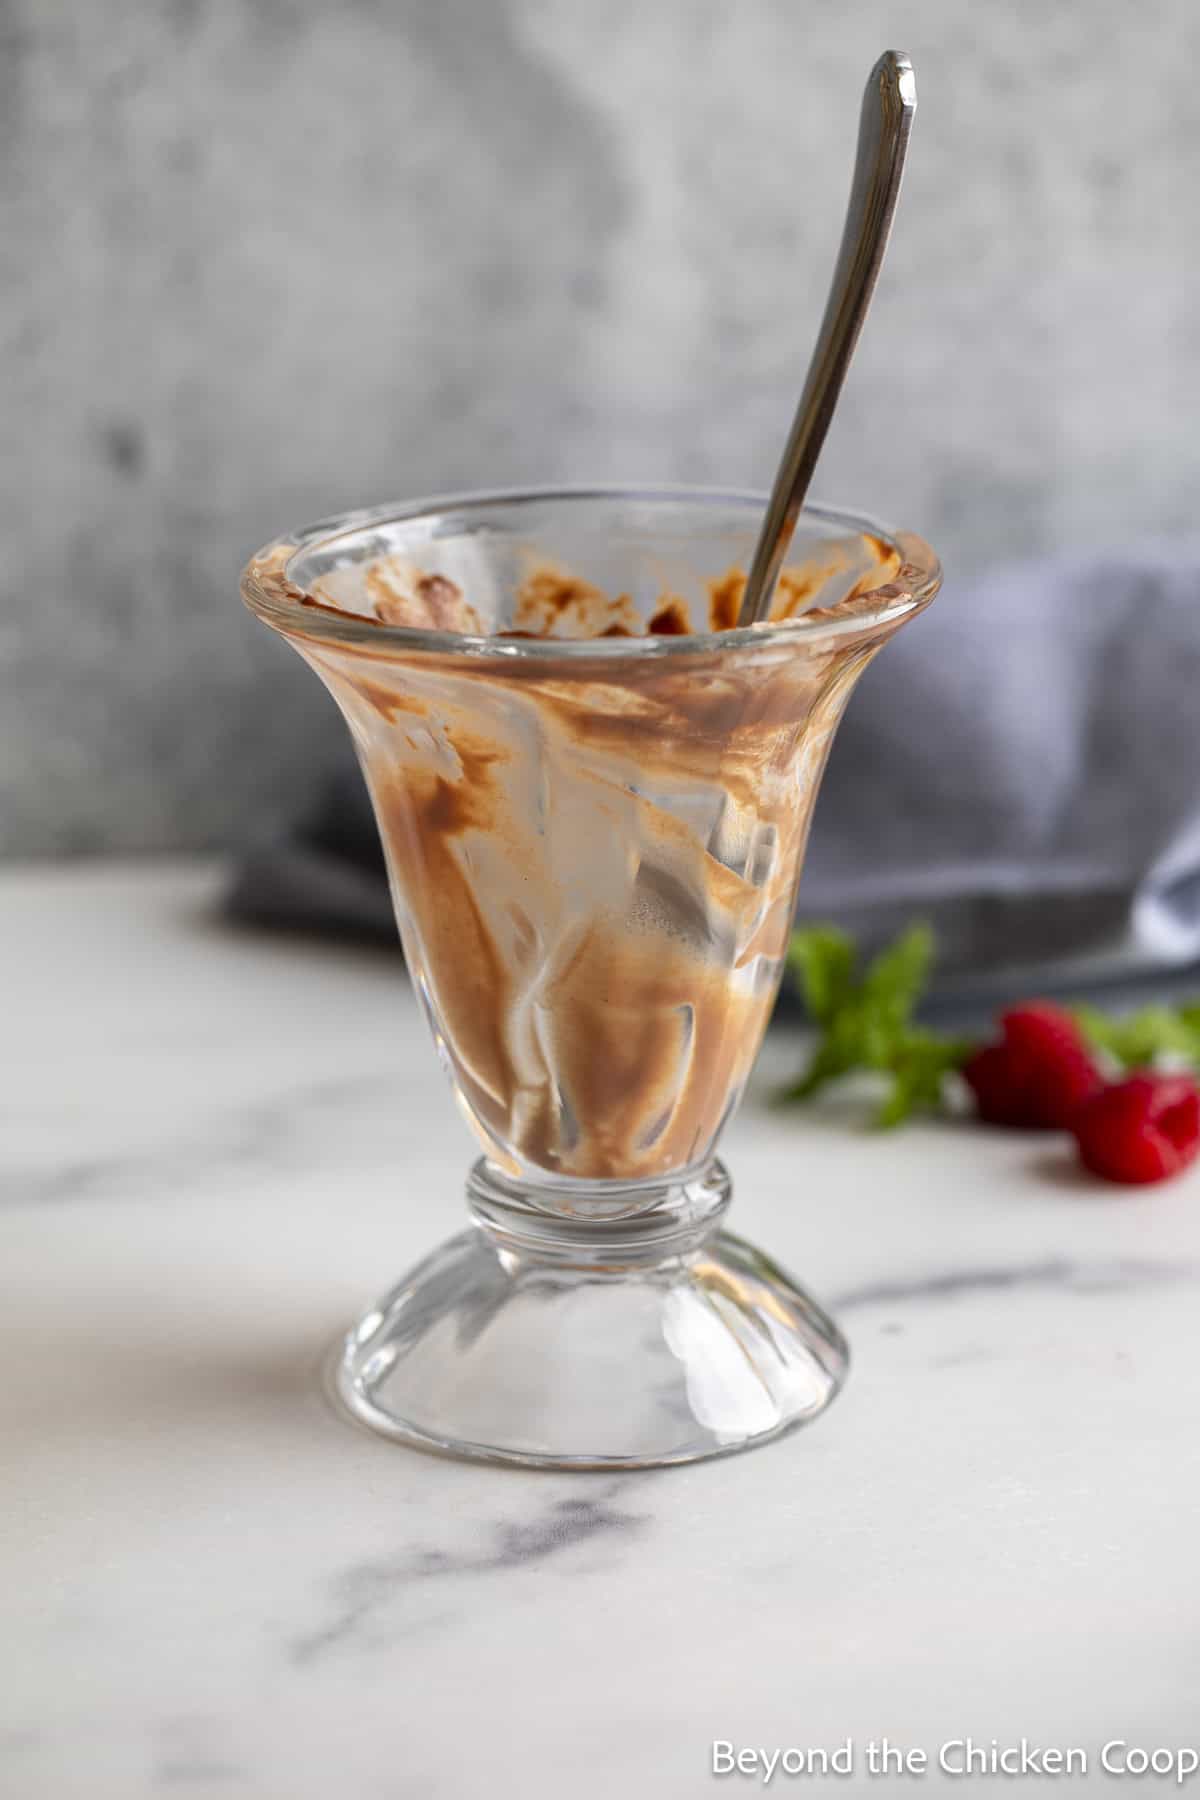
- Remove from heat, stir in vanilla and then pour into a large bowl or individual serving dishes.
- Cover with plastic wrap. The plastic wrap should be in direct contact with the pudding in order to prevent a skin from developing on the surface.
- Refrigerate until chilled.
Recipe tips
- Stir the pudding often. It will easily burn if not stirred.
- You may find areas near the bottom of the pan that begin to thicken before the rest of the pudding. Just keep stirring to mix together.
- Be certain to cover the pudding with plastic wrap with direct contact to the pudding. This will help prevent a skin from developing on the surface of the pudding.
Frequently asked questions
When stored in the refrigerator, it will last for 3-4 days.
Some people enjoy eating chocolate pudding warm, while other enjoy it chilled.

More delicious chocolate desserts
If you make this recipe, I’d love to hear about it! Leave a comment below and snap a picture and tag me on Instagram @beyondthechickencoop
Check out all my delicious desserts!


Homemade Chocolate Pudding
Equipment
- Whisk
Ingredients
- ⅔ cup sugar
- ⅔ cup cocoa powder
- ¼ cup cornstarch
- ⅛ teaspoon salt
- 4 cups milk (whole, 2%, or skim)
- 1½ teaspoons vanilla
Instructions
- Combine sugar, cocoa powder, cornstarch, and salt together in a heavy-bottomed saucepan.⅔ cup sugar, ⅔ cup cocoa powder, ¼ cup cornstarch, ⅛ teaspoon salt
- Whisk in milk.4 cups milk
- Heat over medium-low heat. Stir often with the whisk or a spoon to avoid burning.
- Heat until the pudding simmers and thickens.
- Remove from heat, stir in vanilla and then pour into a large bowl or individual serving dishes.1½ teaspoons vanilla
- Cover with plastic wrap. The plastic wrap should be in direct contact with the pudding in order to prevent a skin from developing on the surface.
- Refrigerate until chilled.
- Serve with a dollop of whipped cream and fresh berries, if desired.
Notes
- Whole milk will produce the richest tasting pudding.
- Stir the pudding often. It will easily burn if not stirred.
- You may find areas near the bottom of the pan that begin to thicken before the rest of the pudding. Just keep stirring to mix together.
- Be certain to cover the pudding with plastic wrap with direct contact to the pudding. This will help prevent a skin from developing on the surface of the pudding.
Nutritional Disclaimer:
Nutritional information is provided as a courtesy and should only be construed as an estimate rather than a guarantee. To obtain the most precise nutritional information in a provided recipe, you should calculate the nutritional information with the exact ingredients you are using when preparing the recipe using your preferred nutrition calculator.
Leave a Reply